
There’s something truly magical about a warm, comforting dessert, especially when the weather turns cooler. If you’re looking for a simple yet elegant treat that whispers of cozy evenings and sweet indulgence, look no further than maple baked pears. This classic dessert is incredibly forgiving and adaptable, making it perfect for bakers of all skill levels. Imagine tender pears, their natural sweetness enhanced by a luscious maple glaze, perhaps kissed with a hint of spice. It’s a delightful way to showcase seasonal fruit and a guaranteed crowd-pleaser. For more inspiration on delightful fruit-based desserts, you might find this article on fruit desserts helpful.
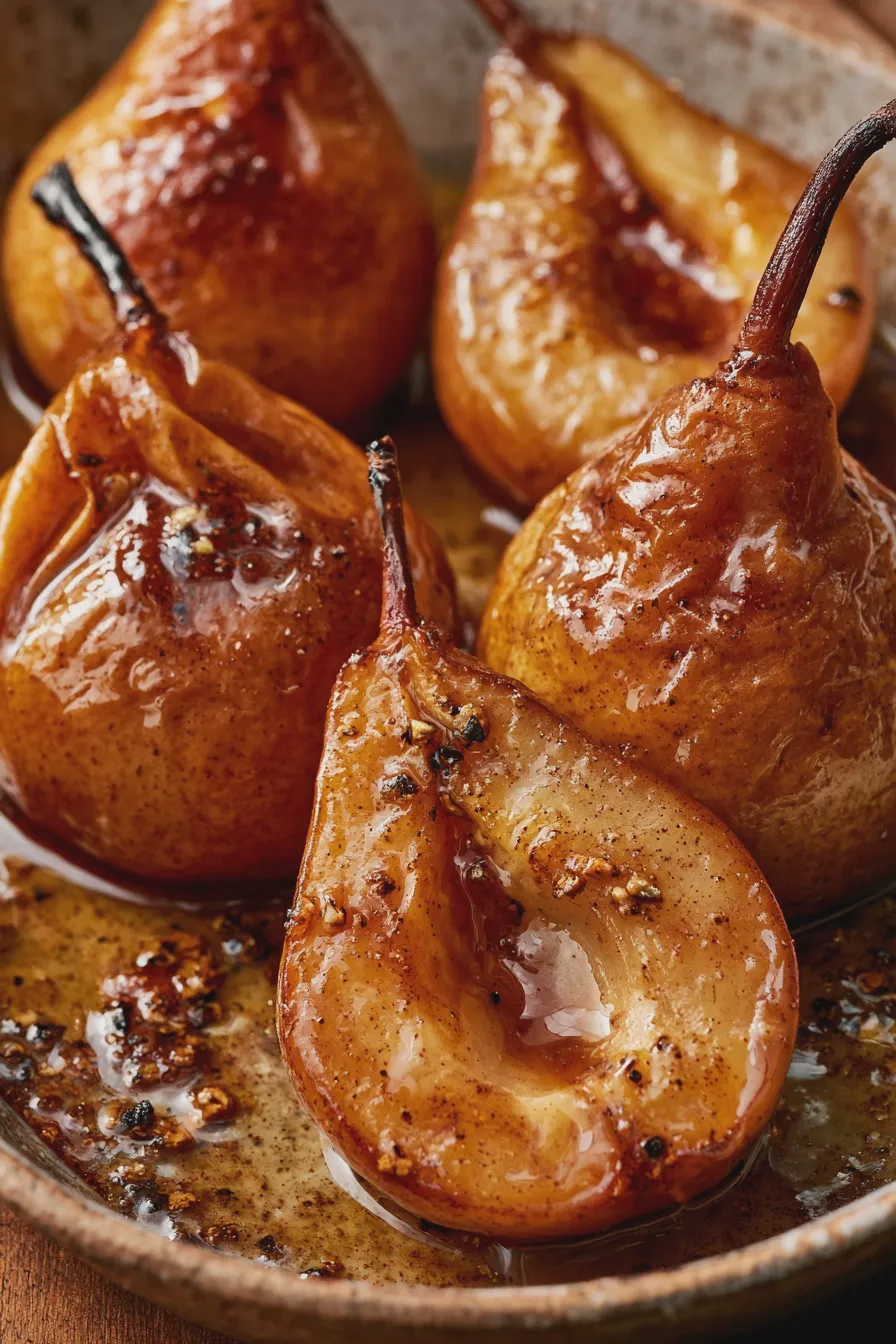
What Are Maple Baked Pears?
Maple baked pears are essentially pears that have been gently cooked in an oven, typically halved or cored, and then bathed in a sweet, flavorful liquid. The star of this liquid is, of course, maple syrup, which lends its distinctive caramel-like sweetness and aroma. Often, other warming spices like cinnamon or nutmeg are added, and sometimes a touch of butter or brown sugar to create a richer, more caramelized glaze. The result is a soft, yielding fruit with an intensely sweet and aromatic sauce that’s perfect for spooning over the top or serving alongside. It’s a wonderfully versatile dish that can be enjoyed on its own or as a base for other accompaniments. If you’re curious about different ways to prepare fruit for baking, exploring recipes for fruit tarts can offer some interesting techniques.
Choosing the Right Pears
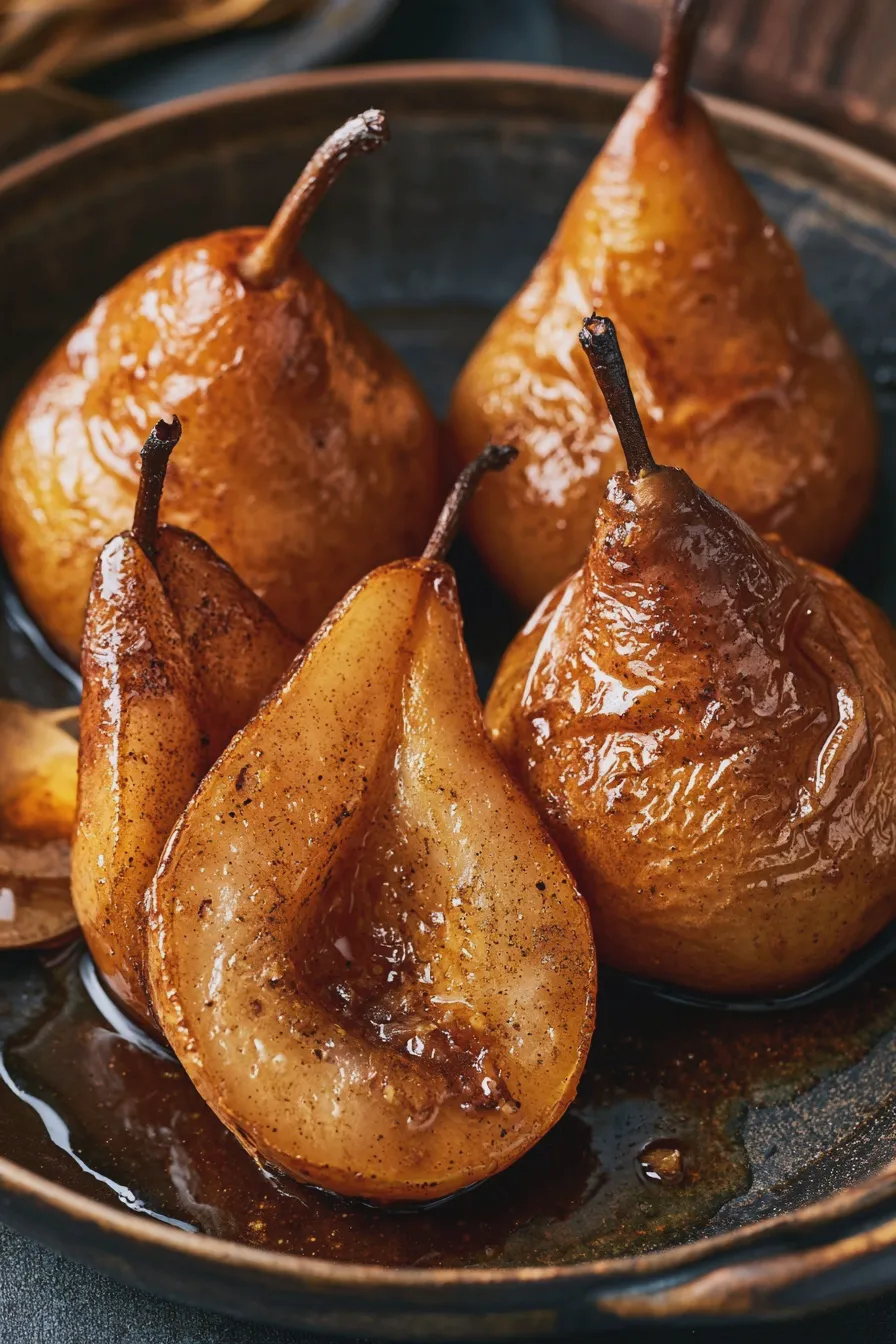
The success of your maple baked pears recipe hinges significantly on the type of pears you select. Not all pears are created equal when it comes to baking. You want pears that hold their shape when heated, rather than turning into mush. Firm, slightly underripe pears are your best bet.
Don’t miss out on our guide to Rhubarb Bars With Oat Topping.
Best Pear Varieties for Baking:
- Bosc: These are a baker’s dream. They have a firm texture, a subtly sweet flavor, and a distinctive shape that bakes beautifully. Their skin is also quite robust.
- Anjou: Both red and green Anjou pears work well. They are firm and hold their shape, offering a mild sweetness.
- Comice: While often considered a “eating pear” due to their extreme juiciness and sweetness, Comice pears can be baked if you catch them at the right stage of ripeness – still firm to the touch. They will become very tender.
- Forelle: These small, attractive pears are also a good choice for baking due to their firm texture.
Pears to Avoid for Baking:
- Bartlett: These pears ripen quickly and become very soft and mushy when cooked. They are best enjoyed fresh.
When selecting pears, gently press the stem end. It should yield slightly, but the pear should still feel firm overall. Avoid pears that are bruised or overly soft.
Essential Ingredients
The beauty of maple baked pears lies in its simplicity. You don’t need a pantry full of exotic ingredients to create something truly special.
Looking for more? Try this delicious How To Fold Ingredients Without Deflating next.
The Core Components:
- Pears: As discussed above, choose firm varieties like Bosc or Anjou.
- Maple Syrup: Opt for pure maple syrup, preferably Grade A Dark Robust (formerly Grade B) for its richer flavor. Avoid pancake syrups, which are artificially flavored.
- Butter: Unsalted butter adds richness and helps create a beautiful glaze. For a vegan option, you can use coconut oil or vegan butter.
- Spices: Cinnamon is a classic pairing. Nutmeg, a pinch of ground cloves, or even a cinnamon stick can add delightful warmth.
- Lemon Juice: A little lemon juice brightens the flavors and helps prevent the pears from browning too quickly.
Optional Additions for Extra Flavor:
- Brown Sugar: A tablespoon or two can enhance the caramelization.
- Vanilla Extract: A splash adds a lovely aromatic note.
- Nuts: Chopped walnuts or pecans can be added for texture and flavor.
- Dried Fruit: Raisins or dried cranberries can add chewy bursts of sweetness.
- A Splash of Booze: A tablespoon of bourbon or brandy can add depth.
Step-by-Step Guide to Making Maple Baked Pears
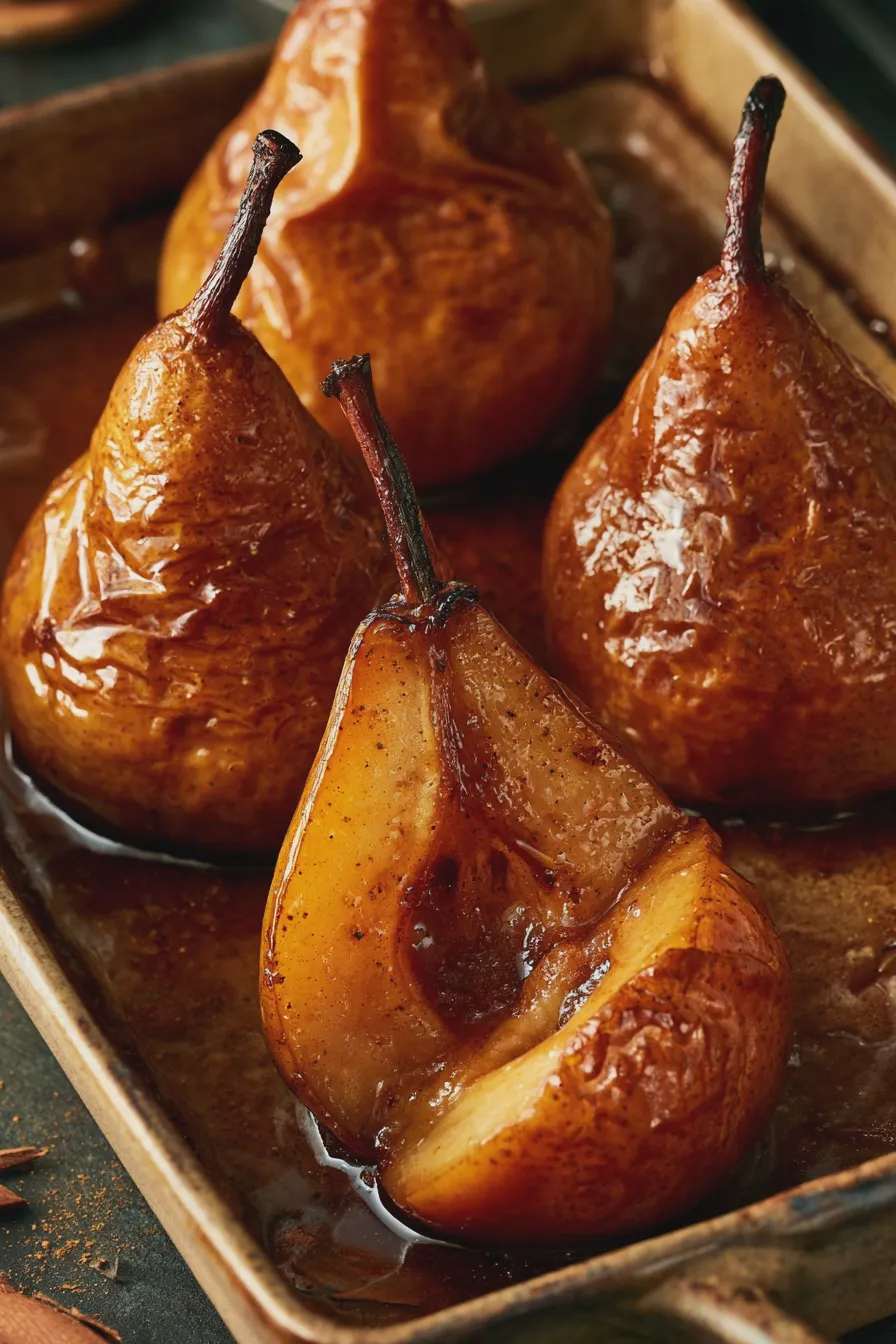
This recipe focuses on creating perfectly tender, flavorful baked pears with a delightful maple glaze. It’s a straightforward process that yields impressive results.
Preparation is Key:
Preheating your oven is the first crucial step in any baking endeavor. For maple baked pears, a moderate temperature of 375°F (190°C) is ideal. This allows the pears to cook through gently without burning the glaze.
Looking for more? Try this delicious How To Cream Butter And Sugar next.
Preparing the Pears:
- Wash and Dry: Gently wash your pears under cool running water and pat them completely dry with a clean kitchen towel.
- Halve or Core: You have two main options here. You can halve the pears lengthwise, from stem to bottom. This is the simplest method and presents beautifully. Alternatively, you can core the pears from the bottom, leaving them whole. This requires a melon baller or a small, sharp knife. If coring, be sure to remove the seeds and tough core fibers.
- Optional Peeling: Some prefer to peel their pears before baking for a more tender result. However, leaving the skin on can help the pears hold their shape better and adds a rustic charm. If you choose to peel, do so carefully with a vegetable peeler, leaving the stem intact.
- Prevent Browning: If you’ve cut the pears and aren’t immediately baking them, you can rub the cut surfaces with a lemon half to prevent oxidation and browning.
Creating the Maple Glaze:
- Melt Butter: In a small saucepan or directly in your baking dish, melt the butter over low heat.
- Add Maple Syrup and Spices: Stir in the pure maple syrup, cinnamon (if using), and any other chosen spices. If you’re using brown sugar, add it now as well.
- Simmer Briefly: Heat the mixture gently for a minute or two until well combined and slightly warmed. You don’t need to boil it. If you’re using a cinnamon stick, you can add it to the glaze mixture.
Assembling and Baking:
- Arrange Pears: Place the prepared pear halves (cut-side up) or cored pears into a baking dish. Ensure they are nestled snugly but not overcrowded.
- Spoon Glaze: Generously spoon the warm maple glaze over the cut surfaces of the pears. If you’ve left the pears whole, try to pour some of the glaze into the cored cavity.
- Add Optional Ingredients: If you’re adding nuts or dried fruit, you can sprinkle them around the pears or into the cavities now.
- Bake: Place the baking dish in the preheated oven. Bake for 25-40 minutes, or until the pears are tender when pierced with a fork or a sharp knife. The exact baking time will depend on the type and ripeness of your pears.
- Basting: About halfway through the baking time, you can carefully baste the pears with the glaze from the bottom of the dish. This helps ensure they are evenly coated and moist.
- Check for Doneness: The pears should be tender but not falling apart. The edges of the glaze may start to caramelize slightly.
Finishing Touches:
- Rest: Let the baked pears rest in the dish for a few minutes after removing them from the oven.
- Serve: Serve warm, spooning the delicious maple glaze from the dish over each pear.
Serving Suggestions
Maple baked pears are wonderfully versatile and can be served in a variety of ways, making them suitable for different occasions and preferences. The warm, spiced fruit and rich glaze are delightful on their own, but a few additions can elevate them even further.
Classic Pairings:
- Vanilla Ice Cream: A scoop of creamy vanilla ice cream melting into the warm pear and glaze is pure bliss. For a homemade touch, consider learning how to make ice cream at home.
- Whipped Cream: A dollop of lightly sweetened whipped cream offers a cool, creamy contrast.
- Yogurt: For a slightly healthier option, thick Greek yogurt or plain yogurt is a lovely accompaniment.
Elegant Enhancements:
- Toasted Nuts: Sprinkle with toasted pecans, walnuts, or slivered almonds for added crunch.
- Crumbles or Crisps: Serve alongside a simple oat crumble or a buttery shortbread cookie.
- Caramel Sauce: A drizzle of extra caramel sauce can take this dessert to the next level.
As Part of a Larger Meal:
Maple baked pears can also be a delightful lighter dessert after a hearty meal, or even served as a special breakfast or brunch treat alongside pancakes or waffles.
If you enjoyed this, you might also love our How To Prepare A Cake Pan To Prevent Sticking recipe.
Tips for Perfect Maple Baked Pears
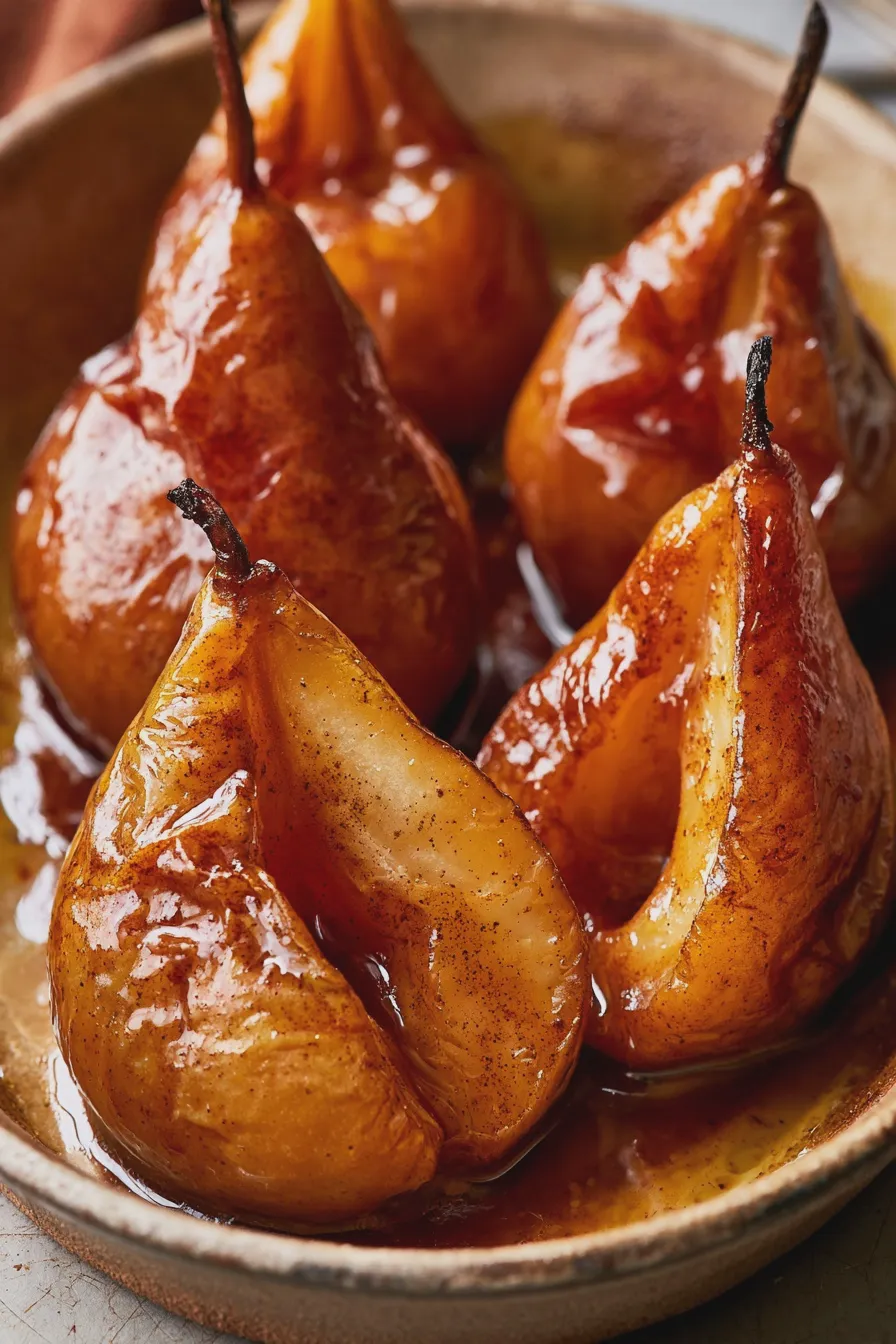
Baking is often about understanding the nuances. Here are some expert tips to ensure your maple baked pears turn out perfectly every time:
- Don’t Overbake: Pears can go from tender to mushy very quickly. Keep an eye on them and test for doneness frequently towards the end of the baking time.
- Use Quality Maple Syrup: The flavor of your maple syrup is paramount. Pure maple syrup, especially the darker grades, will provide the best depth of flavor.
- Adjust Spices to Taste: Cinnamon is a classic, but feel free to experiment with nutmeg, cardamom, or even a touch of ginger. A whole cinnamon stick simmered in the glaze adds a subtle, infused flavor.
- Uniformity is Key: Try to cut your pear halves or core your pears to a similar size. This ensures they cook evenly.
- Basting for Moisture: Don’t skip the basting step! Spooning the glaze back over the pears during baking keeps them moist and helps the flavors meld beautifully.
- Consider the Pear’s Ripeness: Even within a “firm” variety, ripeness varies. Adjust your baking time accordingly. Firmer pears will need longer.
Common Mistakes to Avoid
Even simple recipes can have pitfalls. Being aware of these common mistakes can help you achieve baking success:
Don’t miss out on our guide to Creaming Method For Cakes And Cookies.
- Using Underripe or Overripe Pears: Underripe pears will be too hard and may not soften adequately. Overripe pears will disintegrate in the oven.
- Using Imitation Maple Syrup: This is a cardinal sin for this recipe! The artificial flavor simply cannot compare to the rich, complex taste of real maple syrup.
- Overcrowding the Baking Dish: If the pears are too close together, they won’t roast properly and steam instead, leading to a less desirable texture. Give them a little breathing room.
- Not Basting: Skipping the basting can result in drier pears with a less integrated glaze.
- Baking at Too High a Temperature: This can cause the outside of the pears to burn before the inside is tender. A moderate oven is best.
Variations on Maple Baked Pears
Once you’ve mastered the basic maple baked pears recipe, don’t be afraid to get creative! Here are some delicious variations to explore:
- Spiced Baked Pears: Amp up the spices! Add a pinch of ground cardamom, ginger, or cloves to your maple glaze for a more complex flavor profile. A star anise pod can also add a lovely licorice note.
- Brown Sugar Baked Pears: Replace some of the maple syrup with brown sugar, or add a couple of tablespoons of brown sugar to the existing glaze for deeper caramelization. This is a wonderful way to create truly caramelized pears.
- Vegan Baked Pears: Simply substitute the butter with a good quality coconut oil or vegan butter alternative. Ensure your maple syrup is vegan (most pure maple syrups are).
- Gluten-Free Baked Pears: This recipe is naturally gluten-free, making it a perfect dessert for those with gluten sensitivities.
- Pears with Cranberries and Walnuts: Add a handful of fresh or dried cranberries and some chopped walnuts to the baking dish along with the pears for a festive touch.
- Poached Pears (Alternative Method): While this guide focuses on baked pears, you could also poach pears in a spiced maple liquid. This results in a different texture – very tender and infused throughout. A good poached pears recipe will offer guidance on liquid ratios and simmering times.
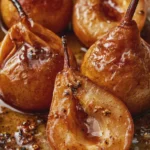
Maple Baked Pears Recipe
Ingredients
- 4 firm pears (such as Bosc, Anjou, or Bartlett)
- 1/4 cup maple syrup
- 2 tablespoons butter, melted (or coconut oil for vegan)
- 1/2 teaspoon ground cinnamon
- 1/4 teaspoon ground nutmeg
- 1/4 cup water
Instructions
- Preheat your oven to 375°F (190°C).
- Wash and core the pears. You can halve them or leave them whole, depending on your preference. If leaving whole, slice a small bit off the bottom so they stand upright.
- Place the prepared pears in a baking dish.
- In a small bowl, whisk together the maple syrup, melted butter (or coconut oil for a vegan option), cinnamon, and nutmeg.
- Pour the maple syrup mixture over the pears, ensuring they are coated.
- Add about 1/4 cup of water to the bottom of the baking dish. This will help steam the pears and prevent them from drying out.
- Bake for 30-45 minutes, or until the pears are tender when pierced with a fork. Cooking time will vary depending on the ripeness and type of pear.
- Baste the pears with the pan juices halfway through baking for extra flavor.
- Once tender, remove from the oven and let them cool slightly before serving.
Notes
- Serve warm with a dollop of Greek yogurt, a scoop of vanilla ice cream, or a sprinkle of chopped nuts.
- For a richer flavor, add a splash of brandy or rum to the maple syrup mixture.
- Ensure pears are not overripe, as they will become too mushy when baked.







