
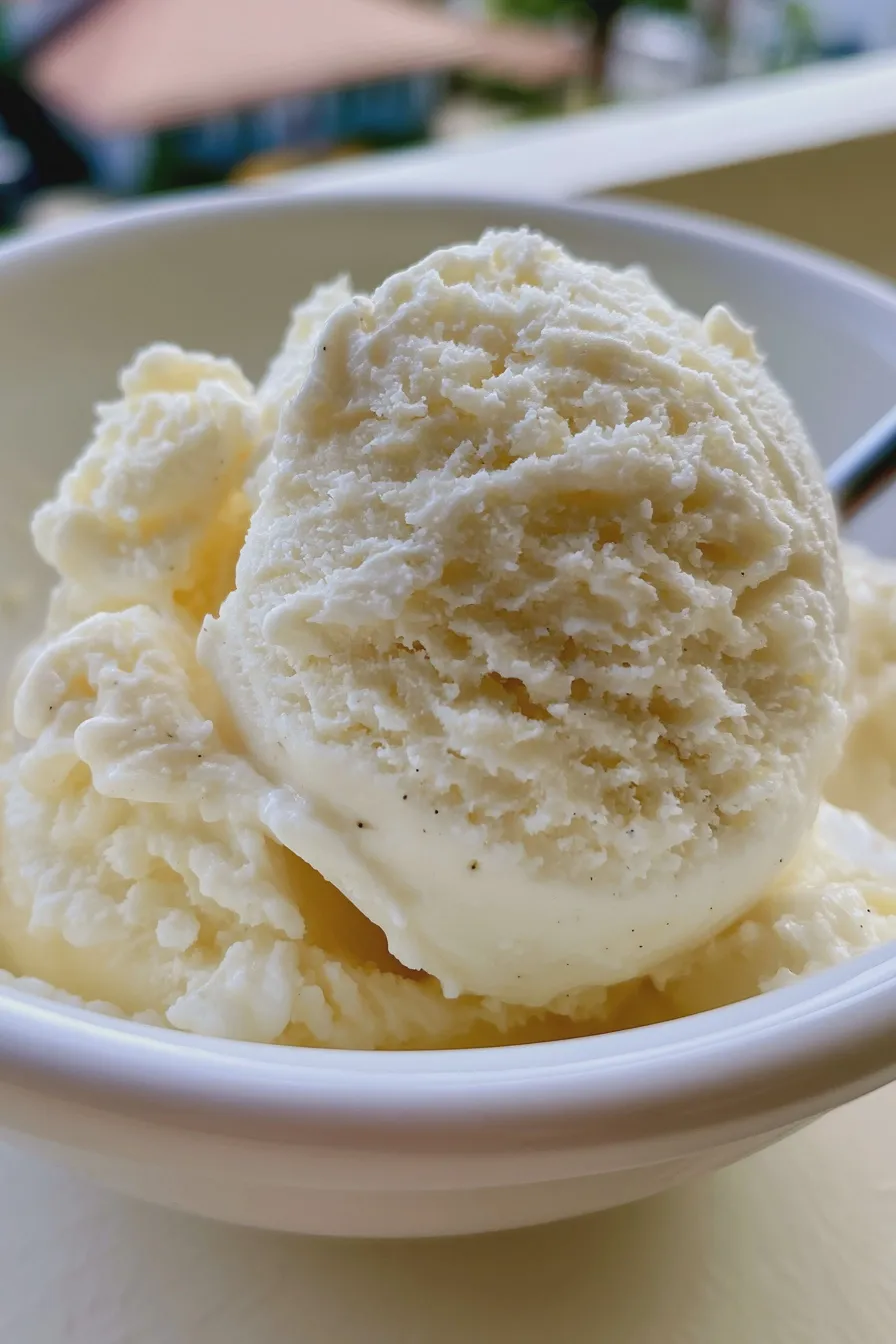
This simple vanilla bean ice cream recipe is a perfect starting point for anyone exploring the wonderful world of ice cream maker recipes, yielding a classic, rich, and creamy dessert that freezes beautifully in your machine.
When you commit to making your own frozen treats, you gain complete control over the quality of ingredients, leading to a flavor profile far superior to store-bought versions.
Learning to master the basics, like this essential vanilla, opens the door to countless variations, ensuring your next gathering features truly memorable homemade desserts.
Why Homemade Ice Cream Triumphs Over Store-Bought
The primary joy of creating your own frozen desserts lies in the unparalleled freshness and the ability to customize every element, from the sugar content to the quality of the extract.
Many home cooks find that recipes requiring an ice cream maker produce a significantly better texture than even the most popular no churn ice cream recipes because the churning process incorporates air effectively, preventing large ice crystals from forming.
Understanding the Custard Base
This particular recipe relies on a traditional cooked custard base, which incorporates egg yolks to create that signature velvety mouthfeel, making it one of the most luxurious custard base ice cream recipes available.
The yolks act as natural emulsifiers, binding the fat and water content perfectly, which is crucial for achieving that rich creamy ice cream texture we all crave.
Essential Equipment for Churning
While you technically can explore how to make ice cream without a machine, using a dedicated appliance guarantees the best results for these types of recipes.
For those using dedicated equipment, whether it’s a Cuisinart or a Breville model, ensure the freezer bowl has been thoroughly frozen for at least 24 hours beforehand, as this is the most common mistake beginners make when attempting ice cream recipes for beginners.
Ingredients for Classic Vanilla Bean Ice Cream
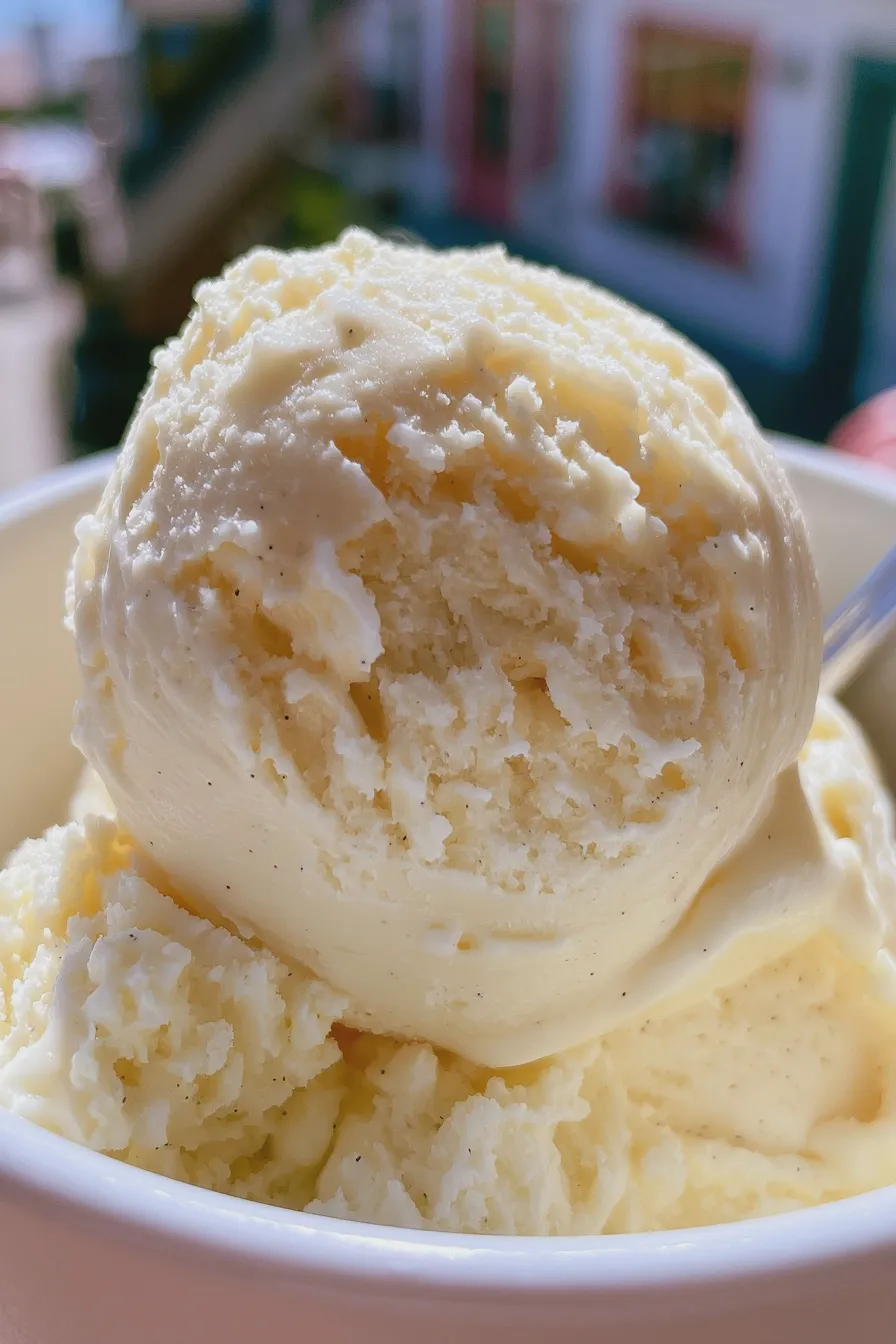
Gathering high-quality ingredients is the secret weapon in making truly memorable frozen desserts, especially when working with such a simple profile.
For this recipe, think about using whole milk and heavy cream for the best fat content, which directly translates to a smoother final product.
The Dairy Components
- 2 cups Heavy Cream (at least 36% fat content)
- 1 cup Whole Milk (do not substitute low-fat milk for the best results)
- 1/2 cup Granulated Sugar (adjust slightly if you prefer low sugar ice cream recipes)
Flavor & Enrichment Agents
- 5 large Egg Yolks (room temperature works best for tempering)
- 1/2 cup Granulated Sugar (for the egg mixture)
- 1 Vanilla Bean, split lengthwise, seeds scraped (or 2 teaspoons high-quality vanilla extract)
- Pinch of Salt (enhances the sweetness and complexity)
If you are exploring alternatives, remember that for true vegan ice cream maker recipes, you would substitute the dairy and eggs with coconut cream and stabilizers like xanthan gum.
How to Make ice cream maker recipes: The Custard Method
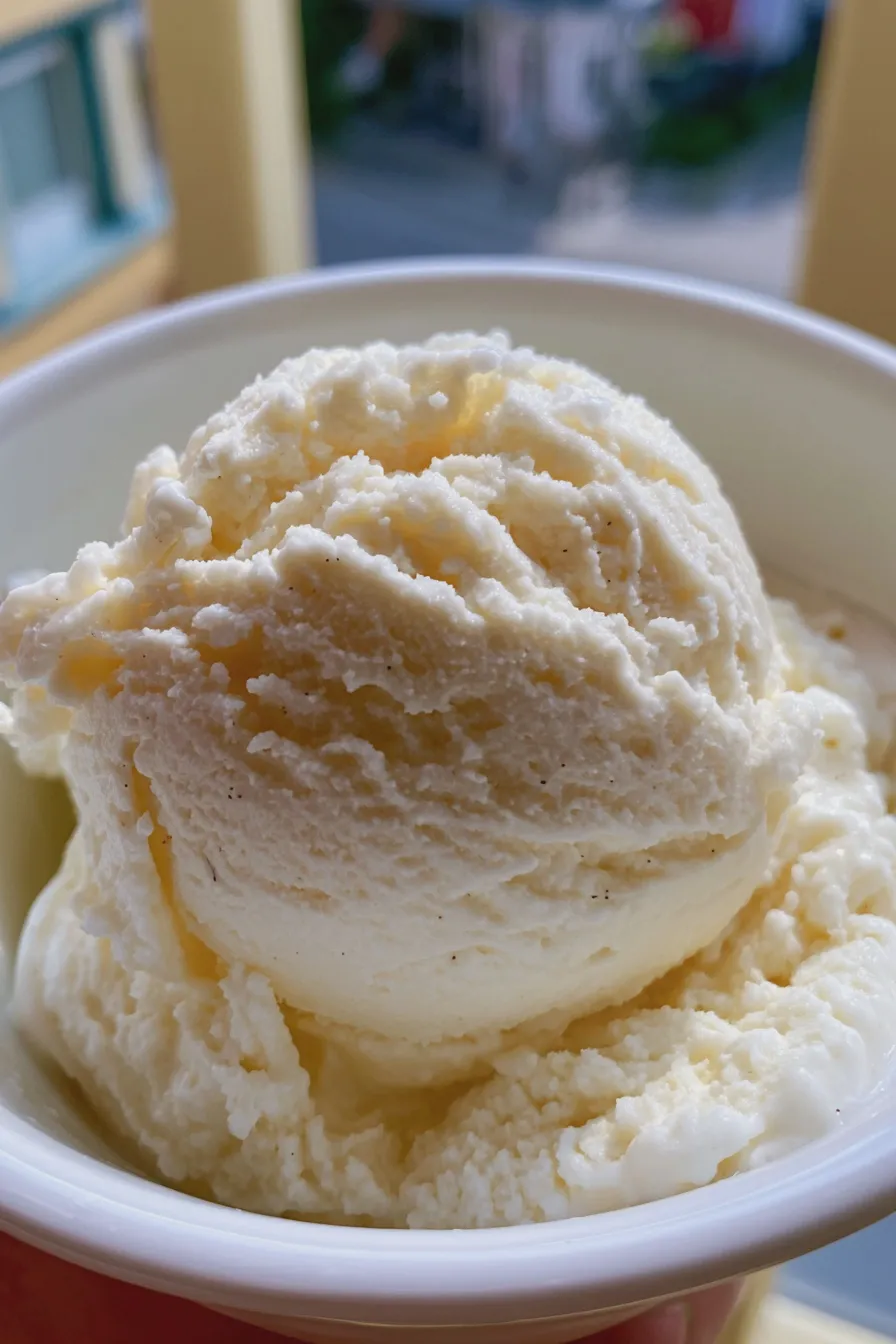
The process involves gently heating the dairy and infusing the vanilla, followed by tempering the eggs to create a stable, rich base ready for chilling.
This gentle heating and tempering method is what separates these classic preparations from quicker, less complex frozen yogurt recipes.
Step 1: Infusing the Dairy and Vanilla
In a medium saucepan, combine the heavy cream, whole milk, and the seeds and pod of the vanilla bean, then heat over medium heat until small bubbles form around the edges.
Remove the pan from the heat immediately once steaming begins, cover it, and let the vanilla infuse for at least 30 minutes to fully develop the flavor of the bean.
Step 2: Preparing the Egg Base
While the dairy is infusing, whisk together the egg yolks and the remaining 1/2 cup of sugar in a separate heatproof bowl until the mixture is pale yellow and slightly ribboning.
This whisking step is important; incorporating air now helps create a smoother final product, which is a key technique for achieving the best results when making simple ice cream flavors.
Step 3: Tempering the Eggs
Slowly ladle about one cup of the warm milk mixture into the egg yolks while whisking constantly to gently raise the temperature of the yolks without scrambling them.
Once tempered, pour the entire egg mixture back into the saucepan with the remaining warm milk, stirring continuously over low heat until the mixture thickens enough to coat the back of a spoon (reaching about 175°F).
Step 4: Chilling the Base Thoroughly
Immediately strain the custard base through a fine-mesh sieve into a clean bowl to remove the vanilla pod and any potential bits of cooked egg, stirring in your vanilla extract if you are using it instead of a bean.
Cover the base tightly with plastic wrap touching the surface to prevent a skin from forming, and chill in the refrigerator for at least 4 hours, or preferably overnight, as a very cold base churns faster and yields better texture.
Step 5: Churning in the Machine
Assemble your ice cream maker according to the manufacturer’s directions, ensuring the bowl is fully chilled, and pour the cold custard base into the machine while it is running.
Churn for approximately 20 to 30 minutes, or until the mixture thickens to the consistency of soft-serve ice cream; this process is what distinguishes vanilla bean ice cream recipe success from failure.
Step 6: Hardening for Serving
Transfer the freshly churned, soft ice cream into an airtight, freezer-safe container, pressing a piece of parchment paper directly onto the surface before sealing the lid.
Freeze for an additional 2 to 4 hours to allow the dessert to firm up completely into scoopable perfection, making it ready to serve alongside your favorite baked goods.
Tips for Perfecting Your Ice Cream Maker Recipes
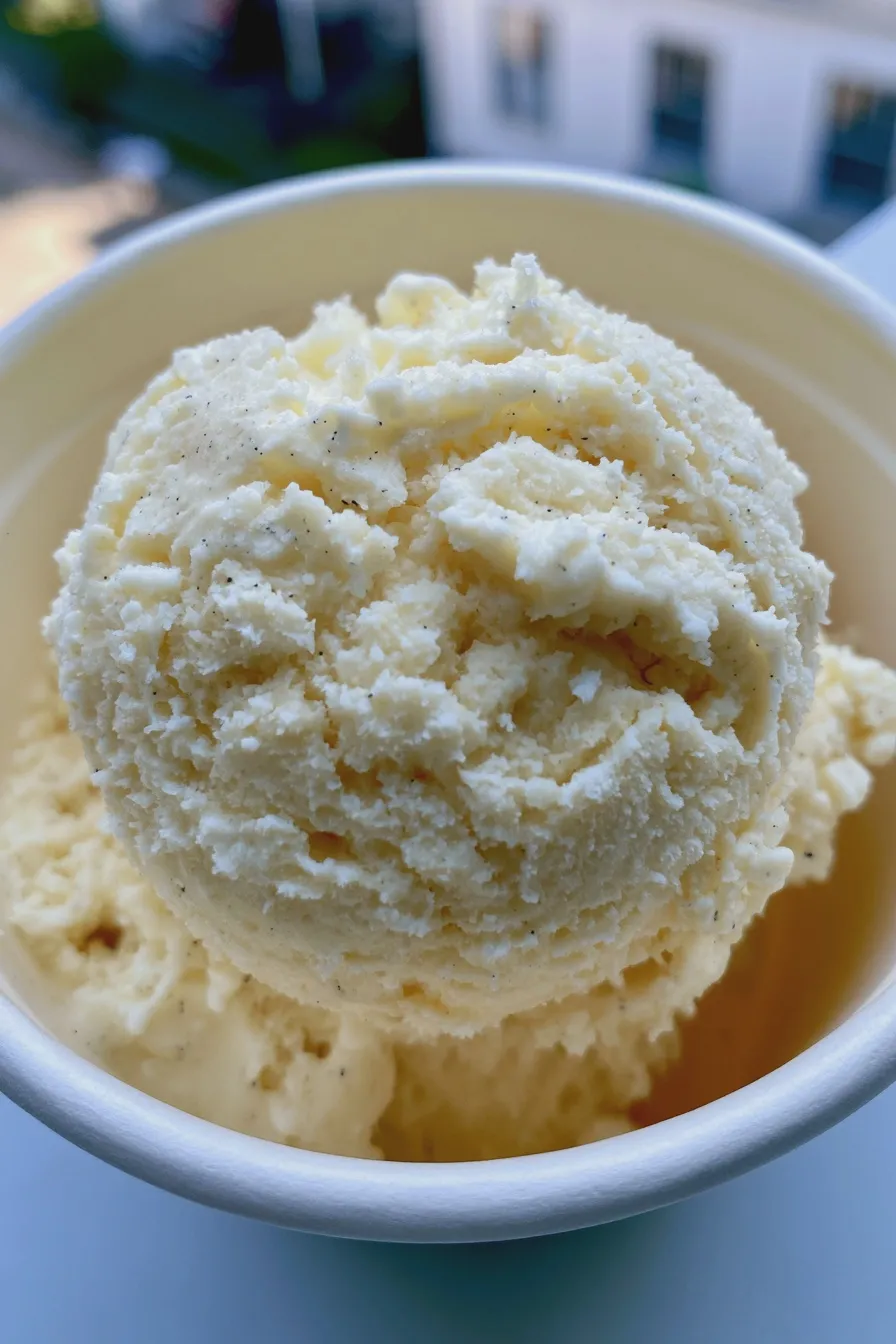
Even with a reliable recipe, small adjustments can elevate your frozen desserts from good to truly exceptional, especially when dealing with water content or sugar levels.
For those looking to branch out, remember that techniques used here for this salted caramel ice cream recipe base can be adapted for other flavors.
Flavor Boosts and Add-Ins
If you desire a deeper flavor, consider steeping a cinnamon stick or a few cardamom pods with the cream, ensuring you remove them before chilling the base.
Wait until the last five minutes of churning to fold in mix-ins like chocolate chips or chopped nuts; adding them too early can interfere with the churning mechanism or break down their texture.
Troubleshooting Texture Issues
If your final product is too icy, it usually means the base wasn’t cold enough or the churning time was too short; next time, chill the base longer and ensure your machine bowl is rock solid.
For a lighter alternative to traditional recipes, consider exploring sorbet recipes for ice cream maker, which rely on fruit purees and simple syrup instead of dairy and eggs.
Storage Advice for Maximum Freshness
Always store homemade ice cream in shallow, airtight containers rather than deep tubs; the shallower shape allows it to freeze more evenly, minimizing temperature fluctuations.
If you notice ice crystals forming on the surface after several days, that is normal oxidation; simply scrape off the top layer before scooping out the rest of your dessert.
Print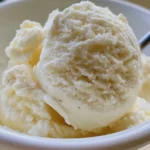
ice cream maker recipes Easy Homemade Vanilla
- Total Time: PT4H35M
- Yield: About 1 quart 1x
- Diet: Vegetarian
Ingredients
- 2 cups Heavy Cream
- 1 cup Whole Milk
- 3/4 cup Granulated Sugar
- 1 Vanilla Bean, split lengthwise and scraped (or 2 tsp pure vanilla extract)
- Pinch of Salt
- 5 large Egg Yolks
Instructions
- In a medium saucepan, combine the heavy cream, whole milk, sugar, and salt. If using a vanilla bean, scrape the seeds into the mixture and add the pod as well.
- Heat the mixture over medium heat, stirring occasionally, until the sugar is completely dissolved and the mixture is steaming slightly (do not boil). Remove from heat.
- In a separate bowl, whisk the egg yolks until pale.
- Temper the yolks: Slowly ladle about 1 cup of the hot cream mixture into the egg yolks while whisking constantly. This prevents the eggs from scrambling.
- Pour the tempered egg mixture back into the saucepan with the remaining cream.
- Return the saucepan to low heat. Cook gently, stirring constantly with a wooden spoon or spatula, until the custard thickens enough to coat the back of the spoon (it should reach 170°F/77°C). Do not let it boil.
- Remove from heat immediately. Strain the custard through a fine-mesh sieve into a clean bowl to remove any vanilla pod or potential cooked egg bits. If using extract instead of a bean, stir it in now.
- Chill the custard base completely in the refrigerator for at least 4 hours, or preferably overnight. The colder the base, the better the ice cream churns.
- Once chilled, churn the ice cream base in your ice cream maker according to the manufacturer’s instructions (usually 20–30 minutes), until it reaches a soft-serve consistency.
- Transfer the soft ice cream to an airtight container and freeze for at least 2–4 hours to fully firm up before serving.
Notes
- For an intense vanilla flavor, steep the vanilla pod in the cream mixture for 30 minutes off the heat before tempering the eggs.
- If you don’t have an ice cream maker, you can freeze the base, stirring vigorously every 30 minutes for the first 3 hours, but the texture will be less smooth.
- For a richer flavor, substitute 1/4 cup of the heavy cream with sour cream or cream cheese softened to room temperature before heating.
- Prep Time: PT20M
- Cook Time: PT15M
- Category: Custard Ice Cream
- Method: Churning
- Cuisine: American
Nutrition
- Serving Size: 1/2 cup
- Calories: 350
- Sugar: 28g
- Sodium: 50mg
- Fat: 25g
- Saturated Fat: 15g
- Protein: 6g
- Cholesterol: 170mg







