
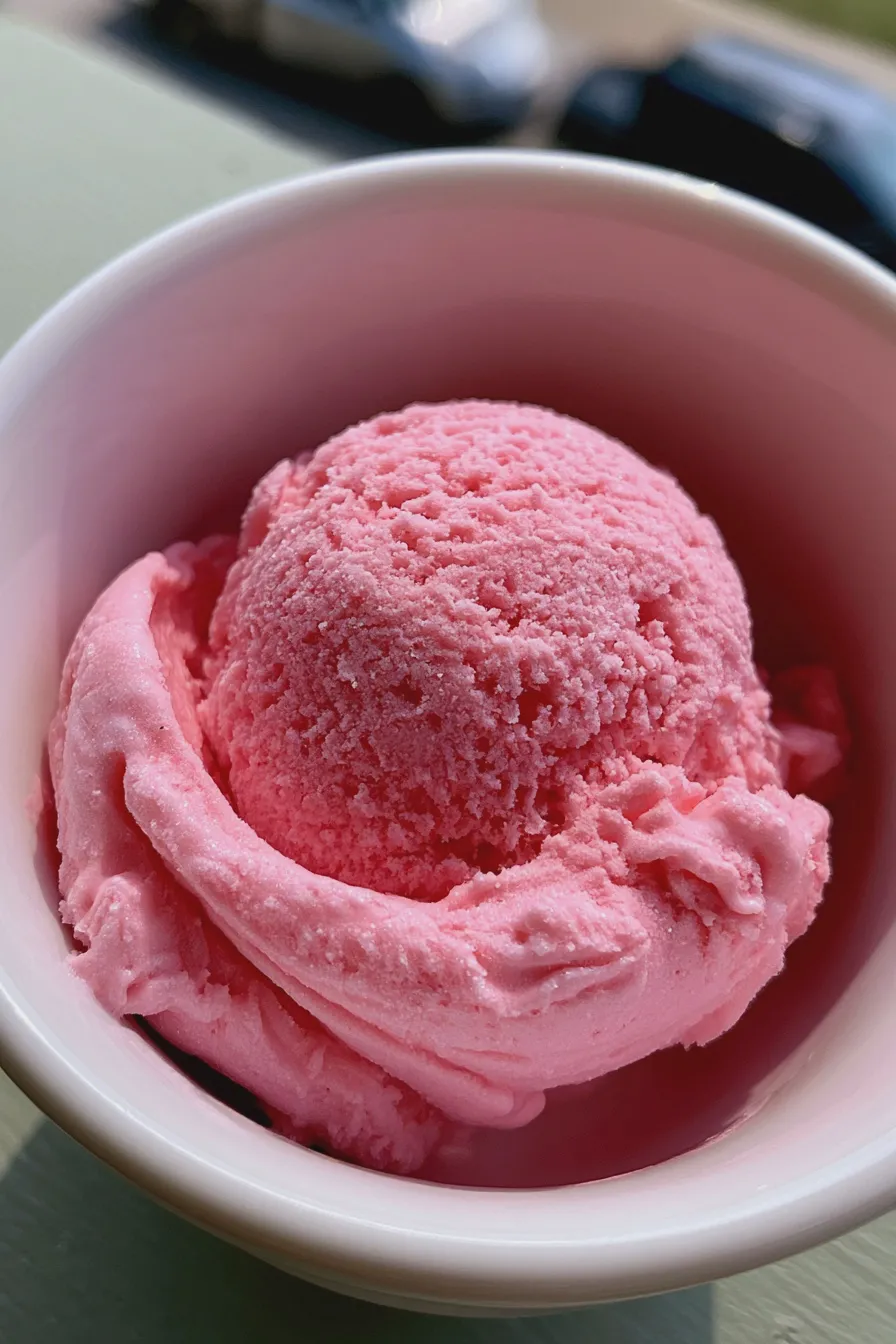
This easy, vibrant cotton candy ice cream recipe captures the nostalgic fun of the carnival in a creamy, scoopable frozen dessert, perfect for summer gatherings or themed parties.
What Makes This Homemade Cotton Candy Ice Cream So Magical?
If you are looking for a truly show-stopping, brightly colored frozen treat, look no further than this recipe for cotton candy ice cream. It delivers that unmistakable airy, spun sugar flavor without needing a specialized machine, resulting in a wonderfully creamy ice cream base that captures childhood joy in every bite. Many home cooks search for easy ice cream recipes that yield big flavor results, and this one certainly fits the bill, offering a fun alternative to traditional vanilla or chocolate.
The secret to achieving that signature taste and color lies in concentrated flavorings and careful layering, making this a fantastic addition to your repertoire of best dessert recipes. Before diving into the steps, you might want to check out tips on general ice cream making techniques to ensure the smoothest possible finish for your batch.
Essential Ingredients for Cotton Candy Flavor
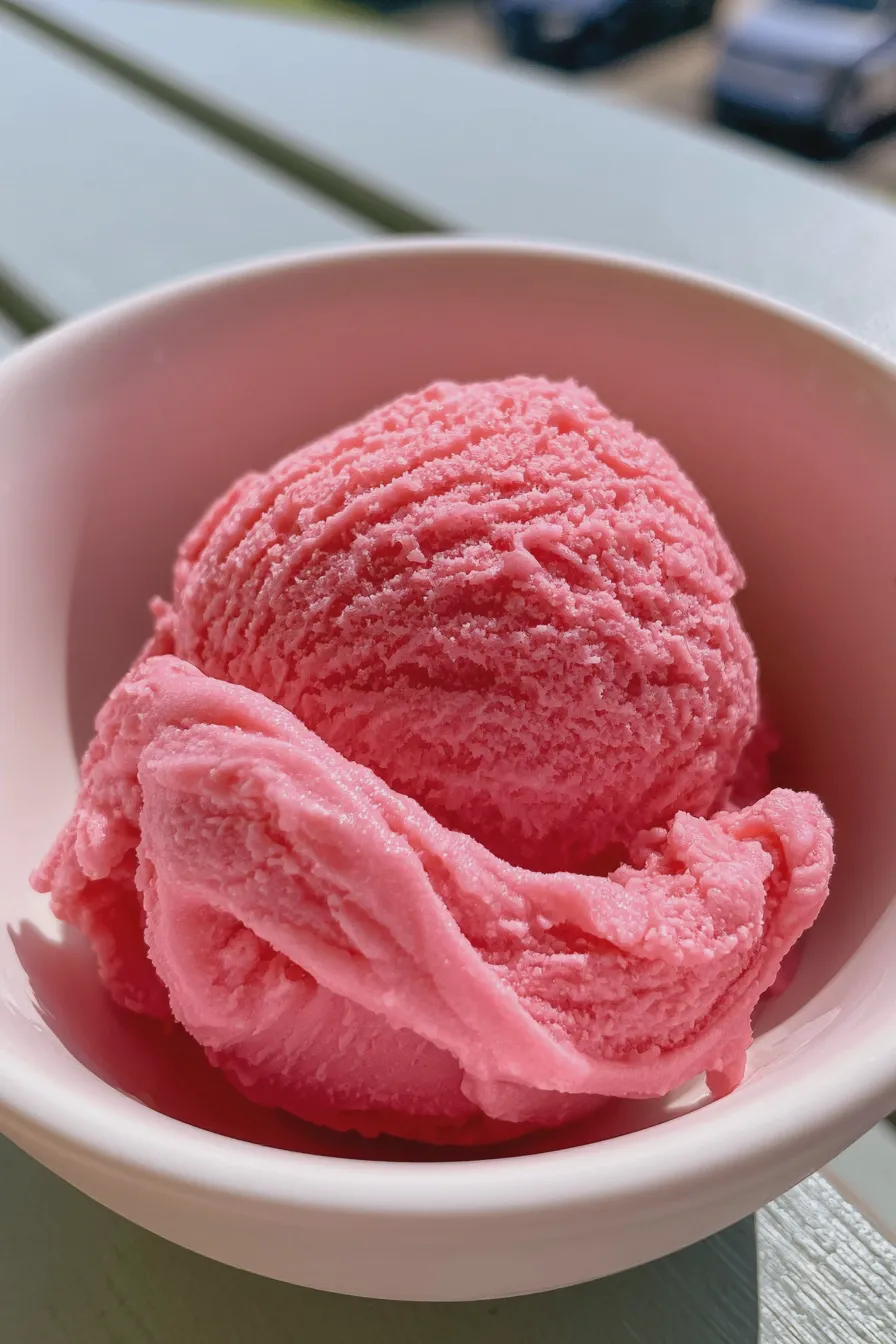
Creating this whimsical frozen delight relies on a few key components that build both structure and that signature sweetness. We are aiming for a rich, stable texture, similar to what you might find in a high-quality creamy ice cream base. The specific flavorings are crucial for nailing that authentic taste, whether you opt for a classic blue or a vibrant pink version.
The Base Components
The foundation of this recipe is designed to be rich yet simple, often utilizing a no-churn method for maximum accessibility, making it a great candidate for no churn cotton candy ice cream exploration.
- 1 (14 ounce) can Sweetened Condensed Milk, chilled
- 2 cups Heavy Whipping Cream, very cold
- 1 teaspoon Vanilla Extract (optional, but enhances richness)
- Pinch of Salt
Flavoring and Coloring Agents
These ingredients provide the necessary visual appeal and the unmistakable spun sugar taste associated with cotton candy flavor desserts.
- 1 to 1 ½ teaspoons Cotton Candy Flavoring Extract (Use a high-quality brand for the best results)
- Gel Food Coloring (Electric Blue and/or Bright Pink)
- Optional: 1/4 cup mini marshmallows or white chocolate chips for texture
How to Make cotton candy ice cream
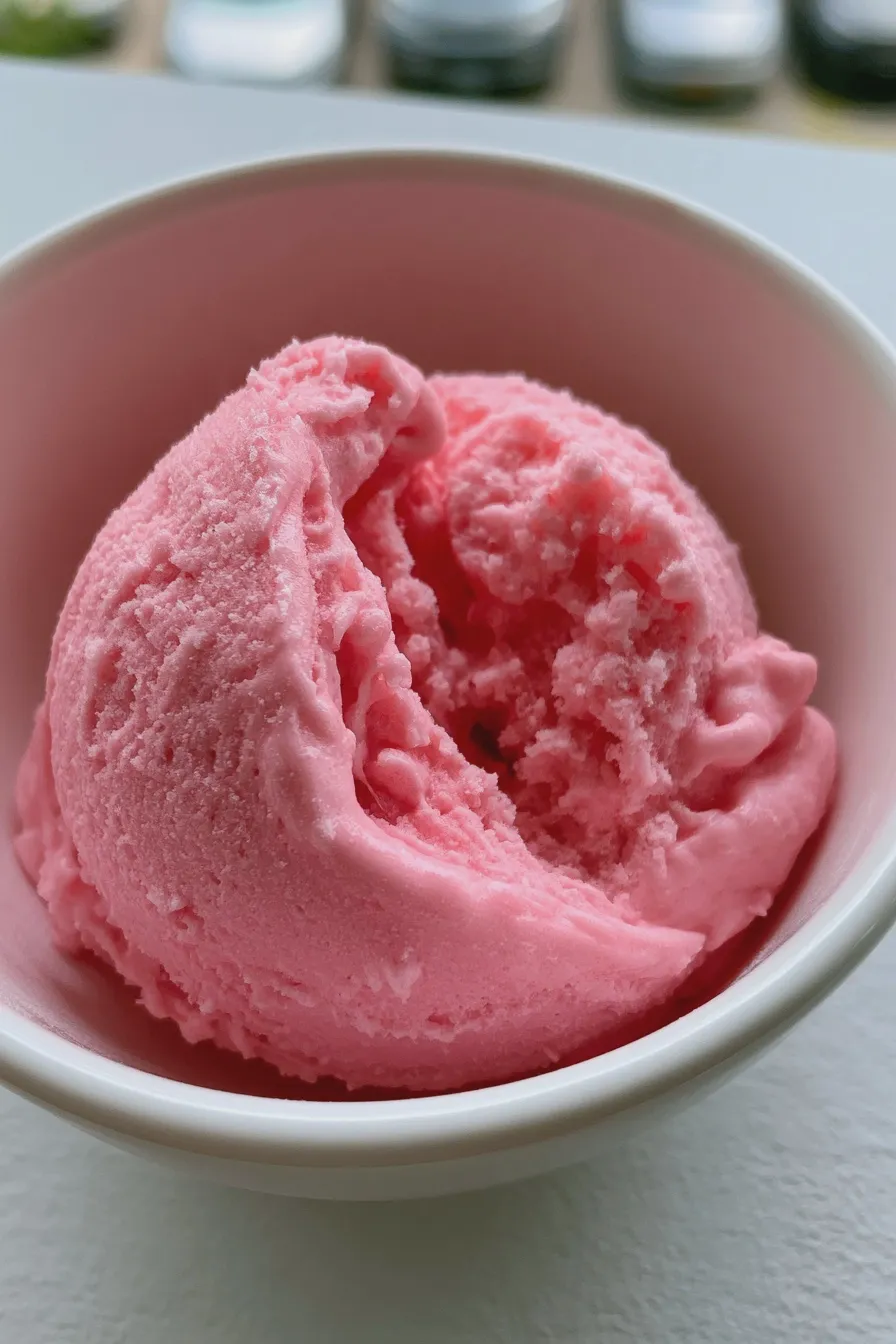
This section guides you through transforming simple dairy ingredients into a spectacular frozen treat, focusing on achieving that perfect swirl and texture characteristic of a cotton candy swirl ice cream.
Prepare the Creamy Base
In a large, chilled mixing bowl, use an electric mixer to whip the heavy whipping cream until stiff peaks form, which usually takes about 3 to 5 minutes on medium-high speed. Be careful not to over-whip to the point where it turns grainy, as this can affect the final texture of your homemade cotton candy ice cream.
Fold in the Sweetener and Flavor
Gently pour the chilled sweetened condensed milk, vanilla extract, and salt into the whipped cream, folding carefully with a rubber spatula until just combined. Over-mixing here can deflate the air you worked hard to incorporate, which is important for a lighter texture, much like when preparing a delicate batter for lemon blueberry cake.
Divide and Color the Mixture
Divide the base mixture evenly into two separate bowls to create the classic dual-color effect seen in unicorn ice cream recipe variations. Add several drops of blue coloring to one bowl and pink coloring to the other, mixing gently until the color is evenly distributed throughout each portion.
Incorporate the Cotton Candy Extract
Add about half of the cotton candy flavoring extract to the blue base and the remaining half to the pink base, stirring minimally just to incorporate the potent flavor. Remember that this extract is very strong, so start with less; you can always add more if you desire a more intense carnival style ice cream punch.
Layer and Swirl for Visual Appeal
Alternate spoonfuls of the blue and pink mixtures into a freezer-safe loaf pan or airtight container, creating distinct layers of color. Use a knife or skewer to gently swirl the colors together just once or twice to create a marbled effect without fully blending them into one shade.
Freeze Until Firm
Cover the container tightly with plastic wrap, pressing it directly onto the surface of the ice cream to prevent ice crystals from forming, then seal with a lid. Freeze for a minimum of 6 hours, or preferably overnight, until your best homemade ice cream is completely firm and ready to scoop.
Tips for the Best Texture and Flavor
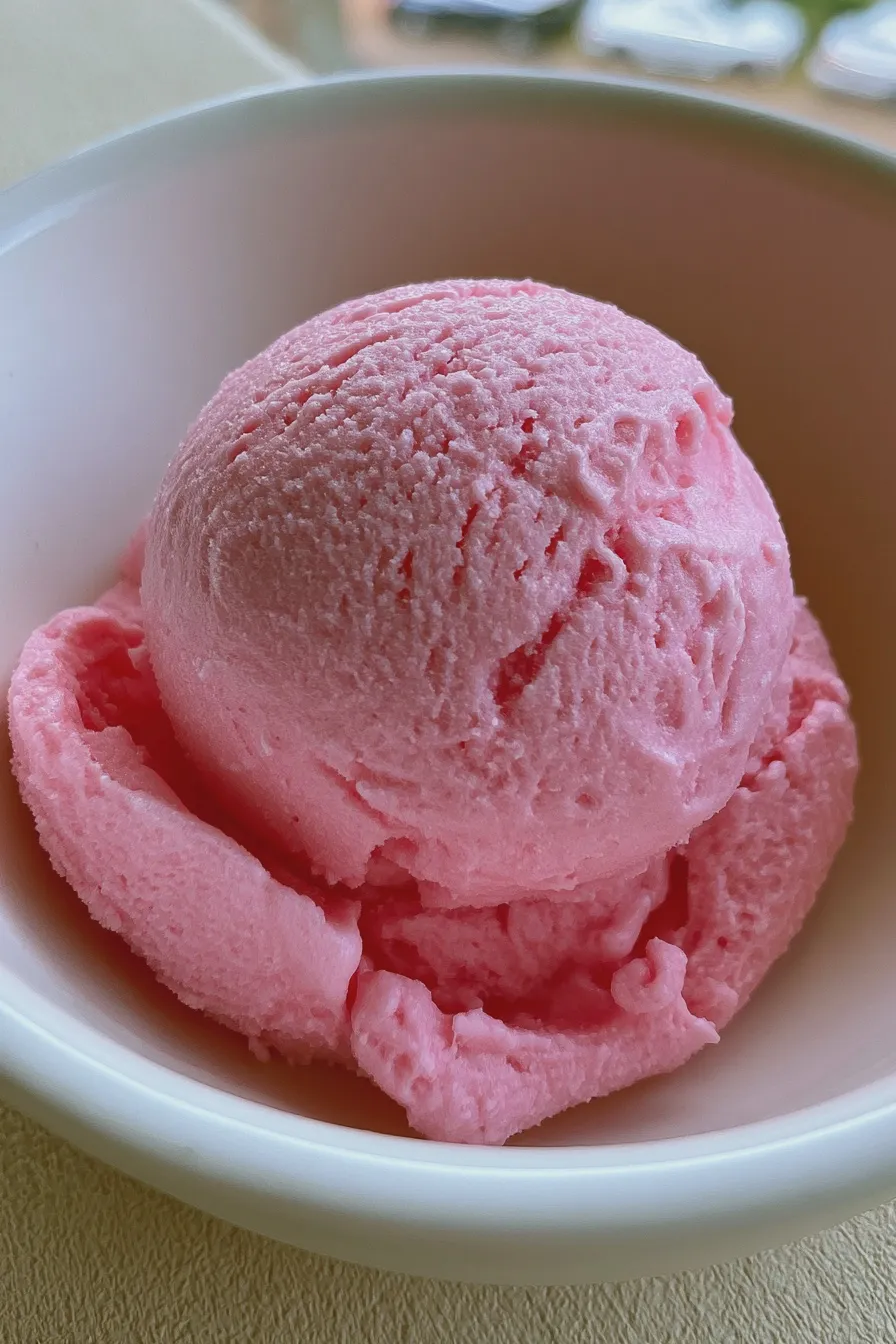
Achieving the right texture is key to any successful frozen dessert, especially when working with condensed milk bases. If you find that your baked goods sometimes struggle with structure, like when you ask why did my cake sink in the middle, understanding the role of air incorporation in this recipe will help.
Preventing Iciness
The high fat content from the whipped cream is what keeps this dessert soft, but chilling all your ingredients beforehand is essential for success. Ensure your heavy cream is ice cold and your mixing bowl and whisk attachments have been chilled in the freezer for at least 15 minutes before starting the whipping process.
Flavor Intensity Adjustments
If you prefer a flavor reminiscent of blue moon ice cream recipe or want a stronger candy profile, you can slightly increase the flavoring extract, but always taste the mixture before freezing if possible. For those who prefer a less sweet profile, consider exploring recipes for sugar free cotton candy ice cream alternatives, although this recipe is intentionally rich.
Serving Suggestions and Toppings
To elevate this already fun dessert, consider adding visual flair upon serving. A drizzle of brightly colored icing or a sprinkle of edible glitter makes it extra whimsical, and you can find inspiration for fun toppings alongside other celebratory treats like Easter cookies.
- Freshly spun, real cotton candy (add right before serving, as it melts quickly)
- Rainbow sprinkles or nonpareils
- Whipped cream dollops
- Small, fun candies
Variations on the Theme
While the classic pink and blue combination is beloved, this base is versatile enough to try other fun flavor combinations or even incorporate other elements, leading to creative blueberry cheesecake cookies inspired textures.
Pink Cotton Candy Ice Cream
To make a batch entirely in pink, simply omit the blue coloring and use the full amount of pink coloring in both halves of the base mixture before flavoring. You can also add a little bit of strawberry or cherry extract alongside the cotton candy flavor for a fruitier take on pink cotton candy ice cream.
Adding Texture Swirls
For an interesting textural contrast, consider swirling in melted white chocolate or even a thick ribbon of marshmallow fluff during the layering step. If you are interested in how fats contribute to dessert structure, reading about the role of butter in desserts can offer insight into why the heavy cream works so well here.
Storage and Make-Ahead Information
Proper storage is essential to maintain the creamy texture and prevent freezer burn on your delightful frozen creation. Always ensure the container is sealed well to protect it from ambient freezer odors and moisture.
Best Practices for Freezing
For optimal flavor and texture, this ice cream is best consumed within two weeks of making it, though it will remain safe to eat much longer if stored properly. If you notice the ice cream feels rock hard upon removal, let it sit on the counter for 5 to 10 minutes before attempting to scoop.
Handling Re-Freezing
If you happen to have leftovers that have softened significantly, it is best to briefly re-whip the softened portion before refreezing to reincorporate air, which helps mitigate iciness. However, repeated softening and re-freezing will eventually degrade the texture, so try to scoop only what you plan to serve.
Print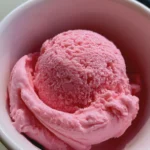
cotton candy ice cream Homemade Easy Recipe
- Total Time: PT6H15M
- Yield: 6–8 servings 1x
- Diet: Vegetarian
Description
A whimsical, no-churn recipe for homemade Cotton Candy Ice Cream that captures the nostalgic flavor and vibrant pink color of the fairground favorite. This dessert is incredibly easy to make and requires no fancy ice cream maker!
Ingredients
- 2 cups heavy whipping cream, cold
- 1 (14 ounce) can sweetened condensed milk, cold
- 1 teaspoon clear vanilla extract
- 1/2 teaspoon pink gel food coloring (or more to achieve desired shade)
- 1/4 cup cotton candy flavoring syrup (or cotton candy emulsion)
- 1/4 cup rainbow sprinkles (optional, for mix-ins)
Instructions
- In a large mixing bowl, pour the cold heavy whipping cream. Using an electric mixer (handheld or stand mixer with whisk attachment), beat the cream on medium-high speed until stiff peaks form (about 3-5 minutes). Be careful not to over-beat into butter.
- In a separate medium bowl, whisk together the cold sweetened condensed milk, clear vanilla extract, cotton candy flavoring syrup, and pink gel food coloring until the color is uniform and vibrant.
- Gently fold about one-third of the whipped cream into the condensed milk mixture using a spatula to lighten the base.
- Carefully fold the remaining whipped cream into the lightened mixture in two additions, taking care to maintain as much air as possible. The goal is a uniform light pink mixture.
- If using, gently fold in the rainbow sprinkles.
- Pour the mixture into a freezer-safe loaf pan (or an airtight container). Cover the surface directly with plastic wrap to prevent ice crystals from forming.
- Freeze for a minimum of 6 hours, or preferably overnight, until firm.
- Scoop and serve immediately with extra sprinkles or a small dollop of actual cotton candy for garnish, if desired.
Notes
- For the best texture, ensure all ingredients (especially the cream and condensed milk) are thoroughly chilled before starting.
- If you cannot find cotton candy flavoring syrup, you can substitute with 1 teaspoon of strawberry extract and add a few drops of blue food coloring to the pink to achieve a more complex ‘blue raspberry’ cotton candy hue.
- This is a no-churn recipe, meaning the texture will be slightly softer and creamier than traditional churned ice cream.
- Prep Time: PT15M
- Cook Time: 0 minutes
- Category: Ice Cream
- Method: No-Churn
- Cuisine: American
Nutrition
- Serving Size: 1/2 cup
- Calories: 320
- Sugar: 35g
- Sodium: 70mg
- Fat: 17g
- Saturated Fat: 10g
- Carbohydrates: 38g
- Fiber: 0g
- Protein: 5g
- Cholesterol: 45mg







