
This simple ice cream in a bag recipe is a fantastic, fast way to whip up creamy, single-serving frozen treats right on your countertop or picnic blanket, perfect for a spontaneous summer dessert.
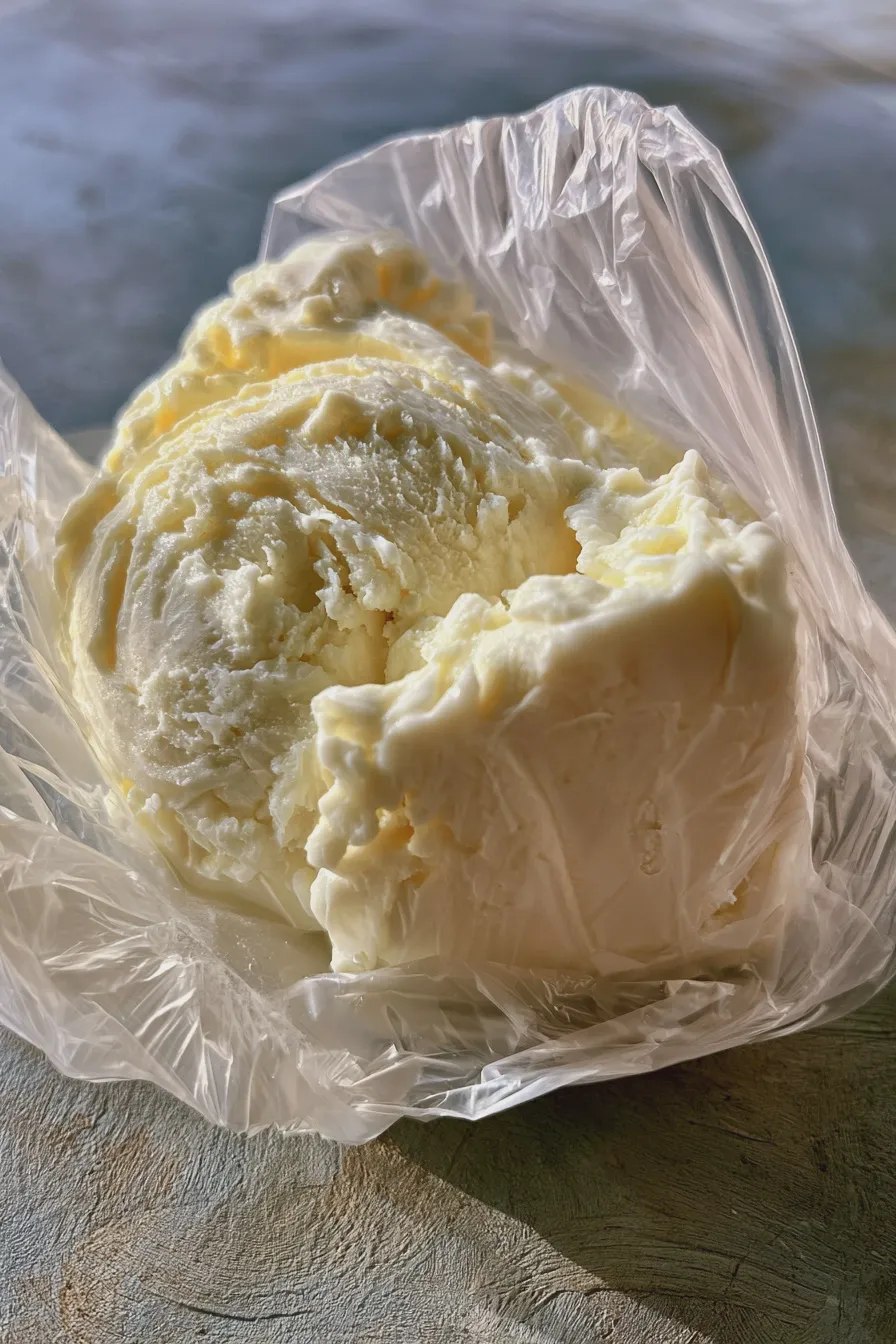
When you need a sweet fix without waiting hours for a traditional batch to freeze, this method delivers satisfyingly smooth, quick homemade ice cream. It’s such a fun science experiment that doubles as a delicious, kid-friendly dessert recipes activity, turning simple dairy ingredients into instant ice cream.
What is Ice Cream in a Bag?
The concept behind the ice cream in a bag recipe is brilliant in its simplicity: it utilizes the freezing power of rock salt mixed with ice to rapidly lower the temperature around a sealed bag containing your liquid ice cream base. This process allows you to create a delicious, no churn ice cream right in your hands, proving you do not need a dedicated machine. If you are looking for more ways to create frozen desserts without specialized equipment, exploring how to make ice cream without a machine is surprisingly rewarding.
This technique is often referred to as shaken ice cream recipe or sometimes a milkshake in a bag recipe, depending on the consistency you aim for, but the result is always a refreshing treat. For those interested in the science behind it, understanding how salt lowers the freezing point of water is key to this instant ice cream recipe, making it a fun, educational activity as well as a tasty snack. You can find more great tips on making desserts quickly, like how to bake fudgy brownies, over at Allrecipes.
Ingredients You Will Need
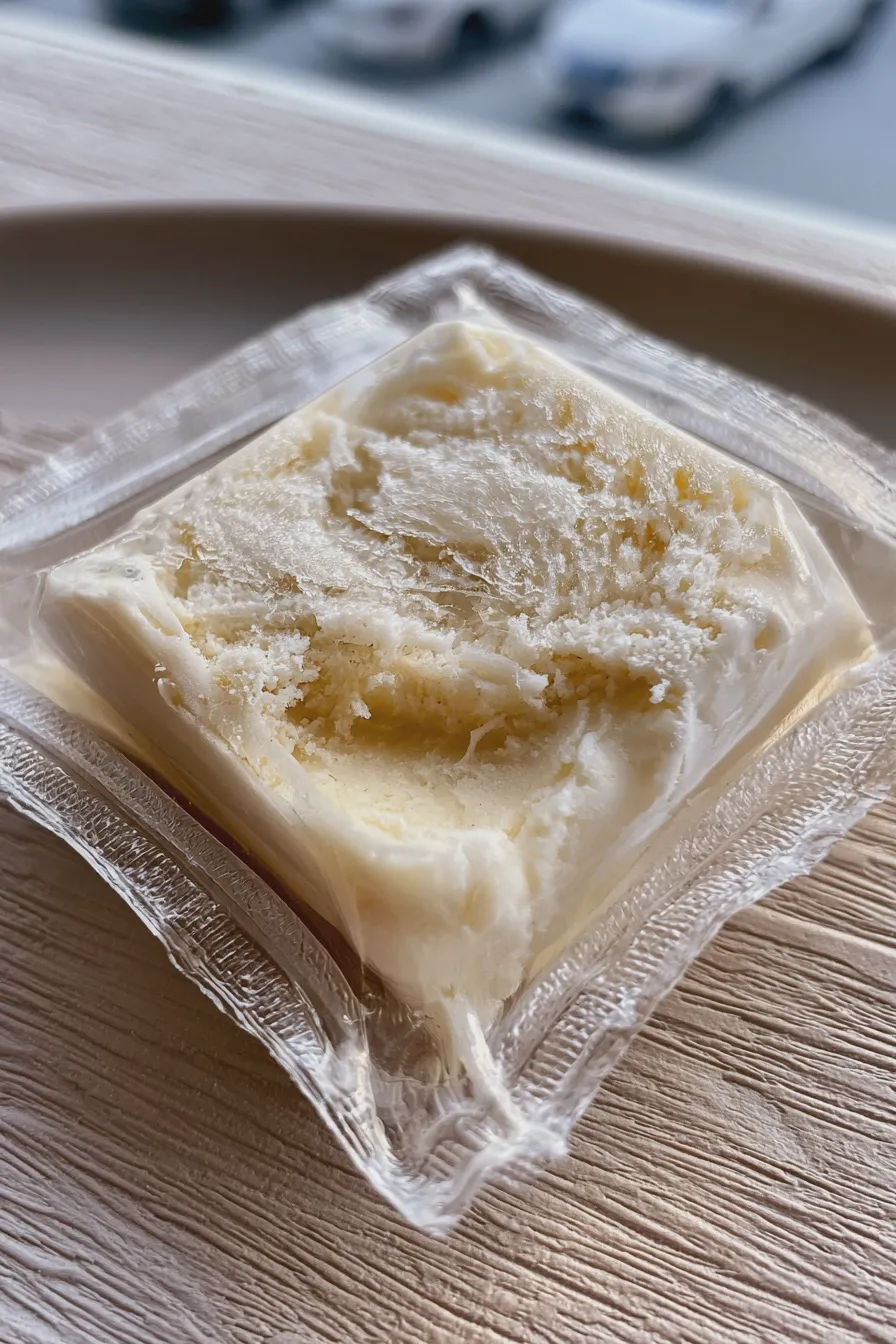
The beauty of the DIY ice cream in a bag lies in its minimal ingredient list; you only need a few pantry staples to create a fantastic vanilla ice cream in a bag base. We will be using half-and-half for a richer texture, but whole milk works in a pinch if you prefer a lighter result for your ice cream in a ziploc bag.
For the Ice Cream Base (Inner Bag)
- 1 cup half-and-half (or whole milk for a lighter option)
- 2 tablespoons granulated sugar
- 1/2 teaspoon pure vanilla extract
- Pinch of salt (enhances flavor significantly)
For the Freezing Mixture (Outer Bag)
- About 3 cups of ice (enough to fill the large bag halfway)
- 1/2 cup rock salt (essential for rapid freezing; table salt can be substituted but may require more shaking time)
When selecting your ingredients, remember that the quality of the vanilla extract really shines through in this simple ice cream recipe since there are so few components. If you are making a chocolate ice cream in a bag variation, you can easily whisk in 1 tablespoon of unsweetened cocoa powder with the sugar and half-and-half before sealing.
How to Make ice cream in a bag recipe
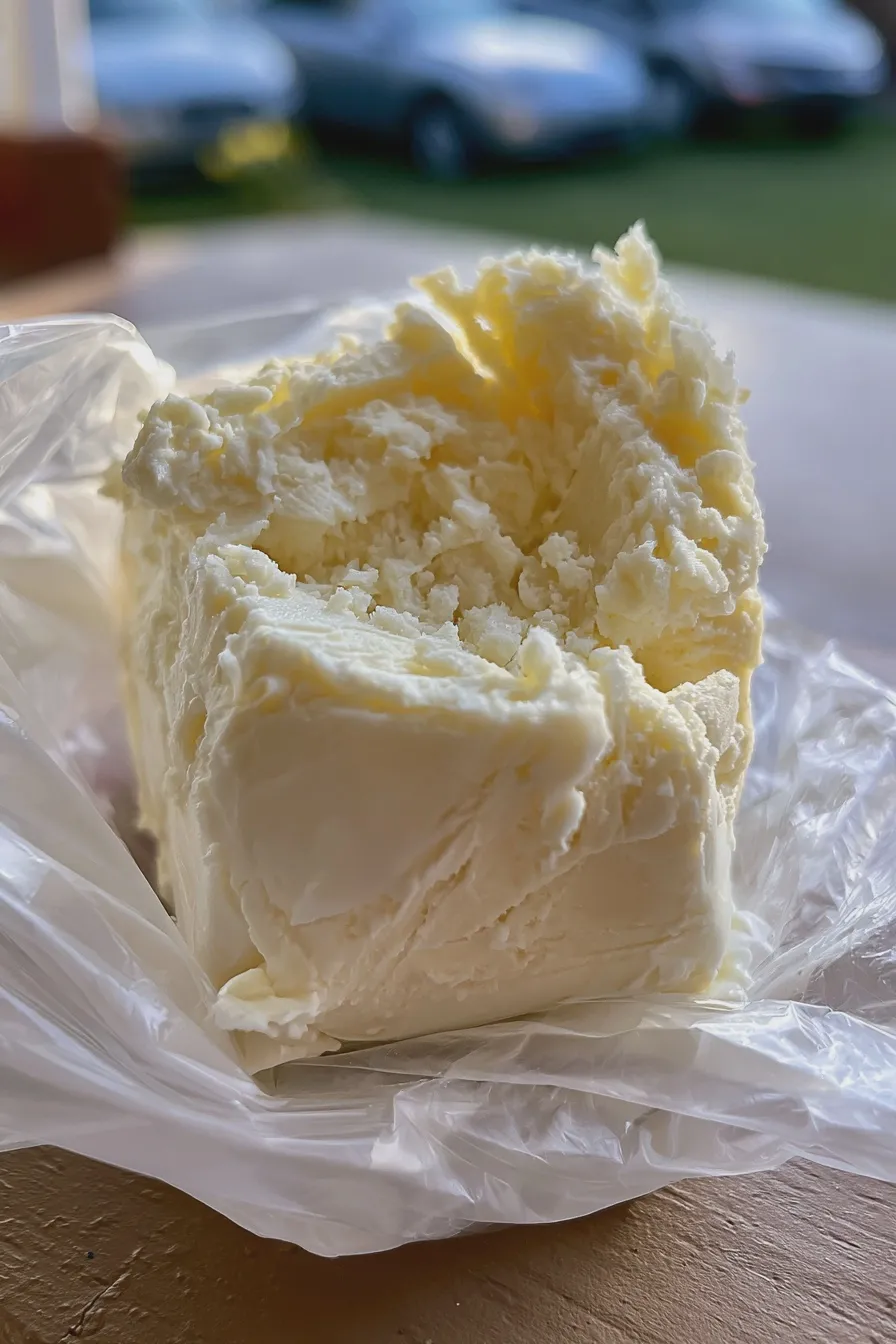
Preparing this is straightforward, but success relies on using the correct size bags and ensuring they are tightly sealed to prevent any salty ice water leakage into your dessert. This whole process is a fantastic example of how to create quick homemade ice cream without a machine.
Prepare the Ice Cream Base
In a small, sealable plastic bag (quart size works best), combine the half-and-half, sugar, vanilla extract, and a tiny pinch of salt.
Squeeze out as much air as possible from the small bag and seal it tightly; double-bagging this inner container is an excellent precaution against leaks, which is a common pitfall when making shaken ice cream.
Prepare the Freezing Mixture
Take a large, heavy-duty sealable plastic bag (gallon size is ideal for this) and fill it about halfway with ice.
Pour the rock salt evenly over the ice, ensuring it makes good contact with the exterior of the smaller bag once inserted; the salt is crucial for achieving the necessary freezing temperature for this easy bag ice cream recipe.
Assemble and Shake
Carefully place the sealed small bag containing the dairy mixture inside the large bag nestled among the ice and salt.
Seal the large bag securely, again pressing out excess air, and wrap the entire bag assembly in a kitchen towel or wear gloves, as the bag will become extremely cold very quickly.
Shake Until Frozen
Shake the bag vigorously and continuously for about 5 to 8 minutes, ensuring you are mixing the ice and salt mixture around the inner bag constantly.
Keep shaking until the mixture inside the small bag firms up into a soft-serve consistency; if you are making a fruit ice cream in a bag, the shaking time might vary slightly based on the liquid content.
Clean and Serve
Once the ice cream is firm, carefully remove the small inner bag from the salty ice bath, taking care not to let any salt water touch the food-grade exterior of the inner bag.
Wipe the exterior of the small bag thoroughly with a clean paper towel before opening it, then scoop the delicious treat directly into a bowl or eat it straight from the bag for a truly casual experience.
Tips for Perfect Bag Ice Cream
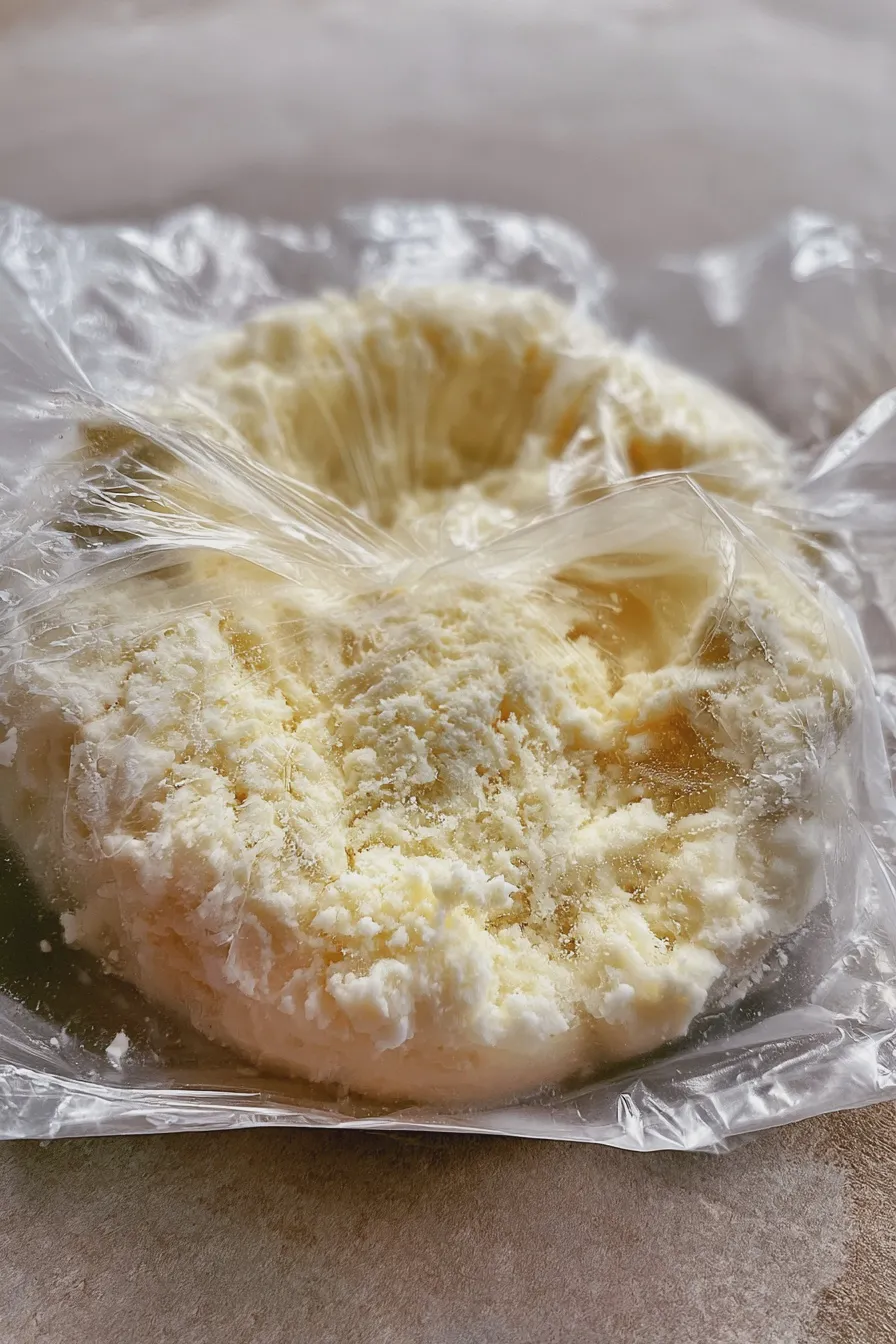
Achieving that perfect, creamy texture is all about balancing the ingredients and managing the shaking process effectively. While this is a simple recipe, a few expert tweaks can elevate your result from icy to genuinely creamy, much like what you’d expect from a standard homemade frozen desserts preparation.
Salt and Ice Ratios
Never skimp on the rock salt; it dramatically lowers the freezing point of the ice, allowing the mixture inside the bag to freeze faster and achieve a smoother texture before it melts too much.
If you use too little salt, the process will take much longer, resulting in a thin, slushy final product instead of the desired creamy consistency you seek in a quick homemade ice cream.
Flavor Variations and Add-ins
For a richer mouthfeel, especially if using milk instead of half-and-half, consider adding a teaspoon of corn syrup or a tablespoon of cream cheese softened and blended into the base mixture.
If you love chocolate, experimenting with high-quality cocoa powder or even melted chocolate chips (added before shaking) can make a fantastic chocolate ice cream in a bag; similarly, you can create a delightful chocolate strawberry cake flavor profile with pureed fruit.
Handling the Cold
Always use heavy-duty freezer bags for the inner mixture, as standard sandwich bags are prone to splitting under pressure and temperature change.
Remember that the exterior of the bag will become painfully cold; protect your hands with a dish towel or thin gloves to make the necessary vigorous shaking more comfortable throughout the process.
Serving and Storage Suggestions
Since this recipe is designed for immediate consumption, storage isn’t the primary focus, but if you happen to have leftovers, knowing how to handle them is helpful for enjoying your summer dessert recipes later.
Immediate Serving Ideas
Serve the soft-serve consistency immediately topped with sprinkles, crushed cookies, or a drizzle of caramel sauce for an extra layer of indulgence.
For a slightly firmer texture, you can transfer the contents of the small bag to a small, airtight container and place it in the freezer for about 30 minutes before serving, though this defeats the “instant” nature of the recipe.
Leftover Storage
If you have extra, scrape the soft ice cream into a small, freezer-safe container and press plastic wrap directly onto the surface to prevent ice crystals from forming.
While it won’t retain the exact same texture as when freshly made, it will keep reasonably well for up to two weeks; for better storage solutions for baked goods like brownies packaging, checking specialized guides can be helpful.
Print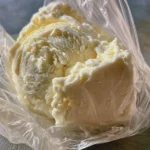
ice cream in a bag recipe Homemade Vanilla
- Total Time: PT15M
- Yield: 1 serving 1x
- Diet: Vegetarian
Description
Learn how to make delicious, perfectly churned ice cream right in a sealed bag! This fun, hands-on recipe is perfect for kids and delivers creamy vanilla ice cream in minutes using just ice and salt.
Ingredients
- 1 cup Half-and-Half (or whole milk for slightly lighter results)
- 2 tablespoons Granulated Sugar
- 1/2 teaspoon Vanilla Extract
- 1/2 cup Ice (crushed is best)
- 3 tablespoons Coarse Salt (Rock Salt or Kosher Salt)
- 1 Pint-sized Ziploc-style freezer bag (heavy duty)
- 1 Gallon-sized Ziploc-style freezer bag (heavy duty)
Instructions
- In the pint-sized bag, combine the half-and-half, sugar, and vanilla extract. Squeeze out as much air as possible and seal the bag tightly.
- In the gallon-sized bag, place the ice. Add the coarse salt over the ice.
- Place the sealed pint-sized bag inside the gallon-sized bag, nestled among the ice and salt. Seal the gallon bag tightly, ensuring no leaks.
- Wrap the gallon bag in a towel or wear gloves, as the outside will get very cold.
- Shake the bag vigorously for 5 to 10 minutes. Keep shaking until the mixture inside the small bag has solidified into ice cream.
- Carefully remove the small bag from the salty ice bath. Wipe the outside of the small bag thoroughly with a clean paper towel to ensure no salt water gets into the ice cream.
- Open the small bag, scoop the freshly made ice cream into a bowl, and enjoy immediately!
Notes
- For chocolate ice cream, add 1 tablespoon of unsweetened cocoa powder to the cream mixture.
- If you don’t have coarse salt, regular table salt can work, but you may need to shake longer. Coarse salt lowers the freezing point of the ice more effectively.
- This recipe is best enjoyed immediately, as it won’t have the stabilizers of commercial ice cream and may melt quickly.
- Prep Time: PT5M
- Cook Time: 0 minutes
- Category: Ice Cream
- Method: Bag Churning
- Cuisine: American
Nutrition
- Serving Size: 1/2 cup
- Calories: 200
- Sugar: 18g
- Sodium: 150mg
- Fat: 10g
- Saturated Fat: 6g
- Carbohydrates: 20g
- Protein: 5g
- Cholesterol: 30mg







