
Get ready to stir up some magic in your kitchen! Halloween is the perfect time to embrace your inner sorceress and whip up some truly enchanting treats. Today, we’re diving deep into the delightful world of witch cauldron cupcakes, a recipe that’s sure to be the spooky centerpiece of your Halloween party. These aren’t just any cupcakes; they’re a miniature edible cauldron, overflowing with deliciousness and a touch of Halloween whimsy. Whether you’re a seasoned baker or just looking for a fun, [easy witch cauldron cupcakes](https://www.allrecipes.com/search?q=easy+witch+cauldron+cupcakes) project, this guide will walk you through creating these show-stopping treats. Let’s get brewing!
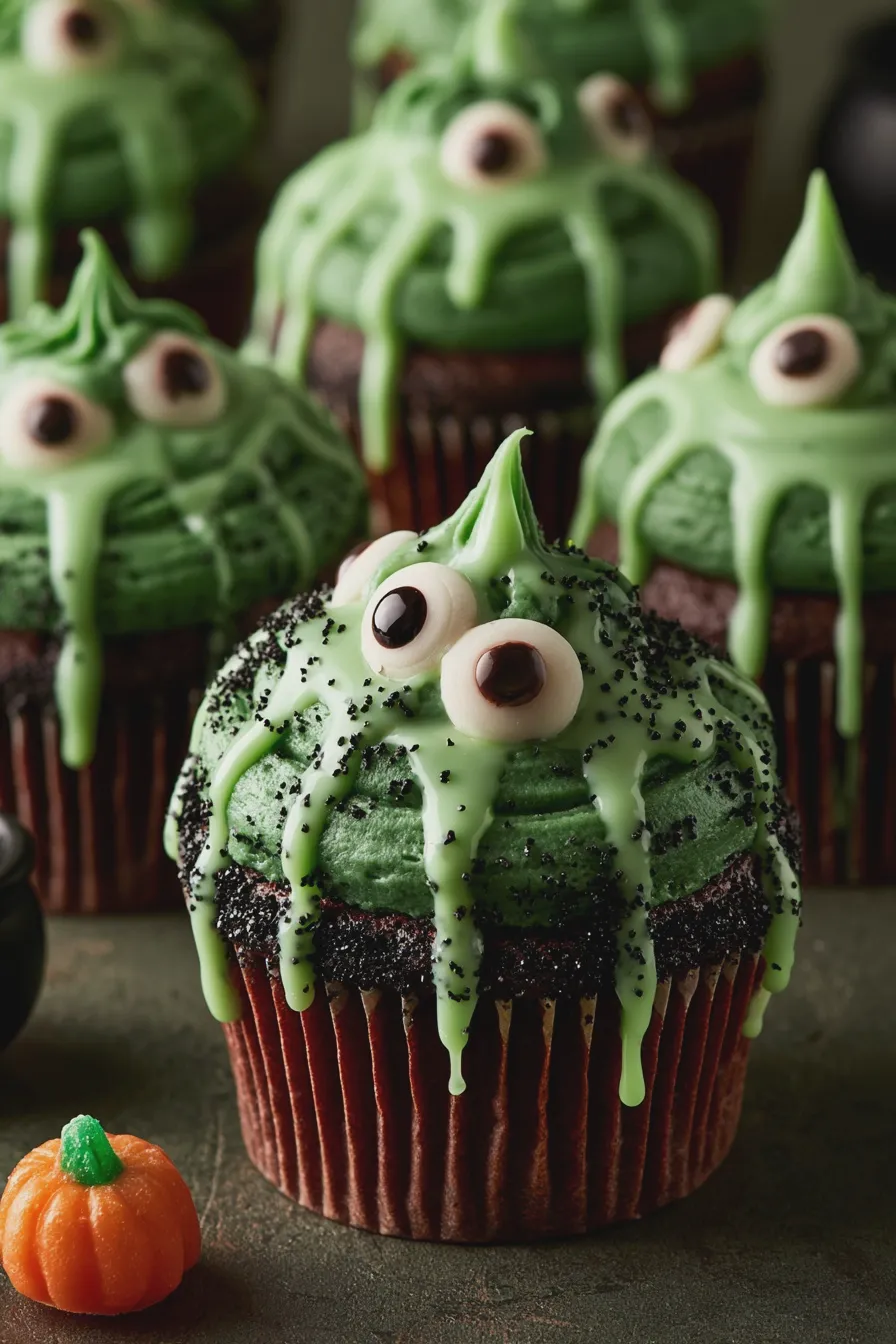
What You’ll Need for Your Witch Cauldron Cupcakes
Gathering your ingredients and tools is the first step to conjuring up these bewitching treats. Having everything ready will make the baking process smooth and enjoyable. Think of it as preparing your potion-making station!
Essential Ingredients
- For the Cupcakes: Your favorite chocolate cake recipe or a good quality box mix will work perfectly. Chocolate is a classic choice for a deep, mysterious cauldron base.
- For the Frosting: A sturdy buttercream frosting is ideal. You can color it green for a classic witch’s brew effect or black for a more dramatic look.
- For the Cauldron Effect:
- Black candy melts or chocolate chips
- Green candy melts or green food coloring
- Edible glitter or sparkle dust (optional, for that magical shimmer)
- Small round candies (like M&Ms or chocolate chips) for cauldron handles
- Optional: Small plastic cauldrons for serving or as molds
Baking Tools
- Cupcake liners
- Muffin tin
- Mixing bowls
- Whisk and spatula
- Piping bag and tips (optional, for frosting)
- Microwave-safe bowls for melting candy
- Small paintbrush (food-safe, for details)
Choosing the right cake base is important for these [witch cauldron cupcakes recipe](https://www.seriouseats.com/search?q=chocolate+cupcake+recipe). A moist chocolate cake will hold up well to the frosting and decorations, ensuring your cauldron remains intact and delicious. For the cauldron itself, we’ll be using melted candy melts. They set up quickly and are easy to work with, making them perfect for creating those distinctive cauldron shapes. If you’re looking for a more elaborate [cauldron cake recipe](https://www.allrecipes.com/search?q=cauldron+cake+recipe), you might consider baking a separate cake and carving it, but for cupcakes, candy melts are the way to go!
Don’t miss out on our guide to Zucchini Cake With Cream Cheese Frosting.
Step-by-Step Guide to Making Witch Cauldron Cupcakes
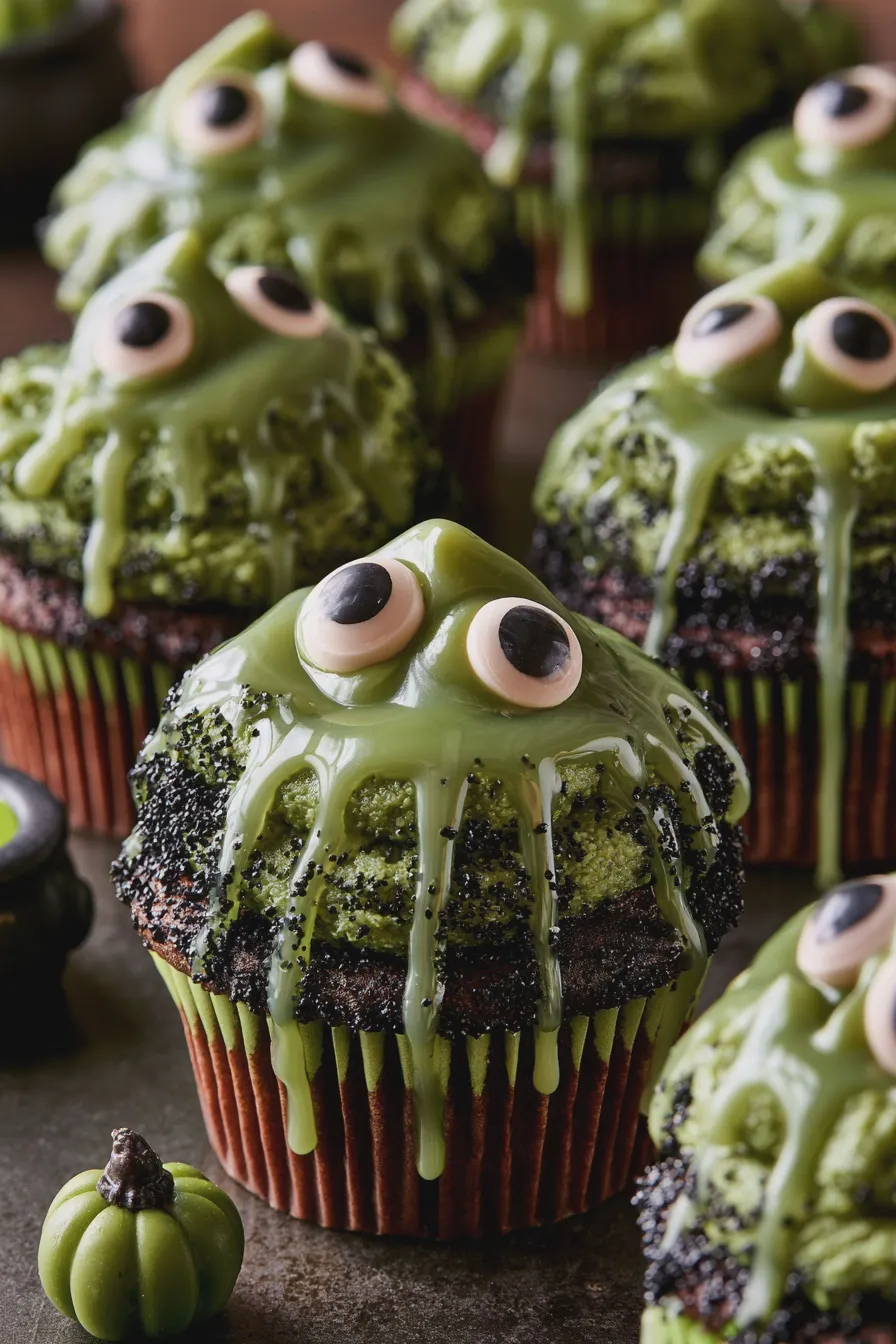
Now, let’s get down to the magical business of creating your [Halloween cauldron cupcakes](https://www.foodnetwork.com/search?q=halloween+cauldron+cupcakes). Follow these steps carefully, and you’ll have a batch of spooktacular treats in no time.
Baking the Cupcakes
- Prepare your cupcake batter according to your chosen recipe or box instructions.
- Line your muffin tin with cupcake liners.
- Fill each liner about two-thirds full with batter.
- Bake according to recipe directions until a toothpick inserted into the center comes out clean.
- Let the cupcakes cool in the tin for a few minutes before transferring them to a wire rack to cool completely.
Make sure your cupcakes are thoroughly cooled before you start decorating. Warm cupcakes will melt the frosting and the candy melts, leading to a messy and less defined cauldron effect. This is a common mistake, so patience is key here!
Looking for more? Try this delicious Carrot Cake With Cream Cheese Frosting next.
Creating the Cauldron Base
This is where the magic really happens! We’ll be using black candy melts to create the outer shell of our cauldron.
- Melt the black candy melts in a microwave-safe bowl according to package directions, stirring every 30 seconds until smooth. Be careful not to overheat them, as this can cause them to seize.
- If you have small plastic cauldrons, you can use these as molds. Brush a layer of melted black candy melts inside the cauldron mold, ensuring you cover the sides and bottom. Let it set slightly, then add a second layer for durability.
- Alternatively, you can create a more free-form cauldron shape. For this, you’ll need to melt the black candy melts and then carefully spoon and spread them around the sides and top of your cooled cupcake, creating a bowl-like effect. This method requires a steady hand but can yield unique results.
- Allow the black candy melt layer to set completely. You can speed this up by placing the cupcakes in the refrigerator for a few minutes.
Tip: If the candy melts become too thick, you can add a tiny bit of vegetable shortening (not oil!) to thin them out. This will help create a smoother finish for your [black cauldron cupcakes](https://www.thekitchn.com/search?q=black+candy+melts). If you don’t have plastic cauldron molds, don’t worry! You can still achieve a great cauldron look by carefully shaping the melted candy around the cupcake itself.
Looking for more? Try this delicious Zucchini Brownies With Frosting next.
Frosting the Cauldron
Now, let’s add that bubbling brew!
- Prepare your buttercream frosting. If you want a classic witch’s brew green, divide the frosting and tint one portion with green food coloring. For a darker, more mysterious look, you can use black frosting or even a deep purple.
- Transfer the frosting to a piping bag fitted with a round tip (or a star tip for a more bubbly effect).
- Pipe the frosting onto the cooled, black-coated cupcakes, filling the “cauldron” space. Don’t be afraid to let it overflow slightly to mimic a bubbling potion.
Mistake to Avoid: Don’t overfill the cupcakes with frosting. You want it to look like it’s bubbling over, not a complete mess. A controlled overflow is key to the visual appeal of [bubbling cauldron cupcakes](https://www.bonappetit.com/search?q=bubbling+cupcakes).
Looking for more? Try this delicious How To Make Ice Cream At Home next.
Adding the Finishing Touches
These are the details that bring your [spooky cauldron cupcakes](https://www.foodnetwork.com/recipes/photos/spooky-halloween-cupcakes) to life!
- Handles: Gently press two small round candies (like M&Ms or chocolate chips) onto the sides of the cupcake, just above the frosting line, to resemble cauldron handles.
- Bubbles and Magic: If you have green candy melts left, you can drizzle a bit over the top of the frosting to create a layered, bubbly effect. You can also sprinkle edible glitter or sparkle dust over the frosting for a magical shimmer.
- Extra Details: For an extra touch, you can use a food-safe paintbrush dipped in melted black candy melts to paint a few subtle lines or drips down the sides of the cauldron for a more aged, mysterious look.
These [witchy cupcakes](https://www.allrecipes.com/search?q=witchy+cupcakes) are fantastic for [Halloween party cupcakes](https://www.foodnetwork.com/search?q=halloween+party+cupcakes). They are fun to make and even more fun to eat!
Looking for more? Try this delicious How To Fold Ingredients Without Deflating next.
Tips for Perfect Witch Cauldron Cupcakes
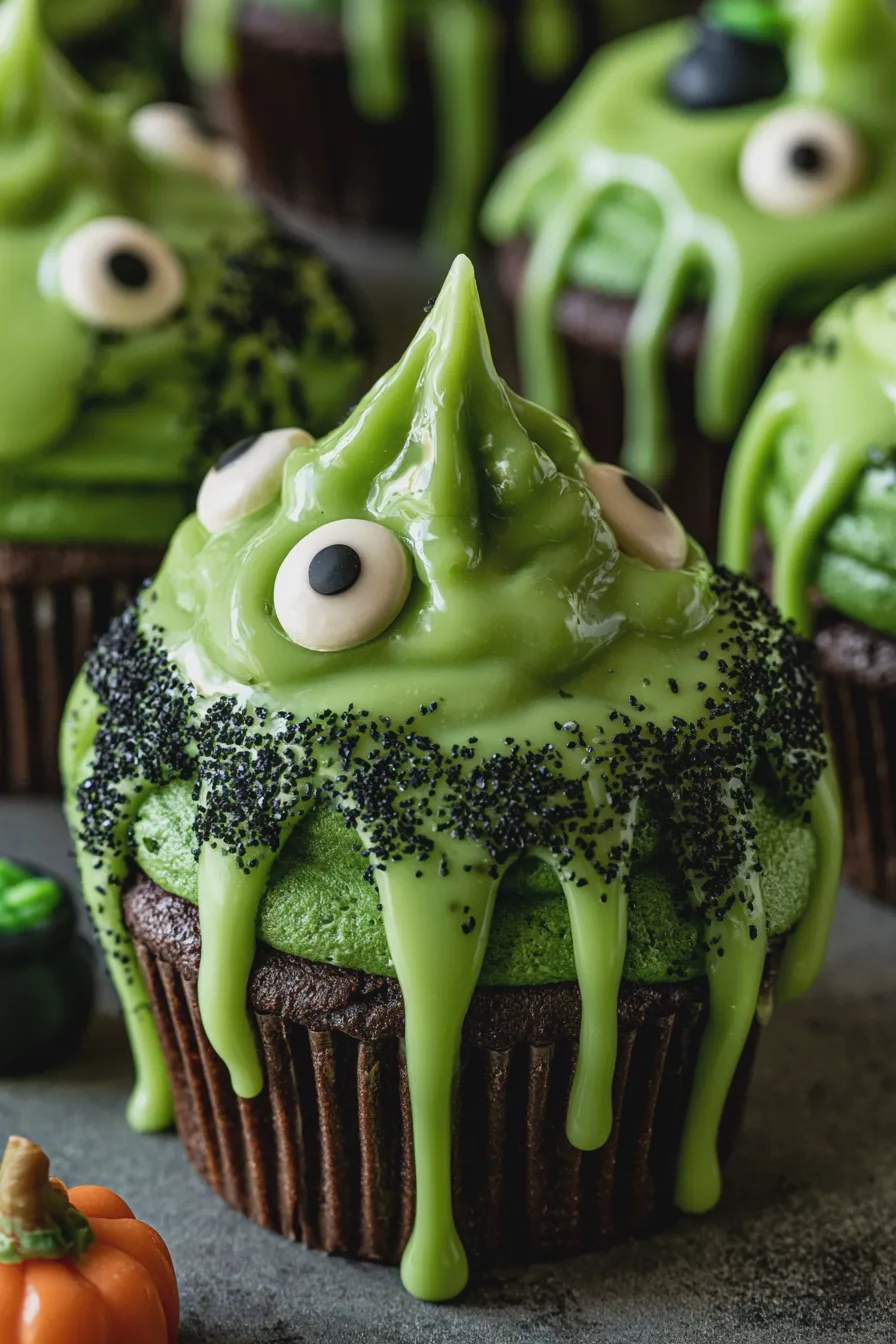
Baking is often about the little tricks that make a big difference. Here are some expert tips to ensure your [DIY witch cauldron cupcakes](https://www.thekitchn.com/search?q=diy+halloween+cupcakes) turn out wonderfully:
- Temperature Control: Ensure your cupcakes are completely cool before decorating. This is crucial for the candy melts and frosting to adhere properly.
- Candy Melt Consistency: If your candy melts become too thick, thin them with a tiny bit of vegetable shortening. Avoid water, as it can cause them to seize.
- Coloring Frosting: For vibrant colors, use gel food coloring. It provides more intense color without adding too much liquid to your frosting.
- Cauldron Shape: If you’re not using molds, practice spreading the candy melts on parchment paper first to get a feel for how they work. A small offset spatula can be helpful for smoothing.
- Serving Suggestion: For an extra special presentation, place each finished cupcake inside a small, clean plastic cauldron. This elevates the [cauldron dessert](https://www.bonappetit.com/search?q=cauldron+dessert) presentation significantly.
- Make Ahead: Cupcakes can be baked a day in advance and stored at room temperature in an airtight container. Frosting can also be made ahead and refrigerated. Decorate closer to serving time for the best appearance.
Common Mistakes and How to Avoid Them
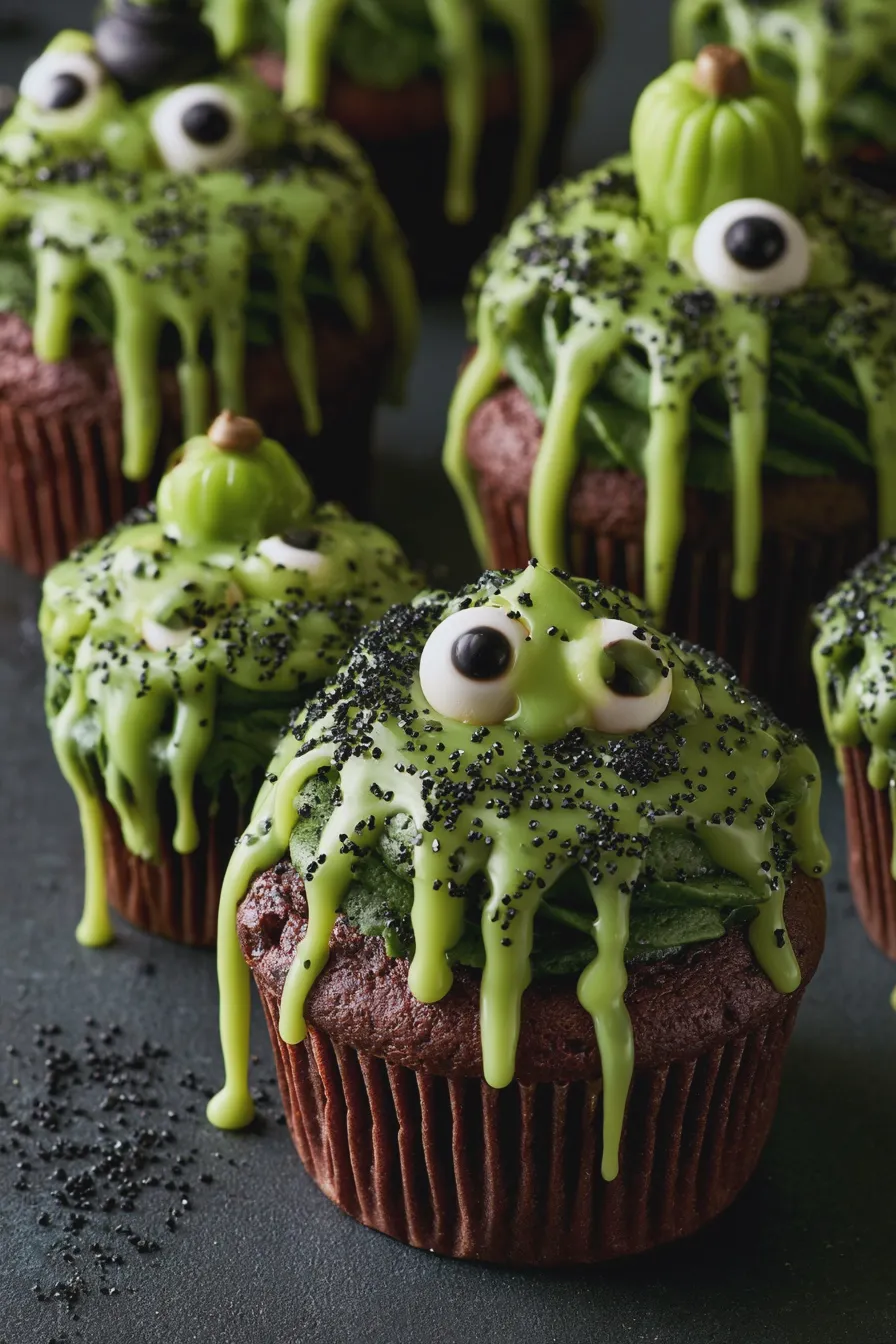
Even the most experienced bakers can run into a few snags. Here are some common mistakes when making [cauldron cake](https://www.allrecipes.com/search?q=cauldron+cake) inspired cupcakes and how to sidestep them:
Don’t miss out on our guide to How To Cream Butter And Sugar.
- Overheating Candy Melts: This is the most frequent issue. Candy melts can burn quickly. Always use short bursts of microwave time and stir frequently. If they seize, they are usually ruined.
- Decorating Warm Cupcakes: As mentioned, this leads to melting and a messy finish. Be patient and let them cool completely.
- Frosting Too Soft: If your frosting is too soft, it will be difficult to pipe and won’t hold its shape. Ensure your butter and cream cheese (if using) are at the right temperature for creaming, and chill the frosting slightly if needed before piping.
- Ignoring the Cauldron Handles: These small details add so much character! Make sure they are securely attached before the candy melts fully set.
- Lack of Contrast: For a dramatic effect, ensure there’s a good contrast between the black cauldron exterior and the colorful “brew” inside. A vibrant green or even a bright orange frosting can pop against the black.
Variations for Your Cauldron Cupcakes
Once you’ve mastered the basic [witch cauldron cupcakes recipe](https://www.seriouseats.com/search?q=cupcake+recipe), don’t be afraid to experiment! Here are some ideas to put your own unique spin on these [Halloween dessert ideas](https://www.foodnetwork.com/holidays-and-parties/photos/halloween-party-ideas):
- Chocolate Cauldron Cupcakes: Use chocolate frosting inside the cauldron for an extra rich, decadent treat.
- Green Cauldron Cupcakes: A vibrant green frosting is a classic choice for that eerie potion look. You can even add a swirl of black or purple frosting for depth.
- Melted Cauldron Effect: Instead of piping frosting, you can drizzle melted green candy melts over the black base, letting them drip down the sides slightly to mimic a melted or overflowing cauldron.
- Cauldron Cupcakes for Kids: For younger bakers, simplify the process by using pre-made frosting and edible decorations like sprinkles and candy eyes. You can also skip the candy melt cauldron exterior and simply frost the cupcakes and add spooky toppers.
- Flavor Twists: Experiment with different cupcake flavors like red velvet for a dramatic color or a spiced pumpkin cake for a fall twist.
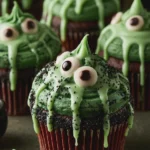
Witch Cauldron Cupcakes Recipe for Spooky Halloween Treats
- Total Time: 45-50 minutes (plus cooling time)
Ingredients
- 1 box chocolate cake mix (plus ingredients called for on box)
- 1 (16 oz) package black or dark green frosting
- Green food coloring
- Black sanding sugar or sprinkles
- Candy eyeballs
- Small candy pumpkins or cauldrons (optional)
- 1/2 cup heavy cream
- 1/2 cup white chocolate chips
- Green food coloring
Instructions
- Prepare and bake cupcakes according to cake mix box directions. Let cool completely.
- While cupcakes cool, prepare the “cauldron” frosting: In a microwave-safe bowl, heat heavy cream until steaming (do not boil). Pour over white chocolate chips and let sit for 1 minute, then stir until smooth. Stir in a few drops of green food coloring until desired cauldron color is reached. Let cool slightly until spreadable.
- Tint the black or dark green frosting with additional green food coloring if desired to create a deeper, more witch-like green.
- Once cupcakes are completely cool, frost each cupcake with the tinted green frosting.
- Drizzle the slightly cooled white chocolate ganache over the top of the frosting on each cupcake, allowing it to drip down the sides like bubbling potion.
- Immediately sprinkle the edges of the ganache with black sanding sugar or sprinkles to resemble cauldron soot.
- Press candy eyeballs onto the frosting to give your cauldrons a spooky look.
- If using, place a small candy pumpkin or cauldron on top of each cupcake.
- Chill cupcakes for about 15-20 minutes to help the ganache set.
Notes
- For an extra spooky touch, you can add a small amount of edible glitter to the ganache before drizzling.
- If you don’t have white chocolate chips, you can use regular chocolate chips and tint the ganache with green food coloring.
- These cupcakes are best served at room temperature, but chilling helps the decorations set.
- Prep Time: 25 minutes
- Cook Time: 20-25 minutes







