
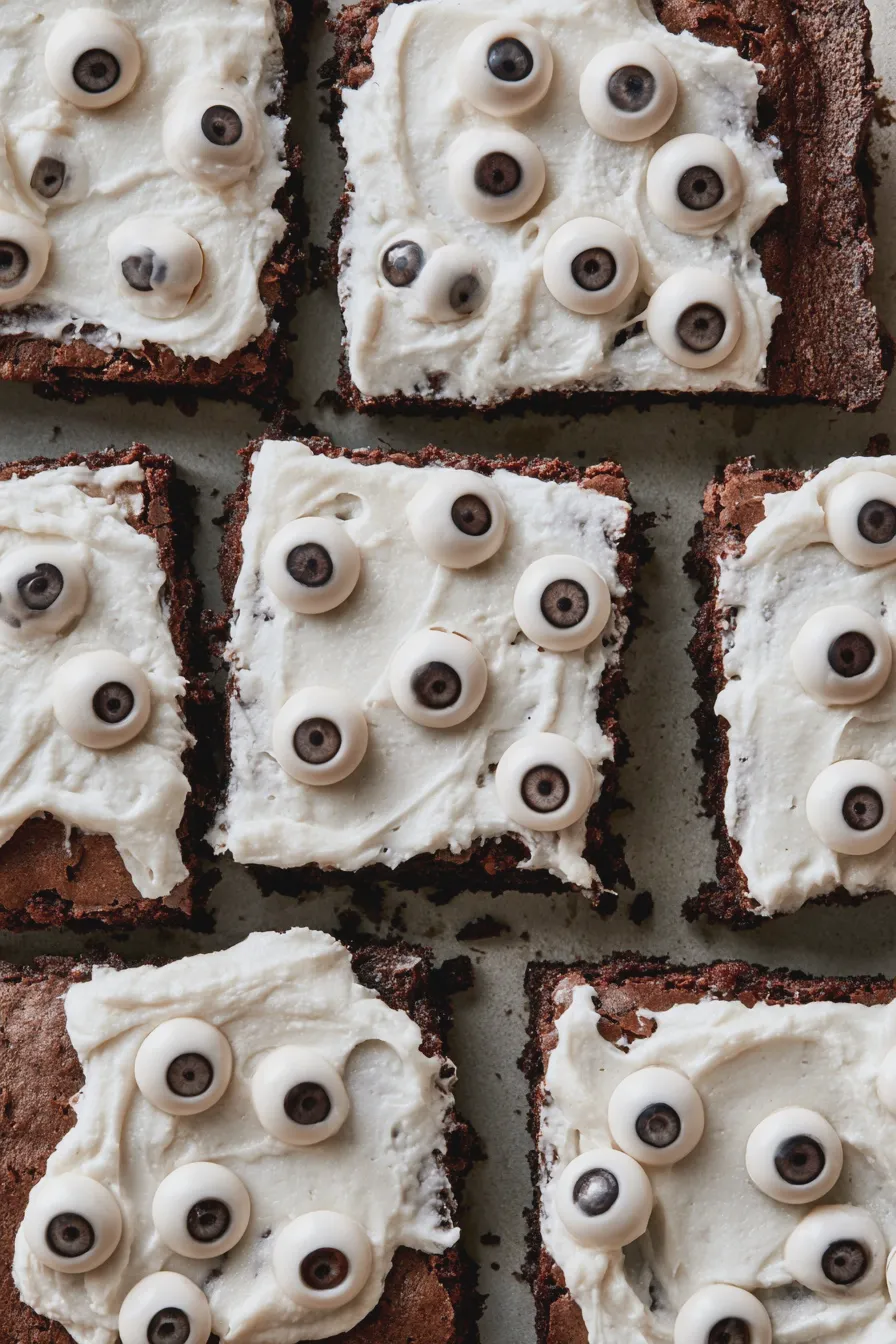
Get ready to spookify your dessert table with a batch of utterly delightful eyeball brownies! If you’re looking for a fun and festive treat that’s sure to be a hit at your next Halloween party or just a fun weekend baking project, you’ve come to the right place. These brownies are not only visually striking but also incredibly delicious, combining that rich, fudgy brownie base everyone loves with a playful, creepy decoration. We’ll guide you through every step, from achieving the perfect brownie texture to creating those unnervingly realistic edible eyeballs. Whether you’re a seasoned baker or just starting, this recipe is designed to be approachable and rewarding. For more creative baking ideas, you might find inspiration on Allrecipes’ Halloween desserts section.
What are Eyeball Brownies?
Eyeball brownies are exactly what they sound like: brownies decorated to look like eyeballs. The magic lies in the simple yet effective decoration. Typically, a base brownie is topped with frosting and then adorned with edible eyeballs, which can be store-bought or homemade. These treats fall under the umbrella of Halloween party treats and are a fantastic way to add a touch of the spooky and macabre to your celebrations. They are a type of creepy desserts that are more fun than frightful, appealing to both kids and adults with their playful design and delicious taste. Think of them as a more whimsical cousin to skull brownies or witch finger brownies.
Why You’ll Love This Eyeball Brownie Recipe
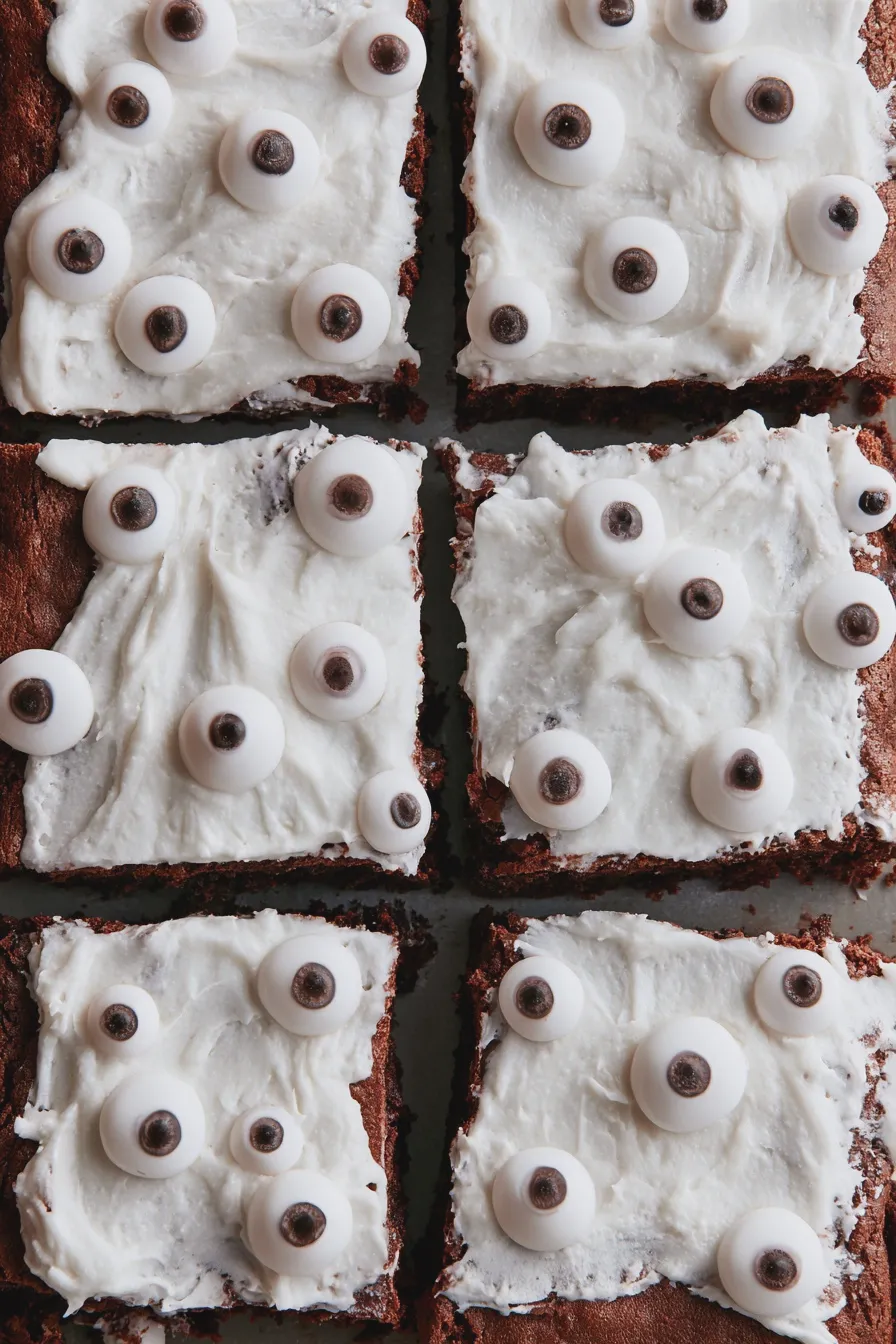
This eyeball brownie recipe is a winner for so many reasons. First, the brownie base is rich, fudgy, and deeply chocolatey – the perfect canvas for our spooky decorations. Second, the decoration process is surprisingly simple and incredibly fun, making it a great activity to do with children or grandchildren. You don’t need advanced decorating skills to create a stunning effect. Plus, they are incredibly versatile; you can adapt the brownie recipe to your favorite style, whether you prefer cakey or fudgy. They are one of those easy Halloween desserts that deliver big on impact. The final result? A batch of brownies that are almost too cute (or too creepy!) to eat, making them a memorable addition to any Halloween party.
Ingredients You’ll Need
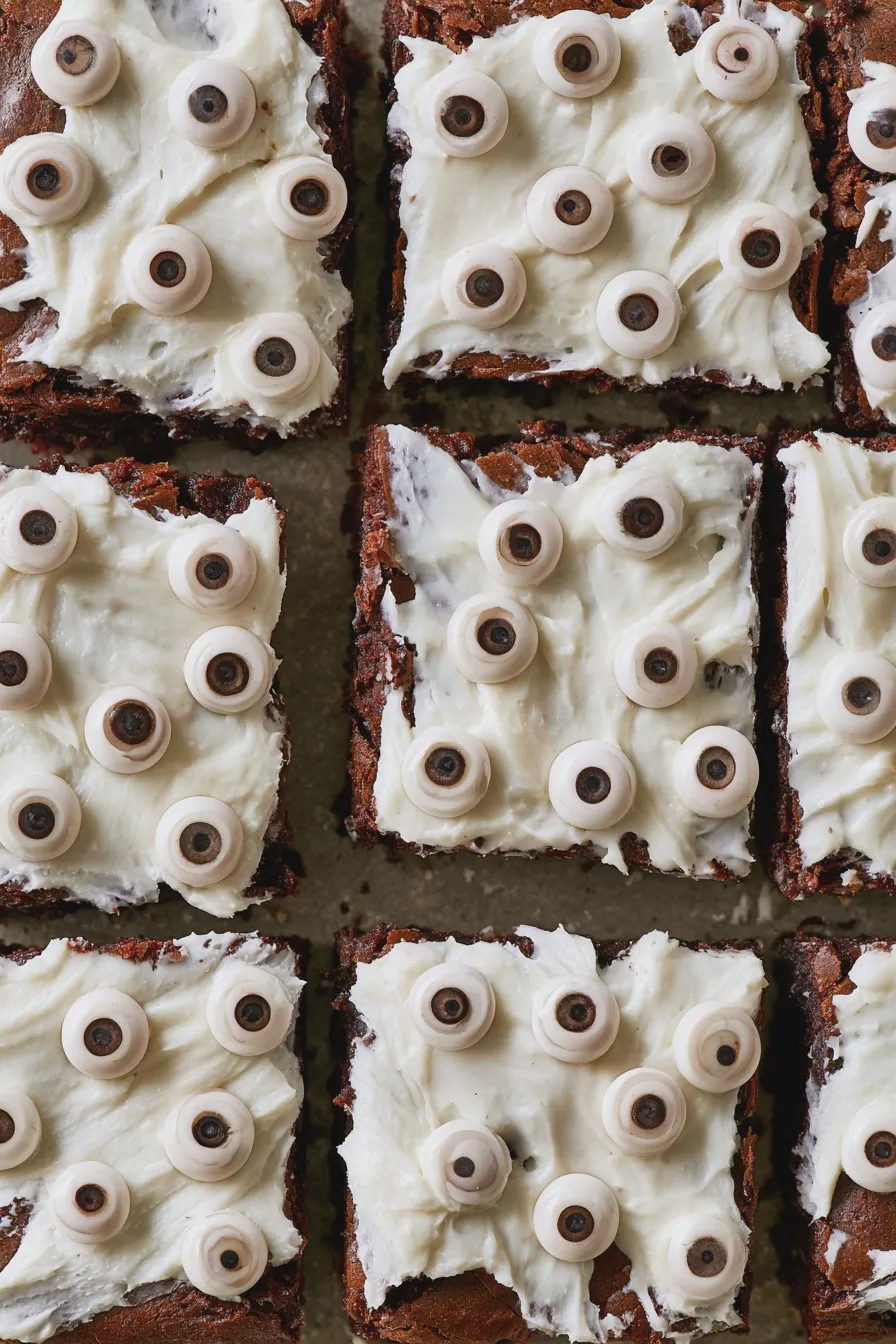
Gathering your ingredients is the first step to baking success. For our classic fudgy brownie base and the signature eyeball topping, you’ll need:
Looking for more? Try this delicious Zucchini Brownies With Frosting next.
For the Brownies:
- 1 cup (2 sticks) unsalted butter, melted
- 2 cups granulated sugar
- 4 large eggs
- 1 teaspoon vanilla extract
- 1 cup all-purpose flour
- ⅔ cup unsweetened cocoa powder
- ½ teaspoon salt
- ½ teaspoon baking powder
- 1 cup chocolate chips (optional, for extra chocolatey goodness)
For the Eyeball Decoration:
- 1 ½ cups powdered sugar
- 2-3 tablespoons milk or water
- ½ teaspoon vanilla extract
- Food coloring (red, black, or any spooky color you desire)
- Edible eyeballs (store-bought or homemade – see tips below!)
Step-by-Step Guide to Making Eyeball Brownies
Let’s get baking! Follow these steps for foolproof, delicious eyeball brownies.
Step 1: Preheat and Prepare Your Pan
Preheat your oven to 350°F (175°C). Grease and flour a 9×13 inch baking pan, or line it with parchment paper, leaving an overhang on the sides to easily lift the brownies out later. This step is crucial for preventing sticking and ensuring easy removal of your baked brownies.
Step 2: Mix the Wet Ingredients
In a large bowl, whisk together the melted butter and granulated sugar until well combined. Add the eggs one at a time, beating well after each addition. Stir in the vanilla extract.
Another favorite of ours is the Pumpkin Brownies Recipe.
Step 3: Combine the Dry Ingredients
In a separate medium bowl, whisk together the all-purpose flour, unsweetened cocoa powder, salt, and baking powder. This ensures that the leavening agents and cocoa are evenly distributed, preventing pockets of unmixed ingredients in your brownie batter.
Step 4: Combine Wet and Dry Ingredients
Gradually add the dry ingredients to the wet ingredients, mixing until just combined. Be careful not to overmix; overmixing can lead to tough brownies. If you’re using chocolate chips, gently fold them in now.
Step 5: Bake the Brownies
Pour the batter evenly into the prepared baking pan. Spread it out with a spatula. Bake for 25-35 minutes, or until a toothpick inserted into the center comes out with moist crumbs attached (not wet batter). Baking time can vary depending on your oven, so keep an eye on them.
If you enjoyed this, you might also love our Brownie With Ice Cream recipe.
Step 6: Cool Completely
This is a vital step for easy decorating. Let the brownies cool completely in the pan on a wire rack. If you try to decorate warm brownies, the frosting will melt and slide right off, creating a messy, less impactful design. Patience is key here!
Step 7: Make the “Frosting” or Glaze
While the brownies cool, prepare your eyeball glaze. In a medium bowl, whisk together the powdered sugar, 2 tablespoons of milk (or water), and vanilla extract until smooth. If the glaze is too thick, add a little more milk, ½ teaspoon at a time, until it reaches a pourable but not too runny consistency. If you want a more opaque finish, you can use a bit of cream cheese or butter in place of some of the liquid.
Step 8: Decorate the Brownies
Once the brownies are completely cool, you can start decorating. There are a few ways to approach this:
If you enjoyed this, you might also love our Easy Homemade Ice Cream Recipe recipe.
- Option 1: Glaze and Place. Pour the glaze over the cooled brownies and spread it evenly. While the glaze is still wet, carefully place your edible eyeballs onto the surface.
- Option 2: Frost and Place. If you prefer a thicker frosting, you can whip up a simple buttercream or use a store-bought frosting. Spread a thin layer of frosting over the brownies and then press the edible eyeballs into the frosting.
- Option 3: Individual Brownies. Cut the brownies into squares first. Then, frost or glaze each individual brownie and place an eyeball or two on top.
Creating Spooky Details: To make your eyeballs look more realistic or spooky, you can add details. Use a toothpick dipped in black or red food coloring to add veins to the whites of the eyeballs, or to create a pupil if you’re using plain white candy melts as your base. A tiny dot of black in the center can create a simple pupil. For truly Halloween desserts, consider adding a few drops of red food coloring to the glaze to give it a slightly bloodshot look.
Tips for Perfect Eyeball Brownies
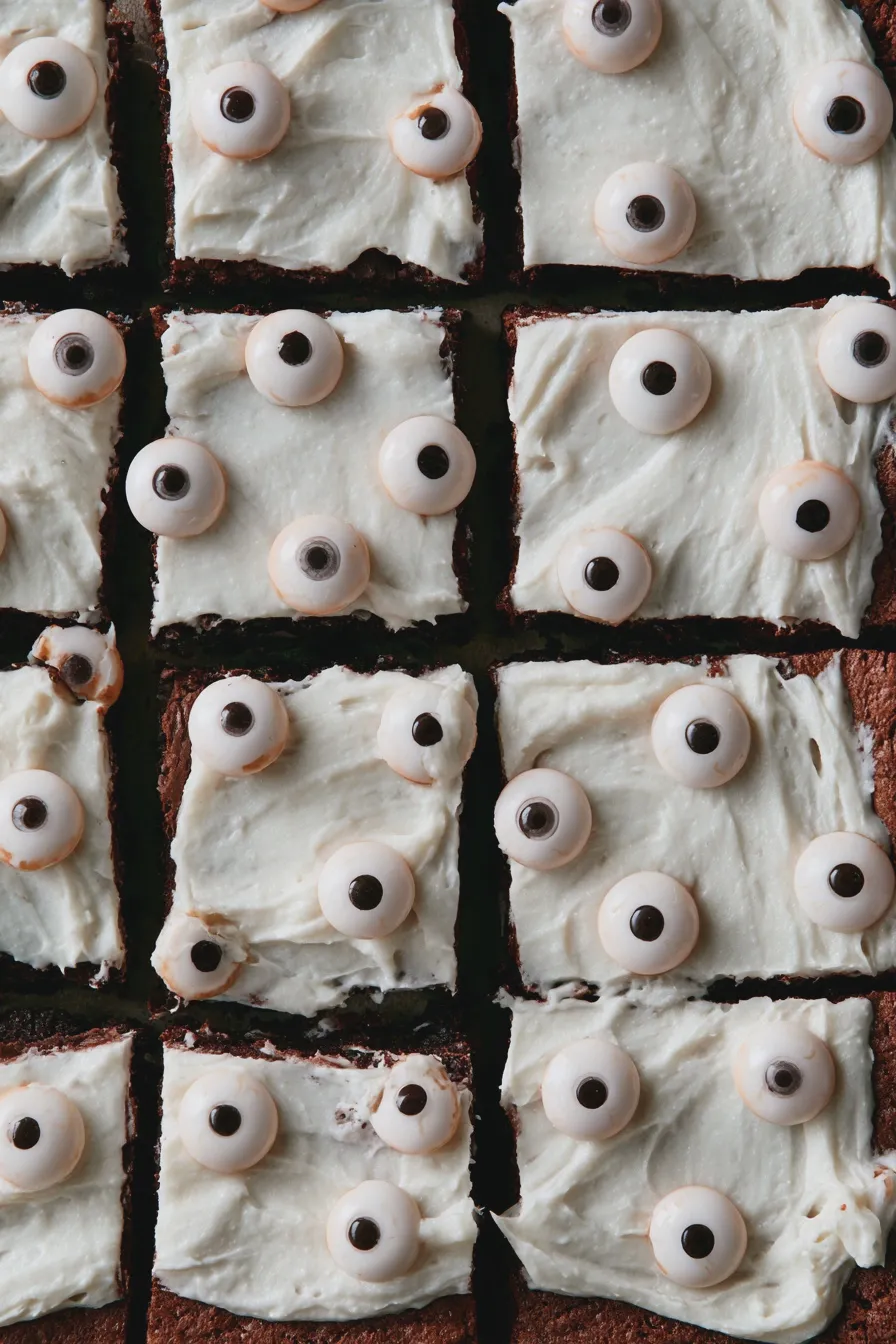
Elevate your eyeball brownies from good to spectacular with these expert tips:
- Don’t Overbake: Overbaked brownies are dry and crumbly, which isn’t ideal for decorating. Aim for that slightly underbaked, fudgy center.
- Cooling is Crucial: Seriously, let them cool completely. Warm brownies + frosting = disaster.
- Edible Eyeball Alternatives: If you can’t find edible eyeballs, get creative! You can use white candy melts with a black dot for the pupil, or even round candies like M&Ms or gumballs. For a more homemade touch, consider making chocolate eyeball cookies as a separate treat or as toppers if they fit.
- Glaze Consistency: The key to a good glaze is the right consistency. Too thin and it runs off; too thick and it’s hard to spread. Aim for something like thick honey.
- Get Creative with Colors: Don’t limit yourself to white and black. Use colored glazes or frostings to make green monster eyes, blue alien eyes, or even skull brownies with spooky eye sockets.
- Storage: Store cooled, undecorated brownies in an airtight container at room temperature for up to 3 days. Decorated brownies are best stored in a single layer or with parchment paper between layers to prevent the decorations from smudging, also at room temperature.
Common Mistakes to Avoid
Even experienced bakers can make a few missteps. Here are some common mistakes when making eyeball brownies and how to avoid them:
If you enjoyed this, you might also love our How To Make Ice Cream At Home recipe.
- Mistake: Overmixing the Batter. Overmixing develops the gluten in the flour, leading to tough, chewy brownies instead of tender, fudgy ones. Mix only until the ingredients are just combined.
- Mistake: Cutting Brownies Too Soon. As mentioned, cutting warm brownies can lead to a mess. Let them cool completely before slicing for clean edges.
- Mistake: Frosting/Glazing Warm Brownies. This is the most common decorating mistake. The heat will melt your decorative layer, making it impossible to place eyeballs neatly.
- Mistake: Using the Wrong Cocoa Powder. Natural unsweetened cocoa powder and Dutch-processed cocoa powder behave differently. For most brownie recipes, natural cocoa is preferred, but always check your specific recipe.
- Mistake: Forgetting Leavening. If your brownies come out too flat and dense (and not in a good fudgy way), you might have forgotten baking powder or baking soda, or they may have expired.
Variations and Creative Ideas
Once you’ve mastered the basic eyeball brownie, why not experiment? This recipe is a fantastic base for other Halloween party treats.
- Ghost Brownies: Top with white frosting and place two edible eyeballs to create a cute ghost face.
- Monster Brownies: Use green or purple frosting and add multiple eyeballs for a fun monster look. You can even add little candy horns or sprinkles.
- Spooky Swirls: Instead of a flat glaze, swirl colored frosting onto the brownies before adding eyeballs for a more dynamic look.
- No-Bake Eyeball Brownies: For a super quick version, use pre-made brownie mix baked according to package directions, or even brownie bites. Alternatively, look for no bake eyeball brownies recipes that use crushed cookies or graham crackers.
- Add Texture: Sprinkle some spooky-colored sprinkles or shredded coconut (dyed green or white) around the eyeballs for extra texture and visual appeal.
- Chocolate Overload: For true chocolate lovers, consider adding a chocolate ganache layer before the glaze and eyeballs.
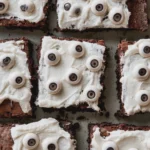
Eyeball Brownies Recipe Quick and Easy Halloween Treat
- Total Time: PT50M
- Yield: 24 brownies 1x
- Diet: Vegetarian
Description
Easy and decadent eyeball brownies are the perfect spooky treat for Halloween or any fun occasion! These fudgy brownies are topped with a simple frosting and candy eyeballs for a fun, edible decoration.
Ingredients
- 1 cup (2 sticks) unsalted butter, melted
- 2 cups granulated sugar
- 4 large eggs
- 1 teaspoon vanilla extract
- 1 cup all-purpose flour
- 1/2 cup unsweetened cocoa powder
- 1/2 teaspoon baking powder
- 1/4 teaspoon salt
- 1 cup powdered sugar
- 2–3 tablespoons milk
- 1/4 teaspoon vanilla extract
- Candy eyeballs
Instructions
- Preheat oven to 350°F (175°C). Grease and flour a 9×13 inch baking pan.
- In a large bowl, whisk together melted butter and granulated sugar.
- Beat in eggs one at a time, then stir in 1 teaspoon vanilla extract.
- In a separate medium bowl, whisk together flour, cocoa powder, baking powder, and salt.
- Gradually add the dry ingredients to the wet ingredients, mixing until just combined. Do not overmix.
- Pour batter into the prepared baking pan and spread evenly.
- Bake for 25-30 minutes, or until a toothpick inserted into the center comes out with moist crumbs.
- Let the brownies cool completely in the pan on a wire rack.
- While brownies are cooling, prepare the frosting. In a medium bowl, whisk together powdered sugar, 2 tablespoons milk, and 1/4 teaspoon vanilla extract until smooth. Add more milk, 1 teaspoon at a time, if needed to reach desired spreading consistency.
- Once brownies are completely cooled, spread the frosting evenly over the top.
- Immediately arrange candy eyeballs on top of the frosting to resemble eyeballs.
- Let the frosting set for about 15-20 minutes before cutting and serving.
Notes
- For extra fudgy brownies, do not overbake.
- You can use different colors of frosting or add food coloring for a more festive look.
- Store leftover brownies in an airtight container at room temperature for up to 3 days.
- Prep Time: PT20M
- Cook Time: PT30M
- Category: Dessert
- Method: Baking
- Cuisine: American
Nutrition
- Serving Size: 1 brownie
- Calories: 250
- Sugar: 35g
- Sodium: 50mg
- Fat: 13g
- Saturated Fat: 8g
- Unsaturated Fat: 5g
- Trans Fat: 0g
- Carbohydrates: 33g
- Fiber: 1g
- Protein: 3g
- Cholesterol: 60mg







