
Get ready to add some frightfully fun treats to your baking repertoire with these amazing monster eye cookies! Perfect for Halloween parties, school bake sales, or just a fun afternoon in the kitchen, these cookies are as delightful to make as they are to eat. We’ll guide you through creating these spooky eyeball cookies from scratch, ensuring they turn out perfectly every time. Whether you’re a seasoned baker or just starting out, this recipe is designed to be straightforward and enjoyable. For more inspiration on festive baking, check out these Halloween cookie ideas.

What Are Monster Eye Cookies?
Monster eye cookies are a type of decorated cookie designed to look like monstrous eyeballs. The base is typically a simple sugar cookie or a slightly more complex monster cookie dough, and the “eyeball” effect is achieved through various decorating techniques, often involving candy or frosting. They are a popular choice for Halloween parties and are a fantastic way to get creative in the kitchen. These creepy cookies can range from simple to elaborate, making them adaptable to any skill level. They are a quintessential part of any Halloween party food spread.
Ingredients You’ll Need
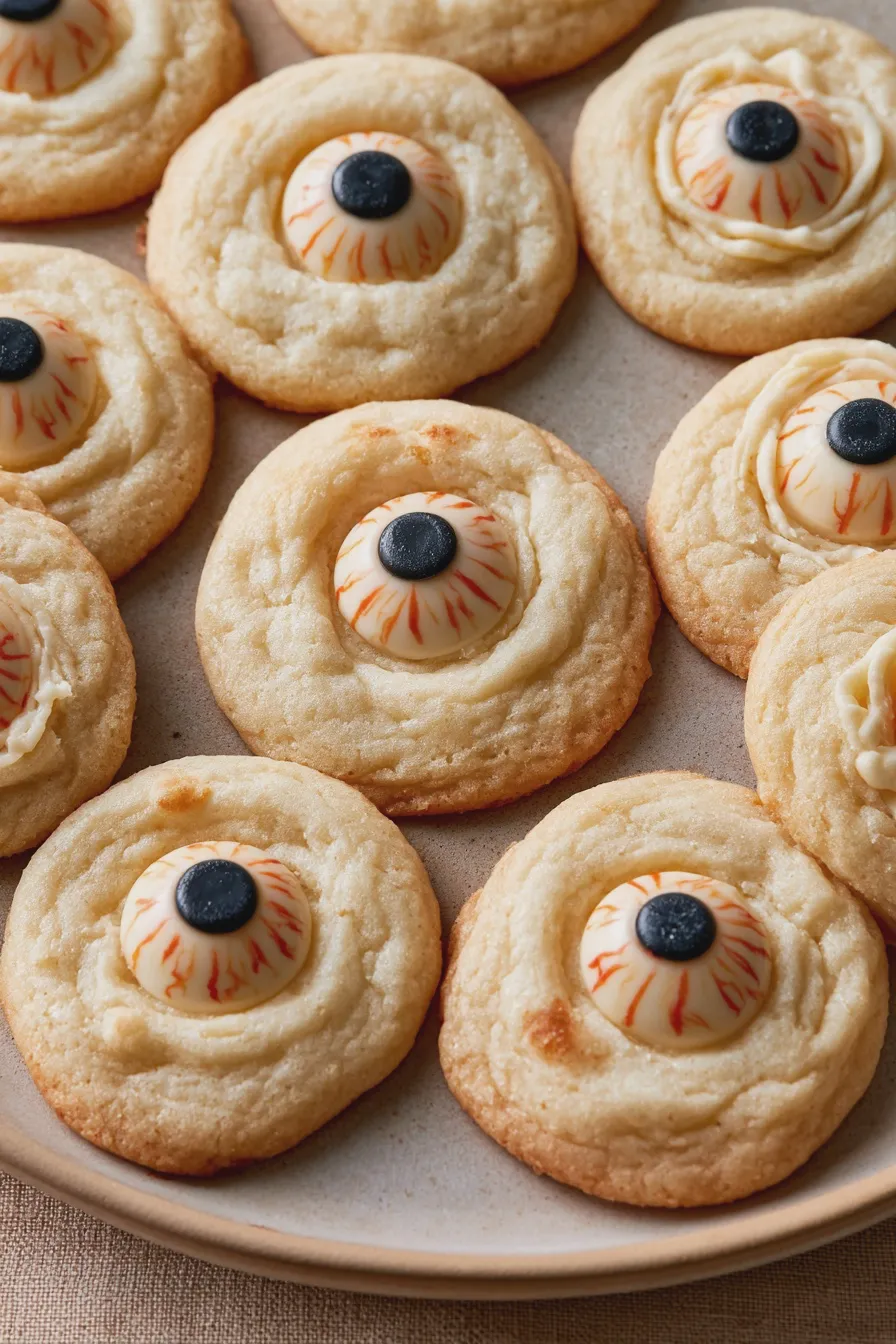
Gathering your ingredients is the first step to baking success. For our delicious monster eye cookies recipe, you’ll need:
- For the Cookies:
- 2 ¼ cups all-purpose flour
- 1 teaspoon baking soda
- ½ teaspoon salt
- 1 cup (2 sticks) unsalted butter, softened
- ¾ cup granulated sugar
- ¾ cup packed light brown sugar
- 2 large eggs
- 1 teaspoon vanilla extract
- ½ cup rolled oats (optional, for a classic monster cookie texture)
- ½ cup chocolate chips or M&Ms (optional, for a classic monster cookie texture)
The optional oats and chocolate chips give you the option of making a more traditional monster cookie dough base, which is chunky and delicious. If you prefer a simpler sugar cookie base for decorating, simply omit these.
- For the “Eyeballs” Decoration:
- 1 cup powdered sugar
- 2-3 tablespoons milk or water
- ½ teaspoon vanilla extract
- Food coloring (black, blue, green, red)
- Candy eyeballs (store-bought or homemade)
- Small candies for pupils (like M&Ms or small chocolate chips)
- Optional: Edible glitter or sprinkles for extra sparkle
Equipment You’ll Need
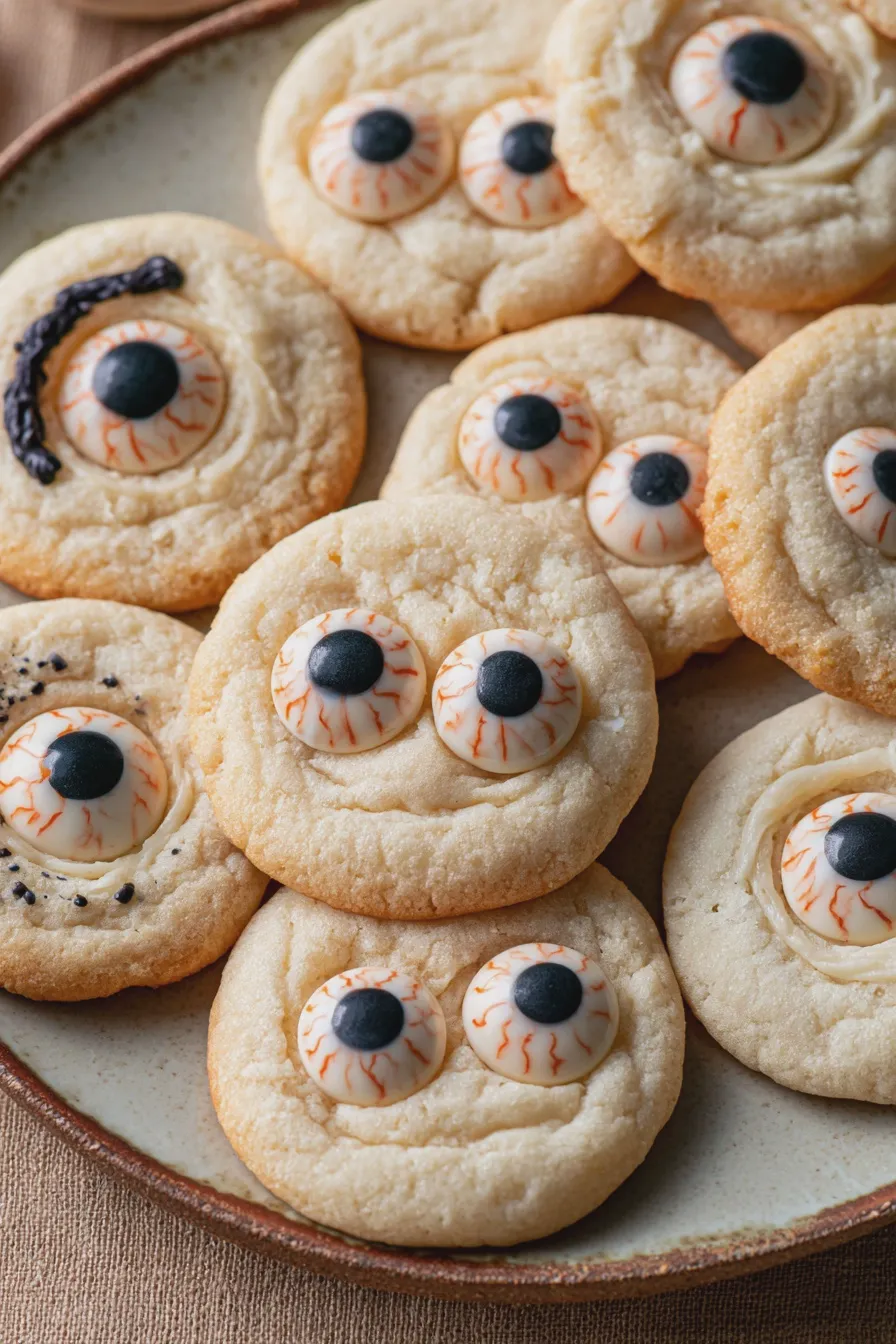
Having the right tools makes baking a breeze. Here’s what you’ll want to have on hand:
Don’t miss out on our guide to Creaming Method For Cakes And Cookies.
- Large mixing bowls
- Electric mixer (stand or hand mixer)
- Measuring cups and spoons
- Whisk
- Rubber spatula
- Baking sheets
- Parchment paper or silicone baking mats
- Wire cooling racks
- Small bowls for frosting and coloring
- Piping bags or Ziploc bags for frosting (optional)
- Toothpicks or small offset spatula for spreading frosting
Step-by-Step Guide to Making Monster Eye Cookies
Let’s get baking! Follow these simple steps for perfect spooky eyeball cookies.
Step 1: Prepare Your Dough
If you’re making the classic monster cookie dough base:
- In a medium bowl, whisk together the flour, baking soda, and salt. Set aside.
- In a large bowl, cream together the softened butter, granulated sugar, and brown sugar until light and fluffy. This is a crucial step for texture, and you can learn more about how to cream butter and sugar for optimal results.
- Beat in the eggs one at a time, then stir in the vanilla extract.
- Gradually add the dry ingredients to the wet ingredients, mixing until just combined.
- Stir in the rolled oats and chocolate chips/M&Ms, if using.
If you’re making a sugar cookie base for decorating:
- In a medium bowl, whisk together the flour, baking soda, and salt. Set aside.
- In a large bowl, cream together the softened butter and granulated sugar until light and fluffy.
- Beat in the egg and vanilla extract.
- Gradually add the dry ingredients to the wet ingredients, mixing until just combined.
A common mistake here is overmixing the dough after adding the flour, which can lead to tough cookies. Mix only until the streaks of flour disappear.
Another favorite of ours is the Cookie Dough Ice Cream.
Step 2: Chill the Dough
Cover the dough and refrigerate for at least 30 minutes. Chilling the dough makes it easier to handle and prevents the cookies from spreading too much during baking. This is especially important for decorated cookies where you want them to hold their shape.
Step 3: Bake the Cookies
- Preheat your oven to 375°F (190°C). Line baking sheets with parchment paper or silicone mats.
- Scoop rounded tablespoons of dough onto the prepared baking sheets, leaving about 2 inches between cookies.
- Bake for 9-12 minutes, or until the edges are lightly golden brown. For classic monster cookies, you might bake them slightly less to keep them chewy. For sugar cookies meant for decorating, ensure they are baked through but not browned.
- Let the cookies cool on the baking sheets for a few minutes before transferring them to wire racks to cool completely.
Baking Tip: For perfectly round cookies, you can gently nudge them back into shape with a spatula or cookie cutter right after they come out of the oven, while they are still soft.
Step 4: Prepare the Royal Icing
While the cookies cool, make your royal icing. This icing hardens nicely, making it perfect for decorating.
- In a medium bowl, whisk together the powdered sugar and vanilla extract.
- Gradually add milk or water, one tablespoon at a time, until you reach a thick but pourable consistency. You want it thin enough to spread easily but thick enough not to run off the cookie.
- Divide the icing into small bowls, one for each color you plan to use. Add a tiny drop of food coloring to each bowl and mix well. For the “eyeball” effect, you’ll want white for the base, and black, blue, or green for the iris. A tiny bit of red can be used for veins.
Mistake to Avoid: Adding too much liquid to your royal icing will make it too runny and difficult to control. Start with less liquid and add more sparingly.
Looking for more? Try this delicious How To Make Ice Cream At Home next.
Step 5: Decorate Your Monster Eyes
This is where the fun really begins! Here are a few ways to create your spooky eyeball cookies:
- Method 1: Using Royal Icing and Candy Eyeballs
- Once the cookies are completely cool, spread a base layer of white royal icing over each cookie, creating a smooth “sclera.”
- While the white icing is still wet, carefully place a candy eyeball in the center.
- If you want to add more detail, use a toothpick dipped in colored icing to draw fine red veins radiating from the eyeball.
- Let the white icing dry completely before proceeding.
- Method 2: Simple Frosting and Candy
- Spread a generous layer of white frosting (store-bought or homemade buttercream) over each cooled cookie.
- Press a candy eyeball into the center of the frosting.
- You can use a small dab of colored frosting or a tiny piece of candy to create a pupil if your candy eyeballs don’t have one.
- Method 3: Creative Eyeball Designs
- Use different colored royal icings to create various eyeball effects. For example, flood a cookie with blue icing, then add a black pupil and white highlights.
- You can also use edible markers to draw intricate patterns or veins on dried royal icing.
- For a truly unique look, consider making your own eyeball candy to place on top of your cookies.
Cookie Decorating Ideas: Don’t be afraid to experiment! Mix and match colors, add sprinkles for a bit of sparkle, or even create different pupil shapes. These monster eye cookies are all about being creative. For more inspiration on cookie decorating ideas, explore beyond Halloween!
Step 6: Let Them Set
Allow the decorated cookies to dry completely. Royal icing can take several hours to fully harden, especially in humid conditions. Once dry, they are ready to be served or stored.
Tips for Perfect Monster Eye Cookies

Here are some expert tips to ensure your monster eye cookies are a smashing success:
Another favorite of ours is the No Bake Cheesecake Cool Whip.
- Room Temperature Ingredients: Ensure your butter and eggs are at room temperature for the best dough consistency.
- Don’t Overbake: Overbaked cookies will be dry and crumbly. Keep an eye on them, especially during the last few minutes of baking.
- Cool Completely: Always let cookies cool completely before decorating to prevent the icing from melting.
- Icing Consistency is Key: Practice with your royal icing consistency. Too thick and it’s hard to spread; too thin and it will run everywhere.
- Work in Batches: If decorating a large batch, work in manageable sections so your icing doesn’t dry out.
- Storage: Store decorated cookies in an airtight container at room temperature for up to a week. If they have a very delicate decoration, you might want to place parchment paper between layers.
Common Mistakes to Avoid
Even experienced bakers can make a few missteps. Here are some common mistakes when making decorated cookies like these monster eye cookies:
- Crowding the Baking Sheet: This leads to uneven baking and cookies that spread into each other.
- Using Cold Butter: Cold butter won’t cream properly, resulting in a dense cookie dough.
- Decorating Warm Cookies: Icing will melt and slide off. Patience is key!
- Not Letting Icing Dry: If you stack or move them too soon, your beautiful designs can get smudged.
- Overworking the Dough: This develops the gluten too much, leading to tough cookies.
Variations and Fun Ideas
These monster eye cookies are incredibly versatile. Here are some ideas to make them even more special:
- Different Cookie Bases: Try a gingerbread cookie for a spicy kick, or a chocolate cookie for a richer flavor.
- More “Monster” Elements: Add edible googly eyes, small candy horns (like candy corn), or even edible slime drips made from colored piping gel.
- Alien Eye Cookies: Use green or purple icing as the base and add a slit pupil for an extraterrestrial look.
- Vampire Eye Cookies: Use red or deep purple icing, and perhaps add a small drop of red gel for a “bloody” effect.
- Witch Eye Cookies: Use green icing and add a black pupil, perhaps with a few swirls of dark frosting around the edges.
- Kid-Friendly Halloween Recipes: Let the kids help with the decorating! They love placing the candy eyeballs and adding their own unique touches. These are truly kid-friendly Halloween recipes.
- No-Bake Monster Cookies: For a super quick option, you can adapt a no-bake cookie recipe and decorate them similarly.

Monster Eye Cookies Quick and Easy Recipe
- Total Time: PT30M
- Yield: 24 cookies 1x
- Diet: Vegetarian
Description
These fun and spooky Monster Eye Cookies are perfect for Halloween parties or any time you want a delightfully creepy treat! They’re surprisingly easy to make with a simple sugar cookie base and colorful candy decorations.
Ingredients
- 1 cup (2 sticks) unsalted butter, softened
- 1 cup granulated sugar
- 2 large eggs
- 1 teaspoon vanilla extract
- 3 cups all-purpose flour
- 1 teaspoon baking soda
- 1/2 teaspoon salt
- Assorted candy eyeballs
- Assorted frosting colors (black, green, purple, blue)
Instructions
- Preheat oven to 375°F (190°C). Line baking sheets with parchment paper.
- In a large bowl, cream together the softened butter and granulated sugar until light and fluffy.
- Beat in the eggs one at a time, then stir in the vanilla extract.
- In a separate bowl, whisk together the flour, baking soda, and salt.
- Gradually add the dry ingredients to the wet ingredients, mixing until just combined. Do not overmix.
- Roll the dough into 1-inch balls and place them about 2 inches apart on the prepared baking sheets.
- Using the bottom of a glass or a small cookie cutter, flatten each ball slightly.
- Gently press one or two candy eyeballs into the center of each cookie, making sure they are firmly in place.
- Bake for 9-11 minutes, or until the edges are lightly golden.
- Let the cookies cool on the baking sheets for a few minutes before transferring them to a wire rack to cool completely.
- Once cooled, use a small amount of frosting to secure any loose candy eyeballs or to add extra details like pupils or veins.
Notes
- For an extra spooky touch, you can tint some of the cookie dough with food coloring before baking.
- Store cooled cookies in an airtight container at room temperature for up to 3 days.
- Feel free to get creative with different candy decorations to make your monsters unique!
- Prep Time: PT20M
- Cook Time: PT10M
- Category: Cookies
- Method: Baking
- Cuisine: American
Nutrition
- Serving Size: 1 cookie
- Calories: 150
- Sugar: 15g
- Sodium: 50mg
- Fat: 8g
- Saturated Fat: 5g
- Carbohydrates: 18g
- Protein: 2g







