
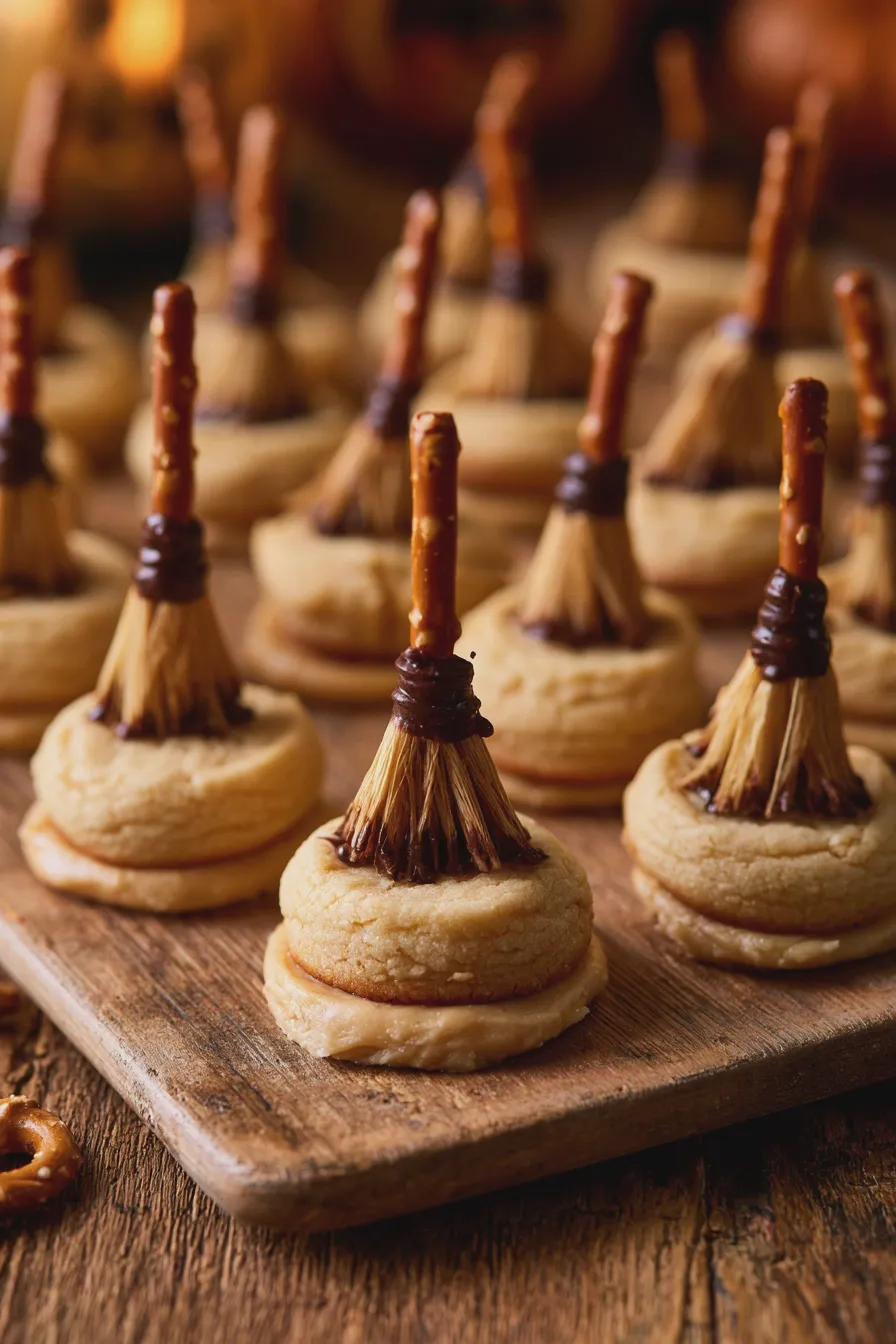
Get ready to cast a delicious spell this Halloween with these utterly charming witch broom cookies! They’re not only a feast for the eyes but also incredibly simple to whip up, making them the perfect addition to your spooky dessert spread. Whether you’re a seasoned baker or just starting out, this recipe is designed for success. Imagine a sweet cookie base topped with a caramel-kissed pretzel broom – it’s a delightful combination of textures and flavors that will have everyone reaching for more. These edible witch brooms are a fantastic way to add a touch of whimsy to your Halloween party food, and they’re sure to be a hit with both kids and adults. Let’s dive into creating these fun halloween treats!
The Magic Behind Witch Broom Cookies
These delightful witch broom cookies are a celebration of simple ingredients coming together to create something truly special. The beauty of this witch broomstick recipe lies in its adaptability. At its core, it’s a straightforward cookie that serves as the perfect canvas for our broomstick magic. We’ll be using a basic cookie dough that’s easy to handle and bakes up beautifully. Think of it as the sturdy handle of your broom. The “bristles” are where the real fun begins, typically involving pretzels and a touch of melted caramel or chocolate to bind them together. It’s a creative halloween dessert that looks impressive but requires minimal fuss. For those looking for even quicker options, you might even find inspiration for no bake witch broom cookies, though this recipe focuses on a delightful baked base.
The foundation of our witch broom cookies is a classic butter cookie. This type of cookie is known for its tender crumb and ability to hold its shape well during baking, which is crucial for creating a sturdy “handle.” We’ll be employing the creaming method, a fundamental technique in baking that involves beating butter and sugar together until light and fluffy. This process incorporates air into the dough, which contributes to the cookie’s texture and rise. If you’re new to this technique, understanding how to cream butter and sugar is a great starting point for many cookie recipes.
Gathering Your Enchanted Ingredients
To conjure up these magical witch broom cookies, you’ll need a few key ingredients. Having everything measured out and ready before you start will make the process much smoother. For the cookie “handles,” you’ll need:
- All-purpose flour
- Granulated sugar
- Unsalted butter, softened
- Large egg
- Vanilla extract
- Baking powder
- Salt
For the broom bristles and binding, you’ll want:
Don’t miss out on our guide to Creaming Method For Cakes And Cookies.
- Pretzel sticks (thin ones work best for a delicate broom look)
- Caramel candies (like Rolo or soft caramels), unwrapped, or chocolate chips (milk, semi-sweet, or dark)
- Optional: A touch of water if using caramels
The type of pretzel you choose can really impact the final look of your halloween witch broomsticks. Thin pretzel sticks are ideal because they mimic the fine strands of a broom. If you can’t find thin ones, regular pretzel sticks can still work, but you might need to break them into smaller pieces to create a fuller broom effect. For the binder, melted caramel offers a wonderfully chewy texture and a complementary flavor to the cookie. If you’re not a caramel fan, melted chocolate is a fantastic substitute. You can find a wide variety of baking ingredients and tools at most grocery stores, and for specialty items, resources like Allrecipes can be helpful.
Crafting the Witch Broomstick Base
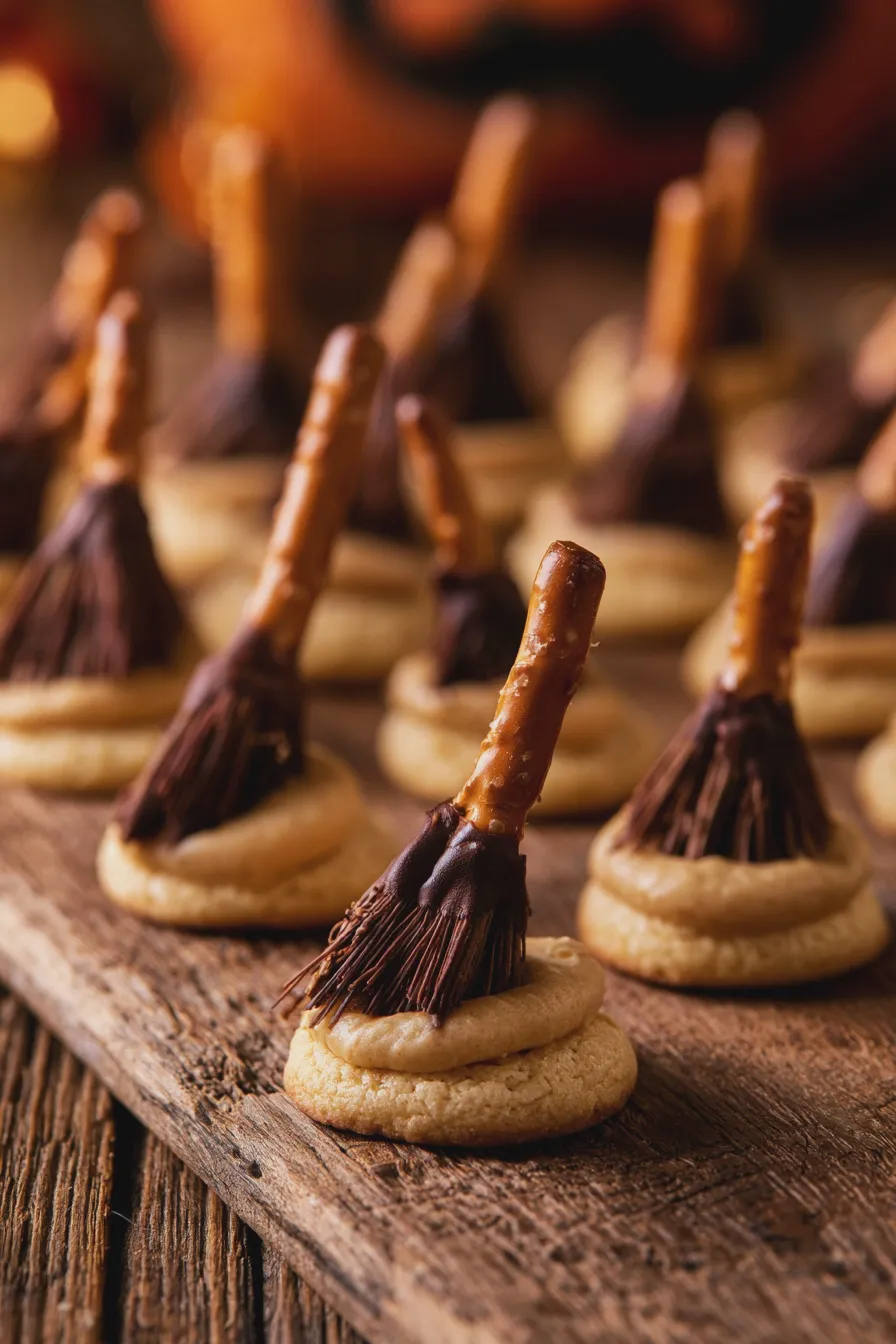
Let’s start by creating the foundation for our witch broom cookies – the cookie dough. This is where the magic truly begins to take shape.
Step 1: Creaming the Butter and Sugar
In a large bowl, cream together the softened unsalted butter and granulated sugar using an electric mixer on medium speed. Beat for about 3-5 minutes, until the mixture is pale and fluffy. This step is crucial for a tender cookie. If your butter is too cold, it won’t cream properly, and if it’s too warm, it can lead to greasy cookies. Aim for a consistency that looks like light, whipped frosting. This is the essence of the creaming method, which is vital for achieving the perfect cookie texture. You can learn more about how to cream butter and sugar for optimal results.
Step 2: Adding Wet Ingredients
Beat in the large egg and vanilla extract until well combined. Scrape down the sides of the bowl as needed to ensure everything is incorporated evenly. This adds moisture and flavor to our dough.
Don’t miss out on our guide to Cookie Dough Ice Cream.
Step 3: Combining Dry Ingredients
In a separate medium bowl, whisk together the all-purpose flour, baking powder, and salt. Whisking the dry ingredients together helps to distribute the leavening agent and salt evenly throughout the flour, preventing pockets of saltiness or uneven baking.
Step 4: Bringing the Dough Together
Gradually add the dry ingredients to the wet ingredients, mixing on low speed until just combined. Be careful not to overmix; overmixing can develop the gluten in the flour too much, resulting in tough cookies. You want a soft, cohesive dough. If the dough seems too sticky to handle, you can chill it for about 30 minutes, which will make it easier to shape.
Mistakes to Avoid with Cookie Dough
One common mistake is using cold butter. It won’t cream properly, leading to a dense cookie. Another is overmixing the dough once the flour is added, which can make your cookies tough. Also, ensure your baking powder is fresh; old baking powder won’t provide enough lift, resulting in flat cookies. For consistent results, always measure your flour correctly – spoon it into the measuring cup and level it off, rather than scooping directly from the bag.
Shaping and Baking Your Broom Handles
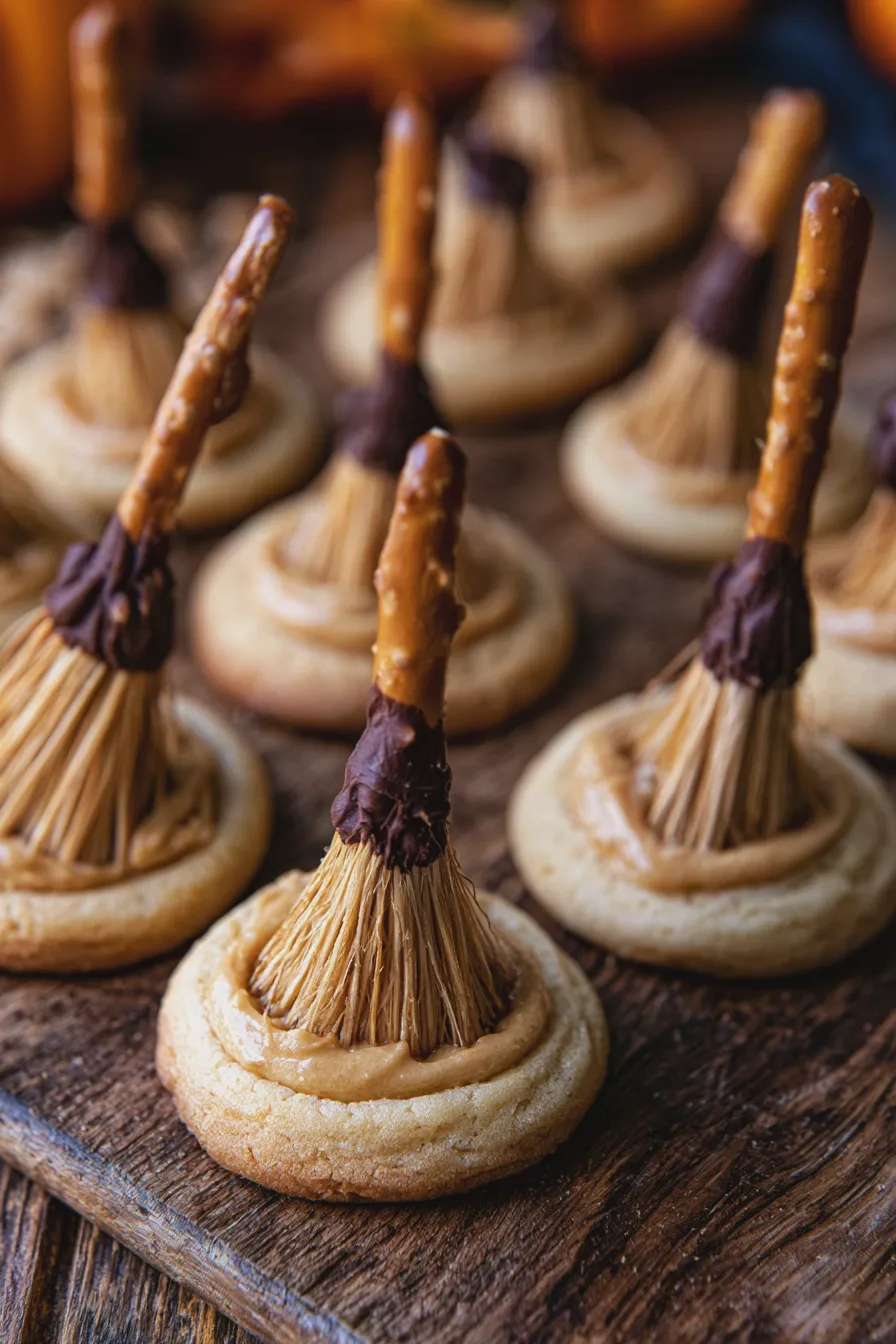
Now, let’s turn our delicious dough into the perfect broom handles for our halloween treats.
Looking for more? Try this delicious How To Make Ice Cream At Home next.
Step 5: Shaping the Handles
Preheat your oven to 350°F (175°C). Line baking sheets with parchment paper. Take about 1 tablespoon of cookie dough and roll it into a log shape, about 3-4 inches long and about ½ inch thick. These will be the “handles” of your witch brooms. Aim for consistency in size so they bake evenly. You can also try rolling them into slightly tapered shapes if you like, resembling a real broom handle.
Step 6: Baking the Cookies
Place the shaped cookie logs onto the prepared baking sheets, leaving about 2 inches between them. Bake for 10-12 minutes, or until the edges are lightly golden brown. The centers should still look slightly soft. They will continue to bake slightly on the hot baking sheet after you remove them from the oven.
Step 7: Cooling the Handles
Let the cookies cool on the baking sheets for 5 minutes before transferring them to a wire rack to cool completely. It’s essential that the cookie handles are completely cool before you attempt to attach the broom bristles. Warm cookies are fragile and can break easily.
Assembling the Witch Broom Cookies
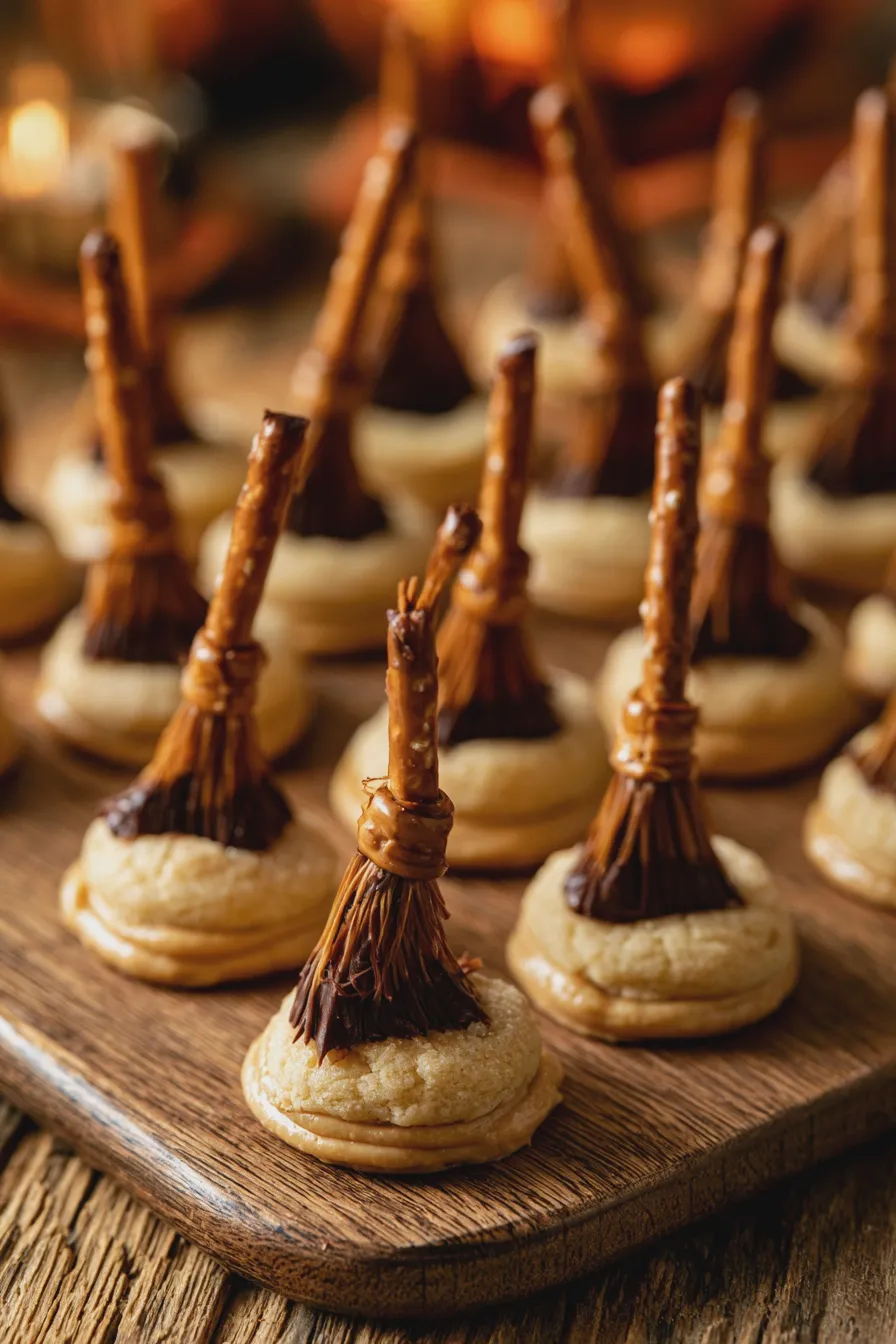
This is where your witch broom cookies transform into festive halloween party food!
Looking for more? Try this delicious How To Fold Ingredients Without Deflating next.
Step 8: Preparing the Broom Bristles
If you are using caramel candies, unwrap them and place them in a microwave-safe bowl with about 1 teaspoon of water. Microwave in 20-second intervals, stirring in between, until smooth and melted. Be careful not to overheat. If using chocolate chips, melt them similarly, stirring until smooth. You can also melt these ingredients in a double boiler on the stovetop. Make sure the melted caramel or chocolate is smooth and pourable but not too hot.
Step 9: Attaching the Bristles
Dip one end of a pretzel stick into the melted caramel or chocolate, coating about 1 to 1.5 inches. Immediately press this coated end into the cut end of a cooled cookie handle. You want the pretzel stick to adhere firmly to the cookie. If the caramel or chocolate starts to set too quickly, you can gently rewarm it.
Step 10: Creating the Broom Effect
While the caramel or chocolate is still wet, you can gently pull apart some of the pretzel pieces or use a toothpick to create a more “bristly” appearance. This adds to the visual appeal of your edible witch brooms. Work quickly but carefully, as the caramel/chocolate will start to harden.
Step 11: Letting Them Set
Place the assembled witch broom cookies on a clean sheet of parchment paper. Let them sit at room temperature until the caramel or chocolate has completely set. This can take anywhere from 30 minutes to an hour, depending on the humidity and temperature. Once set, your broomstick cookies are ready to be admired and devoured!
Looking for more? Try this delicious How To Prepare A Cake Pan To Prevent Sticking next.
For a different look, you can also try making these as witch hat cookies by using round cookies and decorating them to resemble witch hats. These broomstick treats are just one of many creative ways to celebrate Halloween with baking.
Tips for Perfect Witch Broom Cookies
- Temperature is Key: Ensure your butter is softened, not melted, for the cookie dough. For the binding, make sure your caramel or chocolate is melted and smooth, but not too hot, so it doesn’t melt the cookie.
- Uniformity: Try to make your cookie handles and pretzel bristle attachments as uniform in size as possible for a professional look.
- Cooling Patience: Resist the urge to assemble the broomsticks while the cookies are warm. Completely cooled cookies are essential for a sturdy bond.
- Storage: Store your finished witch broom cookies in an airtight container at room temperature for up to 3-4 days. If you live in a very warm climate, you might want to refrigerate them, but allow them to come to room temperature before serving for the best texture.
- Variations: Experiment with different types of pretzels (mini twists can also work!), different chocolate flavors, or even add a drizzle of colored icing to the broom bristles for extra flair. You could also try making cheese witch brooms for a savory appetizer option.
Common Mistakes and How to Fix Them
- Bristles Falling Off: If your pretzel bristles are falling off, you likely didn’t use enough caramel or chocolate to bind them, or they weren’t pressed firmly enough into the cookie. You can try gently re-dipping the pretzel end and reattaching it.
- Broom Handles Breaking: This usually happens if the cookies are too thin or if you try to handle them while they are still warm. Ensure your dough logs are a decent thickness and that the cookies are completely cool before assembly.
- Uneven Baking: If your cookie handles are baking unevenly, ensure your oven temperature is accurate and that the logs are roughly the same size and thickness. Rotating the baking sheets halfway through baking can also help.
- Caramel/Chocolate Too Thick or Too Thin: If your binder is too thick, it will be hard to coat the pretzels. If it’s too thin, it won’t hold them together. Adjust with a tiny bit more water (for caramel) or by letting it cool slightly (for chocolate) until you reach the right consistency.
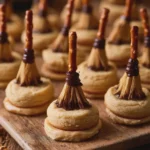
Witch Broom Cookies Recipe Quick and Easy Halloween Treat
- Total Time: PT32M
- Yield: 24 cookies 1x
- Diet: Vegetarian
Description
These adorable Witch Broom Cookies are a fun and festive Halloween treat! Made with simple ingredients and a touch of creativity, they’re perfect for parties or just a fun baking project with the kids.
Ingredients
- 1 package (16.5 oz) refrigerated sugar cookie dough
- 1/4 cup creamy peanut butter
- 1/4 cup powdered sugar
- 1/2 cup chocolate chips
- 1/4 cup pretzel sticks, broken into 2-inch pieces
Instructions
- Preheat your oven to 350°F (175°C). Line a baking sheet with parchment paper.
- In a medium bowl, mix together the peanut butter and powdered sugar until smooth and well combined.
- Roll the sugar cookie dough into 1-inch balls and place them on the prepared baking sheet, about 2 inches apart.
- Bake for 10-12 minutes, or until the edges are lightly golden. Let the cookies cool on the baking sheet for 5 minutes before transferring them to a wire rack to cool completely.
- Once the cookies are completely cool, spread a thin layer of the peanut butter mixture onto the bottom of each cookie.
- Dip the broken pretzel stick pieces into the chocolate chips to coat one end.
- Gently press the chocolate-coated end of the pretzel stick into the peanut butter mixture on the cookie, creating the broom bristles.
- Allow the chocolate to set before serving.
Notes
- For a different flavor, you can use cream cheese frosting or melted white chocolate instead of the peanut butter mixture.
- If you don’t have pretzel sticks, you can use chocolate-covered pretzel rods broken into smaller pieces.
- These cookies can be stored in an airtight container at room temperature for up to 3 days.
- Prep Time: PT20M
- Cook Time: PT12M
- Category: Halloween Cookies
- Method: Baking
- Cuisine: American
Nutrition
- Serving Size: 1 cookie
- Calories: 150
- Sugar: 15g
- Sodium: 80mg
- Fat: 8g
- Saturated Fat: 3g
- Carbohydrates: 18g
- Fiber: 1g
- Protein: 2g
- Cholesterol: 5mg







