

This recipe creates a delightful, crisp-on-the-outside, soft-on-the-inside dessert where freshly made, warm waffles cradle scoops of your favorite frozen treat, forming the ultimate waffle ice cream sandwich or sundae. It’s a wonderful way to elevate a simple scoop of vanilla or chocolate by pairing it with rich, buttery homemade waffles, offering irresistible texture contrast perfect for warm summer evenings or a fun weekend indulgence.
When we think of satisfying desserts, the combination of warm baked goods and cold ice cream always rises to the top, and this combination is no exception. Mastering the art of the perfect waffle base ensures that your dessert holds up beautifully against melting ice cream, preventing sogginess and maximizing flavor enjoyment. If you are looking for more unique dessert inspirations, you might enjoy exploring recipes like gourmet waffle ice cream ideas online.
The Secret to Perfect Waffles for Ice Cream
The key to a truly spectacular waffle ice cream experience lies entirely in the waffle itself; it needs to be sturdy enough to support the cold filling but tender enough to cut through easily with a fork. We are aiming for a slightly richer, crispier batter than what you might use for a standard breakfast, which is why we rely on melted butter and a touch of sugar for that golden exterior.
Waffle Ingredients You Will Need
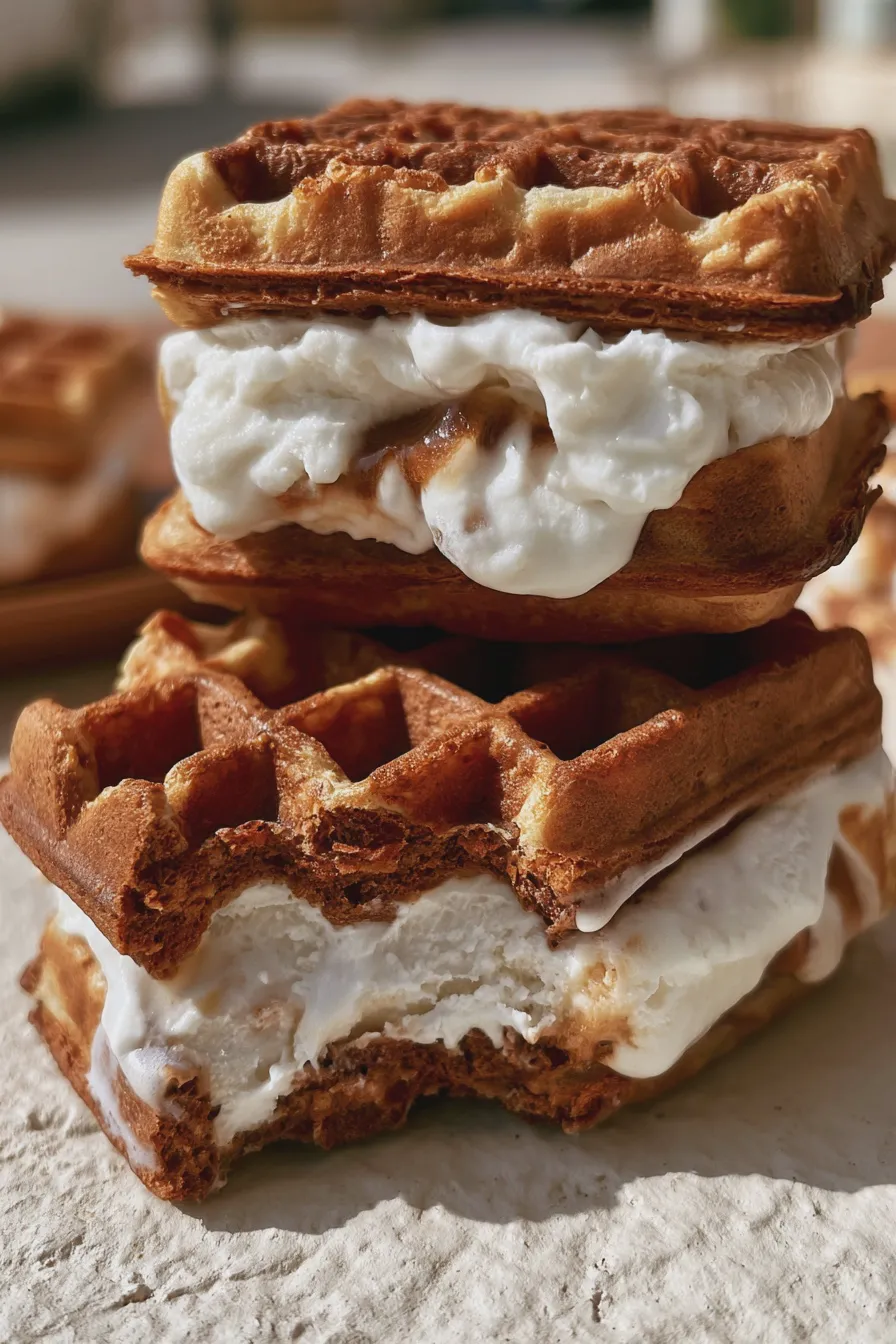
Gathering your ingredients beforehand ensures a smooth cooking process, especially since these waffles are best served immediately after coming off the iron. Having everything measured ensures the batter consistency is exactly right for achieving that satisfying crunch we are looking for in these sweet waffle recipes with ice cream.
- 1 and 3/4 cups all-purpose flour
- 1 tablespoon granulated sugar (plus extra for sprinkling if desired)
- 1 teaspoon baking powder
- 1/2 teaspoon baking soda
- 1/2 teaspoon salt
- 2 large eggs, separated
- 1 and 3/4 cups buttermilk (or regular milk mixed with 1 tablespoon of white vinegar and allowed to sit for 5 minutes)
- 1/2 cup unsalted butter, melted and slightly cooled
- 1 teaspoon vanilla extract
Tips for Crispy Waffles
Achieving a crisp exterior is crucial when making a base for frozen desserts, as moisture transfer from the ice cream can quickly lead to a soggy texture. One of the most effective ways to ensure crispness is to use buttermilk, as the acid reacts strongly with the baking soda, creating extra lift and a drier crumb.
Another important factor is proper waffle iron temperature; make sure your iron is fully preheated before pouring in any batter, as starting too cool traps steam inside the waffle structure. For those interested in exploring different base recipes, looking up how to make homemade waffle cones for ice cream can give you insights into achieving maximum crispness.
Preparing the Waffle Batter
Mixing the batter correctly is straightforward, but separating the egg whites and folding them in at the end is the non-negotiable step that gives these waffles their airy yet sturdy texture. This technique helps incorporate air without overdeveloping the gluten, which keeps the final product tender inside.
Combining the Dry Ingredients
In a large bowl, whisk together the flour, sugar, baking powder, baking soda, and salt until they are thoroughly combined and there are no visible clumps of leavening agent. This initial step ensures that the raising agents are evenly distributed throughout the flour, which is essential for uniform rise and texture in your finished product.
Incorporating Wet Ingredients and Eggs
In a separate medium bowl, lightly whisk the egg yolks, buttermilk, melted butter, and vanilla extract until they form a smooth, pale yellow liquid. Gently pour the wet mixture into the dry ingredients and stir only until just combined; a few small lumps are perfectly acceptable at this stage.
Beat the reserved egg whites in a clean, dry bowl until stiff peaks form, which means they hold their shape when you lift the whisk. Carefully fold these stiff whites into the batter in two additions, using a large spatula to gently incorporate them without deflating the volume you just created.
Cooking and Cooling the Waffles
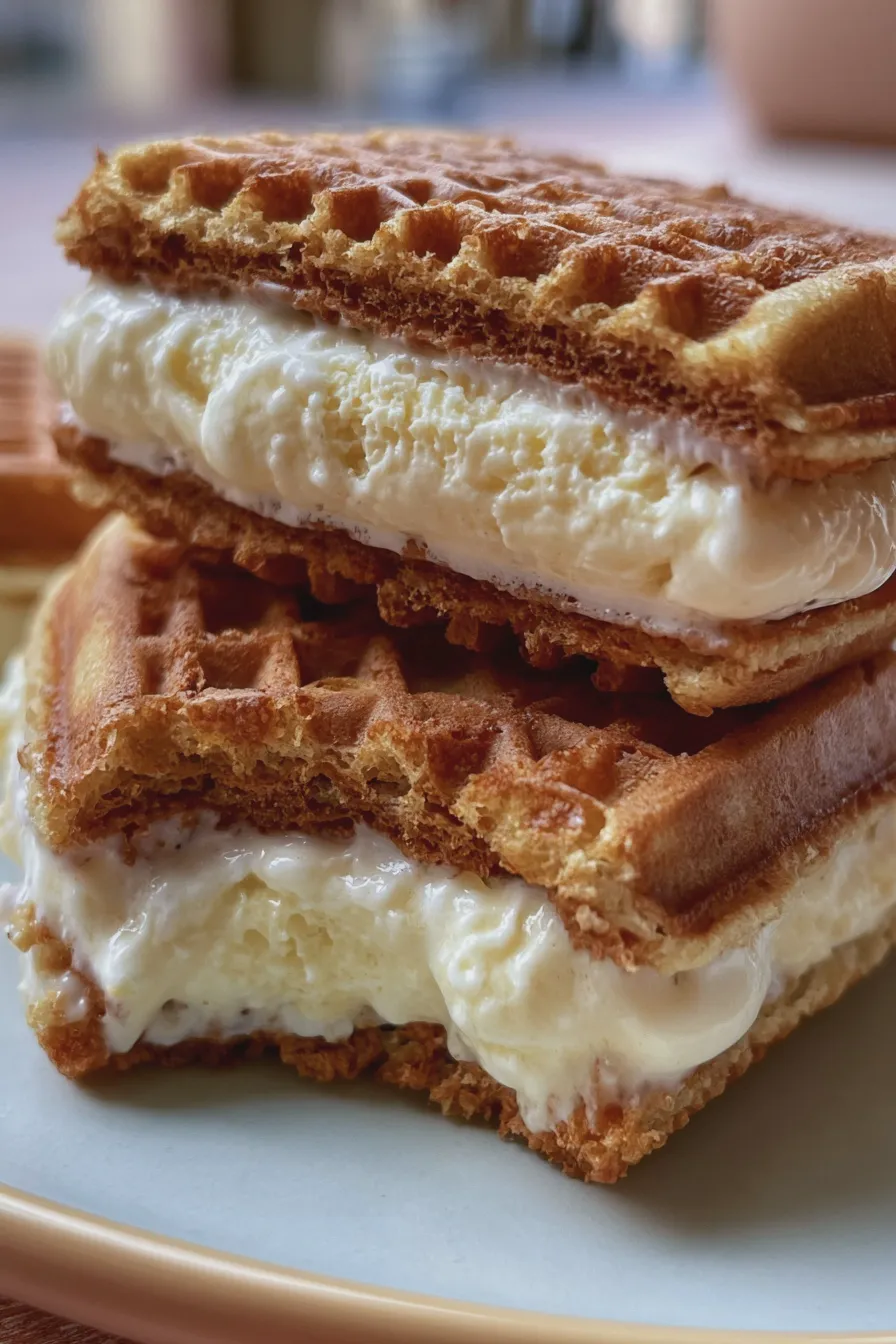
The cooking process must be managed carefully to ensure you get that ideal golden-brown exterior that contrasts so beautifully with cold ice cream. Since these waffles are serving as the vessel, they need to be cooked until they are fully set and slightly darker than your average breakfast waffle.
Waffling Technique
Preheat your waffle iron according to the manufacturer’s instructions, and lightly brush the grids with a neutral oil or cooking spray, even if your iron is non-stick. Ladle the appropriate amount of batter onto the center of the hot iron, close the lid, and cook until the steaming significantly slows down, usually about 4 to 6 minutes depending on your machine.
If you are making ice cream stuffed waffles, you’ll want to press the batter slightly thinner than usual to ensure the filling cooks evenly without the edges burning. If you are planning on making waffle bowl recipes for ice cream, you will need a specialized waffle bowl maker, or you can gently shape regular waffles over an inverted bowl immediately after cooking.
Achieving the Right Texture
To maintain crispness while you finish the rest of the batch, place the cooked waffles on a wire cooling rack set over a baking sheet—do not stack them, as trapped steam will soften them immediately. If you are making these ahead of time, you can bake them slightly longer until they are very crisp, then freeze them flat and reheat them briefly in a toaster oven before serving for that fresh-from-the-iron crunch.
For a truly decadent treat, consider trying the deep fried ice cream waffles method, though that requires advanced technique and careful handling of the frozen centers. For simpler serving, remember that the best ice cream flavors for waffles often include rich options like coffee, salted caramel, or even a sharp lemon sorbet to cut through the richness of the butter.
Assembling the Ultimate Waffle Ice Cream Dessert
This is where the magic happens—transforming warm waffles and cold ice cream into an unforgettable dessert experience that rivals any bakery offering. Remember that speed is important here, as you want the waffle warm and the ice cream firm for the best textural contrast.
Choosing Your Ice Cream and Toppings
Select high-quality, dense ice cream, as softer, airier varieties will melt too quickly and compromise the structure of your waffle base. Classic pairings like vanilla bean or rich chocolate work wonderfully, but don’t shy away from bolder flavors; perhaps you enjoy a strawberry shortcake feel or something more akin to a chicken and waffles dessert recipe using maple-pecan ice cream.
For toppings, consider adding crunch with toasted nuts, a drizzle of high-quality maple syrup, or perhaps some fresh berries to brighten the flavor profile. If you are looking for a fun, colorful addition, consider making candy coated rice krispies to sprinkle on top for extra texture.
Serving Styles: Sandwiches vs. Sundaes
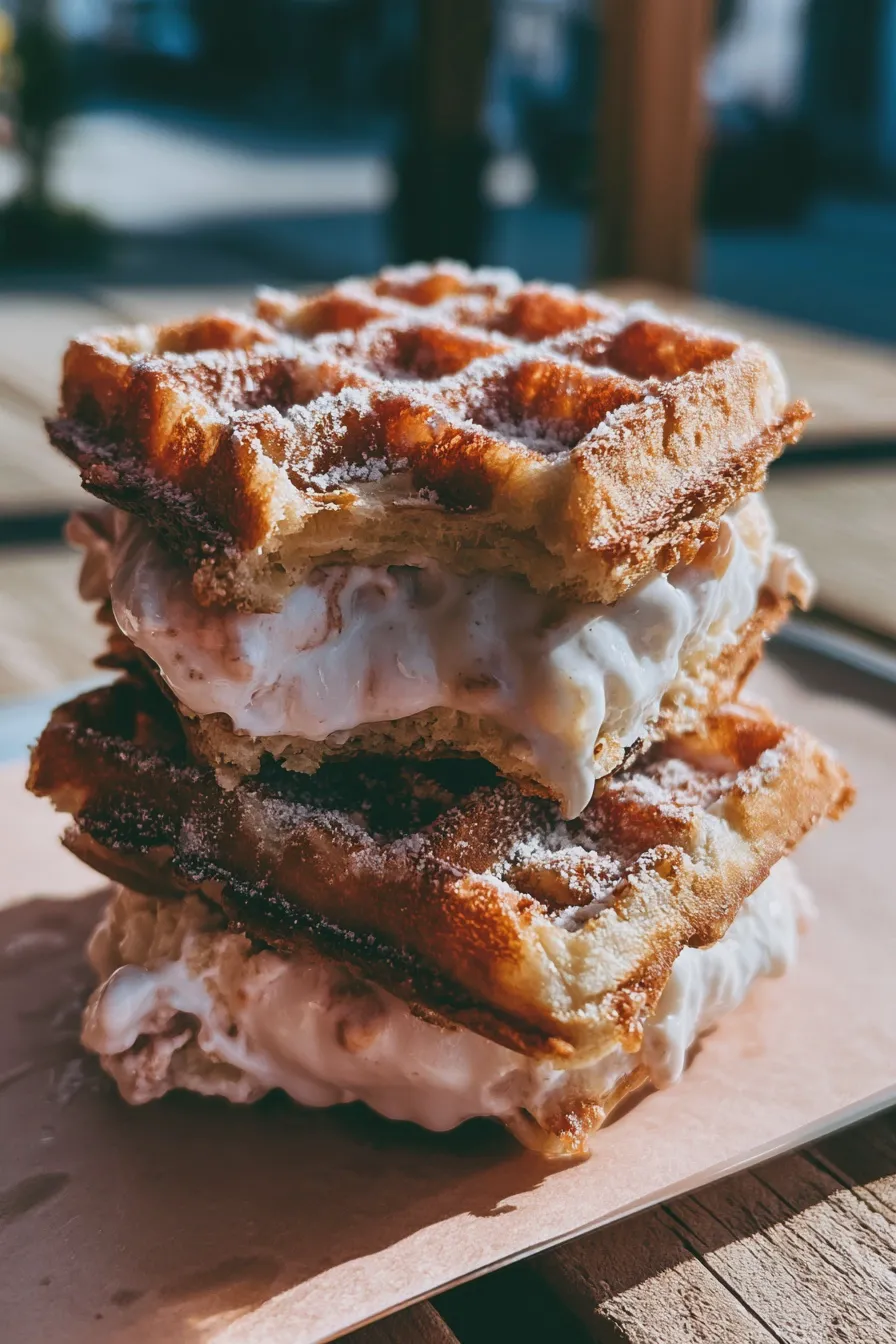
You have two main options for serving your creation: the sandwich or the sundae, both offering distinct enjoyment experiences. For waffle ice cream sandwich recipes, use two smaller, square waffles to completely enclose a generous slice of firm ice cream, pressing lightly to adhere.
Alternatively, for a more traditional approach, serve one warm waffle split in half, topped with two generous scoops of ice cream, and adorned with your chosen sauces and whipped cream, creating spectacular bubble waffle ice cream sundaes if you used a bubble waffle iron. If you are catering to specific dietary needs, exploring vegan waffle ice cream ideas or even keto waffle ice cream recipes can make this dessert accessible to everyone.
Storage and Make-Ahead Advice
While this dessert truly shines when assembled and eaten immediately, you can certainly prepare components in advance to streamline your serving process. Planning ahead is key, especially when hosting, so knowing how to manage the different elements saves stress later on.
Storing Unused Waffles
Once completely cooled to room temperature, store leftover waffles in an airtight container at room temperature for up to two days, or freeze them for up to two months for later use in any waffle iron dessert ideas. If you plan to use them later for breakfast for dessert waffles, wrap individual frozen waffles in plastic wrap before placing them in a freezer bag to prevent freezer burn.
Serving Tips for Large Batches
If you are preparing a large batch for a party, keep the cooked waffles warm in a low oven set to 200°F on a wire rack, allowing air circulation to keep them crisp while you prepare the ice cream toppings. When assembling, work quickly and have your toppings ready to go so that the transition from warm waffle to assembled dessert is seamless, ensuring easy waffle ice cream pairings for all your guests.
For those who prefer richer, non-traditional baked desserts, you might find inspiration in recipes like cottage cheese brownies for an entirely different kind of sweet treat later in the week. If you want to explore more baked goods that pair well with creamy fillings, looking up recipes for pumpkin cookies or even classic oatmeal cookies can provide great ideas for alternative dessert bases.
Print
Waffle Ice Cream Sandwiches Easy Recipe
- Total Time: PT2H35M
- Yield: 8 sandwiches 1x
- Diet: Vegetarian
Description
Create the perfect summer dessert by sandwiching your favorite ice cream between two perfectly crisp, warm waffles. These sandwiches are easy to make and infinitely customizable!
Ingredients
- 1 box (about 10 oz) complete waffle mix (or ingredients to make 8 waffles from scratch)
- 1.5 quarts high-quality vanilla ice cream (or flavor of choice)
- 1/4 cup mini chocolate chips or sprinkles (for rolling the edges)
- Optional: 2 tbsp melted butter for brushing waffles
Instructions
- Prepare the waffles according to the mix instructions or your preferred recipe. Aim for waffles that are slightly crisp rather than fluffy, as they need to hold up to the ice cream.
- Allow the cooked waffles to cool on a wire rack for about 10 minutes until they are no longer piping hot but still slightly warm.
- If using, lightly brush the outside of the cooled waffles with melted butter for extra crispness and flavor (optional step).
- Scoop the ice cream into 8 uniform mounds, roughly the size of half a waffle. Alternatively, use an ice cream scoop to create discs that match the size of your waffles.
- Place one mound/disc of ice cream onto the flat side of one waffle. Top immediately with a second waffle, pressing gently to create a sandwich.
- If using toppings (chocolate chips or sprinkles), immediately roll the exposed ice cream edges of the sandwich through the topping plate until coated.
- Place the finished sandwiches on a parchment-lined baking sheet and return them to the freezer for at least 2 hours to firm up before serving.
- Serve immediately after removing from the freezer for the best texture contrast.
Notes
- For easier assembly and cleaner edges, let your ice cream soften slightly (about 5-7 minutes on the counter) before scooping.
- Store finished, assembled sandwiches tightly wrapped in plastic wrap or foil in the freezer to prevent freezer burn.
- Try using different waffle varieties, like Liege waffles or chocolate waffles, for flavor variation.
- For a richer flavor, try mixing a tablespoon of cinnamon into your waffle batter before cooking.
- Prep Time: PT15M
- Cook Time: PT20M
- Category: Ice Cream Desserts
- Method: Assembly/Freezing
- Cuisine: American
Nutrition
- Serving Size: 1 sandwich
- Calories: 350
- Sugar: 30g
- Sodium: 250mg
- Fat: 18g
- Saturated Fat: 10g
- Carbohydrates: 45g
- Fiber: 1g
- Protein: 6g
- Cholesterol: 35mg







