
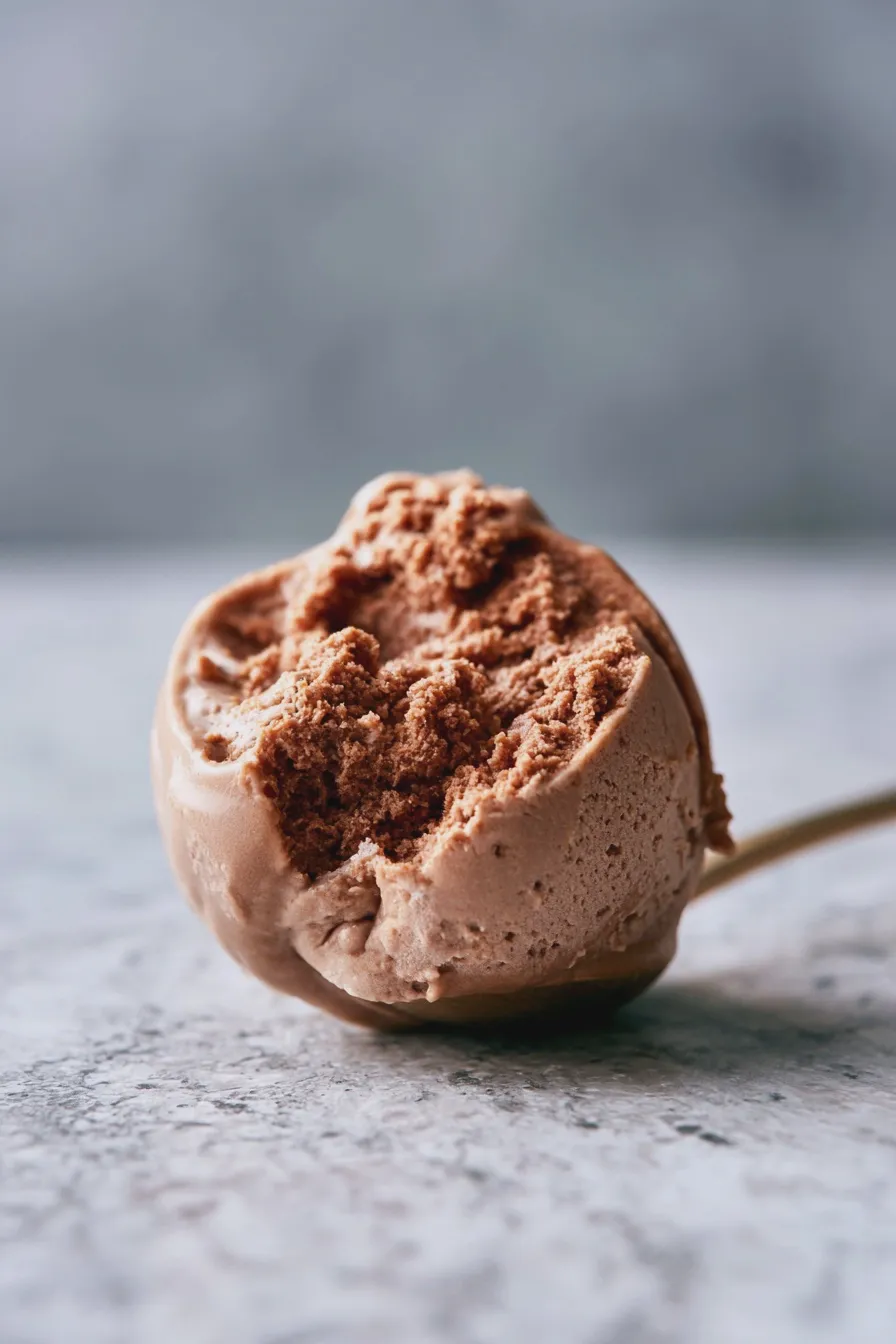
This incredibly rich and satisfying recipe for protein ice cream ninja creami recipes delivers a decadent, creamy texture without the typical sugar crash, making it a favorite for anyone looking to enjoy a healthy Ninja Creami dessert. It utilizes the Ninja Creami machine to transform a simple protein shake base into a surprisingly fluffy frozen treat that tastes indulgent.
If you’ve been searching for ways to satisfy your sweet tooth while sticking to fitness goals, mastering this technique is essential for enjoying guilt-free indulgences all week long. Finding the perfect balance when making ice cream with protein powder Ninja Creami can take a few tries, but this foundational recipe sets you up for success with high protein Ninja Creami recipes.
Understanding the Ninja Creami Protein Base
The secret to truly great homemade ice cream, especially when focusing on low calorie protein ice cream Ninja Creami options, rests entirely in your initial base mixture. We are aiming for a base that freezes solidly enough for the machine to process correctly, but contains enough stabilizers and sugar substitutes to remain scoopable. A common mistake people make when making protein shake ice cream Ninja Creami is using too much liquid, resulting in a slushy texture rather than a true frozen dessert. For more advanced frozen treat techniques, you might want to look into general techniques for making creamy frozen desserts.
Key Ingredients for Creamy Protein Ice Cream Ninja Creami
Achieving that coveted creamy protein ice cream Ninja Creami texture requires careful selection of ingredients that mimic the fat and sugar found in traditional ice cream, but with higher protein content. You must choose ingredients that provide bulk and help prevent large ice crystals from forming during the deep freeze cycle.
- 1 cup Unsweetened Almond Milk (or preferred milk alternative for low sugar Ninja Creami recipes)
- 1 scoop Vanilla or Chocolate Protein Powder (Whey/Casein blend works best for texture)
- 1/2 tsp Xanthan Gum (Crucial for smooth texture—do not skip!)
- 1/4 cup Plain Nonfat Greek Yogurt (Adds necessary bulk and tang)
- 2 Tbsp Zero-Calorie Sweetener (Monk fruit or erythritol blend recommended)
- 1/2 tsp Vanilla Extract
- Pinch of Salt
Selecting the Best Protein Powder Flavors
The success of your Ninja Creami protein recipes hinges heavily on the quality and type of protein powder you select, as this directly impacts flavor and texture. If you are aiming for diet-friendly Ninja Creami recipes, look for powders labeled as whey/casein blends, as the casein component helps create a creamier final product compared to pure whey. We find that the best protein ice cream base Ninja Creami uses a mild vanilla or unflavored powder to allow other mix-ins to shine.
Preparing and Freezing the Base
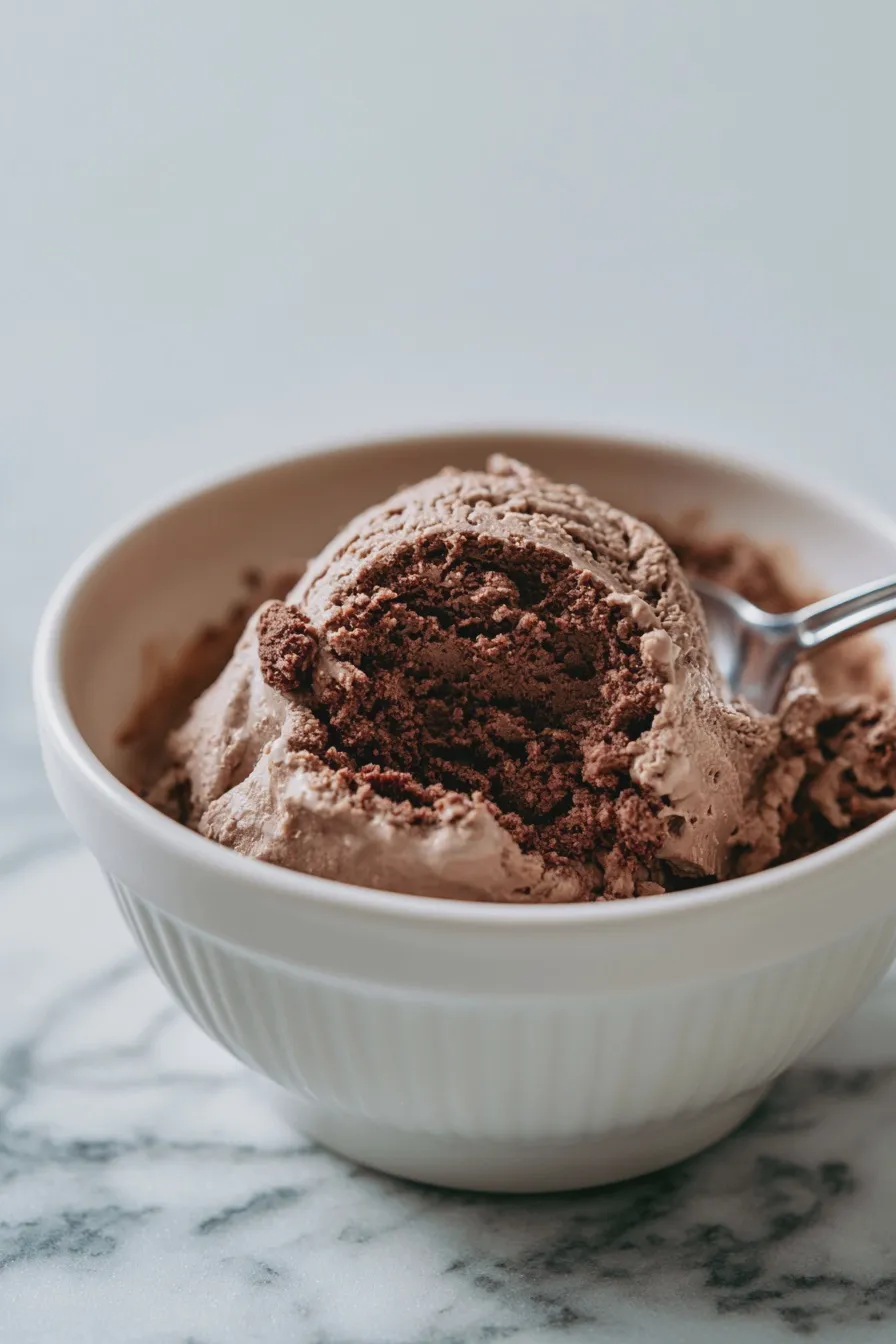
The preparation phase for any high protein Ninja Creami recipe is straightforward, but the freezing process requires patience and attention to detail to ensure optimal results. Remember, the Ninja Creami needs a completely frozen block to work its magic, so plan to start this process the day before you want to enjoy your treat.
Mixing the Protein Shake Base
Whisk all your liquid and dry ingredients together thoroughly in a bowl until the protein powder is completely dissolved and no clumps remain. If you notice any lingering lumps, a quick blend in a small immersion blender ensures a smooth start for your quick protein ice cream Ninja Creami. The addition of xanthan gum is vital here; sprinkle it in slowly while whisking constantly to prevent it from clumping, which is a common pitfall when making these frozen protein dessert Ninja Creami treats.
Freezing Instructions for Optimal Texture
Pour the thoroughly mixed base into the Ninja Creami pint container, making sure not to exceed the MAX fill line, as the mixture expands slightly upon freezing. Place the lid on securely and freeze the pint completely flat in the coldest part of your freezer for a minimum of 24 hours. This deep freeze is non-negotiable for achieving the correct consistency necessary for a successful spin in the machine.
Processing in the Ninja Creami
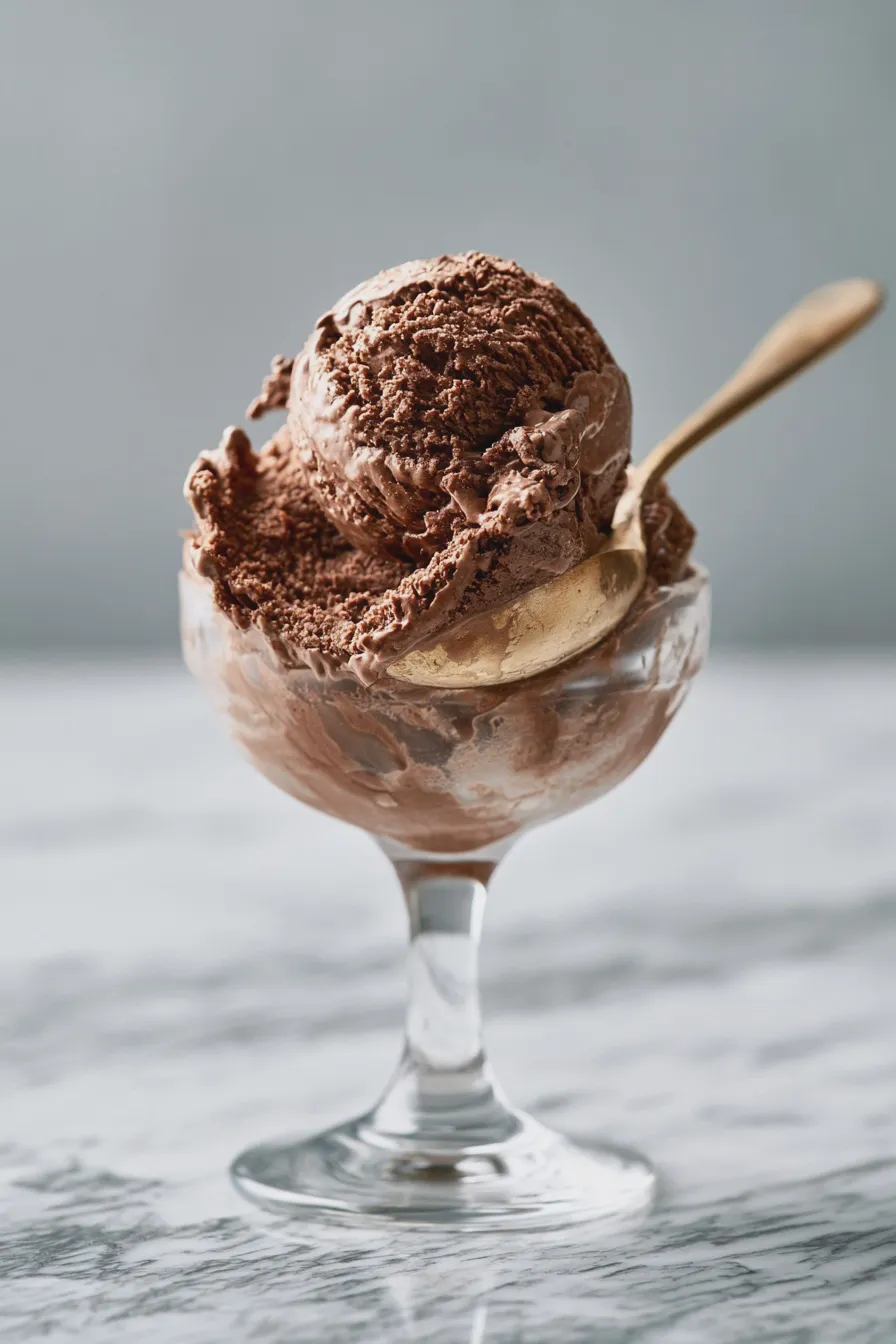
This is where the magic happens, transforming your solid block of frozen protein mixture into a soft-serve consistency, which is the hallmark of successful Ninja Creami protein recipes. Ensure your machine is assembled correctly and the pint is locked firmly into place before starting the cycle.
The Initial Spin Cycle
Place the pint into the machine, select the “Ice Cream” setting, and press start for the initial processing of your low sugar Ninja Creami recipes. For many protein bases, the first spin often results in a dry or powdery texture, which is perfectly normal when making this type of frozen protein dessert Ninja Creami. If the machine stops midway through due to dryness, simply proceed to the next step without removing the container.
Re-Spinning for Ultimate Creaminess
If the initial texture is crumbly, add one tablespoon of milk (any kind will work) directly into the pint, replace the lid, and run the “Re-Spin” function. This process adds the necessary moisture back into the mixture, helping the blades incorporate the frozen particles into a truly creamy protein ice cream Ninja Creami texture. You may need to repeat this re-spin process one more time, adding one teaspoon of liquid each subsequent time, until the mixture resembles soft-serve consistency.
Flavor Variations and Mix-Ins
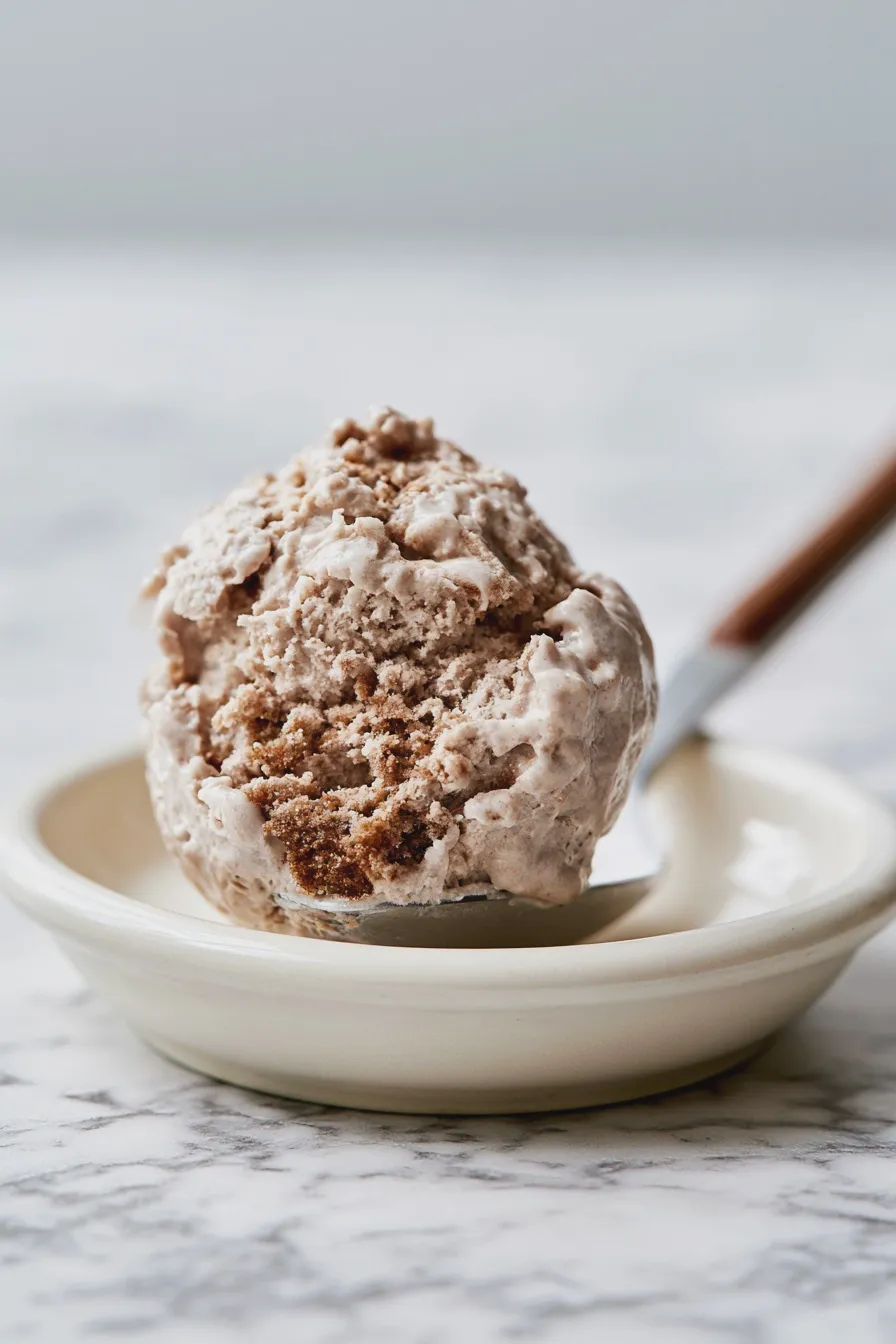
Once you have mastered the basic vanilla template, the possibilities for customization in your easy protein ice cream Ninja Creami become endless, allowing you to create endless macro-friendly Ninja Creami desserts. Adding flavor extracts or mix-ins must be done carefully to avoid altering the final texture too drastically.
Creating Chocolate Peanut Butter Bliss
To achieve a rich chocolate peanut butter flavor, substitute half your protein powder with a chocolate variety and add 1 tablespoon of unsweetened cocoa powder to the base mixture before freezing. After the final successful spin, use the “Mix-In” function and incorporate 1 tablespoon of melted, natural peanut butter or PB powder mixed with a tiny bit of water. This combination results in one of the most satisfying Ninja Creami protein ice cream recipes available.
Fruit Swirls and Cookie Dough Additions
For fruit variations, such as a berry swirl, freeze your fruit puree separately in an ice cube tray first, then add the cubes during the “Mix-In” cycle after the base has been spun. If you enjoy chunkier additions, remember that any mix-ins like crushed cookies or chocolate chips should be added only during the final Mix-In cycle, never before the initial freezing stage. For inspiration on delicious baked goods to crush up, you might enjoy checking out recipes for brownie cookies.
Storage and Troubleshooting Tips
Proper storage is key to maintaining the texture of your finished product, especially since protein ice cream tends to freeze harder than commercial varieties. If you’re making large batches, consider storing finished portions in smaller, separate containers.
Best Practices for Storing Leftovers
If you have leftover soft-serve, press a piece of plastic wrap directly onto the surface of the ice cream before sealing the lid to minimize air exposure and freezer burn. When you decide to eat the leftovers later, they will likely freeze quite hard, so allow them to temper on the counter for 10 to 15 minutes before attempting to scoop, or run them through a quick “Lite Ice Cream” cycle.
Fixing Common Texture Issues
The most common problem is a texture that remains too powdery or crumbly after the first spin, often due to using too much protein powder or not enough liquid. If your mixture is too icy after the re-spin, try adding a teaspoon of liquid sweetener, like a sugar-free maple syrup, before running the Re-Spin function one last time; this helps lower the freezing point slightly. Conversely, if your final product is too soft or soupy, it means you added too much liquid during the re-spin process, and you will need to refreeze it solid before trying another Re-Spin. For more ideas on balancing sweetness in recipes, exploring guides on honey vs sugar in baking can offer insights into ingredient functions.
Print
protein ice cream ninja creami recipes Easy Homemade
- Total Time: PT24H
- Yield: 1 Pint (Approx. 2 Servings) 1x
- Diet: Keto-Friendly (if using appropriate sweetener)
Ingredients
- 1 cup Unsweetened Almond Milk (or preferred milk/water)
- 1 scoop (approx. 30g) Chocolate or Vanilla Whey/Casein Protein Powder
- 1–2 Tbsp Erythritol or Monk Fruit Sweetener (adjust to taste)
- 1/4 tsp Xanthan Gum (Optional, for texture stabilization)
- 1/2 tsp Vanilla Extract
- 1 Tbsp Peanut Butter (melted, for mix-in)
- 1 Tbsp Mini Chocolate Chips (for mix-in)
Instructions
- Combine all base ingredients (milk, protein powder, sweetener, xanthan gum, vanilla) in a blender until smooth.
- Pour the mixture into the Ninja Creami pint and level it off. Freeze for 24 hours until solid.
- Process the pint on the ICE CREAM setting.
- If crumbly, add 1-2 Tbsp of liquid and select RE-SPIN until creamy.
- Create a well in the center, add melted peanut butter and chocolate chips.
- Process using the MIX-IN setting. Stir well to distribute mix-ins and serve.
Notes
- For best results with protein powder, use a blend of whey and casein, as pure whey can sometimes become icy.
- If you don’t have a Ninja Creami, this base can be processed into ‘nice cream’ using a high-powered blender after a partial thaw (about 30 minutes out of the freezer).
- Prep Time: PT5M
- Cook Time: 0 minutes
- Category: High-Protein Frozen Dessert
- Method: Ninja Creami
- Cuisine: American
Nutrition
- Serving Size: 1/2 Pint
- Calories: 240
- Sugar: 2g
- Sodium: 250mg
- Fat: 13g
- Saturated Fat: 3g
- Carbohydrates: 15g
- Fiber: 4g
- Protein: 28g







