
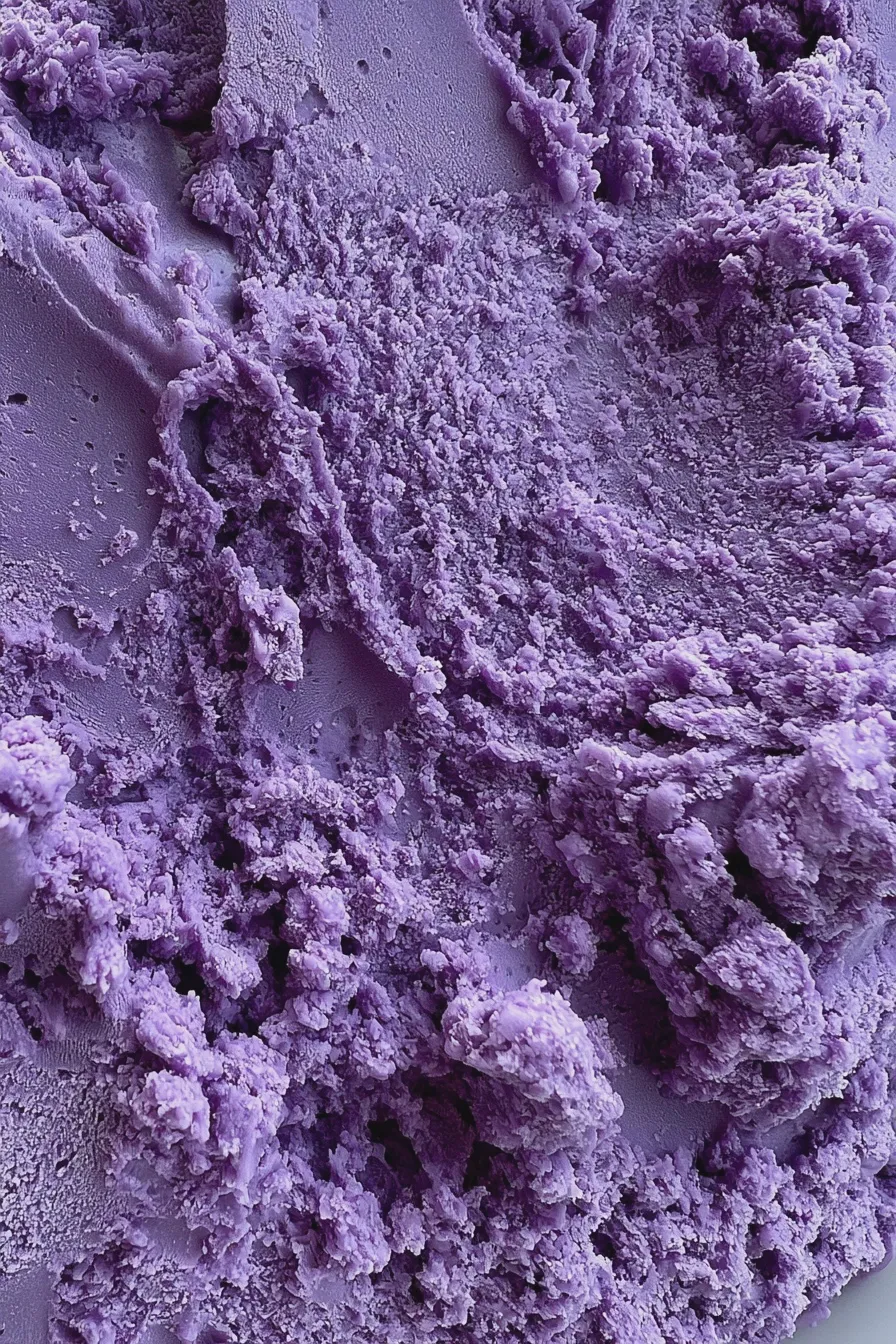
This homemade ube ice cream recipe delivers a stunningly vibrant, naturally purple dessert with a uniquely sweet and earthy flavor profile, perfect for a special occasion or when you crave a taste of the Philippines.
Making your own ube ice cream at home allows you to control the sweetness and achieve that signature creamy texture that store-bought versions often lack. This guide breaks down the process for achieving an authentic, rich, and truly memorable Filipino purple yam dessert right in your kitchen.
What Makes Ube Ice Cream So Special?
The magic of this dessert comes entirely from ube, or purple yam, which imparts a gorgeous lavender hue and a distinctive, slightly nutty, vanilla-like flavor that sets it apart from standard vanilla or fruit-based best ice cream flavors. Unlike many fruit-based frozen treats, this creamy ube dessert relies on the starch content of the yam for a naturally smooth mouthfeel, which we enhance with dairy.
If you are new to cooking with this ingredient, you might find inspiration by looking up other purple yam recipes to see its versatility beyond this frozen treat; for instance, you can find many similar baking applications to those found when considering whether to use butter vs oil in cakes for texture variation. Achieving the perfect texture is key to the best ube ice cream recipe, ensuring it scoops beautifully straight from the freezer without becoming rock hard.
Essential Ube Ice Cream Ingredients
Gathering the correct ube ice cream ingredients is the first step toward a successful batch of homemade ube ice cream. While some recipes rely on artificial coloring, using real ube guarantees the best flavor and that sought-after natural color.
- 1 cup Ube Halaya (sweetened purple yam jam) – Look for this pre-made or make your own ube halaya for the most control.
- 2 cups Heavy Whipping Cream
- 1 (14-ounce) can Sweetened Condensed Milk
- 1 teaspoon Vanilla Extract
- Pinch of Salt
- Optional: 1/4 cup Ube Extract (for deeper color/flavor, especially if using less jam)
For those aiming for a lighter version or exploring dietary alternatives, creating a vegan ube ice cream is possible by substituting the dairy components with full-fat coconut cream and a plant-based sweetener, though the texture will differ slightly.
Equipment Needed for This Recipe
The equipment you need depends heavily on whether you plan to use an ice cream maker or opt for a simpler method; knowing your tools beforehand streamlines the whole process of how to make ube ice cream.
- Large mixing bowl or stand mixer
- Whisk or spatula
- Airtight freezer-safe container (a loaf pan works well for compact freezing)
- Ice cream maker (if using the traditional method)
If you don’t own a machine, many excellent no churn ube ice cream methods exist, often relying on whipped cream folded into the base to incorporate air, similar to the aeration techniques needed for stabilizing fillings in rich desserts like a marshmallow whip cheesecake.
How to Make ube ice cream
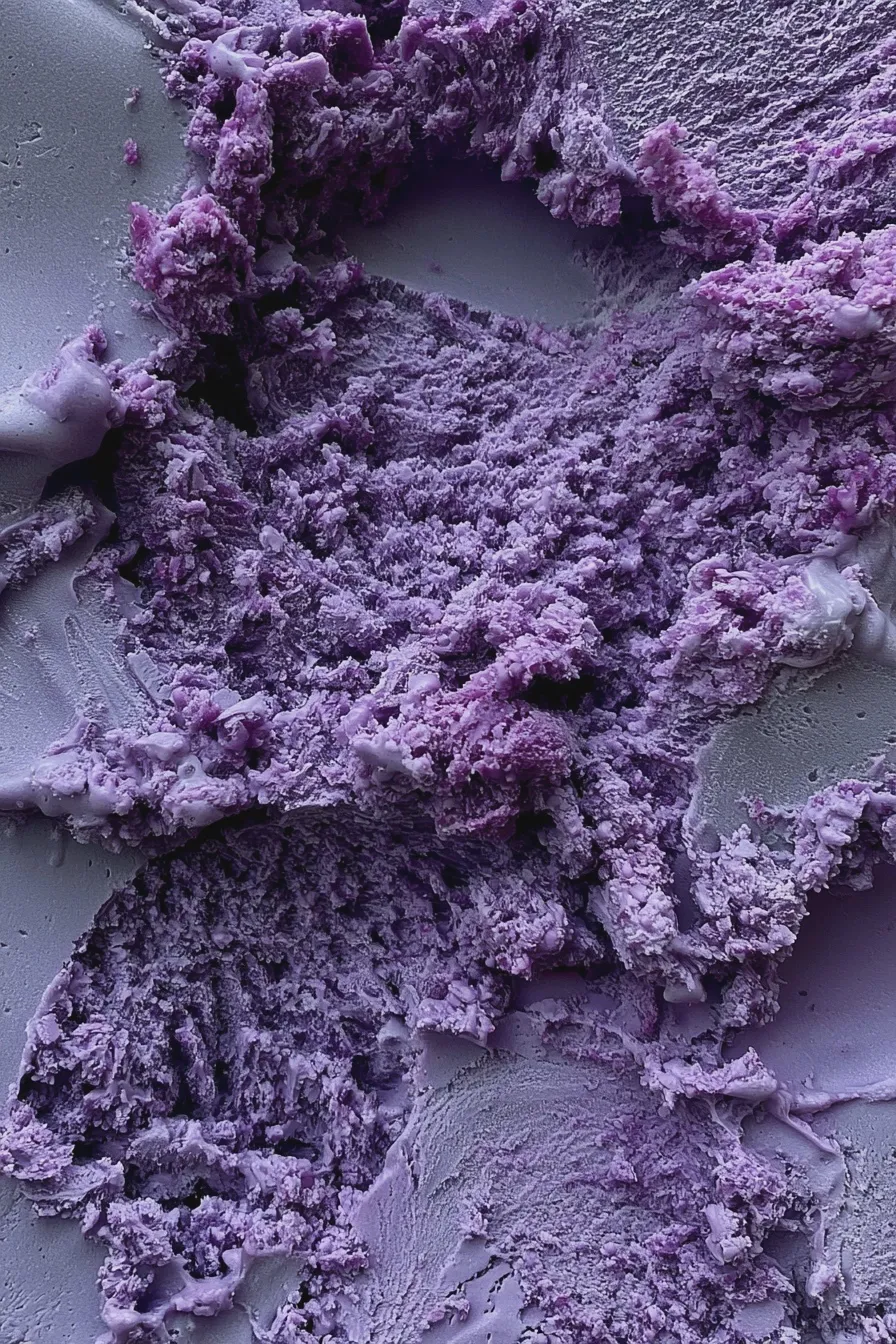
This section details the steps for creating the base and chilling it before the final freezing stage, ensuring your final product is the creamy ube dessert you are dreaming of.
Step 1: Preparing the Ube Base
In a medium bowl, gently combine the ube halaya, sweetened condensed milk, vanilla extract, and salt until the mixture is uniformly colored and smooth. If you are using extra ube extract to deepen the color or flavor, whisk it in now until no streaks remain.
This base needs to be thoroughly mixed to ensure that the flavor of the Filipino purple yam dessert is consistent throughout the batch, preventing pockets of plain dairy flavor.
Step 2: Whipping the Cream
In a separate, chilled bowl, use your electric mixer to whip the heavy cream until stiff peaks form, which means the cream holds its shape when the beaters are lifted. Be careful not to over-whip the cream, or you risk turning it into butter, a common mistake when aiming for light, airy textures in easy frozen desserts.
The stiffness of these peaks is crucial because they provide the necessary air volume that keeps the final product from being dense, much like the structure needed for light baked goods such as red velvet cupcakes.
Step 3: Folding the Components Together
Gently fold about one-third of the whipped cream into the ube mixture to lighten the base, and then carefully fold in the remaining whipped cream until just combined, taking care not to deflate the air you just whipped in. The goal is a homogenous, pale purple mixture that still looks light and fluffy.
This folding technique is vital for achieving that desirable scoopable texture in your authentic ube ice cream; overmixing at this stage is the primary cause of dense, icy results in homemade ice cream.
Step 4: Churning or Freezing the Mixture
If using an ice cream maker, pour the mixture into your pre-frozen canister and churn according to the manufacturer’s directions, usually for 20 to 30 minutes, until it reaches the consistency of soft-serve ice cream. If you are making no churn ube ice cream, transfer the mixture to your freezer-safe container and cover tightly.
For the no-churn method, you must stir the mixture vigorously every 45 minutes for the first three hours to break up ice crystals, which mimics the action of the churning process and helps create a smoother final texture, something also important when making air fryer brownies for even cooking.
Step 5: Curing and Storing
Once the ice cream is firm enough to scoop, transfer it to an airtight container and allow it to cure in the coldest part of your freezer for at least four to six hours, or preferably overnight, to fully harden. Proper curing ensures that your traditional ube dessert reaches the perfect consistency for serving.
Always press a piece of plastic wrap directly onto the surface of the ice cream before sealing the lid to prevent freezer burn and maintain the beautiful color of your finished product.
Tips for the Creamiest Ube Ice Cream Texture
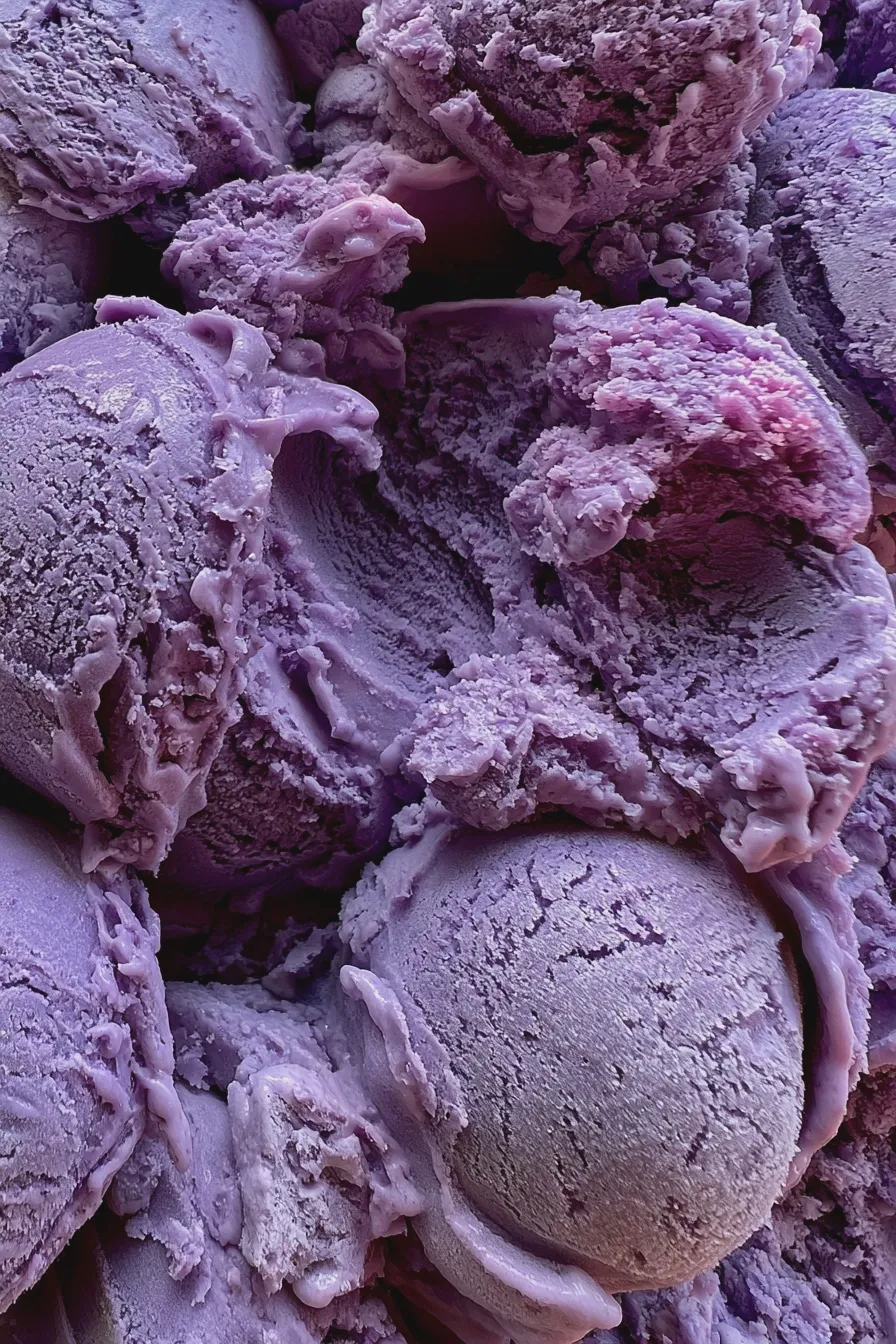
Achieving that perfect, scoopable texture separates a good batch from a truly exceptional one, especially when dealing with homemade frozen treats where ice crystal formation is a constant battle for ice cream maker recipes.
Controlling Sweetness and Richness
The high sugar content in the condensed milk helps lower the freezing point, which is essential for keeping the final product soft enough to scoop straight from the freezer, unlike recipes that rely solely on granulated sugar, such as some protein brownies where texture is managed differently.
If your ice cream freezes too hard, next time consider adding 1 to 2 tablespoons of corn syrup or a small amount of vodka (which lowers the freezing point without affecting flavor) to the base mixture before churning.
Incorporating Textural Add-ins
While the smooth flavor is wonderful on its own, textural additions elevate the experience of eating this ube dessert ideas staple. Consider folding in toasted coconut flakes, small pieces of chewy mochi, or even caramelized macapuno strings right before the final freeze for an added layer of interest.
Ensure any additions are incorporated gently during the final stages of churning or right before transferring the mixture to the freezer container to maintain the overall structure of the ice cream.
Serving Suggestions for this Filipino Delight
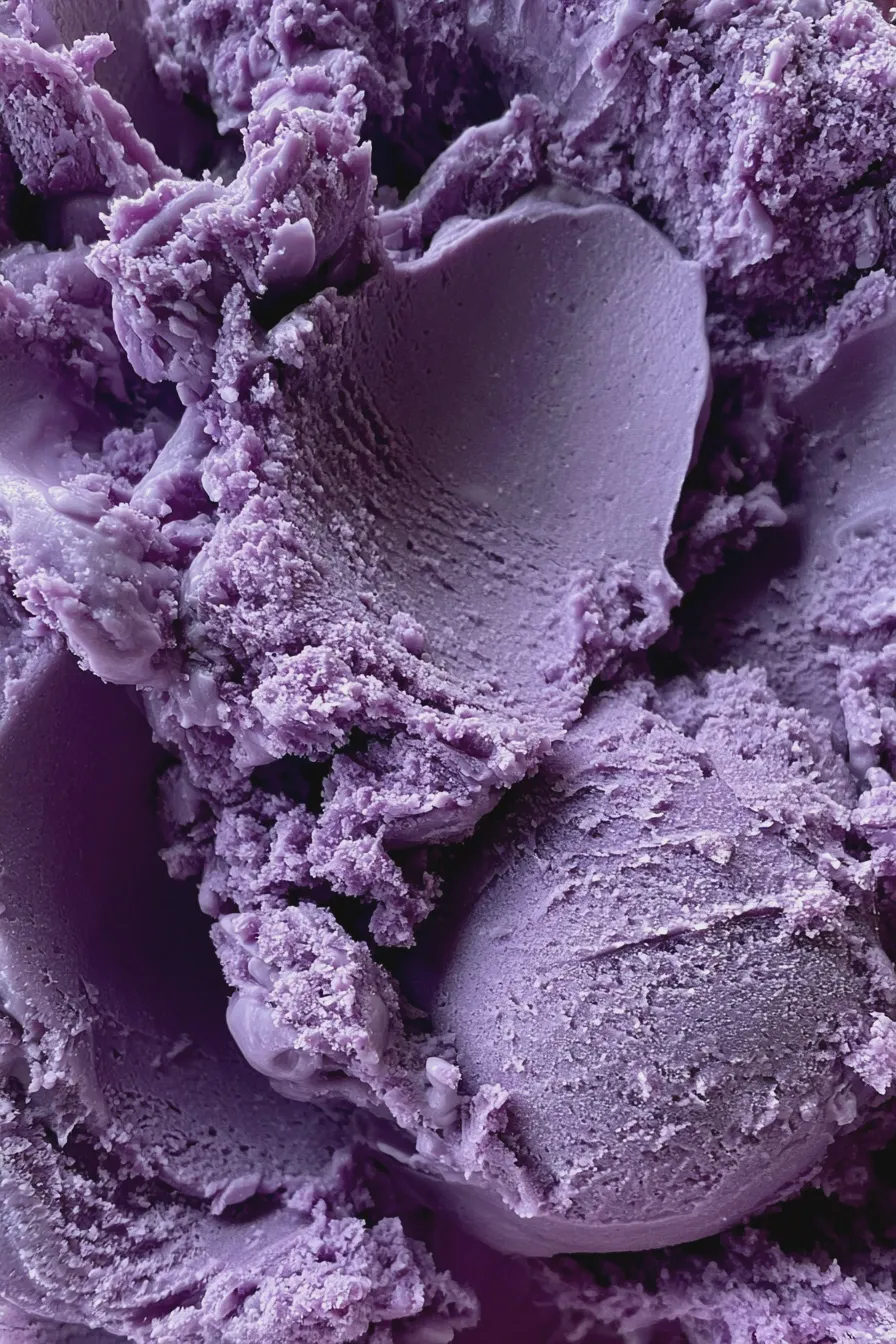
Presenting this vibrant dessert beautifully can be almost as fun as making it, whether you are serving it casually or as the centerpiece of a gathering celebrating Filipino desserts.
Classic Pairings
The earthy sweetness pairs wonderfully with contrasting textures and flavors, such as a warm, buttery shortbread cookie or a drizzle of salted caramel sauce. For a truly traditional presentation, serve scoops alongside a slice of toasted bread or a traditional Filipino cake.
A sprinkle of toasted sesame seeds or finely chopped macadamia nuts adds a lovely crunch that complements the creamy mouthfeel of the homemade ube ice cream base.
Creative Serving Ideas
Think beyond the bowl and use this ice cream to top other treats, like an upside-down cake or even as the filling for a unique ice cream sandwich using crisp wafers, perhaps even an orange creamsicle cake variation.
For an impressive finish, try making small scoops and serving them atop individual bowls of chilled sweet corn pudding or shaved ice (halo-halo style) for a multi-textured experience.
Print
ube ice cream Easy Homemade Recipe
- Total Time: PT6H15M
- Yield: Approximately 1.5 quarts 1x
- Diet: Vegetarian
Description
Ube, or purple yam, is a staple in Filipino desserts, known for its striking natural color and sweet, slightly nutty vanilla-like flavor. This recipe guides you through creating a luxuriously creamy, homemade Ube Ice Cream. While traditional methods involve custard bases, this simplified version utilizes sweetened condensed milk and heavy cream for an unbelievably smooth, no-churn result that perfectly highlights the magic of ube.
Ingredients
- 1 (14-ounce) can sweetened condensed milk, chilled
- 2 cups heavy whipping cream, very cold
- 1/2 cup Ube Halaya (sweetened purple yam jam), store-bought or homemade
- 1 teaspoon vanilla extract
- 1/4 teaspoon salt
- (Optional) 1-2 drops purple food coloring (if a deeper color is desired)
- (Optional) 1/4 cup toasted coconut flakes or ube bits for mix-ins
Instructions
- In a large bowl, combine the chilled sweetened condensed milk, Ube Halaya, vanilla extract, and salt. Stir vigorously until the Ube Halaya is fully incorporated and the mixture is uniformly colored a deep purple. If using, add the optional food coloring now.
- In a separate, chilled bowl, use an electric mixer (handheld or stand mixer fitted with a whisk attachment) to beat the very cold heavy whipping cream on medium-high speed until stiff peaks form. This usually takes 3–5 minutes. Be careful not to over-whip into butter.
- Gently fold about one-third of the whipped cream into the ube/condensed milk mixture using a rubber spatula to lighten the base.
- Gently fold the remaining whipped cream into the lightened base in two additions, working carefully to deflate as little air as possible. The goal is to maintain the volume of the whipped cream for a light texture.
- If using, gently fold in any optional mix-ins like coconut flakes or ube bits now.
- Pour the mixture into a freezer-safe loaf pan or airtight container. Cover the surface directly with plastic wrap to prevent ice crystals from forming, then cover the container tightly with a lid or foil.
- Freeze for a minimum of 6 hours, or preferably overnight, until firm.
- Let the ice cream sit at room temperature for 5–10 minutes before scooping and serving.
Notes
- Ube Halaya is the key ingredient; ensure it is smooth. If your Halaya is lumpy, blend it briefly before mixing into the condensed milk.
- For the best texture, ensure both the heavy cream and the condensed milk are thoroughly chilled before starting.
- This recipe is naturally gluten-free, relying on the natural starches in the yam for structure.
- To serve traditionally, pair with a drizzle of coconut syrup or toasted macapuno strings.
- Prep Time: PT15M
- Cook Time: 0 minutes
- Category: Frozen Dessert
- Method: No-Churn
- Cuisine: Filipino
Nutrition
- Serving Size: 1/2 cup
- Calories: 320
- Sugar: 35g
- Sodium: 75mg
- Fat: 18g
- Saturated Fat: 11g
- Carbohydrates: 38g
- Protein: 4g
- Cholesterol: 55mg







