
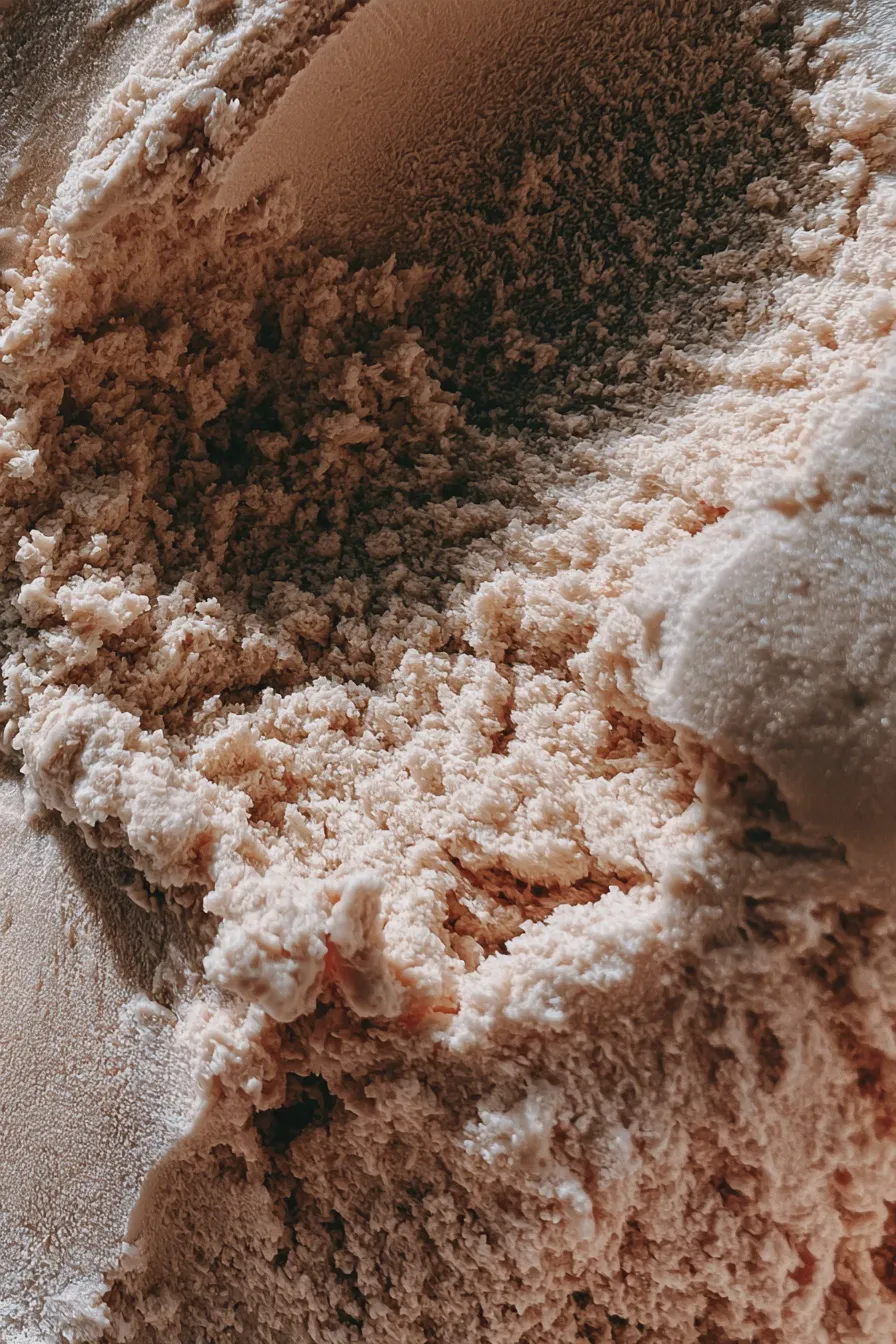
This homemade coffee ice cream recipe delivers a deeply rich and intensely flavored frozen coffee treat, perfect for satisfying those intense cravings without needing a specialized ice cream maker. It achieves a delightfully smooth texture, balancing the bitterness of strong espresso with sweet cream for a truly gourmet coffee flavor experience.
When the weather warms up, or you simply need a sophisticated end to a great meal, nothing beats a scoop of truly excellent homemade frozen dessert. Mastering how to make coffee ice cream at home ensures you control the quality and strength of that essential caffeine kick, resulting in the best coffee ice cream recipe you’ll ever try.
Essential Ingredients for Rich Coffee Ice Cream
Creating a truly rich coffee ice cream recipe starts with selecting high-quality dairy and potent coffee components. We are aiming for a deep, satisfying coffee flavor, not a weak afterthought, so pay attention to the strength of your brew.
For those looking to skip the churning process entirely, you might be interested in learning more about no churn coffee ice cream methods, though this recipe utilizes a traditional custard base for superior texture.
Dairy Components
The fat content in your dairy is crucial for achieving that signature creamy mouthfeel that separates good frozen coffee treats from great ones.
- Heavy Whipping Cream (2 cups): This provides the necessary fat content to keep the final product smooth and prevent large ice crystals from forming.
- Whole Milk (1 cup): Used to balance the richness of the heavy cream.
- Egg Yolks (5 large): These act as the emulsifier in our custard base, ensuring a smooth, scoopable texture for our homemade coffee ice cream.
Sweeteners and Flavorings
Choosing the right sweetener impacts both flavor and texture; we use a combination here to enhance the coffee notes.
- Granulated Sugar (3/4 cup): Standard sweetener that dissolves easily into the hot custard base. If you are curious about how different sugars affect texture, you might want to read up on brown sugar vs white sugar in baking applications.
- Strong Brewed Coffee or Espresso (1/2 cup): This must be cooled completely before mixing; use a dark roast for the deepest flavor.
- Instant Espresso Powder or High-Quality Instant Coffee (2 tablespoons): This concentrated form is essential for achieving a truly strong coffee ice cream flavor without adding excess liquid.
- Vanilla Extract (1 teaspoon): A small amount enhances the overall depth of flavor, much like it does in a great homemade vanilla ice cream base.
- Pinch of Salt: Balances the sweetness and brightens the robust coffee notes.
Preparing the Custard Base for Your Coffee Dessert Recipes
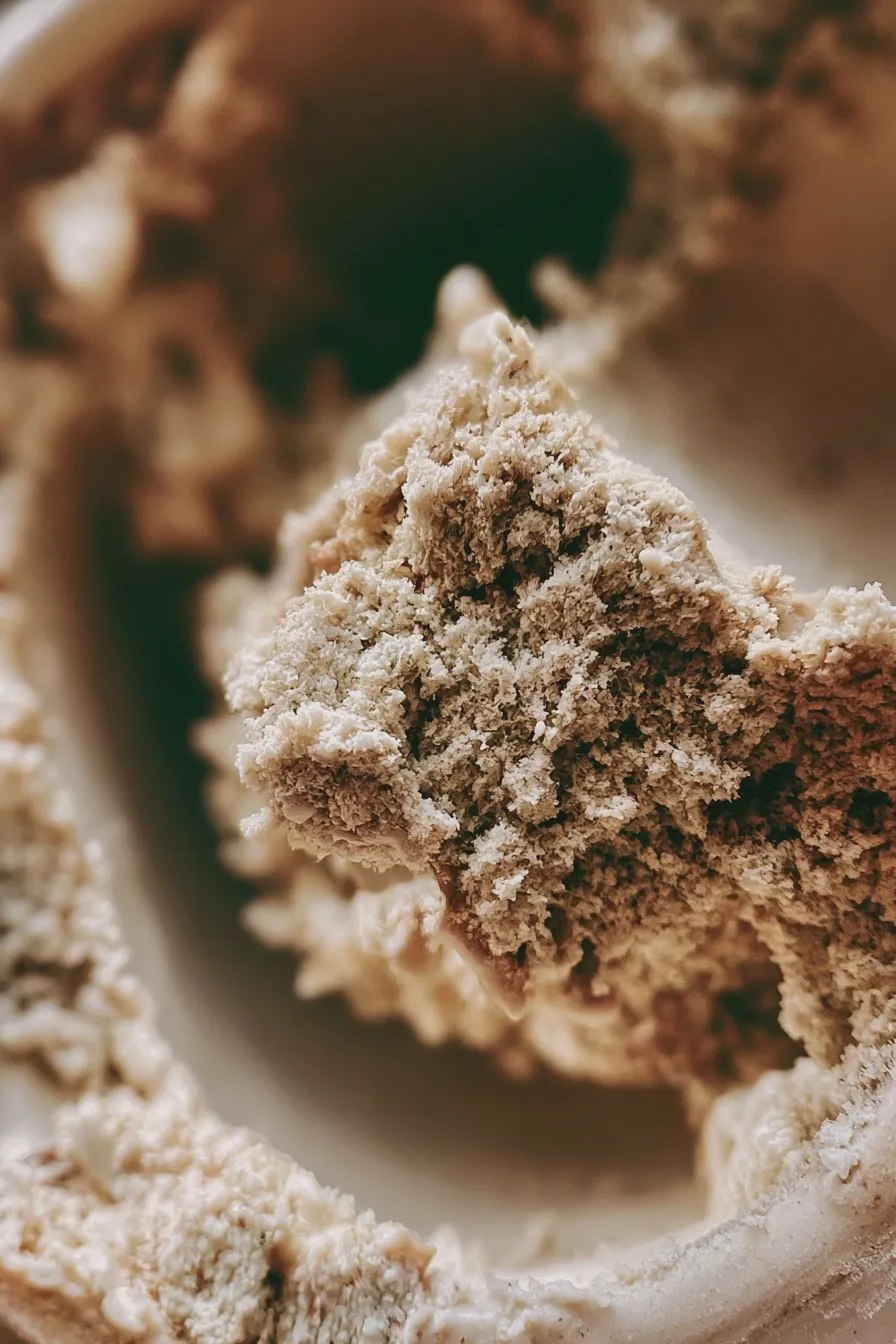
This stage is where we build the foundation for a truly gourmet coffee ice cream. Tempering the eggs correctly is the key step to avoid scrambling them while creating that luxurious base.
Blooming the Coffee Flavor
In a medium saucepan, combine the heavy cream, whole milk, instant espresso powder, and salt, then gently heat over medium heat until steam begins to rise but before it boils.
Remove the pan from the heat immediately, whisk in the brewed coffee or espresso, and set aside to allow the instant coffee to fully dissolve and the mixture to cool slightly while you prepare the yolks.
Tempering the Egg Yolks
In a separate bowl, whisk the egg yolks and granulated sugar together until the mixture is pale yellow and slightly thickened; this typically takes about two minutes of vigorous whisking.
To temper, slowly ladle about one cup of the warm coffee-cream mixture into the yolk mixture while whisking constantly to gently raise the temperature of the eggs without cooking them.
Cooking the Crème Anglaise
Pour the tempered yolk mixture back into the saucepan with the remaining cream, and return it to low heat, stirring constantly with a wooden spoon or spatula.
Cook until the custard thickens enough to coat the back of the spoon evenly (reaching about 170°F), which signals that your base is ready for chilling; avoid letting it boil at all costs.
Chilling and Churning the Instant Coffee Ice Cream
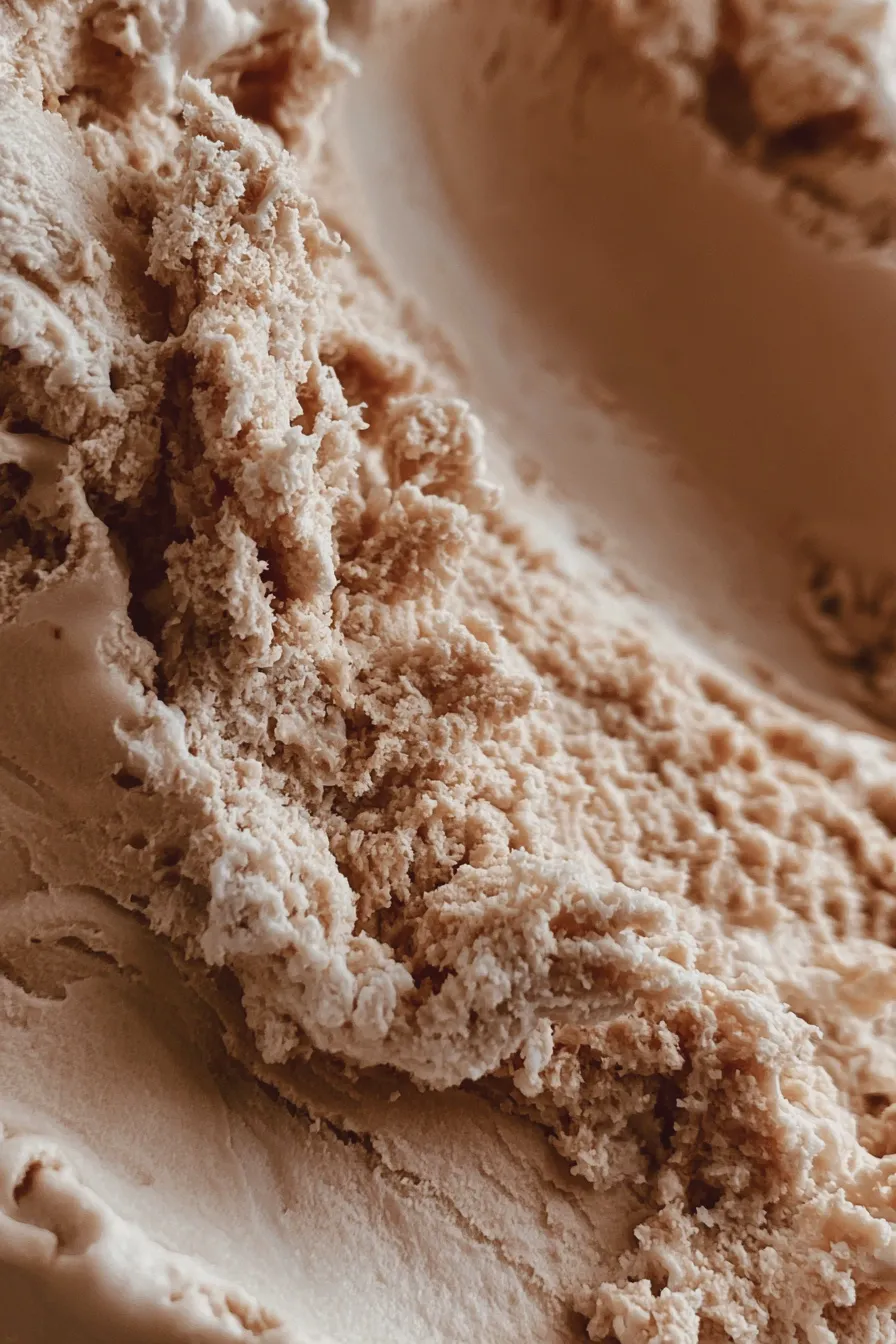
Proper chilling is non-negotiable for the best texture when making homemade ice cream; the colder the base, the smaller the ice crystals, and the creamier your final product will be.
Chilling the Base Thoroughly
Strain the finished custard base through a fine-mesh sieve into a clean bowl to catch any stray bits of cooked egg or undissolved coffee particles, then stir in the vanilla extract.
Cover the surface of the custard directly with plastic wrap to prevent a skin from forming, and refrigerate for at least 6 hours, though overnight chilling yields the superior result for this easy coffee ice cream.
Churning for Smoothness
Once fully chilled (it should feel very cold), pour the mixture into your ice cream maker and churn according to the manufacturer’s instructions, usually taking 20 to 30 minutes.
The mixture will resemble soft-serve consistency when finished; if you prefer a texture closer to german chocolate brownies—meaning dense and rich—you’ll want to proceed to the final hardening step immediately.
Freezing and Hardening
Transfer the churned ice cream into an airtight, freezer-safe container, pressing a piece of parchment paper directly onto the surface before sealing the lid tightly.
Freeze for an additional 4 to 6 hours, or until firm enough to scoop easily, transforming your soft frozen coffee treats into the perfect scoopable dessert.
Tips for Perfecting Your Homemade Coffee Ice Cream
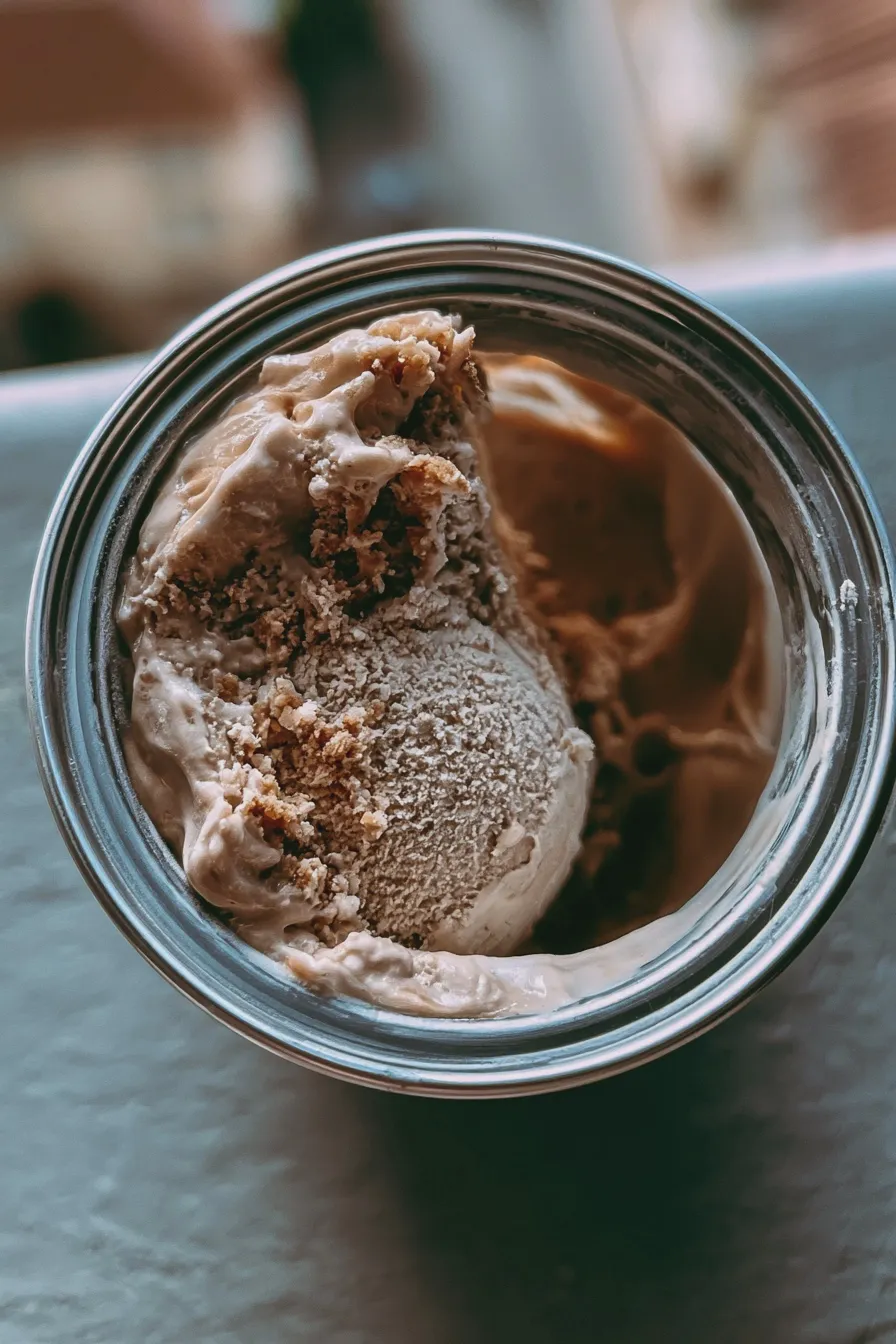
Achieving the ideal texture and flavor profile involves a few small tricks that elevate this from a simple dessert to a truly gourmet coffee ice cream experience.
Flavor Adjustments and Add-Ins
If you are using standard brewed coffee instead of espresso, increase the instant espresso powder to 3 tablespoons to ensure you get that necessary punch for a strong coffee ice cream.
Consider folding in mix-ins during the last five minutes of churning, such as crushed chocolate-covered espresso beans or small chunks of dark chocolate for a delightful coffee ice cream with chocolate chips texture variation.
Texture Troubleshooting
If your finished product is too hard, it often means there wasn’t enough sugar or fat to prevent excessive freezing; next time, try adding a tablespoon of corn syrup, which acts as an anti-freeze, similar to how ingredients affect texture in marshmallow brownies.
Conversely, if it’s too soft after freezing, ensure your base was fully chilled before churning, and confirm your ice cream maker freezer bowl was completely frozen solid for at least 24 hours.
Serving Suggestions
Allow the frozen coffee treats to sit on the counter for about 10 to 15 minutes before scooping to achieve the perfect consistency straight from the freezer.
Serve this rich coffee ice cream alongside warm brownies, or blend it with milk and extra coffee for a magnificent milkshake experience.
Print

coffee ice cream recipe Homemade Easy
- Total Time: PT4H35M
- Yield: About 1 quart 1x
- Diet: Vegetarian
Description
Indulge in the intense flavor of freshly brewed coffee with this incredibly rich and creamy homemade coffee ice cream recipe. Perfect for coffee lovers!
Ingredients
- 2 cups heavy cream
- 1 cup whole milk
- ¾ cup granulated sugar
- 2 tablespoons instant espresso powder (or finely ground dark roast coffee)
- 4 large egg yolks
- 1 teaspoon vanilla extract
- Pinch of salt
Instructions
- In a medium saucepan, combine the heavy cream, whole milk, sugar, and espresso powder. Heat over medium heat, stirring constantly until the sugar is fully dissolved and the mixture is steaming but not boiling. Remove from heat.
- In a separate bowl, whisk the egg yolks until they are pale yellow. Slowly temper the egg yolks by whisking in about 1 cup of the hot cream mixture, a little at a time.
- Pour the tempered egg yolk mixture back into the saucepan with the remaining cream mixture.
- Return the saucepan to medium-low heat. Stir continuously with a wooden spoon or heatproof spatula until the custard thickens enough to coat the back of the spoon (reaching about 175°F/80°C). Do not let it boil.
- Immediately strain the custard through a fine-mesh sieve into a clean bowl set over an ice bath. Stir in the vanilla extract and salt.
- Once cooled slightly, cover the surface of the custard directly with plastic wrap to prevent a skin from forming. Refrigerate for at least 4 hours, or preferably overnight, until completely chilled.
- Churn the chilled custard in your ice cream maker according to the manufacturer’s instructions.
- For a firmer texture, transfer the churned ice cream to an airtight container and freeze for an additional 2–4 hours (this is the hardening stage).
- Serve scoops topped with chocolate shavings or a drizzle of caramel sauce.
Notes
- For an even stronger coffee flavor, steep 2 tablespoons of finely ground dark roast coffee beans in the cream mixture for 30 minutes before straining and proceeding with the recipe.
- This recipe works best with an ice cream maker. If you do not have one, you can use the ‘no-churn’ method by whipping the chilled heavy cream separately and folding it into the chilled custard base before freezing.
- Prep Time: PT20M
- Cook Time: PT15M
- Category: Ice Cream
- Method: Custard Base (Churned)
- Cuisine: American
Nutrition
- Serving Size: ½ cup
- Calories: 320
- Sugar: 25g
- Sodium: 55mg
- Fat: 22g
- Saturated Fat: 13g
- Protein: 5g
- Cholesterol: 120mg







