
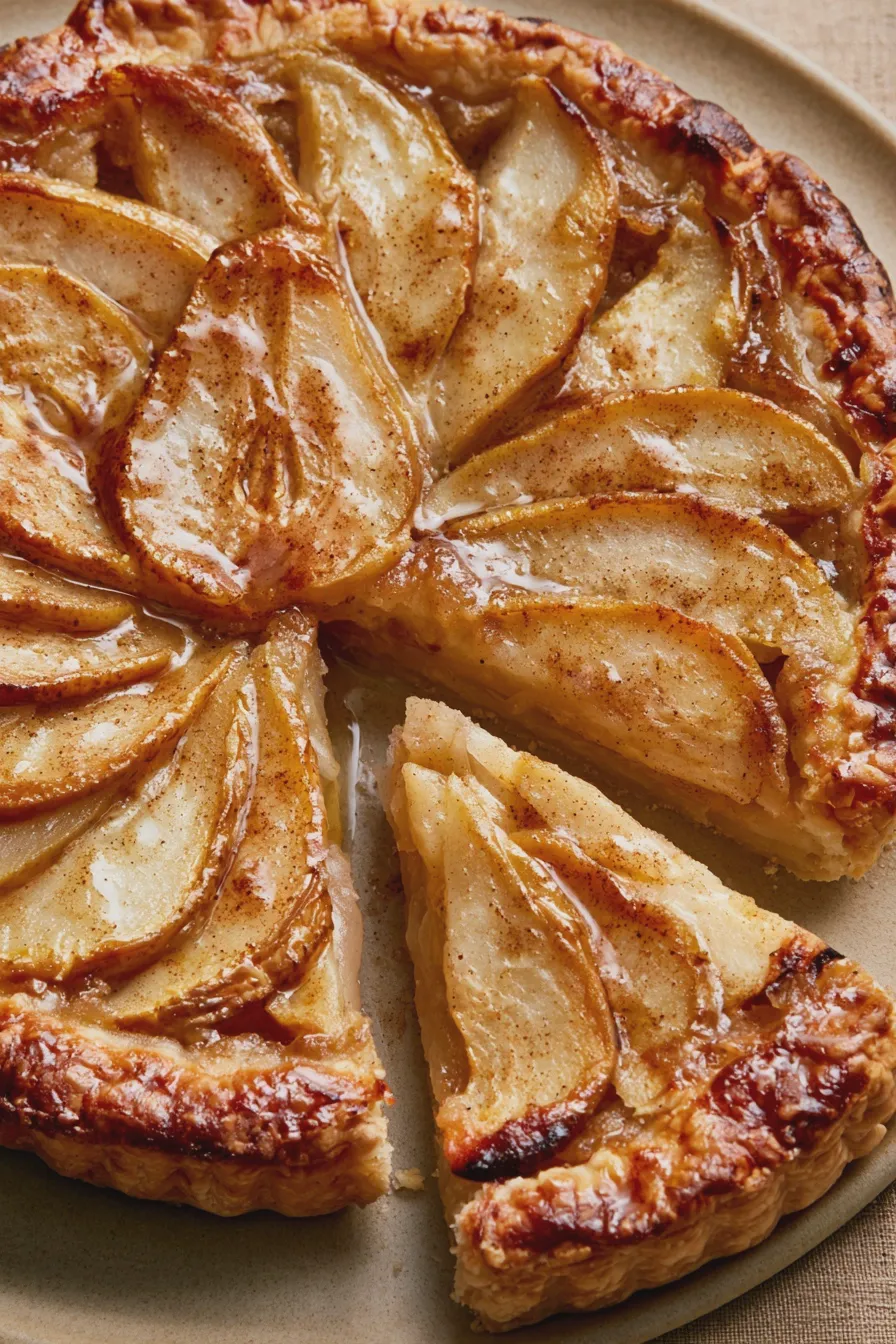
There’s something truly magical about a perfectly baked tart, especially when it features the delicate sweetness of ripe pears. A pear tart is a classic dessert that brings a touch of elegance to any occasion, whether it’s a casual afternoon tea or a special holiday gathering. As a baking enthusiast myself, I’ve spent countless hours perfecting my pear tart recipes, and I’m thrilled to share my knowledge with you. This guide will walk you through everything you need to know to create a truly delicious pear tart, from choosing the right fruit to mastering the crust. Get ready to impress yourself and your loved ones with this beautiful and flavorful dessert. For more inspiration on classic desserts, you might find classic dessert recipes helpful.
Understanding the Components of a Pear Tart
Before we dive into the specifics of making a pear tart, let’s break down the essential elements that come together to create this delightful treat. Understanding each component will help you troubleshoot any issues and elevate your baking game. A great pear tart recipe relies on three main parts: the crust, the pears themselves, and any accompanying filling or topping.
The Perfect Tart Crust
The foundation of any excellent tart is its crust. For a pear tart, you have a few options, but a classic pâte sucrée (sweet shortcrust pastry) or a flaky pâte brisée (shortcrust pastry) are often the best choices. The key to a successful crust is to keep your ingredients cold and avoid overworking the dough. Overworking can develop the gluten too much, resulting in a tough crust instead of a tender, flaky one.
Tips for a Great Crust:
- Use cold butter and water: This is crucial for flakiness. The cold fat creates steam pockets as it bakes, leading to layers of delicious crispness.
- Don’t overmix: Mix the dough until it just comes together. A shaggy dough is perfectly fine before chilling.
- Chill thoroughly: Chilling the dough relaxes the gluten and firms up the butter, making it easier to roll and preventing shrinkage. Aim for at least 30 minutes, or even longer.
- Blind baking: For a crispier bottom crust, especially with moist fillings, blind baking is essential. This involves partially or fully baking the crust before adding the filling. You’ll need pie weights or dried beans for this. For more on achieving a perfect crust, explore how to make pie crust.
Common Crust Mistakes:
- Using warm ingredients.
- Overworking the dough.
- Not chilling the dough sufficiently.
- Not docking the crust (pricking with a fork) before blind baking, which can cause puffing.
Selecting the Best Pears
The star of our show is, of course, the pear! Not all pears are created equal when it comes to baking. You want pears that hold their shape and offer a good balance of sweetness and slight tartness.
Recommended Pear Varieties for Baking:
- Bosc: These are a favorite for baking due to their firm texture and sweet, spicy flavor. They hold their shape beautifully.
- Anjou: Both red and green Anjou pears work well. They have a mild sweetness and a smooth texture that softens nicely when baked.
- Comice: While very sweet and juicy, Comice pears can become quite soft. They are best used in recipes where you want a very tender pear filling or if you’re baking for a shorter duration.
- Forelle: These smaller pears are also a good option, offering a crisp texture and a sweet flavor.
Tips for Pear Preparation:
Another favorite of ours is the How To Fold Ingredients Without Deflating.
- Choose ripe but firm pears: They should yield slightly to gentle pressure but not be mushy.
- Peel, core, and slice: Peel the pears, remove the core, and slice them evenly. Aim for slices about 1/4 to 1/2 inch thick.
- Prevent browning: If you’re preparing the pears ahead of time, toss them gently with a little lemon juice to prevent them from turning brown.
Flavor Enhancements: Fillings and Toppings
While a simple arrangement of pears on a crust can be stunning, many pear tart recipes include additional elements to enhance flavor and texture. Common additions include frangipane (an almond cream), a simple glaze, or a crumble topping.
Almond Frangipane: This rich, nutty filling is a classic pairing with pears. It’s made with ground almonds, butter, sugar, eggs, and a touch of almond extract. It bakes into a moist, flavorful layer beneath the pears.
Caramelized Pears: Sautéing or caramelizing the pears before placing them in the tart adds a deeper, richer sweetness and a lovely golden hue.
Spices: Cinnamon, nutmeg, cardamom, and ginger are wonderful spices to complement the natural flavor of pears. A pinch in the filling or sprinkled over the pears adds warmth.
Classic Pear Tart Recipe: A Step-by-Step Guide
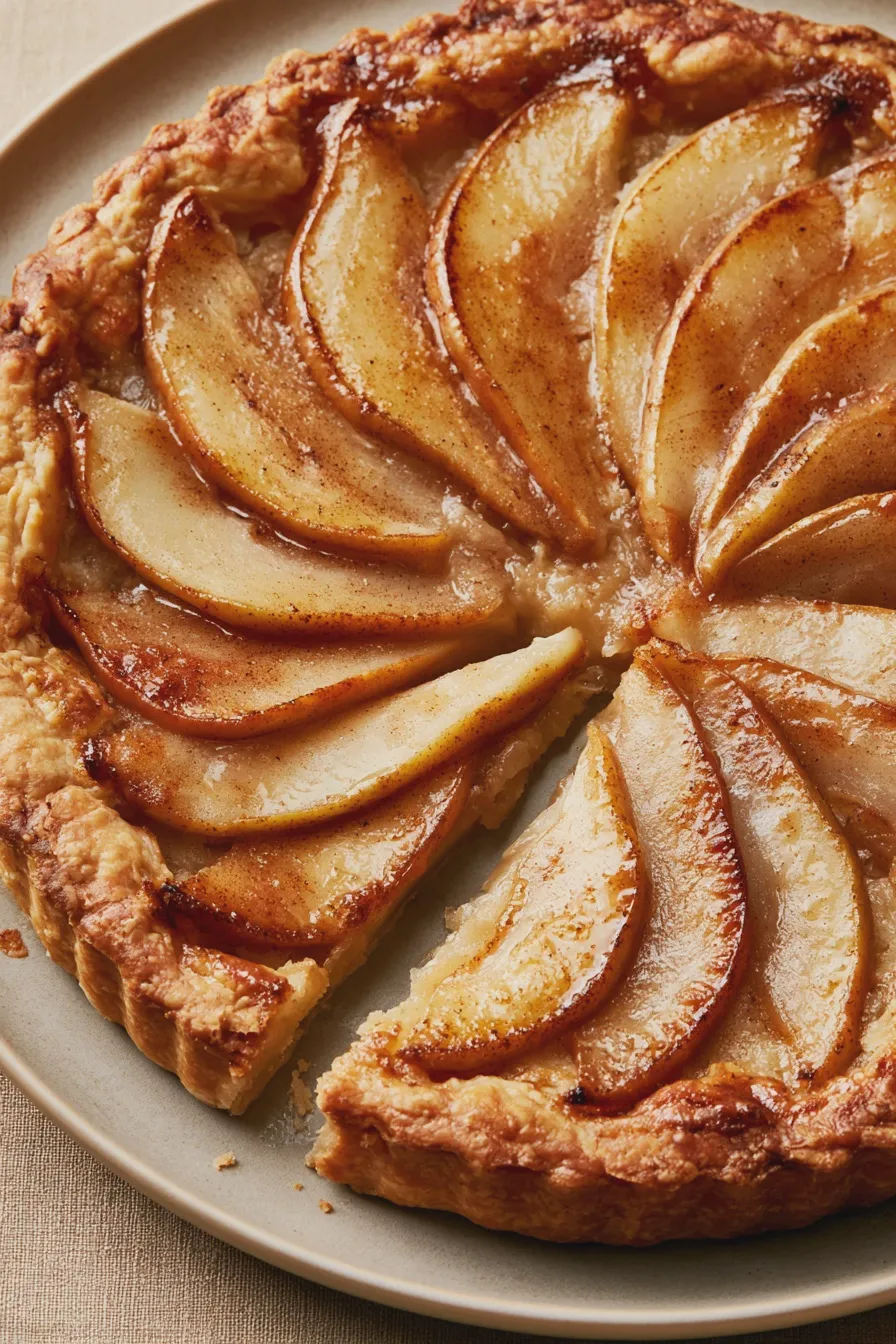
This recipe focuses on a simple yet elegant pear tart, perfect for those new to tart making or looking for a reliable, delicious outcome. We’ll use a sweet shortcrust pastry and a straightforward pear arrangement.
Ingredients:
For the Pastry:
- 1 1/4 cups all-purpose flour
- 1/2 cup (1 stick) cold unsalted butter, cut into cubes
- 1/4 cup granulated sugar
- 1/4 teaspoon salt
- 1 large egg yolk
- 2-3 tablespoons ice water
For the Filling:
If you enjoyed this, you might also love our How To Cream Butter And Sugar recipe.
- 3-4 ripe but firm pears (Bosc or Anjou recommended)
- 2 tablespoons unsalted butter, melted
- 2 tablespoons granulated sugar
- 1 teaspoon lemon juice
- 1/2 teaspoon ground cinnamon
- Pinch of nutmeg
Optional Glaze:
- 1 tablespoon apricot jam, warmed
- 1 teaspoon water
Instructions:
- Make the Pastry Dough: In a large bowl, whisk together the flour, sugar, and salt. Cut in the cold butter using a pastry blender or your fingertips until the mixture resembles coarse crumbs with some pea-sized pieces of butter remaining. In a small bowl, whisk the egg yolk with 2 tablespoons of ice water. Gradually add the egg mixture to the flour mixture, mixing until the dough just comes together. If it seems too dry, add another tablespoon of ice water, a teaspoon at a time. Do not overmix.
- Chill the Dough: Gather the dough into a ball, flatten it into a disc, wrap it tightly in plastic wrap, and refrigerate for at least 30 minutes (or up to 2 days).
- Prepare the Pears: While the dough chills, peel, core, and slice the pears about 1/4 inch thick. In a medium bowl, toss the pear slices with melted butter, sugar, lemon juice, cinnamon, and nutmeg. Set aside.
- Roll and Shape the Dough: On a lightly floured surface, roll out the chilled dough into a 12-inch circle. Carefully transfer the dough to a 9-inch tart pan with a removable bottom. Gently press the dough into the bottom and up the sides of the pan. Trim any excess dough. You can reroll scraps for decorative cutouts if desired.
- Chill Again: Place the tart shell in the freezer for 15-20 minutes. This helps prevent shrinkage during baking.
- Preheat Oven and Blind Bake (Optional but Recommended): Preheat your oven to 375°F (190°C). Line the chilled tart shell with parchment paper and fill with pie weights or dried beans. Bake for 15 minutes. Carefully remove the parchment paper and weights. Bake for another 5-7 minutes, or until the crust is lightly golden. This step ensures a crisp bottom crust for your baked pear tart.
- Assemble the Tart: Arrange the prepared pear slices decoratively over the partially baked crust. You can overlap them in a circular pattern or create any design you like. Pour any remaining pear mixture over the top.
- Bake the Tart: Place the tart on a baking sheet (to catch any drips) and bake for 30-40 minutes, or until the crust is golden brown and the pears are tender and slightly caramelized.
- Glaze and Cool: If using, mix the warmed apricot jam with water and brush it lightly over the warm pears. This gives a beautiful sheen. Let the tart cool in the pan on a wire rack for at least 15-20 minutes before removing the outer ring.
Variations to Explore
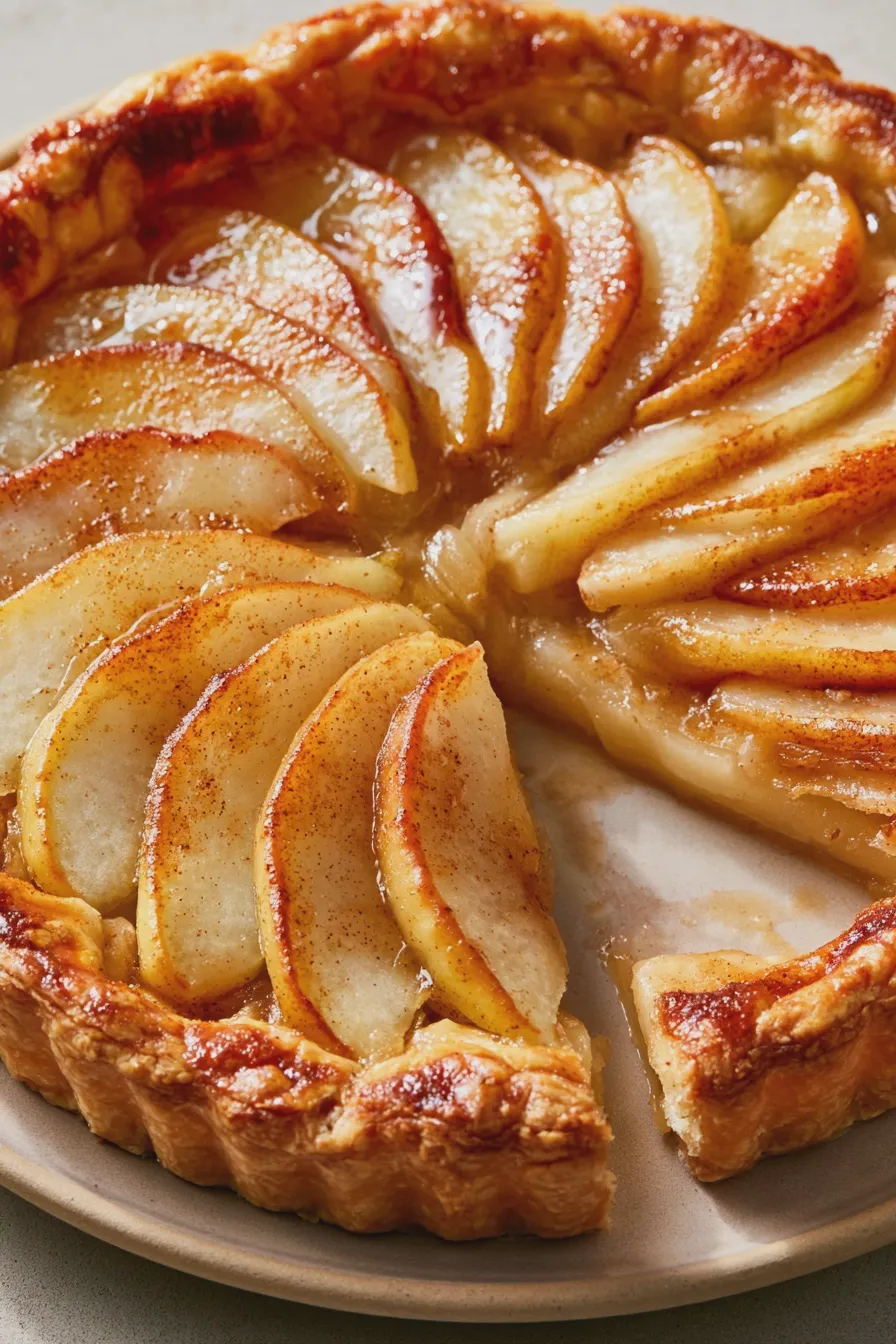
Once you’ve mastered the basic pear tart, don’t be afraid to experiment! The world of tart with pears is vast and delicious.
Almond Pear Tart
For an almond pear tart, prepare a simple frangipane filling. Spread about 1/2 cup of frangipane evenly over the bottom of your pre-baked tart shell. Then, arrange the pear slices on top of the frangipane and bake as directed. The almond cream adds a wonderful richness and depth of flavor.
Rustic Pear Tart (Pear Galette Recipe)
A rustic pear tart, often called a pear galette recipe, is wonderfully forgiving. Instead of a tart pan, simply roll out your dough into a rough circle on a parchment-lined baking sheet. Pile the prepared pears in the center, leaving a border of about 2 inches. Fold the edges of the dough up and over the pears, pleating as you go. Bake until golden and bubbly. This is a fantastic example of a simple pear tart.
Pear Crumble Tart
If you love the texture of a crumble, make a pear crumble tart! Prepare your tart shell and pears as usual. For the crumble topping, combine 1/2 cup flour, 1/4 cup brown sugar, 1/4 cup chopped nuts (like walnuts or pecans), and 1/4 cup cold butter. Cut the butter in until crumbly, then sprinkle generously over the pears before baking.
Vegan Pear Tart
To make a vegan pear tart, substitute the butter in the crust with a vegan butter alternative or solid vegetable shortening. For the filling, ensure you use plant-based milk and butter if any dairy is called for in a specific variation (like frangipane). Many simple pear tart recipes are naturally vegan-friendly with a few substitutions.
Gluten-Free Pear Tart
A gluten-free pear tart can be achieved by using your favorite gluten-free flour blend for the crust. Many store-bought blends work well, or you can create your own. Ensure all other ingredients are also gluten-free.
Looking for more? Try this delicious Creaming Method For Cakes And Cookies next.
Tips for the Best Pear Tart
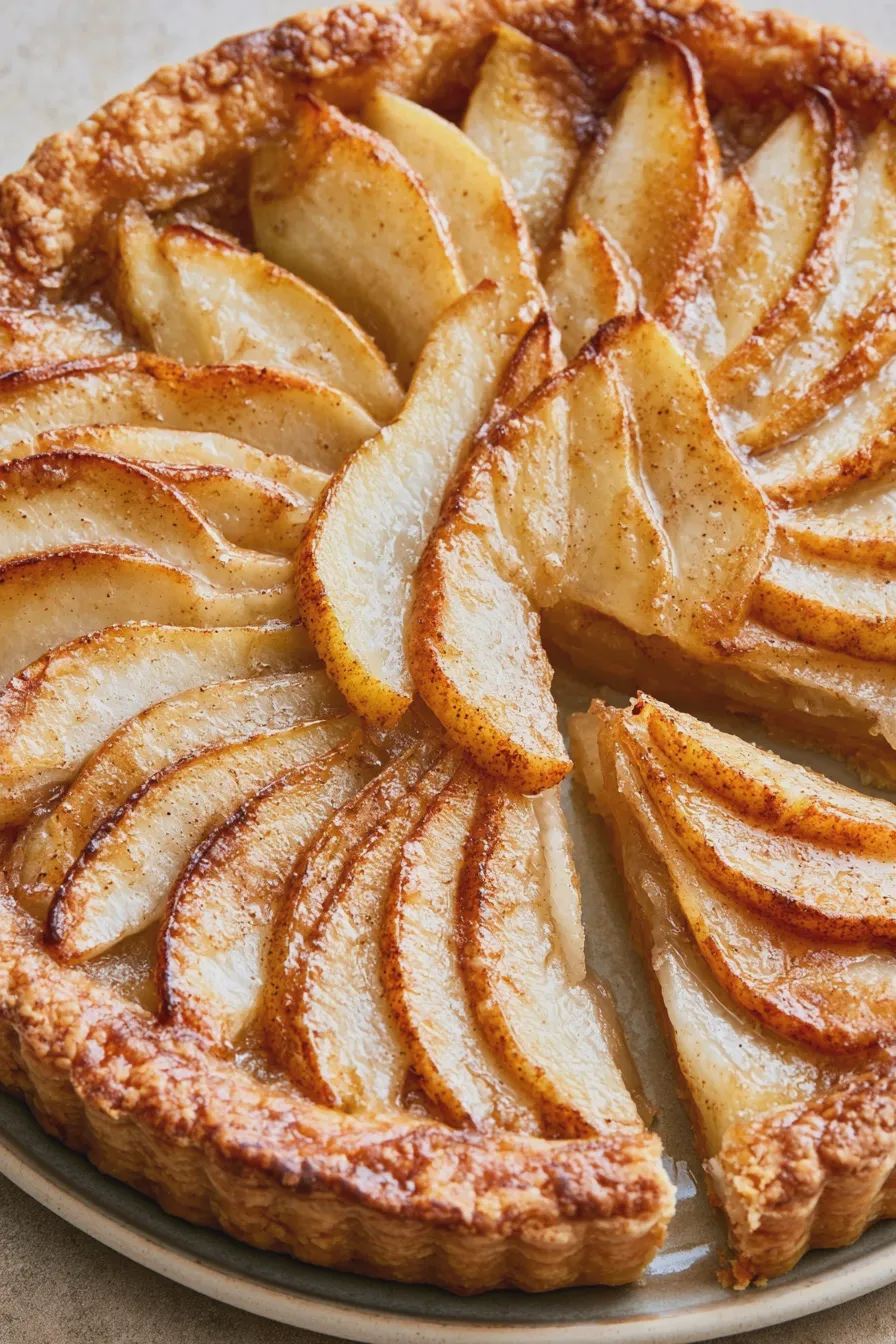
Here are some final tips to ensure your tart is a showstopper:
- Don’t overcrowd the tart: While you want a good amount of pears, don’t pile them so high that they can’t cook evenly.
- Taste your pears: If your pears are very sweet, you might want to reduce the sugar slightly. If they are a bit tart, you might need a touch more.
- Experiment with spices: Beyond cinnamon and nutmeg, try cardamom, ginger, or even a hint of star anise.
- Serve warm with ice cream: A slice of warm pear tart with a scoop of homemade ice cream is pure bliss.
- Consider individual pear tarts: Mini tart pans are great for creating elegant individual desserts. Adjust baking time as needed.
Troubleshooting Common Pear Tart Issues
Even experienced bakers can run into a few snags. Here’s how to fix them:
- Soggy Bottom Crust: This is usually due to insufficient blind baking or moisture from the filling. Ensure you blind bake thoroughly, and if using very juicy pears, consider adding a thin layer of almond flour or cookie crumbs to the bottom of the pre-baked shell to absorb excess moisture.
- Tough Crust: As mentioned, this comes from overworking the dough or using warm ingredients. Remember to keep everything cold and mix just until combined.
- Pears Too Soft or Mushy: This can happen if you use pears that are too ripe or bake for too long. Choose firmer pears and monitor the baking time closely.
- Crust Shrinkage: Chilling the dough thoroughly before rolling and again before baking is the best defense against shrinkage.
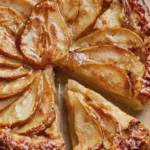
Pear Tart Recipe with Almond Cream and Caramel Drizzle
- Total Time: PT1H40M
- Yield: 8 servings 1x
- Diet: Vegetarian
Ingredients
- For the Crust:
- 1 ½ cups all-purpose flour
- 2 tablespoons granulated sugar
- ½ teaspoon salt
- ½ cup (1 stick) cold unsalted butter, cut into cubes
- 4–6 tablespoons ice water
- For the Filling:
- 4–5 medium ripe pears (such as Bosc or Anjou), peeled, cored, and thinly sliced
- 2 tablespoons unsalted butter, melted
- 2 tablespoons packed light brown sugar
- ½ teaspoon ground cinnamon
- ¼ teaspoon ground nutmeg
Instructions
- Preheat your oven to 375°F (190°C).
- In a large bowl, whisk together the flour, sugar, and salt for the crust. Cut in the cold butter using a pastry blender or your fingertips until the mixture resembles coarse crumbs.
- Gradually add the ice water, one tablespoon at a time, mixing until the dough just comes together. Do not overmix.
- Shape the dough into a disc, wrap it in plastic wrap, and refrigerate for at least 30 minutes.
- On a lightly floured surface, roll out the chilled dough into a 12-inch circle. Carefully transfer the dough to a 9-inch tart pan with a removable bottom, pressing it into the pan and up the sides. Trim any excess dough.
- Peel, core, and thinly slice the pears. Arrange the pear slices in a decorative pattern over the tart dough.
- In a small bowl, whisk together the melted butter, brown sugar, cinnamon, and nutmeg. Brush this mixture evenly over the pears.
- Bake for 35-45 minutes, or until the crust is golden brown and the pears are tender.
- Let the tart cool in the pan for at least 15 minutes before removing the outer ring. Serve warm or at room temperature.
Notes
- For an extra touch of sweetness, you can sprinkle a tablespoon of granulated sugar over the pears before baking.
- Serve with a scoop of vanilla ice cream or a dollop of whipped cream.
- If you don’t have a tart pan, you can bake this on a baking sheet as a freeform tart (galette).
- Prep Time: PT1H
- Cook Time: PT40M
- Method: Baking
- Cuisine: French
Nutrition
- Serving Size: 1 slice
- Calories: 350
- Sugar: 25g
- Sodium: 150mg
- Fat: 18g
- Saturated Fat: 11g
- Carbohydrates: 45g
- Fiber: 4g
- Protein: 3g







