
There’s something truly special about a warm, handheld dessert. Today, we’re diving into the delightful world of Pear Hand Pies, a perfect treat for any occasion, especially as the seasons begin to change. These little pockets of joy are surprisingly simple to make and offer a wonderful balance of sweet, tender pears and a flaky, buttery crust. Whether you’re a seasoned baker or just starting out, this guide will walk you through creating the best pear hand pies that are sure to impress. For a little inspiration on the history of hand pies, you can explore their origins here.
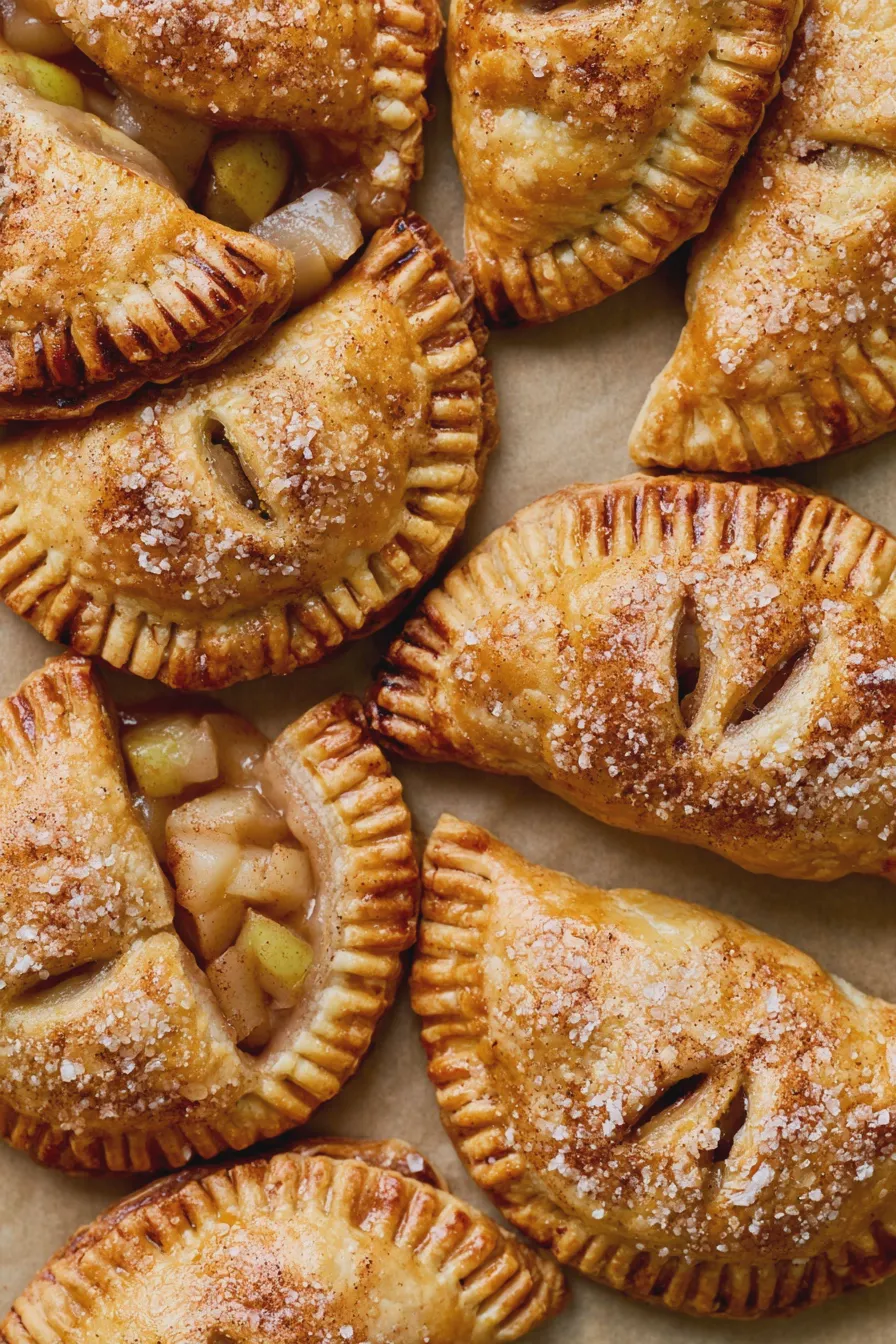
What are Pear Hand Pies?
Pear hand pies are essentially miniature pies, baked in individual portions and enclosed in a pastry crust. They are designed to be eaten by hand, making them incredibly convenient. Our focus today is on the sweet pear hand pie, a classic variation that highlights the natural sweetness of pears, often enhanced with warming spices. These are a delightful alternative to larger pies, offering portion control and a charming presentation. Think of them as individual servings of comfort, perfect for picnics, potlucks, or simply enjoying with a cup of tea.
The beauty of these mini pear pies lies in their versatility. You can customize the spice blend to your liking, and the type of pear you choose will subtly influence the final flavor and texture. We’ll be aiming for flaky pear hand pies that are bursting with delicious filling. This fruit hand pies recipe is a fantastic starting point for anyone looking to master this charming dessert.
Ingredients You’ll Need
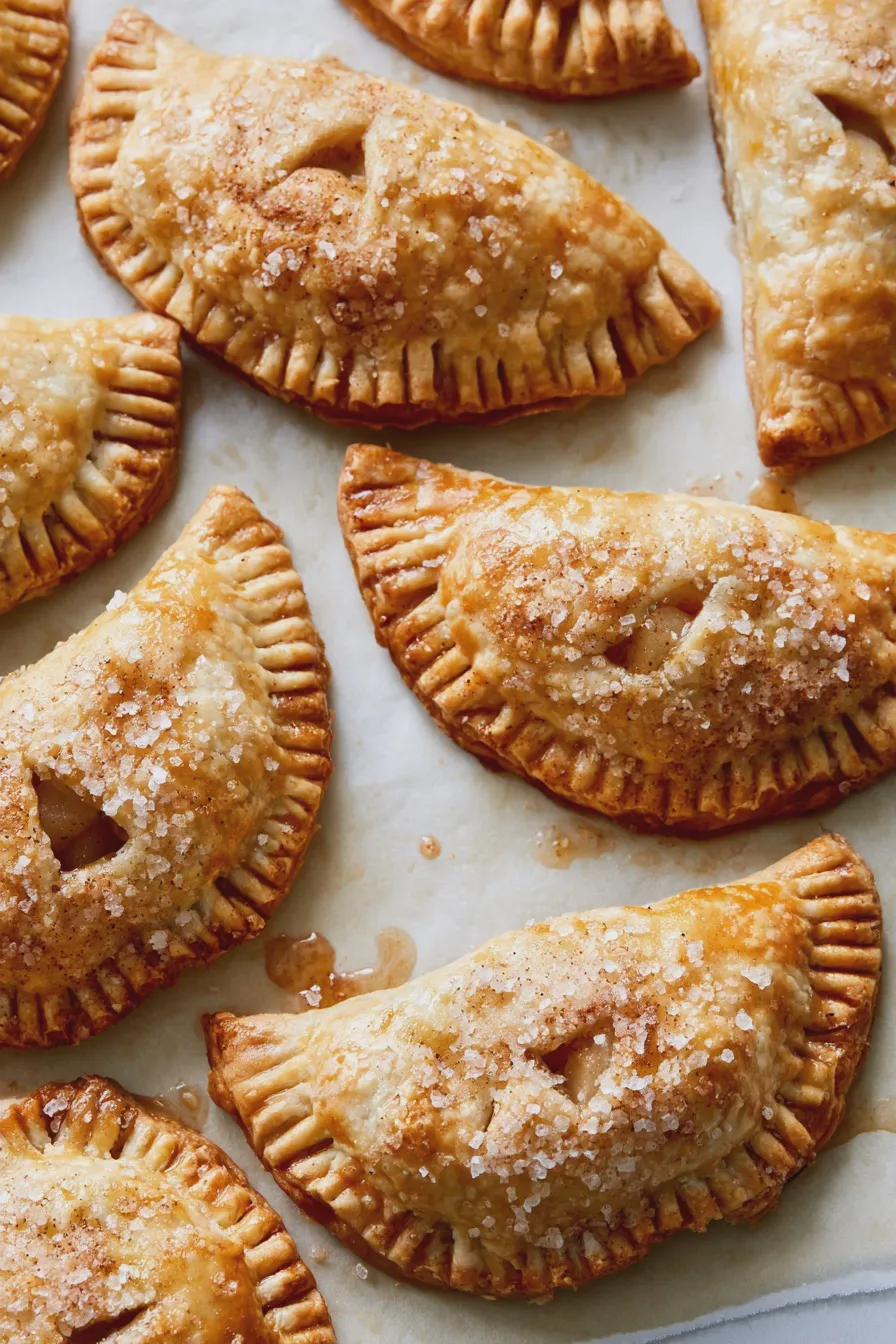
To create the most delicious pear hand pies, gathering the right ingredients is key. We’ll break down what you need for both the pastry and the filling.
For the Pastry Dough:
- All-purpose flour: The foundation of our flaky crust.
- Unsalted butter: Cold and cubed is crucial for creating those signature flaky layers.
- Ice water: Helps to bring the dough together without overworking it.
- Salt: Enhances the flavor of the pastry.
- Granulated sugar: A touch for sweetness and browning.
For the Pear Filling:
- Pears: Ripe but firm pears work best. Varieties like Bosc, Anjou, or Bartlett are excellent choices for baking.
- Granulated sugar: To sweeten the filling.
- Brown sugar: Adds a richer, caramel-like depth of flavor.
- Lemon juice: Balances the sweetness and prevents browning.
- All-purpose flour or cornstarch: To thicken the filling so it’s not too runny.
- Ground cinnamon: A classic warming spice that pairs beautifully with pears.
- Ground nutmeg: Adds a touch of warmth and complexity.
- Ground ginger (optional): For an extra spicy kick.
- Pinch of salt: To enhance all the flavors.
For the Egg Wash:
- One large egg: Beaten with a tablespoon of water.
- Coarse sugar (optional): For a sparkling, crunchy topping.
Making the Perfect Pastry Dough
The secret to truly exceptional pear hand pies is a fantastic pastry dough. We want it to be flaky, tender, and flavorful. This recipe uses a simple all-butter crust, which yields the best taste and texture. For more pastry tips, you can explore pie crust techniques.
Step 1: Combine Dry Ingredients In a large bowl, whisk together the flour, salt, and granulated sugar for the pastry. This ensures everything is evenly distributed.
Step 2: Cut in the Butter Add the cold, cubed butter to the flour mixture. Using a pastry blender, your fingertips, or a food processor, cut the butter into the flour until the mixture resembles coarse crumbs with some pea-sized pieces of butter still visible. These larger pieces are what create the flaky layers.
Looking for more? Try this delicious Apple Hand Pies next.
Mistake to Avoid: Overworking the dough. If you mix the butter too much, you’ll end up with a tough crust. The goal is to have visible pieces of butter remaining.
Step 3: Add Ice Water Gradually add the ice water, one tablespoon at a time, mixing until the dough just begins to come together. You may not need all the water. The dough should be moist enough to hold together when squeezed, but not sticky.
Step 4: Chill the Dough Turn the dough out onto a lightly floured surface and gently bring it together into a disc. Wrap it tightly in plastic wrap and refrigerate for at least 30 minutes (or up to 2 days). Chilling the dough is essential; it allows the gluten to relax, making it easier to roll, and it firms up the butter, which is crucial for flakiness.
Preparing the Spiced Pear Filling
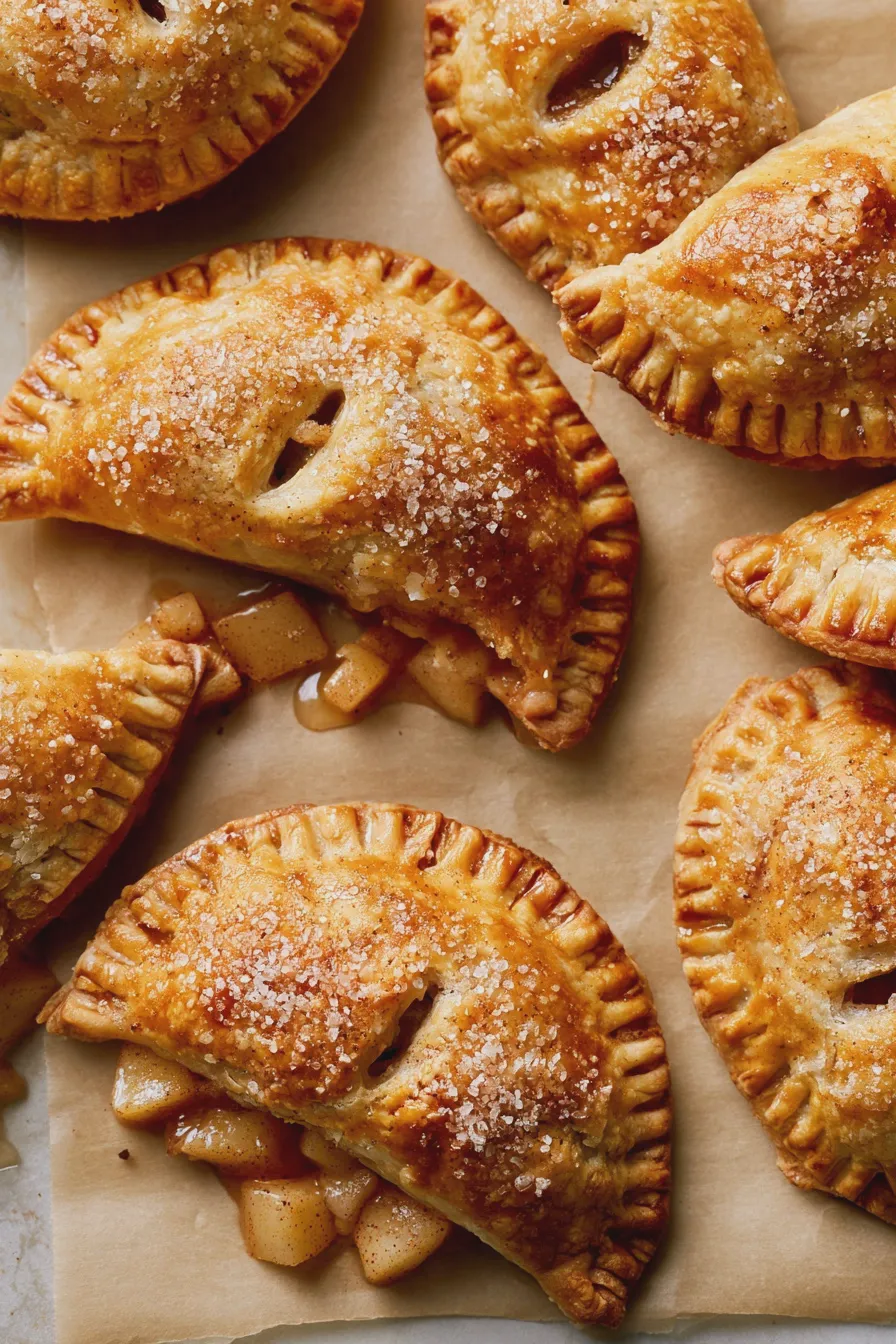
A perfectly spiced pear filling is the heart of our easy pear hand pies. The combination of sweet pears and warm spices creates an irresistible aroma and taste. This is where the magic of spiced pear hand pies truly shines.
Step 1: Prepare the Pears Peel, core, and dice the pears into small, uniform pieces, about 1/2 inch in size. This ensures they cook evenly within the pastry.
Step 2: Combine Filling Ingredients In a medium bowl, gently toss the diced pears with granulated sugar, brown sugar, lemon juice, flour (or cornstarch), cinnamon, nutmeg, ginger (if using), and salt. Make sure the pears are evenly coated.
If you enjoyed this, you might also love our Zucchini Hand Pies recipe.
Tip: Taste a piece of pear. If your pears are very tart, you might need to add a little more sugar. If they are very sweet, you might want to add a touch more lemon juice.
Step 3: Let it Sit (Optional but Recommended) Allow the pear mixture to sit for about 15-20 minutes. This allows the sugars to draw out some of the juices from the pears, which will then be thickened by the flour or cornstarch, creating a less watery filling. This step is key to preventing soggy bottoms in your baked pear hand pies.
Assembling Your Pear Hand Pies
Now comes the fun part: assembling these delightful individual pear pies! This is where your rustic pear pies start to take shape.
Step 1: Roll Out the Dough Remove the chilled dough from the refrigerator. On a lightly floured surface, roll out the dough to about 1/8-inch thickness. Use a round cutter (about 4-5 inches in diameter) or a small bowl to cut out circles of dough. You should be able to get about 6-8 circles from one batch of dough, depending on the size of your cutter.
Tip: If your dough becomes too soft while rolling, pop it back into the refrigerator for 10-15 minutes to firm up. This helps maintain those flaky layers.
Step 2: Add the Filling Spoon about 2-3 tablespoons of the prepared pear filling onto one half of each dough circle, leaving about a 1/2-inch border. Don’t overfill, or the filling will leak out during baking.
If you enjoyed this, you might also love our Blueberry Hand Pies recipe.
Step 3: Seal the Hand Pies Moisten the edges of the dough with a little water. Fold the other half of the dough over the filling to create a half-moon shape. Crimp the edges firmly with a fork to seal them completely. This is important to keep the delicious spiced pear filling inside.
Step 4: Vent the Pies Cut a few small slits in the top of each hand pie with a sharp knife. This allows steam to escape during baking, preventing the pastry from puffing up too much or bursting.
Step 5: Chill Again (Recommended) Place the assembled hand pies on a baking sheet lined with parchment paper. Refrigerate them for at least 15-20 minutes before baking. This helps the pastry hold its shape and ensures maximum flakiness.
Baking Your Pear Hand Pies to Golden Perfection
The final step is baking these sweet pear delights until they are golden brown and the filling is bubbly. This is how you achieve the best pear hand pies.
Step 1: Preheat Your Oven Preheat your oven to 400°F (200°C). Line a baking sheet with parchment paper.
Step 2: Apply Egg Wash and Sugar Remove the chilled hand pies from the refrigerator. Brush the tops of each pie with the prepared egg wash. This will give them a beautiful golden sheen. If desired, sprinkle generously with coarse sugar for a delightful crunch.
Another favorite of ours is the How To Make Ice Cream At Home.
Step 3: Bake the Pies Place the baking sheet in the preheated oven. Bake for 20-25 minutes, or until the crust is golden brown and the filling is bubbling through the vents. If the crust starts to brown too quickly, you can loosely tent the pies with foil.
Tip: Keep an eye on your pies during the last few minutes of baking to ensure they don’t over-brown.
Step 4: Cool Completely Once baked, remove the hand pies from the oven and let them cool on the baking sheet for a few minutes before transferring them to a wire rack to cool completely. This allows the filling to set properly.
Tips for the Best Pear Hand Pies
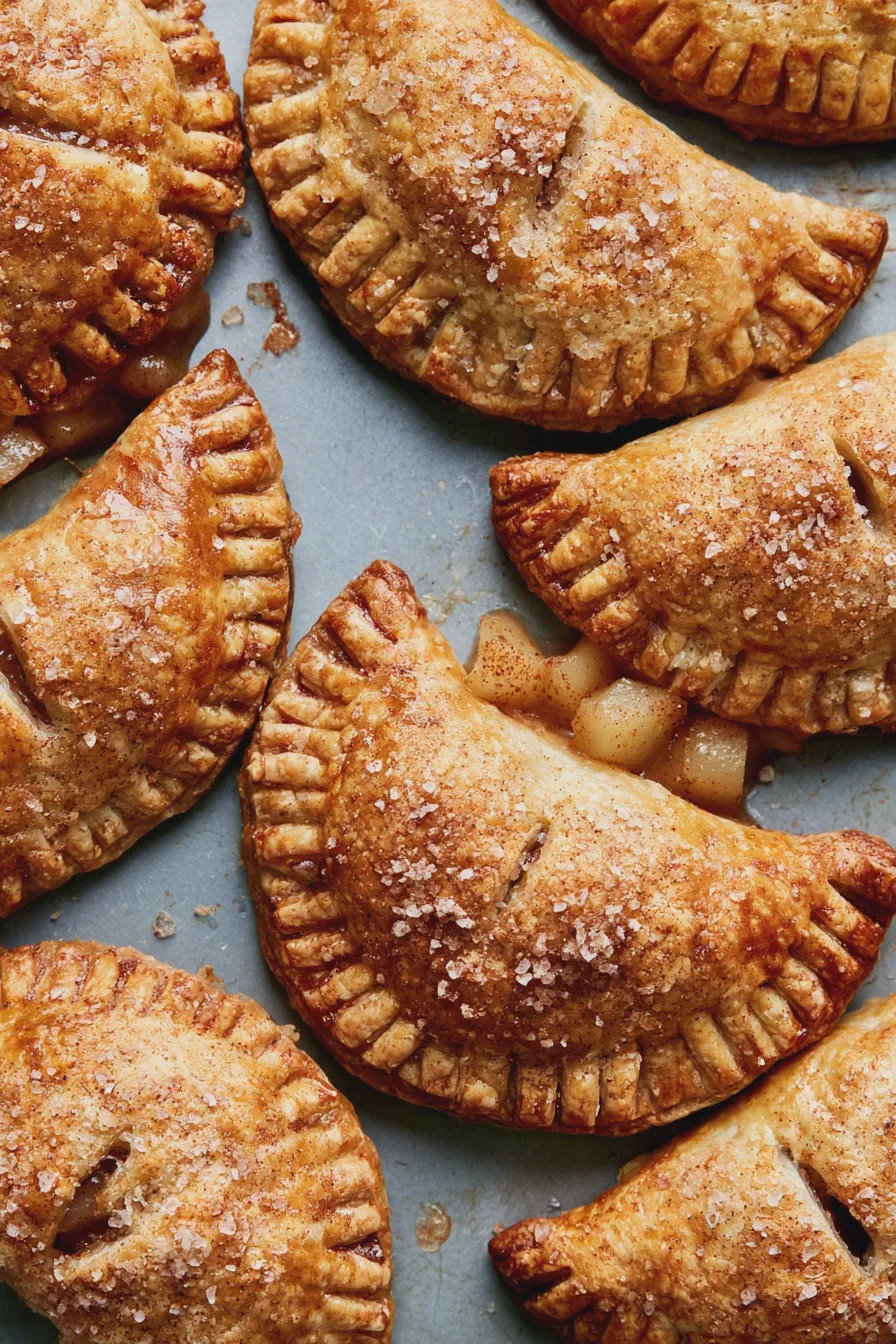
Here are some expert tips to elevate your pear hand pie game:
- Use Cold Ingredients for Pastry: This is non-negotiable for flaky pastry. Keep your butter and water ice cold.
- Don’t Overwork the Dough: Gentle handling results in a tender crust.
- Chill, Chill, Chill: Chilling the dough at multiple stages is crucial for easy handling and flaky results.
- Dice Pears Uniformly: This ensures even cooking of the filling.
- Thicken the Filling Properly: Use flour or cornstarch to prevent a watery filling.
- Seal Edges Well: A good crimp prevents filling from leaking.
- Vent the Tops: Essential for allowing steam to escape.
- Egg Wash for Shine: Don’t skip this for a beautiful finish.
- Cool Completely: Patience is key for the filling to set.
Common Mistakes to Avoid
Even experienced bakers can make a few slip-ups. Here are some common mistakes when making pear hand pies:
- Warm Butter in Pastry: Leads to a greasy, tough crust instead of flaky layers.
- Over-mixing Dough: Develops too much gluten, resulting in a tough pastry.
- Watery Filling: Not using enough thickener or not letting the filling sit to release juices can lead to a soggy bottom.
- Leaky Pies: Insufficiently sealing the edges means delicious filling can escape during baking.
- Not Venting: Can cause the pastry to puff unevenly or even burst.
- Cutting into Hot Pies: The filling needs time to set. Cutting too soon results in a runny mess.
Serving Suggestions
These homemade pear hand pies are delicious on their own, but they can be even more special with a few additions. Serve them warm or at room temperature. They are absolutely divine with a scoop of vanilla ice cream – perhaps some easy homemade ice cream? A dollop of whipped cream or a drizzle of caramel sauce also makes them extra decadent. These mini pear pies are perfect for any occasion, from casual gatherings to more formal desserts.
Another favorite of ours is the Strawberry Cake From Scratch.
Variations to Try
Once you’ve mastered the basic pear hand pie recipe, feel free to experiment! Consider these delicious variations:
- Add Other Fruits: A handful of cranberries or blueberries can add a lovely tartness and color.
- Nutty Addition: Chopped walnuts or pecans folded into the filling add a delightful crunch.
- Different Spices: Try cardamom, allspice, or even a pinch of cloves for a different flavor profile.
- Glazed Finish: Instead of coarse sugar, try a simple glaze made from powdered sugar and milk after the pies have cooled.
- Savory Twist: While we’re focusing on sweet, a savory version with cheese and herbs could also be delicious.

Pear Hand Pies Quick and Easy Recipe
Description
Delightful individual hand pies filled with tender, spiced pears, encased in a flaky, buttery crust. Perfect for a sweet treat or dessert.







