These delightful apple hand pies offer a perfect balance of sweet, spiced apples encased in a wonderfully flaky pastry. They are a charming and portable treat, ideal for picnics, bake sales, or simply enjoying with a cup of coffee any time of day.
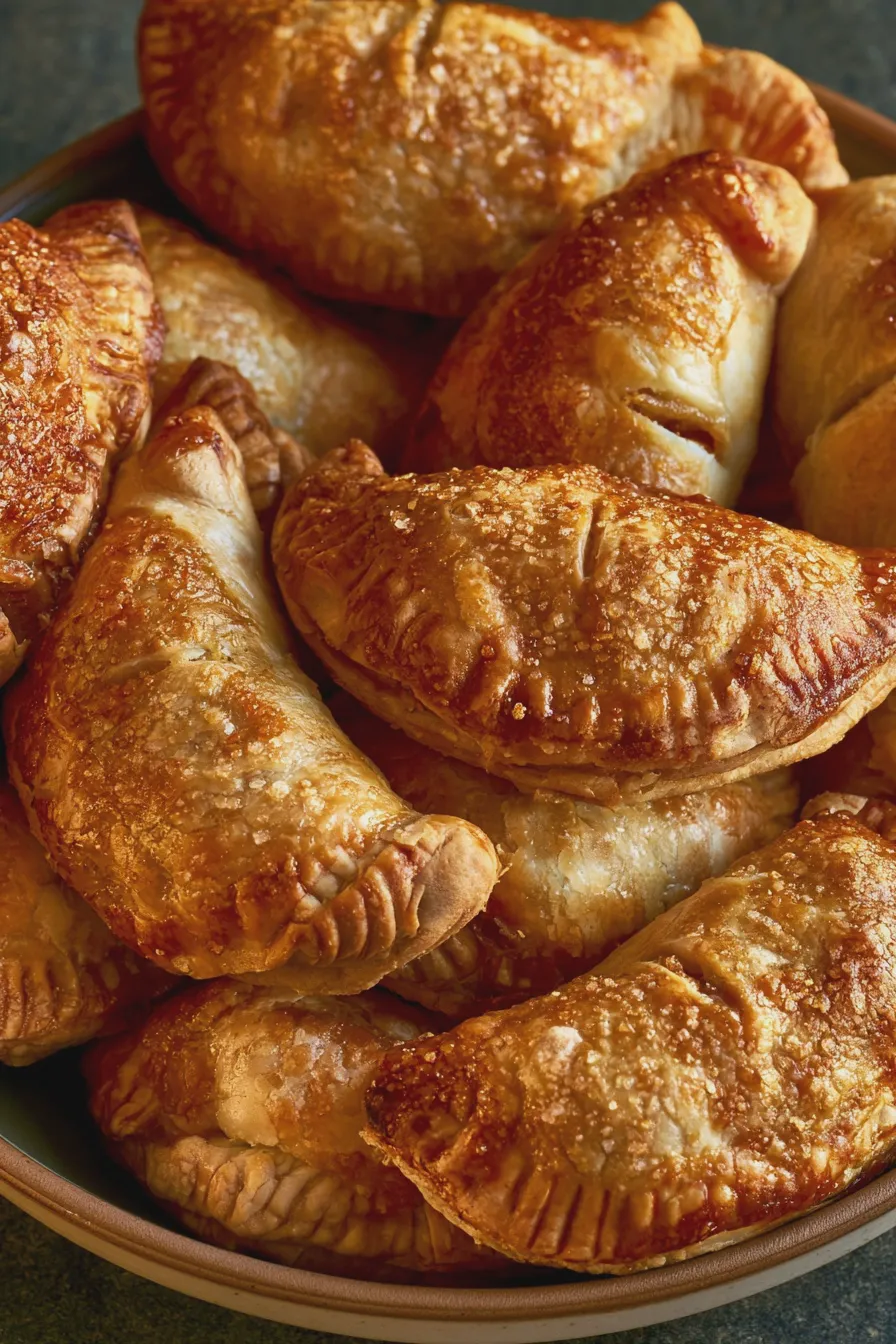
There’s something incredibly satisfying about a warm, homemade dessert, and these apple hand pies are no exception. They capture all the comforting flavors of classic apple pie in a convenient, individual-sized package that’s easy to love and share.
What Are Apple Hand Pies?
Apple hand pies are essentially individual, portable versions of the beloved apple pie. They feature a sweet and spiced apple filling sealed within a delicate, flaky pastry crust, typically baked until golden brown. These delightful treats are perfect for on-the-go enjoyment or as charming additions to any dessert spread, offering a delightful balance of sweet fruit and buttery pastry in every bite. For a deeper dive into the history and variations of hand pies, you can explore Wikipedia’s entry on hand pies.
The beauty of apple hand pies lies in their versatility and individual portioning. Unlike a traditional slice, each pie is a self-contained delight, making them wonderfully convenient for parties, packed lunches, or a simple, satisfying dessert after a meal. They are a fantastic way to enjoy the classic taste of apple pie without needing plates or forks, embodying a truly rustic charm.
Ingredients for Apple Hand Pies
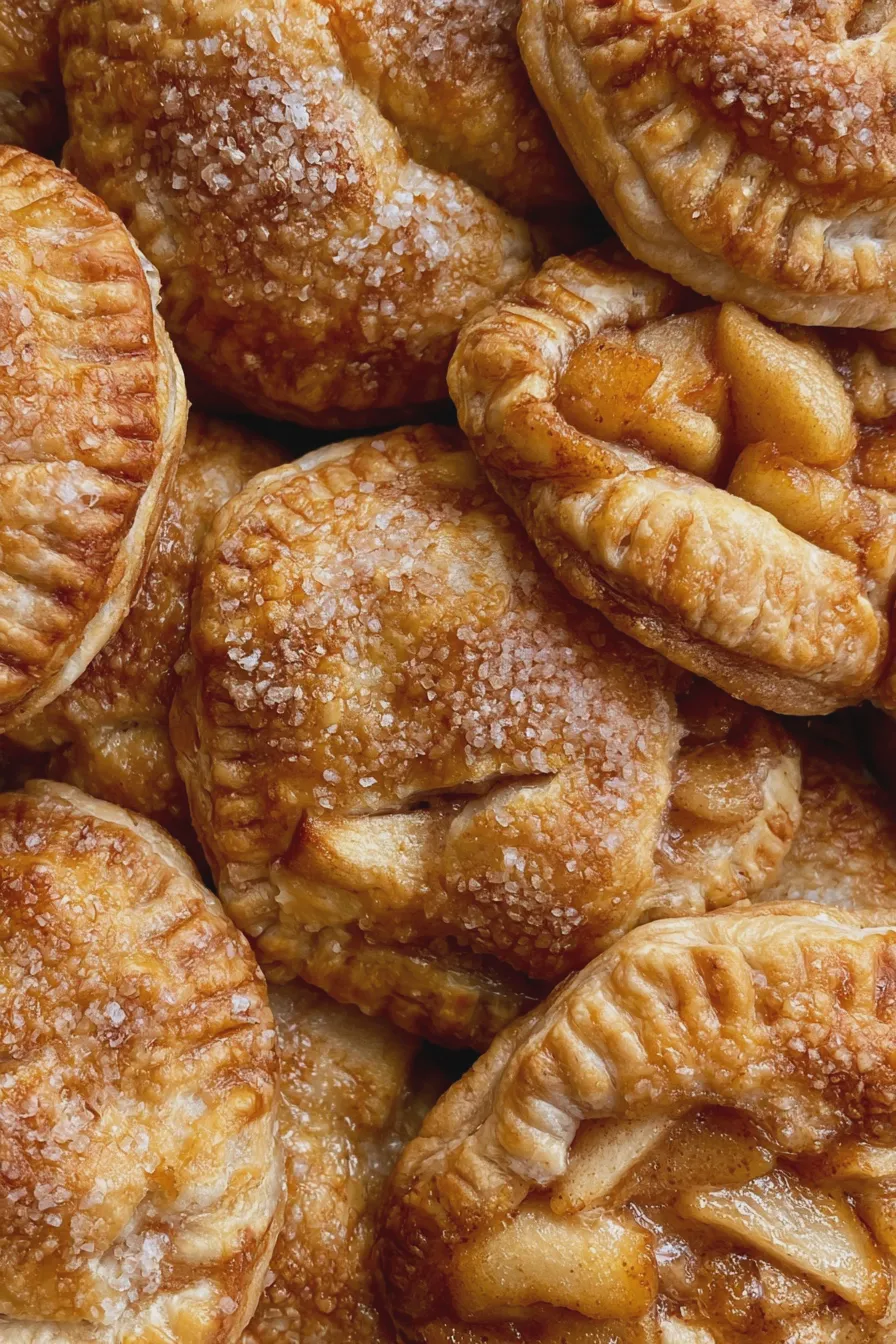
To create these delicious homemade apple hand pies, you’ll need a few key components for both the filling and the pastry. Using fresh, good-quality ingredients will make a significant difference in the final flavor and texture of your baked apple hand pies.
For the Flaky Pastry Dough:
- 2 ½ cups all-purpose flour, plus more for dusting
- 1 teaspoon salt
- 1 cup (2 sticks) cold unsalted butter, cut into ½-inch cubes
- ½ cup ice water, plus 1-2 tablespoons more if needed
For the Sweet Apple Filling:
- 6 cups thinly sliced peeled apples (about 4-5 medium apples; a mix of varieties like Honeycrisp, Gala, or Granny Smith works well)
- ½ cup granulated sugar, or to taste
- ¼ cup packed light brown sugar
- 2 tablespoons all-purpose flour or cornstarch (for thickening)
- 1 teaspoon ground cinnamon
- ¼ teaspoon ground nutmeg
- ⅛ teaspoon ground allspice (optional, for extra warmth)
- 1 tablespoon lemon juice
- 2 tablespoons unsalted butter, cut into small pieces
For Assembly and Finishing:
- 1 large egg, beaten with 1 tablespoon water (for egg wash)
- 2 tablespoons turbinado sugar (or granulated sugar) for sprinkling
When making the pastry, ensure your butter and water are very cold; this is crucial for achieving flaky layers. If you’re looking for a shortcut, you can certainly use store-bought pie crusts, though homemade dough offers superior flavor and texture for the best apple hand pies.
How to Make Apple Hand Pies
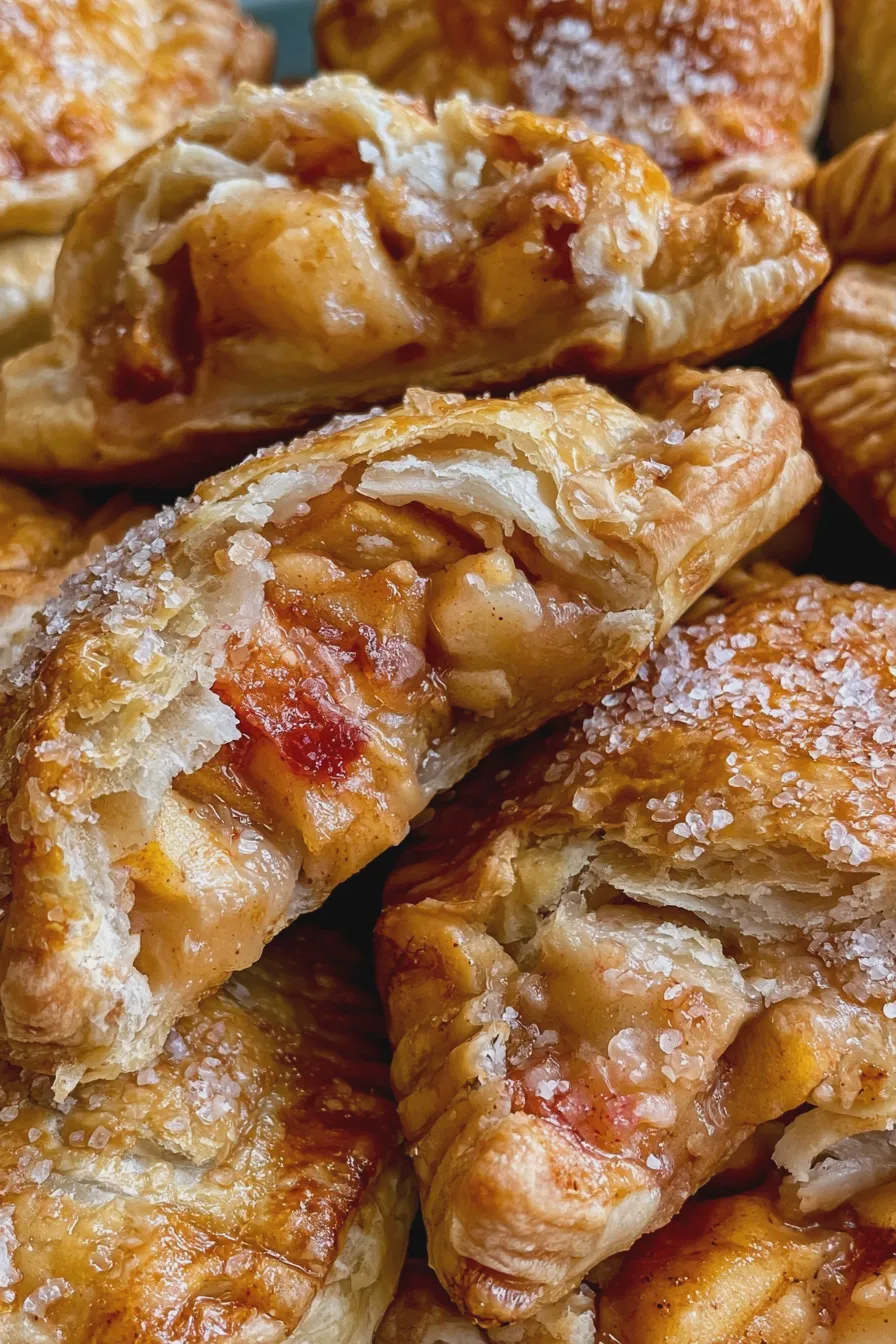
Crafting these delightful apple hand pies from scratch involves preparing a flaky pastry and a flavorful apple filling, then assembling and baking them to golden perfection. Follow these steps carefully for delicious results.
Make the Pastry Dough
In a large bowl, whisk together the flour and salt. Add the cold, cubed butter and use a pastry blender or your fingertips to cut the butter into the flour until the mixture resembles coarse crumbs with some pea-sized pieces of butter remaining. Gradually add the ice water, 1 tablespoon at a time, mixing until the dough just comes together, adding a little more water if necessary; be careful not to overmix.
Divide the dough in half, flatten each half into a disc, wrap tightly in plastic wrap, and refrigerate for at least 1 hour; this chilling time allows the gluten to relax and the butter to firm up, essential for flaky pastry.
Prepare the Apple Filling
In a large bowl, combine the sliced apples, granulated sugar, brown sugar, flour (or cornstarch), cinnamon, nutmeg, and allspice (if using). Toss gently to coat the apples evenly, then stir in the lemon juice. Let the mixture sit for about 15-20 minutes, allowing the apples to release some of their juices and the sugars to dissolve, which helps create a richer apple pie filling.
Roll Out the Dough and Cut Circles
On a lightly floured surface, roll out one disc of chilled dough into a 12-inch circle, about ⅛-inch thick. Use a 5- to 6-inch round cutter or a small bowl to cut out circles from the dough; you should get about 3-4 circles per disc. Gather and re-roll the scraps once to cut out additional circles, but avoid overworking the dough.
Repeat with the second disc of dough, aiming for a total of 6-8 circles. You can also cut smaller circles for mini apple pies if desired.
Assemble the Hand Pies
Spoon about ¼ to ⅓ cup of the prepared apple filling onto one half of each dough circle, leaving a ½-inch border clear. Dot the top of the filling with a few small pieces of butter. Moisten the edges of the dough circles with a little water and fold the other half of the dough over the filling to create a semicircle, pressing the edges firmly to seal.
Use a fork to crimp the edges decoratively and to prevent the filling from leaking during baking. You can also cut small vents in the top of each hand pie with a sharp knife to allow steam to escape. For a beautiful finish, consider trying out some decorative pastry techniques, similar to those used for chocolate bundt cake decorations.
Chill and Bake the Hand Pies
Place the assembled hand pies on a baking sheet lined with parchment paper and refrigerate for at least 30 minutes; this step is crucial for ensuring the pastry stays firm and bakes up extra flaky. Preheat your oven to 400°F (200°C) during this chilling time.
Brush the tops of the chilled hand pies with the prepared egg wash and sprinkle generously with turbinado sugar. Bake for 25-35 minutes, or until the crust is golden brown and the filling is bubbling. If the crust starts to brown too quickly, you can loosely tent the pies with aluminum foil.
Cool and Serve
Let the apple hand pies cool on the baking sheet for at least 10-15 minutes before transferring them to a wire rack to cool further. This allows the filling to set properly and prevents the hot pastry from breaking. These are delicious served warm or at room temperature, perhaps with a scoop of vanilla ice cream or a dollop of whipped cream.
These delightful handheld apple pies are a testament to simple baking done right. If you enjoy the spiced sweetness of these, you might also love the warm cinnamon sugar flavor of snickerdoodle cookies.
Tips for the Best Apple Hand Pies

Achieving perfectly flaky and flavorful apple hand pies involves a few key techniques and considerations. Paying attention to details like ingredient temperature and apple selection can elevate your baked goods.
Choosing the Right Apples
Select apples that hold their shape well when baked and offer a good balance of sweetness and tartness. Varieties like Honeycrisp, Fuji, Gala, Jonagold, or Granny Smith are excellent choices, and using a combination of two or three types can add more depth of flavor to your apple hand pie filling.
Avoid using apples that become overly mushy when cooked, such as Red Delicious, as they can result in a less appealing texture for your dessert apple pies. A mix ensures both sweetness and a slight tang.
Achieving Flaky Pastry
The secret to flaky pastry is keeping the butter cold and not overworking the dough. Cold butter creates steam pockets during baking, which separate the dough layers, resulting in that desirable flakiness. Overmixing develops gluten, leading to a tough crust.
Always chill the dough before rolling and the assembled pies before baking; this firming step is essential for maximizing flakiness and preventing the pies from spreading too much in the oven. If your kitchen is warm, chill the dough for a few extra minutes between steps.
Preventing a Soggy Bottom
To prevent a soggy bottom on your apple hand pies, ensure your apple filling isn’t too wet. Allowing the apples to macerate with sugar and thickener for a short time can help draw out excess moisture, which you can then drain off slightly before filling the pies. Also, baking the pies on a preheated baking sheet can help cook the bottom crust more effectively.
Using a sufficient amount of flour or cornstarch in the filling is also important for thickening the juices released by the apples during baking. This ensures you have a wonderfully sweet pastry without a watery mess.
Make-Ahead and Storage Instructions
You can prepare the pastry dough and the apple filling a day in advance; store the dough discs tightly wrapped in the refrigerator and the filling covered in the refrigerator. The assembled, unbaked hand pies can also be frozen on a baking sheet until firm, then transferred to a freezer-safe container for up to a month; bake them directly from frozen, adding a few extra minutes to the baking time.
Once baked, cool the apple hand pies completely before storing them in an airtight container at room temperature for up to 2 days, or in the refrigerator for up to 4 days. Reheat gently in a low oven or toaster oven to restore crispness.
Print