
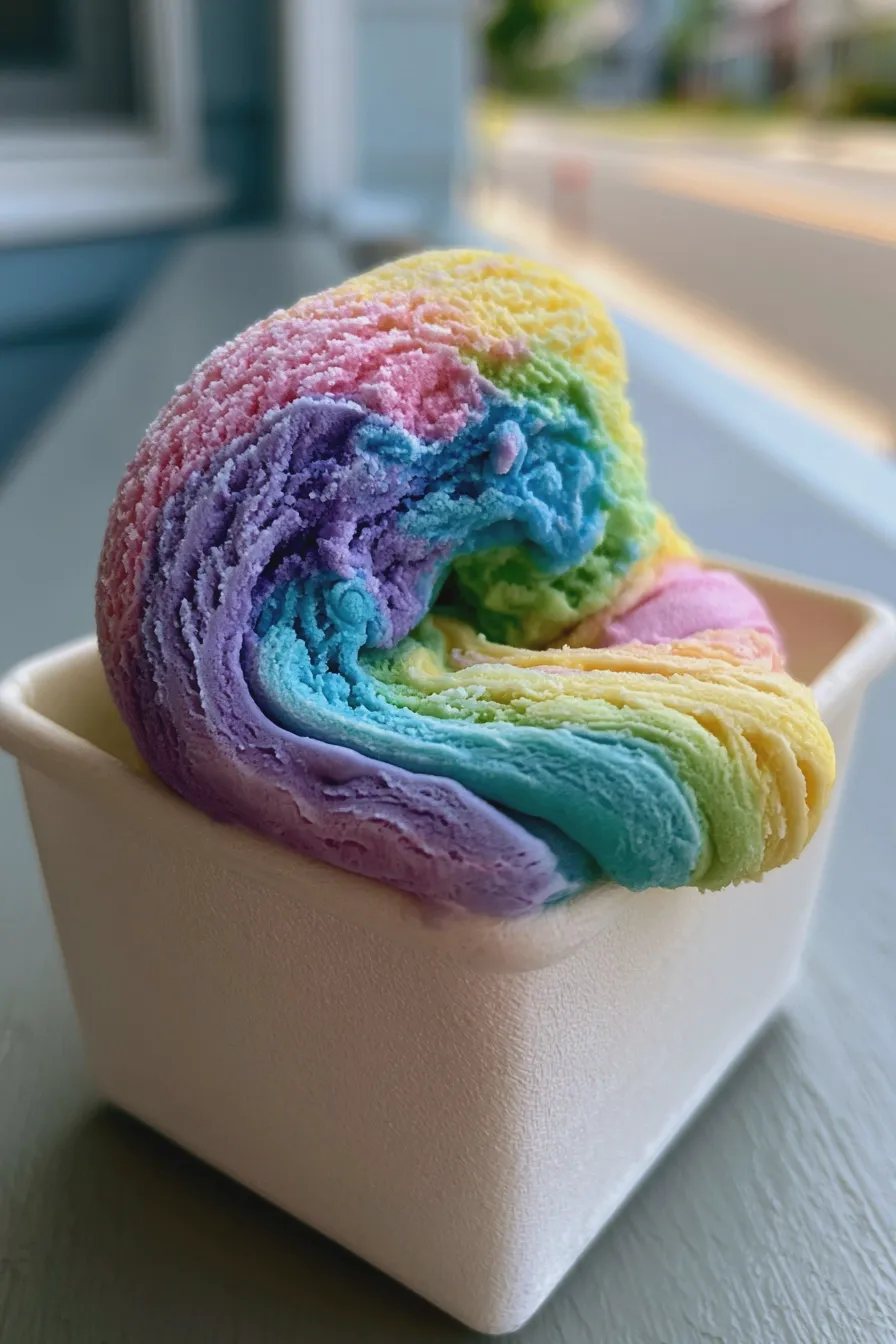
This vibrant, homemade rainbow ice cream is a spectacular, layered frozen treat perfect for birthdays or any celebration needing a burst of color, offering a creamy texture reminiscent of classic rainbow sherbet recipe flavors but richer due to the dairy base.
Creating this spectacular frozen dessert at home allows you to control the intensity of the vibrant ice cream colors and ensures a wonderfully smooth, satisfying texture that store-bought versions often lack.
If you are looking for the best rainbow dessert that delights both kids and adults with its beautiful presentation and sweet, creamy taste, this recipe for rainbow ice cream is a guaranteed showstopper for your next gathering.
Understanding the Magic of Layered Rainbow Ice Cream
Making layered frozen desserts requires a bit of patience, but the payoff in visual appeal makes every step worthwhile, especially when crafting something as fun as this layered creation.
Many people associate this treat with childhood nostalgia, often thinking of rainbow sherbet recipe, but this version uses a rich, sweet cream base to achieve a denser, creamier mouthfeel, which you can see more about when looking up layered ice cream techniques.
The Importance of Color Selection and Food Coloring
Deciding on your colors is the first exciting step, as this dictates the final look of your colorful ice cream flavors.
For the classic look, you typically aim for red, orange, yellow, green, blue, and purple, and while synthetic gel food colorings offer the most intense results, you might consider exploring natural food coloring for ice cream alternatives if that is a priority for your family.
Base Recipe Choice: Custard vs. Philadelphia Style
The texture of your final homemade rainbow ice cream hinges largely on the base you choose; a custard base (using egg yolks) results in a richer, denser frozen product, while a Philadelphia style (no eggs) is lighter and often faster to prepare.
For this recipe, we are opting for a simplified, egg-free base, making it ideal for those seeking an easy rainbow ice cream experience without tempering eggs, though both methods yield delicious results when executed correctly.
Ingredients for Layered Rainbow Ice Cream
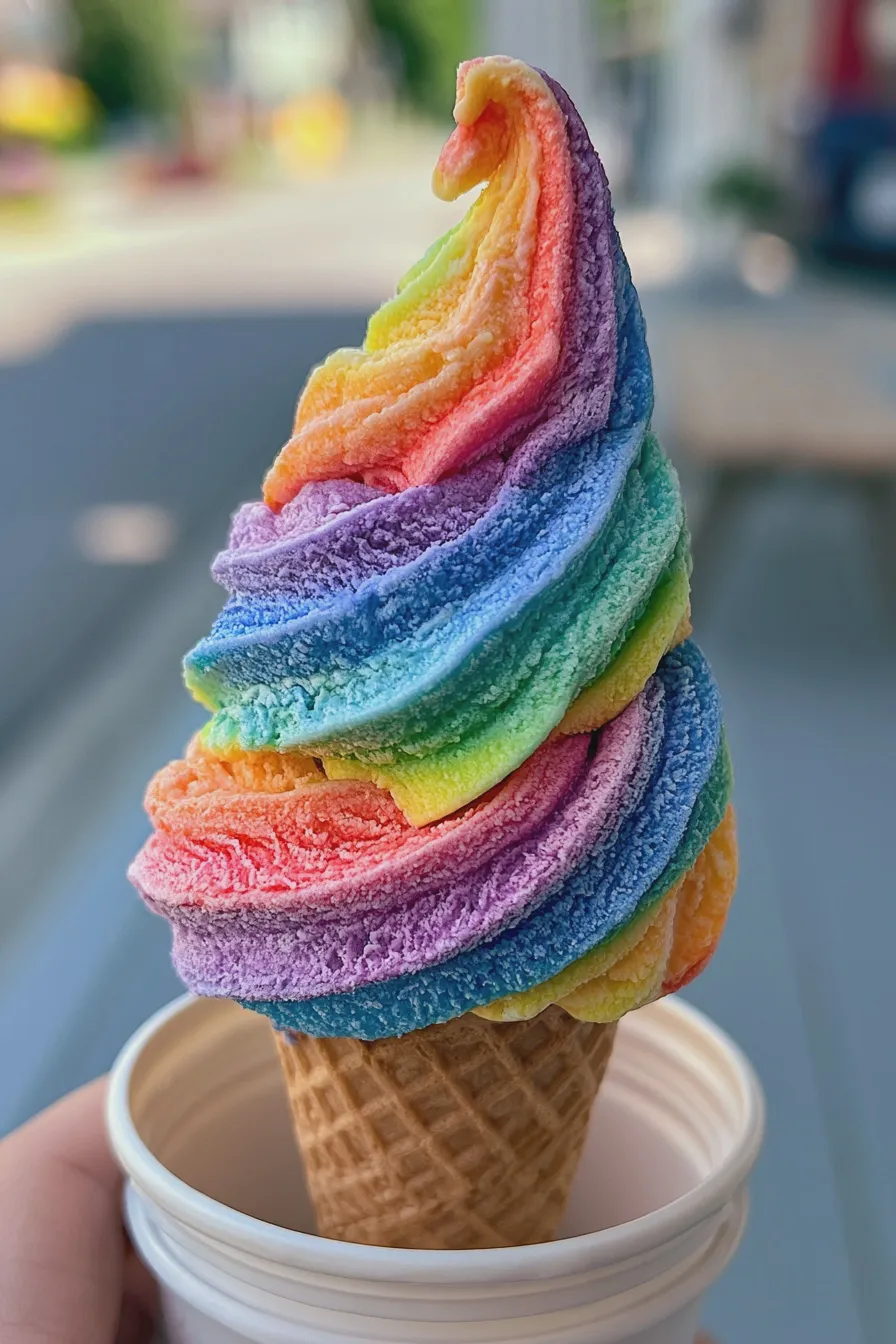
Gathering high-quality ingredients is crucial for achieving the best flavor and texture in any frozen dessert, especially when aiming for such bright, distinct layers.
Remember that the quality of your vanilla extract will significantly impact the flavor profile of the uncolored layers, much like when making classic chocolate chip brownies where quality chocolate makes all the difference.
For the Sweet Cream Base (Yields Approx. 1.5 Quarts Total)
- 4 cups Heavy Whipping Cream, very cold
- 2 cups Whole Milk, very cold
- 1 1/2 cups Granulated Sugar
- 1 tablespoon Pure Vanilla Extract
- Pinch of Salt
For Coloring and Flavoring the Layers
- Gel Food Coloring (Red, Orange, Yellow, Green, Blue, Violet)
- 1 teaspoon Lemon Extract (for yellow layer)
- 1/2 teaspoon Almond Extract (for purple/blue layers, optional)
Tip: If you find your cream base separates slightly during mixing, don’t worry; the churning process will bring it back together, similar to how you need to ensure ingredients are properly combined when making how to whip egg whites to stiff peaks for meringues.
How to Make rainbow ice cream
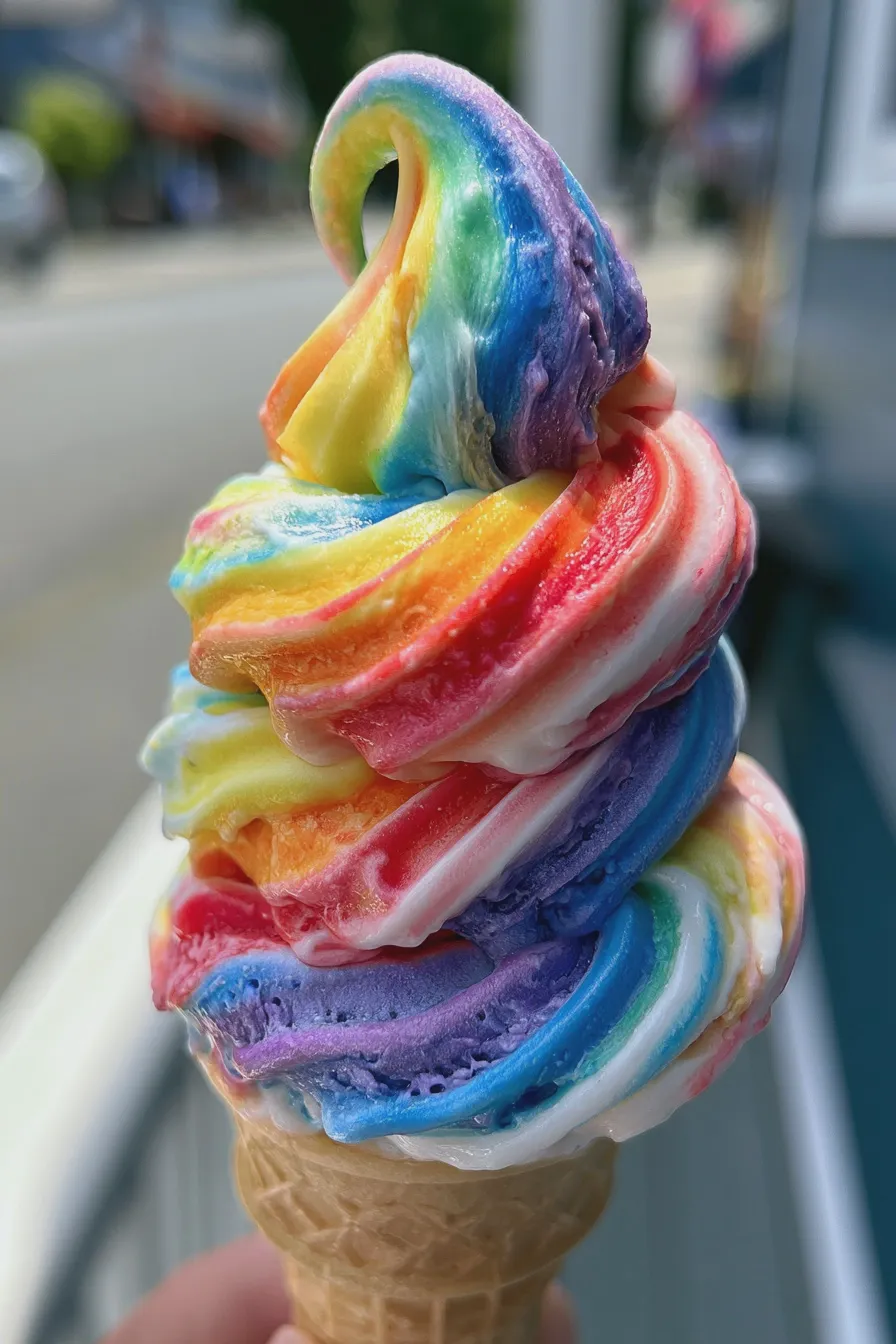
This process focuses on creating one large batch of base, dividing it, coloring it, and then carefully layering it in your ice cream maker or container to achieve that signature striped look, often called how to make swirled ice cream when mixing slightly.
Step 1: Preparing the Ice Cream Base
Whisk together the heavy cream, whole milk, sugar, vanilla extract, and salt in a large bowl until the sugar is completely dissolved and the mixture is homogenous.
For the smoothest texture, ensure the sugar has fully incorporated; you can chill this base mixture for at least four hours, or preferably overnight, as colder ingredients churn better, contributing to that perfect kid-friendly ice cream texture.
Step 2: Dividing and Coloring the Base
Carefully divide the chilled base mixture evenly among six separate bowls, aiming for roughly 1 1/3 cups of base mixture per bowl.
Color each portion according to your desired palette (red, orange, yellow, green, blue, violet), adding gel coloring drop by drop until you reach your desired intensity for these bright colored desserts.
Step 3: Flavoring the Individual Hues (Optional Enhancement)
If desired, add a tiny hint of extract to specific colors to enhance the overall flavor profile, such as adding lemon extract to the yellow or a touch of almond to the blue or purple.
Be cautious with extracts, as they are potent; start small, stir well, and taste a tiny bit of the base to ensure you haven’t overpowered the delicate dairy flavor, which is important for a successful rainbow vanilla ice cream experience.
Step 4: Churning the Colors
Churn each colored batch separately in your ice cream maker according to the manufacturer’s instructions until it reaches a soft-serve consistency.
If you are making no churn rainbow ice cream, you will skip this step and proceed directly to layering after whipping the cream and folding in the condensed milk, but ensure you are using a recipe designed for that method.
Step 5: Layering for the Rainbow Effect
Using a loaf pan or freezer-safe container lined with plastic wrap, begin layering the soft ice cream, starting with the bottom color (usually purple or red for visual balance).
Gently spoon about one-third of the first color into the pan, smooth lightly, and then immediately add the next color on top, taking care not to aggressively mix the layers to maintain definition; this technique builds your layered rainbow ice cream.
Step 6: Freezing and Hardening
Once all six colors are layered, cover the surface tightly with plastic wrap, pressing it directly onto the ice cream to prevent ice crystal formation, which is key for a smooth final product.
Freeze the dessert for at least 6 to 8 hours, or preferably overnight, to allow it to firm up completely into scoopable easy summer desserts.
Tips for Achieving Perfect Vibrant Ice Cream Colors
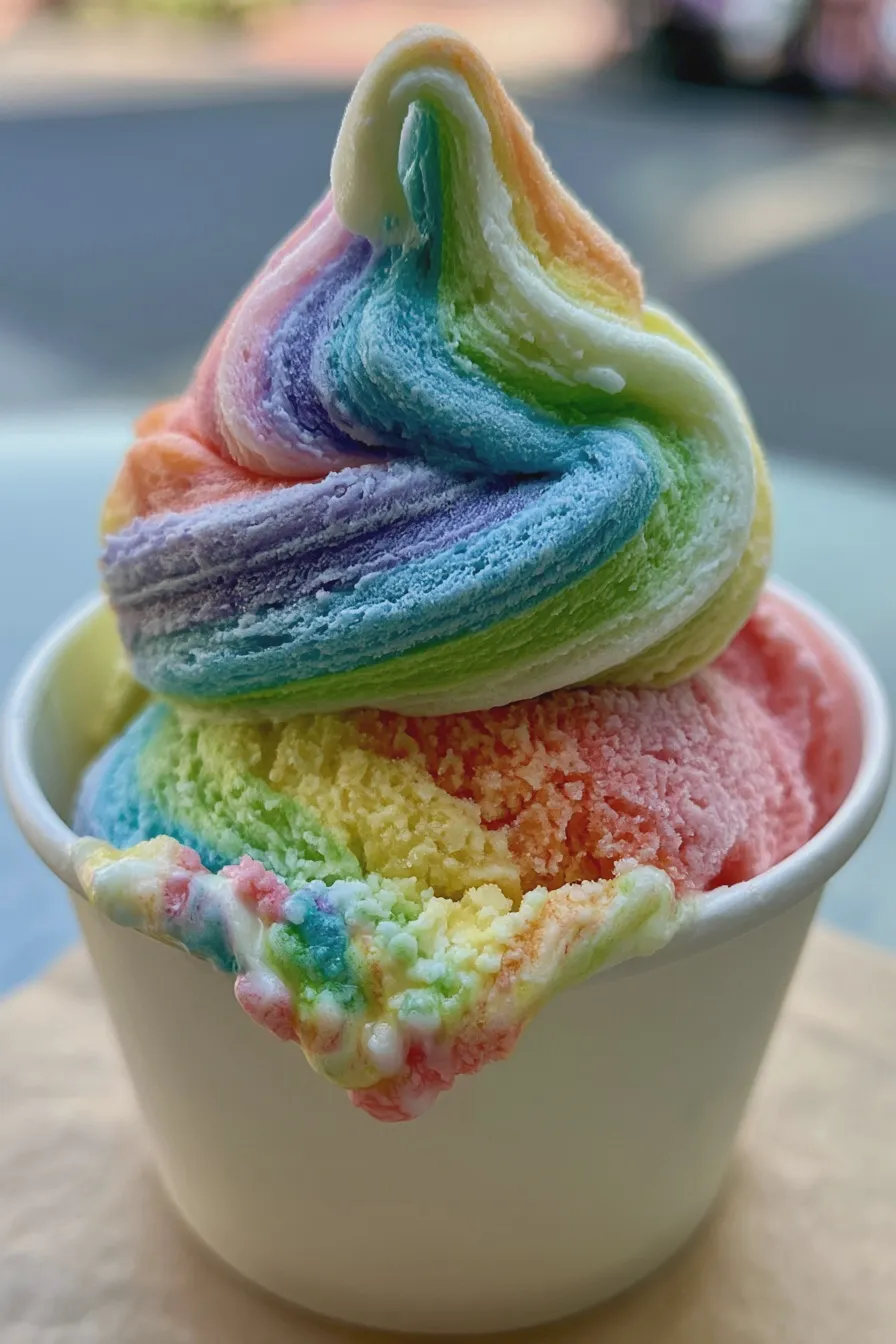
Achieving truly brilliant, distinct colors in a dairy base can sometimes be challenging because the white cream tends to mute the pigments slightly, unlike using a sorbet base.
Using high-quality gel food coloring, rather than liquid drops, is the single best way to ensure your final product looks like a true unicorn ice cream recipe without adding excess moisture that could compromise texture.
Color Intensity Adjustment
If your colors look pale after churning, remember that they will lighten slightly more as they freeze solid, so aim for a slightly brighter hue when they are in the soft-serve stage.
For example, if you are aiming for a deep blue, make it look almost too dark before freezing; this is a common trick when working with bright colored desserts.
Preventing Color Bleed Between Layers
The key to stopping colors from bleeding into each other is temperature control and quick layering; work swiftly between churning and layering, and ensure each layer is only lightly smoothed, not pressed down.
If you find your layers are merging too much, allow each layer to chill in the freezer for about 30 minutes before adding the next, which helps set the surface slightly, much like freezing cookie dough before baking to achieve crisp edges on strawberry cheesecake cookies.
Serving and Storing Your Homemade Frozen Treat
Serving this impressive dessert requires a brief moment on the counter to temper, ensuring it scoops beautifully without crumbling or melting too quickly.
This recipe is fantastic for parties, but it also makes wonderful smaller batches of rainbow swirl sorbet if you use a lighter base, though this creamy version is generally preferred for celebrations.
Serving Suggestions
Allow the ice cream to sit on the counter for 5 to 10 minutes before attempting to scoop, especially if you like a softer texture perfect for topping homemade baked goods like fudgy keto brownies.
For an extra festive presentation, serve scoops alongside fruit skewers or use it as the centerpiece for a birthday party ice cream bar, perhaps alongside baseball-themed rice krispie treat pops for a fun contrast.
Storage Advice
Once fully frozen, transfer the loaf pan to the back of the freezer where temperatures are most stable to maintain quality over time.
Stored airtight, this homemade frozen dessert will keep well for up to three weeks, though the colors may start to slightly dull after the second week, which is common for any homemade frozen confection.
Print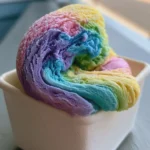
rainbow ice cream Homemade Easy Recipe
- Total Time: PT6H30M
- Yield: 6–8 servings 1x
- Diet: Vegetarian
Description
This show-stopping Rainbow Ice Cream recipe uses a simple no-churn base, allowing you to easily layer six vibrant, delicious flavors. It’s perfect for birthdays, holidays, or just adding a burst of color to any day!
Ingredients
- 1 (14-ounce) can sweetened condensed milk, chilled
- 2 cups heavy whipping cream, very cold
- 1 teaspoon vanilla extract
- Gel food coloring (Red, Orange, Yellow, Green, Blue, Purple)
- Optional: 1/2 tsp clear almond extract for added flavor
Instructions
- Prepare your pan: Line a standard loaf pan (about 9×5 inches) with plastic wrap, leaving an overhang on the sides for easy removal later.
- Make the base: In a large bowl, whip the cold heavy cream and vanilla extract (and almond extract, if using) using an electric mixer until stiff peaks form (about 3-5 minutes).
- Fold in condensed milk: Gently fold the chilled sweetened condensed milk into the whipped cream until just combined. Be careful not to deflate the mixture.
- Divide and color: Divide the base mixture evenly into six separate small bowls (approximately 1/2 cup each).
- Color the layers: Add a few drops of gel food coloring to each bowl to achieve the desired rainbow shades (Red, Orange, Yellow, Green, Blue, Purple). Stir gently until the color is uniform in each bowl.
- Layer the ice cream: Start with the purple layer and spread it evenly over the bottom of the prepared loaf pan. Freeze for 30 minutes.
- Continue layering: Once the first layer is firm enough to hold shape, gently spoon the blue layer on top, spreading carefully. Freeze for another 30 minutes. Repeat this process for Green, Yellow, Orange, and finally Red, ensuring each layer is slightly firm before adding the next.
- Final freeze: Cover the top with the overhanging plastic wrap and freeze for at least 6 hours, or preferably overnight, until completely firm.
- Serve: Use the plastic wrap overhang to lift the ice cream block out of the pan. Slice and enjoy the rainbow!
Notes
- Gel food coloring is essential for achieving bright, true colors without thinning the ice cream base.
- For the neatest layers, ensure the previous layer is adequately frozen (at least 30 minutes) before adding the next.
- This recipe can be adapted to use fewer colors if preferred.
- If you prefer a richer flavor, you can substitute 1/2 teaspoon of vanilla extract with 1/2 teaspoon of clear almond extract in the main base.
- Prep Time: PT25M
- Cook Time: 0 minutes
- Category: No-Churn Ice Cream
- Method: Freezing
- Cuisine: American
Nutrition
- Serving Size: 1/2 cup
- Calories: 280
- Sugar: 35g
- Sodium: 55mg
- Fat: 13g
- Saturated Fat: 8g
- Carbohydrates: 38g
- Fiber: 0g
- Protein: 5g
- Cholesterol: 35mg







