
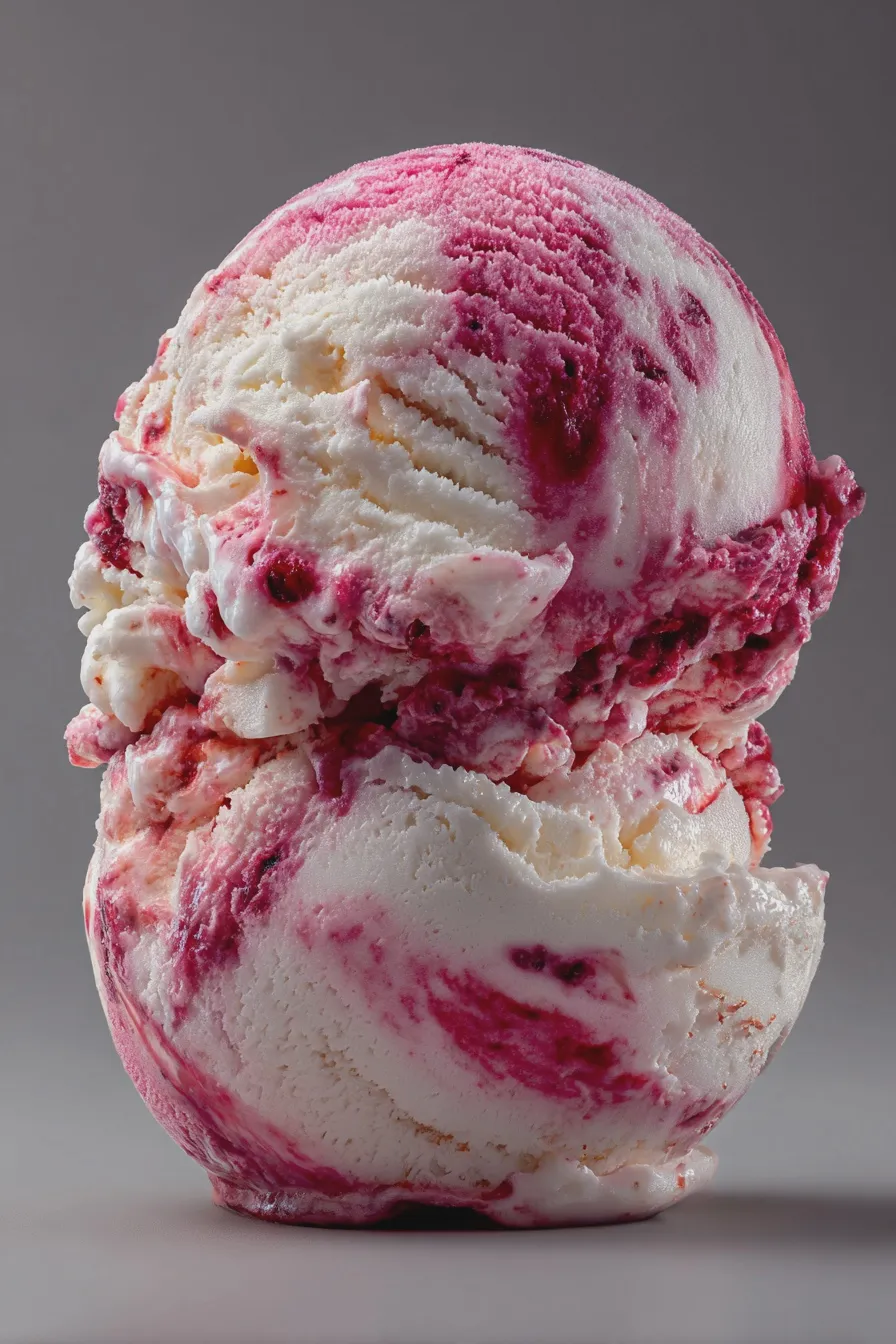
Creating velvety smooth, intensely flavored frozen desserts at home is incredibly simple when you utilize the power of the Ninja Creami machine, especially when exploring variations like these rich, decadent creamy frozen treats.
If you are looking for the absolute best Ninja Creami recipes that deliver gourmet results without the usual churning time, you’ve come to the right place for delicious, customized sweet endings to any meal.
These ninja creami ice cream recipes focus on achieving that signature dense, scoopable texture that the machine is famous for, using a simple base that you can easily customize to your favorite flavors, like this luscious chocolate peanut butter version.
We often think homemade ice cream requires hours of babysitting a machine, but mastering these simple Ninja Creami no churn recipes means you just mix, freeze overnight, and spin for instant gratification.
Understanding the Ninja Creami Base
The secret to success with any of the best Ninja Creami recipes lies entirely in the foundation, which is often called the “base” and requires a minimum of 24 hours of freezing time before processing.
Essential Ingredients for a Creamy Base
- 1 cup Whole Milk (or half-and-half for extra richness)
- 1/2 cup Cream Cheese, softened to room temperature (essential for texture!)
- 1/4 cup Granulated Sugar (adjust to taste depending on your flavor additions)
- 1 teaspoon Pure Vanilla Extract
- Pinch of Salt
The cream cheese is non-negotiable in many of the creamy Ninja Creami texture recipes because its fat content helps prevent the mixture from freezing rock-solid, ensuring it processes beautifully.
If you are experimenting with low calorie Ninja Creami ice cream variations, you can substitute some of the whole milk with unsweetened almond milk, but be mindful that less fat may require an extra splash of liquid during the re-spin cycle.
Preparing and Freezing the Base
In a medium bowl, thoroughly whisk together the milk, softened cream cheese, sugar, vanilla, and salt until the mixture is completely smooth and no lumps of cream cheese remain.
Pour this liquid base into your Ninja Creami pint container, ensuring you do not exceed the maximum fill line, which is crucial for proper processing.
Place the lid securely onto the pint and transfer it to a level spot in your freezer, allowing it to freeze solid for at least 24 hours before attempting to spin it.
Making Decadent Chocolate Peanut Butter Ice Cream
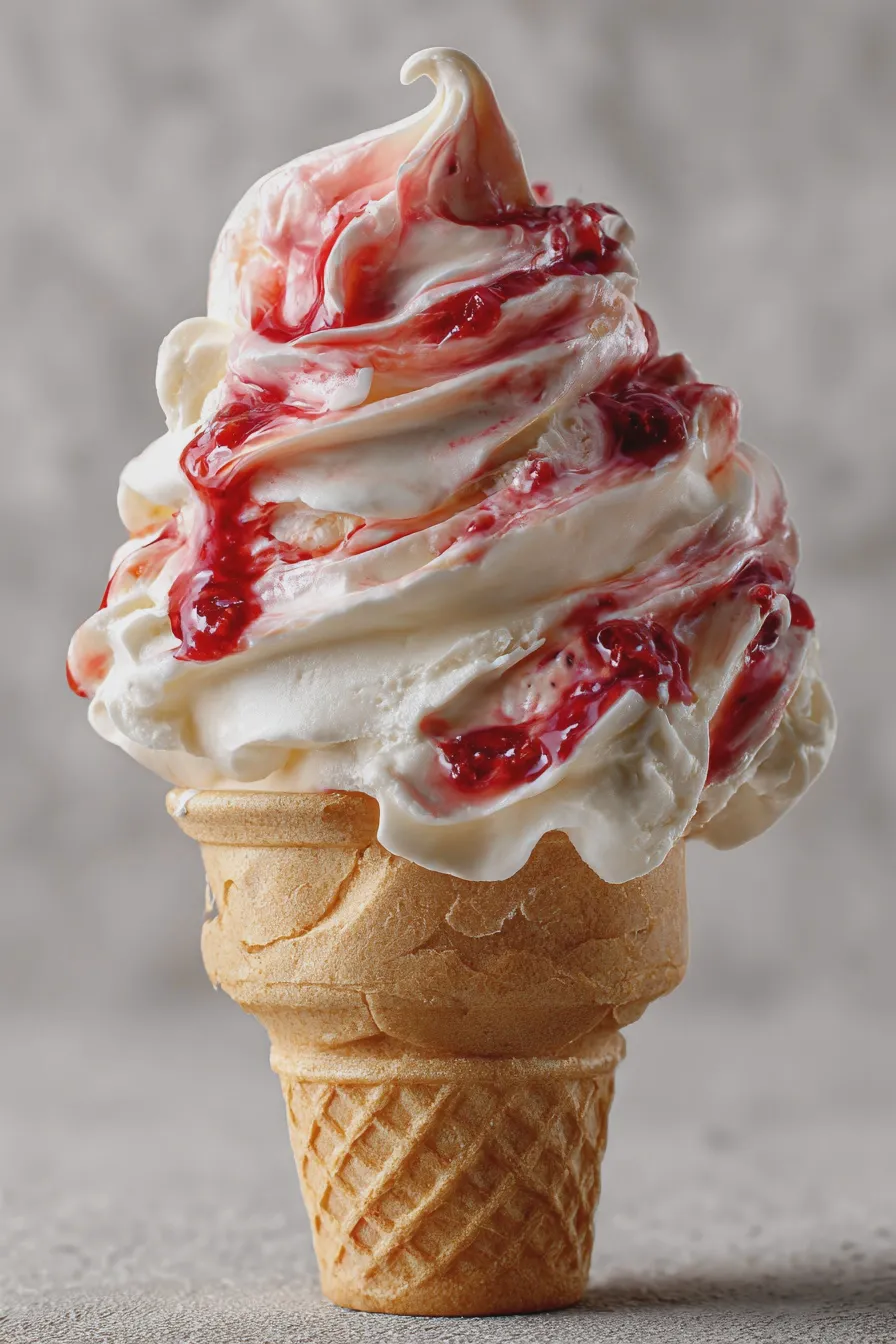
This specific flavor combination is a staple among gourmet Ninja Creami flavors because the salty peanut butter cuts through the sweetness of the chocolate base perfectly.
Flavor Additions for the Pint
- 2 Tablespoons Unsweetened Cocoa Powder (sifted to prevent clumps)
- 2 Tablespoons Creamy Peanut Butter (use natural style if you prefer less sugar)
If you are exploring chocolate brownies recipe inspired desserts, adding the cocoa powder directly to the base before freezing yields a deeper chocolate flavor than adding it later.
Whisk the sifted cocoa powder vigorously into the prepared base mixture until the color is uniform and you have achieved a homogenous chocolate liquid.
Freezing and Initial Spin
Once the chocolate base is fully frozen solid, lock the pint into the outer bowl and place it onto the machine base, then select the full “Lite Ice Cream” or “Ice Cream” function.
If the machine struggles or stops abruptly, remove the pint; this usually indicates it is still too frozen, which is a common issue when making easy Ninja Creami recipes for beginners.
Incorporating Mix-Ins
- 1/4 cup Mini Chocolate Chips
- 2 Tablespoons Peanut Butter Swirl (warmed slightly for easier swirling)
After the initial spin results in a powdery texture, make a well down the middle of the mixture—about 1.5 inches deep—and add your mix-ins like the chocolate chips.
Drizzle the slightly warmed peanut butter into the well, then run the machine on the “Mix-in” setting to evenly distribute those delicious chunks and swirls throughout the dessert.
Troubleshooting Texture and Consistency
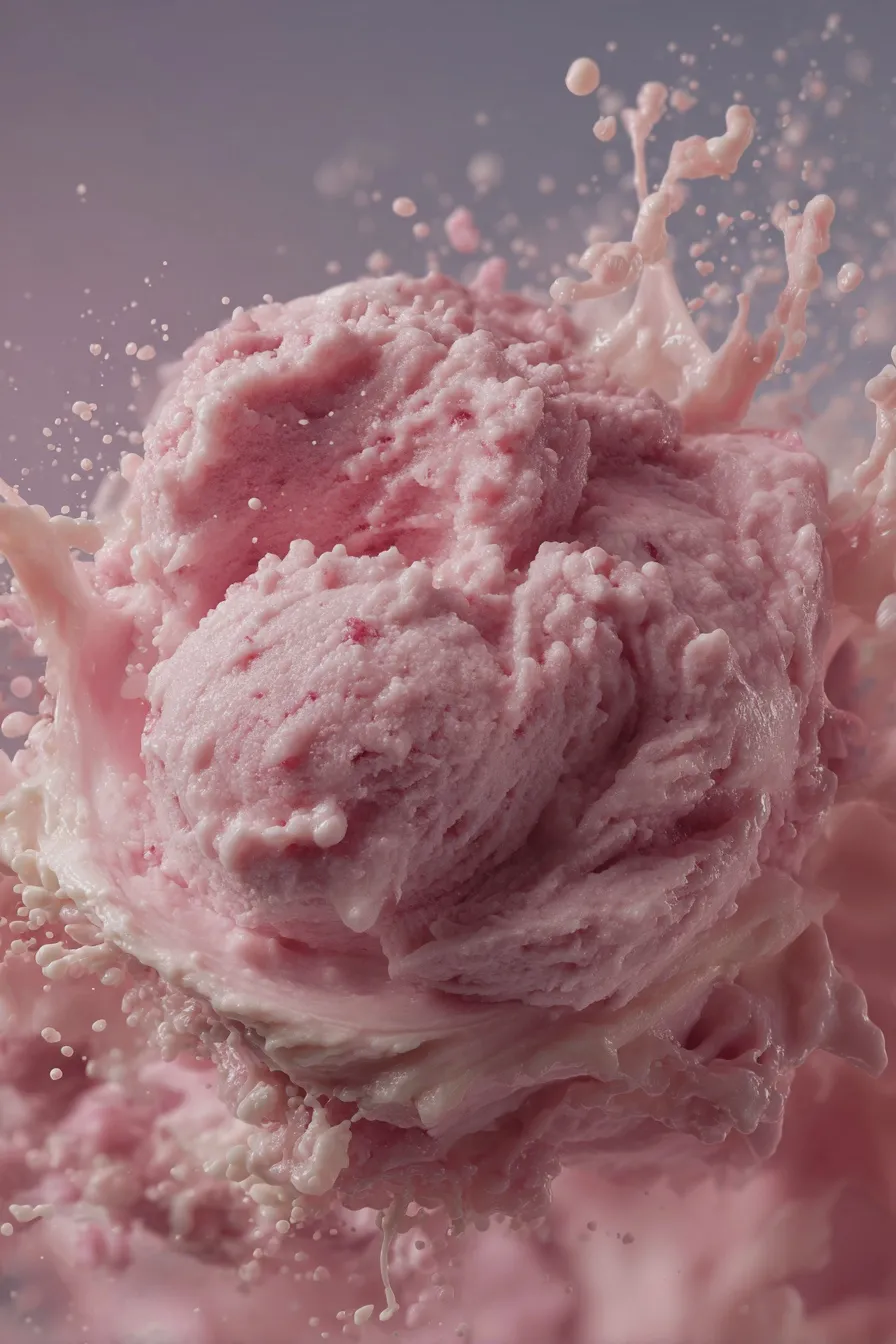
Even the simplest Ninja Creami recipe ideas can sometimes result in a texture that is too crumbly or too hard, requiring a quick fix known as re-spinning.
Addressing Crumbly Texture (Too Dry)
If the first spin leaves the mixture looking dry and powdery, add 1 to 2 teaspoons of whole milk or cream directly onto the surface of the ice cream.
Return the pint to the machine and run the “Re-spin” function once; this small addition of liquid incorporates smoothly and usually resolves the issue instantly, leading to a perfect scoop.
Fixing Rock-Hard Consistency (Too Dense)
If the machine simply refuses to process the pint because it is too solid, let the container sit on the counter at room temperature for about 10 to 15 minutes to temper slightly.
Alternatively, you can add up to 2 tablespoons of liquid and use the “Re-spin” function; be careful not to add too much liquid, as this can lead to a watery result later.
Creative Variations and Flavor Swaps
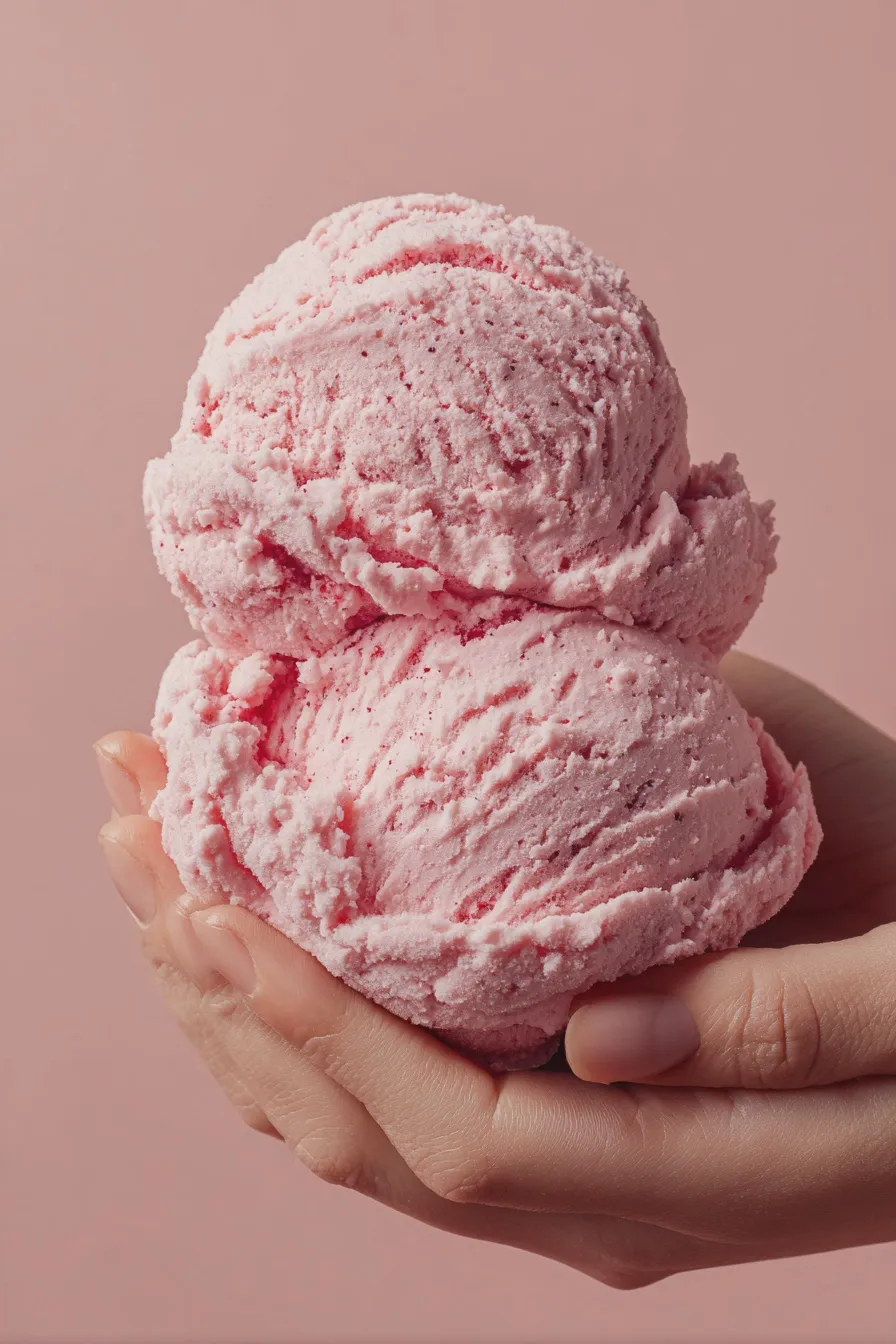
Once you understand the Ninja Creami base recipes, the possibilities for new frozen desserts are endless, allowing you to tailor treats for any craving or dietary need.
Healthy Swaps and Protein Boosts
For those looking for Greek yogurt brownies inspired flavors, use Greek yogurt in place of the cream cheese in the base; this increases the protein content significantly.
When making Ninja Creami protein ice cream, remember that protein powders absorb moisture, so you may need an extra 1/4 cup of liquid added to the base before freezing to maintain creaminess.
Exploring Non-Dairy and Sugar-Free Options
To create excellent Ninja Creami recipes without sugar, substitute the granulated sugar with a monk fruit or erythritol blend, ensuring you taste a small sample before freezing to check sweetness levels.
For dairy-free versions, swap the whole milk for full-fat canned coconut milk and use a plant-based cream cheese alternative, although the texture might lean slightly more toward an Italian ice consistency unless stabilizers are added.
Sorbet and Milkshake Ideas
If you prefer something lighter, omit the cream cheese and use fruit puree with water and sweetener to create fantastic Ninja Creami sorbet recipes, often requiring less sugar due to the natural fruit content.
To make a quick Ninja Creami milkshake recipes, you can process a frozen base on the “Lite Ice Cream” setting, then add a splash of milk and use the “Milkshake” function for an instant, thick drink.
Serving and Storage Tips
Proper serving temperature is key to enjoying these dense frozen desserts, regardless of whether you made a classic ice cream or tried a coconut macaroons inspired flavor.
Achieving the Perfect Scoop
Always allow the freshly spun dessert to temper on the counter for 5 to 10 minutes before attempting to scoop, especially if you used a high-fat base like heavy cream.
For firmer results, like a sourdough brownies mix-in, you can place the processed pint back into the freezer for up to an hour for a firmer, more sliceable texture.
Long-Term Storage Advice
If you plan to store your creation for more than a few days, transfer the contents from the Ninja Creami pint into an airtight, freezer-safe container to prevent freezer burn.
When retrieving stored ice cream, you will almost certainly need to perform a quick “Re-spin” with a teaspoon of milk added to restore that signature creamy consistency.
Print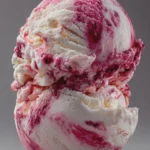
ninja creami ice cream recipes Easy Homemade
- Total Time: PT24H
- Yield: 2 servings 1x
- Diet: Vegetarian
Description
This Strawberry Cheesecake Ninja Creami Ice Cream captures the rich, tangy flavor of cheesecake swirled with sweet strawberries, all processed to a perfectly creamy consistency using your Ninja Creami machine. It’s a low-effort, high-reward dessert!
Ingredients
- 1 cup (240ml) Whole Milk (or preferred dairy/non-dairy base)
- 1/2 cup (120g) Plain Cream Cheese, softened
- 1/4 cup (50g) Granulated Sugar
- 1 teaspoon Vanilla Extract
- 1/8 teaspoon Almond Extract (optional, for cheesecake flavor)
- 1/4 cup (60g) Strawberry Puree (made from fresh or frozen strawberries)
- 1 tablespoon Strawberry Jam or Preserves (for swirl)
- Pinch of Salt
Instructions
- In a medium bowl, whisk together the whole milk, softened cream cheese, granulated sugar, vanilla extract, almond extract (if using), and salt until the cream cheese is fully incorporated and the mixture is smooth.
- Stir in the strawberry puree until evenly combined.
- Pour the mixture into the Ninja Creami pint, ensuring it does not exceed the max fill line. Secure the lid.
- Freeze the pint solid for at least 24 hours.
- Once frozen, place the pint into the outer bowl, secure the lid, and process on the ‘Ice Cream’ setting.
- If the mixture is crumbly after the first spin, add a splash (about 1 tablespoon) of milk or water and re-spin using the ‘Re-Spin’ function until creamy.
- Remove the pint and gently swirl in the tablespoon of strawberry jam/preserves using a spoon or knife.
- Enjoy immediately for soft-serve consistency, or place back in the freezer for 15-30 minutes for a firmer scoopable texture.
Notes
- For the best cheesecake flavor, ensure your cream cheese is truly soft before mixing.
- If you prefer a tangier base, substitute 1/4 cup of the milk with plain Greek yogurt.
- To make the swirl extra decadent, use crushed graham crackers mixed with a tiny bit of melted butter as a final topping after spinning.
- Prep Time: PT10M
- Cook Time: 0 minutes
- Category: Ninja Creami
- Method: Freeze and Process
- Cuisine: American
Nutrition
- Serving Size: 1/2 pint
- Calories: 320
- Sugar: 35g
- Sodium: 150mg
- Fat: 14g
- Saturated Fat: 8g
- Carbohydrates: 45g
- Fiber: 1g
- Protein: 7g
- Cholesterol: 45mg







