Halloween is a time for spooky fun, delightful treats, and gathering with loved ones. When it comes to party planning, having a few show-stopping yet easy desserts in your arsenal is always a good idea. Today, we’re diving into the wonderfully delicious world of halloween cheesecake bites! These bite-sized delights are perfect for satisfying sweet cravings without being too heavy, and they offer endless possibilities for creative decoration. Whether you’re hosting a ghoulish get-together or just looking for some festive baking inspiration, these mini halloween cheesecakes are sure to be a hit. Let’s explore how to make these incredibly versatile treats that will impress all your guests. For more inspiration on festive baking, check out these [easy halloween desserts](https://www.allrecipes.com/search?q=easy+halloween+desserts).
Why Halloween Cheesecake Bites Are a Must-Have
These delightful halloween cheesecake bites are a fantastic choice for several reasons. Firstly, their small size makes them perfect for a party buffet, allowing guests to sample a variety of treats. They’re also incredibly adaptable. You can easily create different flavors and decorations to suit any halloween theme. From classic pumpkin spice to spooky chocolate creations, the possibilities are endless. Plus, many recipes for no-bake halloween cheesecake bites are incredibly simple, making them perfect for bakers of all skill levels. They are a wonderful addition to any list of halloween party desserts.
One of the biggest advantages is their crowd-pleasing nature. Who doesn’t love cheesecake? Mini halloween cheesecakes offer all the creamy, decadent flavor of a full-sized cheesecake in a convenient, shareable format. They are truly among the best halloween dessert ideas. For a deeper dive into the basics of creating perfect cheesecake fillings, understanding [how to cream butter and sugar](https://homemadeamerican.com/how-to-cream-butter-and-sugar/) is a great starting point, as this technique is fundamental to many creamy dessert bases.
The Ultimate Halloween Cheesecake Bites Recipe Foundation
At its core, a classic cheesecake filling is made from cream cheese, sugar, eggs, and a flavoring agent like vanilla. For halloween cheesecake bites, we’ll adapt this for a no-bake or semi-baked approach to simplify the process and ensure a smooth, creamy texture perfect for decorating. The base is usually a crushed cookie crust, often made with graham crackers or Oreos, pressed into mini muffin tins or cupcake liners.
Another favorite of ours is the Apple Crumble Cake With Cream Cheese.
Ingredients You’ll Need:
- Cream cheese (full-fat, softened)
- Sweetened condensed milk or heavy cream
- Powdered sugar
- Vanilla extract
- Crushed cookies (graham crackers, Oreos, or your favorite vanilla wafers)
- Melted butter (for the crust)
- Optional: Food coloring, cocoa powder, pumpkin puree, spices
Step-by-Step Guide to a Basic Halloween Cheesecake Bite
Let’s start with a foundational recipe for festive cheesecake bites that you can then customize. This recipe focuses on a no-bake approach for ultimate ease.
1. Prepare the Crust:
In a bowl, combine your finely crushed cookies with melted butter. A good ratio is about 1.5 cups of cookie crumbs to 6 tablespoons of melted butter. Mix until the crumbs are evenly moistened, resembling wet sand. If you’re using Oreos, you can include the filling for extra flavor and a darker crust. This is a key step for creating a sturdy base for your mini halloween cheesecakes.
2. Press into Molds:
Line a mini muffin tin with paper liners or use silicone mini muffin molds. Spoon about 1-2 teaspoons of the crust mixture into each liner and press down firmly with the bottom of a small glass or your fingers to create an even layer. Chill the crusts in the refrigerator while you prepare the filling.
Another favorite of ours is the How To Cream Butter And Sugar.
3. Make the Filling:
In a large bowl, beat softened cream cheese until smooth and creamy. This is crucial to avoid lumps. Gradually beat in the powdered sugar until well combined. Then, mix in the sweetened condensed milk (or heavy cream) and vanilla extract. Beat until the mixture is smooth and luscious. For no-bake versions, this is your filling. For a slightly firmer texture, you could incorporate an egg and bake briefly, but we’re focusing on the easiest route today.
4. Flavor and Color (Optional):
This is where the halloween magic happens! You can divide the filling into portions and add different flavorings and colors. For example:
- Pumpkin Spice: Add 1/4 cup pumpkin puree, 1/2 teaspoon pumpkin pie spice, and a drop of orange food coloring.
- Chocolate: Mix in 2 tablespoons of unsweetened cocoa powder.
- Oreo Halloween Cheesecake Bites: Fold in some finely crushed Oreos.
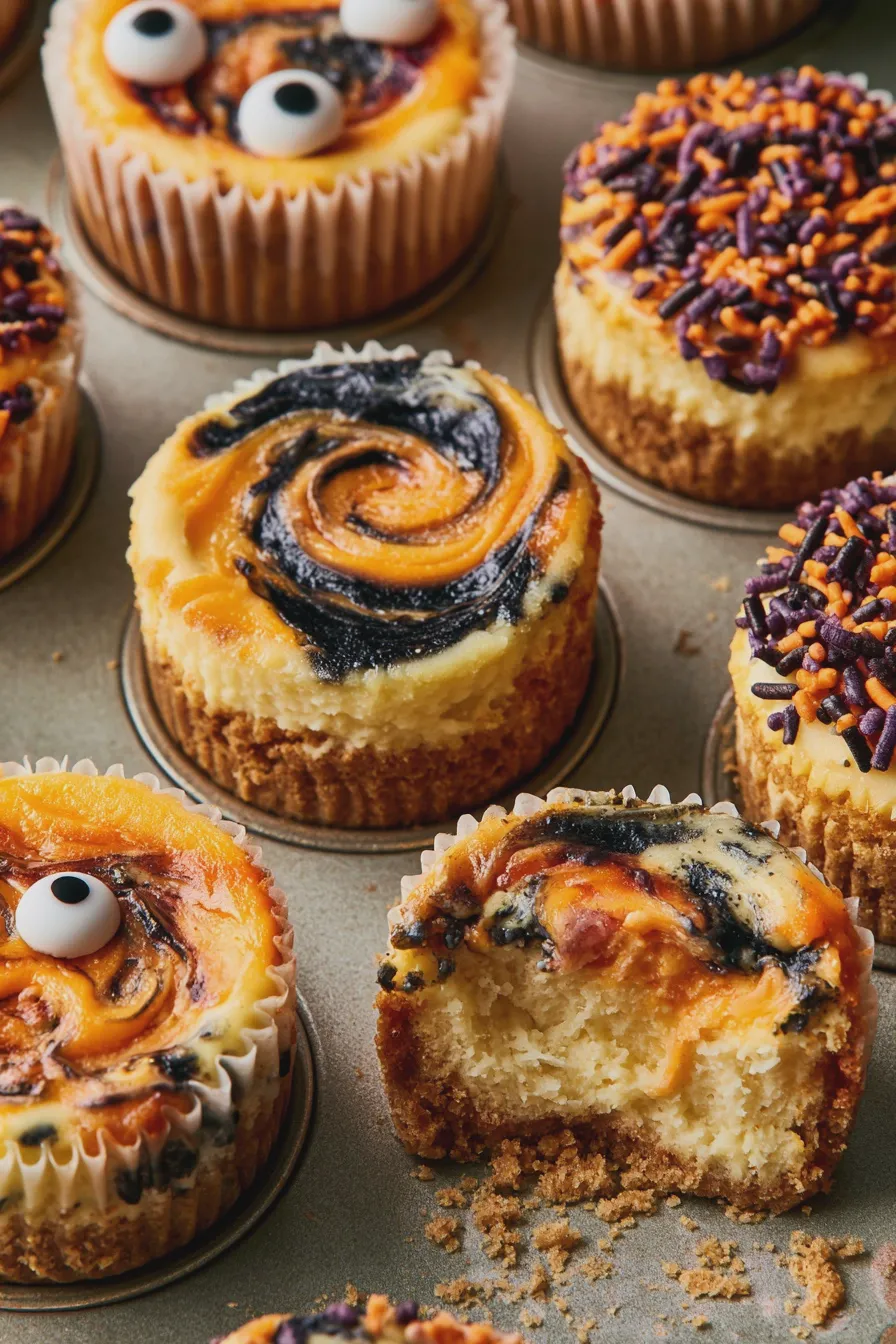
- Candy Corn Cheesecake Bites: Layer yellow, orange, and white colored filling, or swirl them for a marbled effect.
Remember to use gel food coloring for vibrant colors without adding too much liquid. For smooth, vibrant colors, it’s often best to use a dedicated food coloring guide. You can find great resources on [food coloring techniques](https://en.wikipedia.org/wiki/Food_coloring) to achieve the perfect shades.
Don’t miss out on our guide to Zucchini Cake With Cream Cheese Frosting.
5. Fill and Chill:
Spoon or pipe the filling evenly over the prepared crusts. Smooth the tops with a small spatula or the back of a spoon. Refrigerate the cheesecake bites for at least 2-4 hours, or until firm. For a quicker set, you can place them in the freezer for about 30-60 minutes.
Decorating Your Spooky Cheesecake Bites
Decorating is where your halloween cheesecake bites truly come to life! The possibilities are as vast as your imagination. Here are some popular and easy ideas:
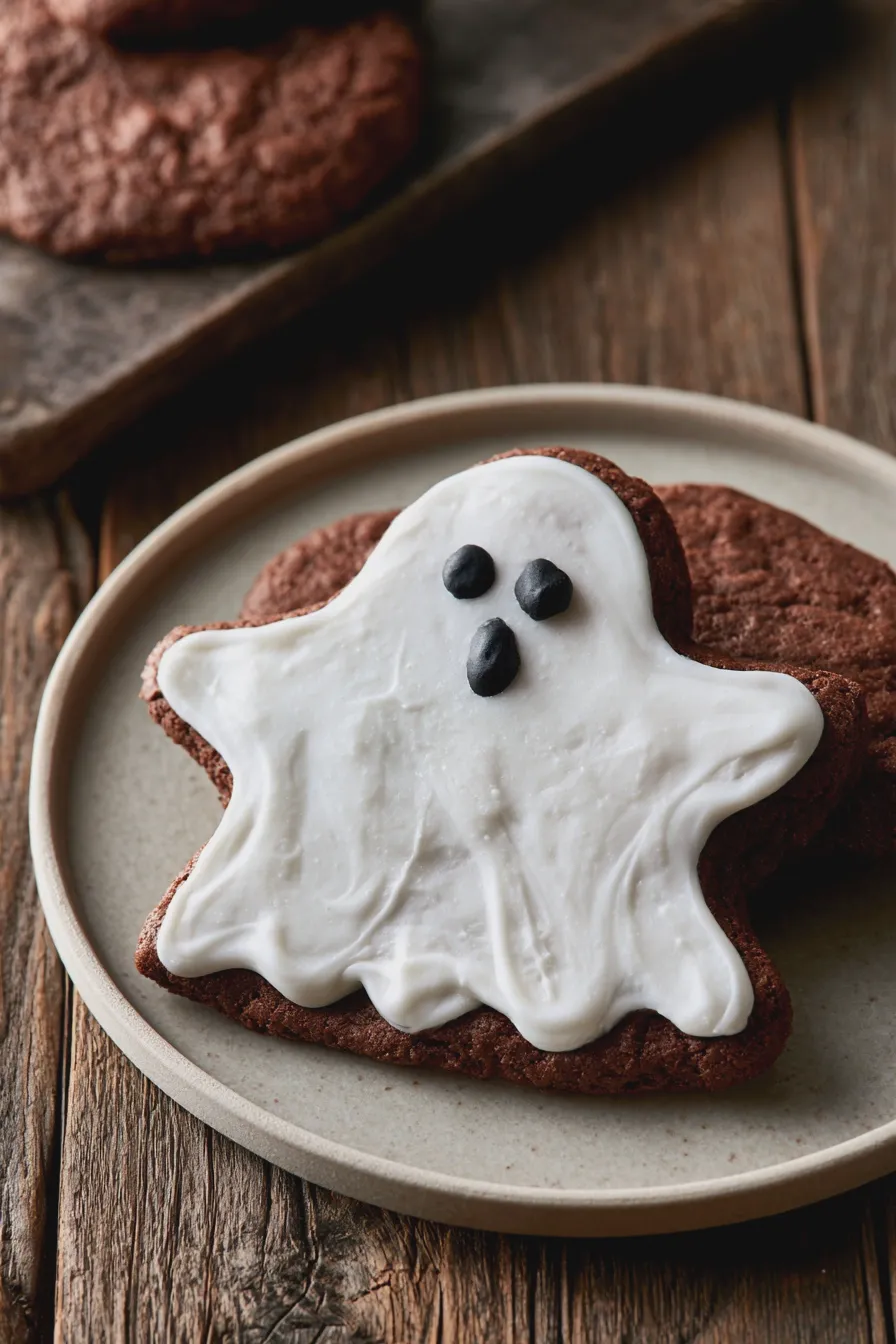
Ghost Cheesecake Bites:
Top each cheesecake bite with a dollop of whipped cream or white frosting. Use mini chocolate chips or edible black marker to create two eyes on each ghost.
Looking for more? Try this delicious Carrot Cake With Cream Cheese Frosting next.
Mummy Cheesecake Bites:
Use white frosting or melted white chocolate drizzled in thin strips across the top of the cheesecake bites to create a mummy effect. Add two small dots of frosting for eyes peeking through.
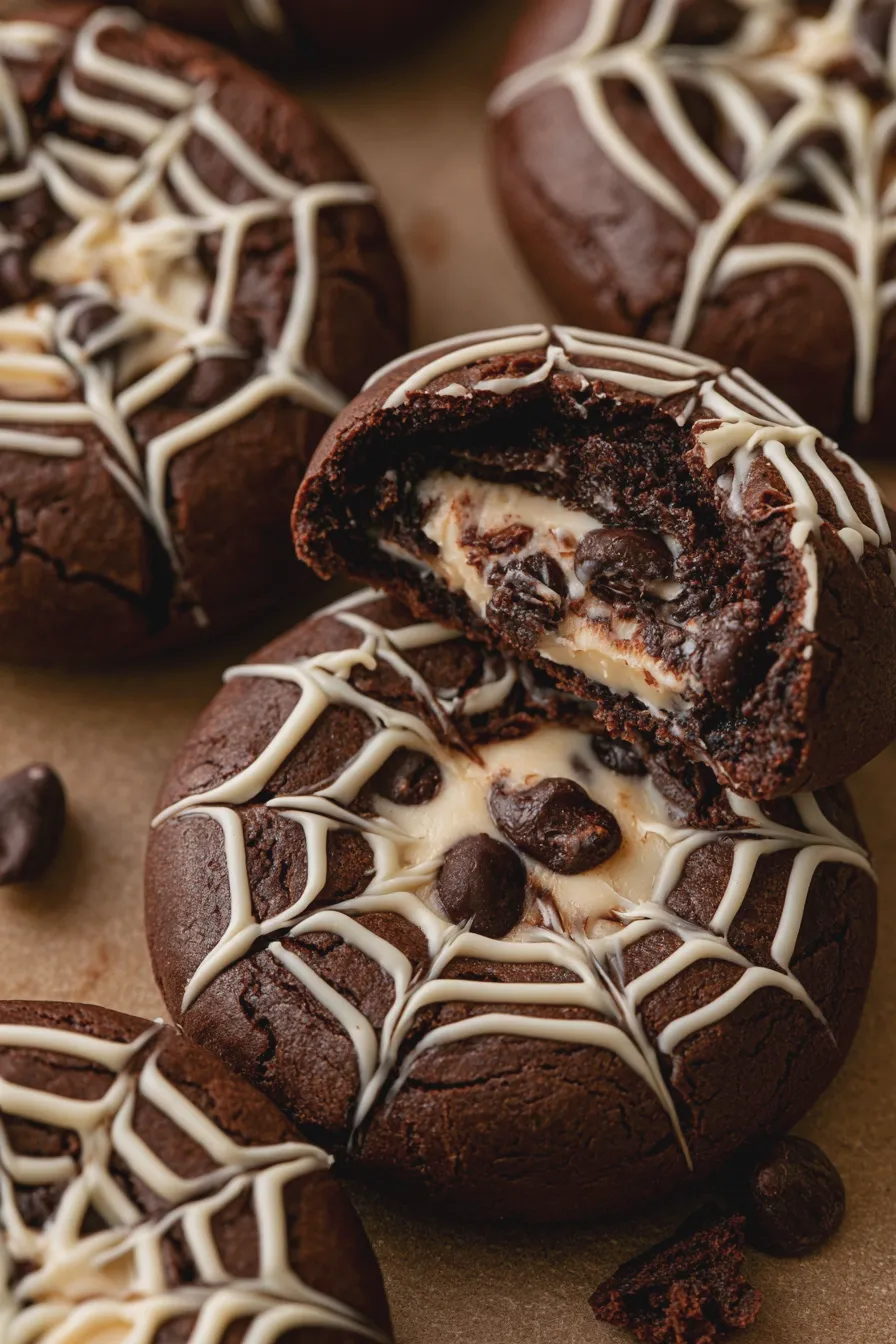
Spiderweb Cheesecake Bites:
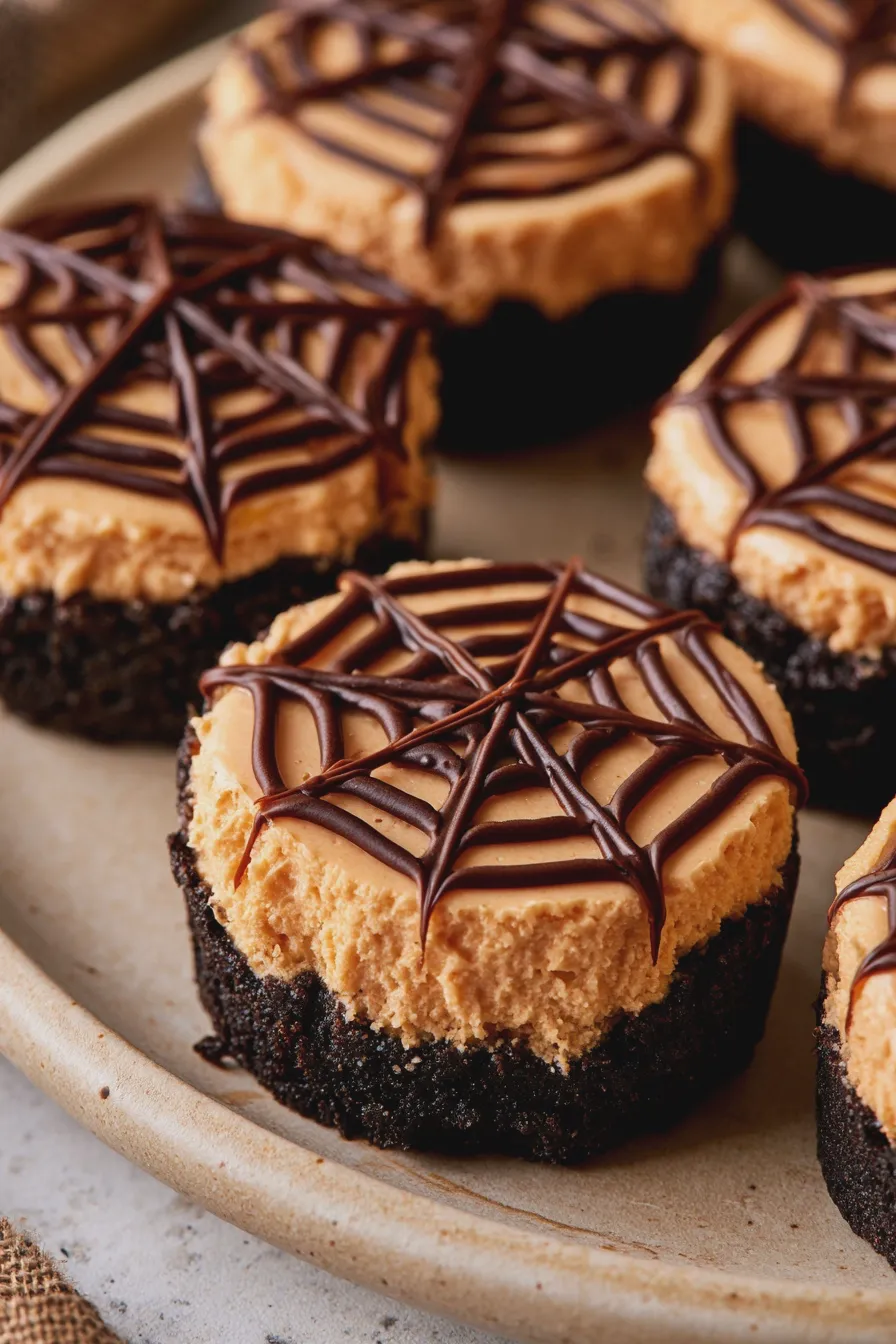
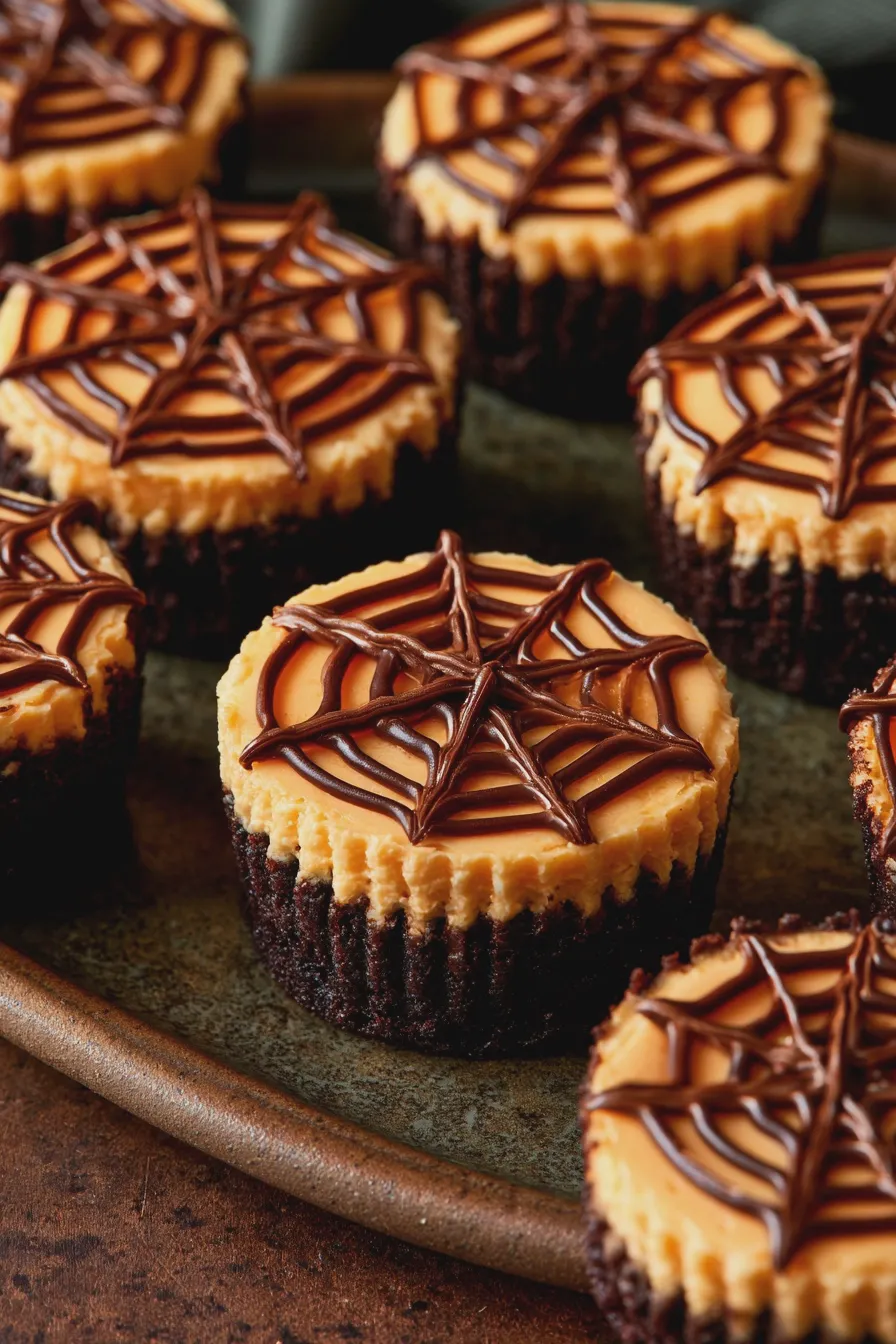
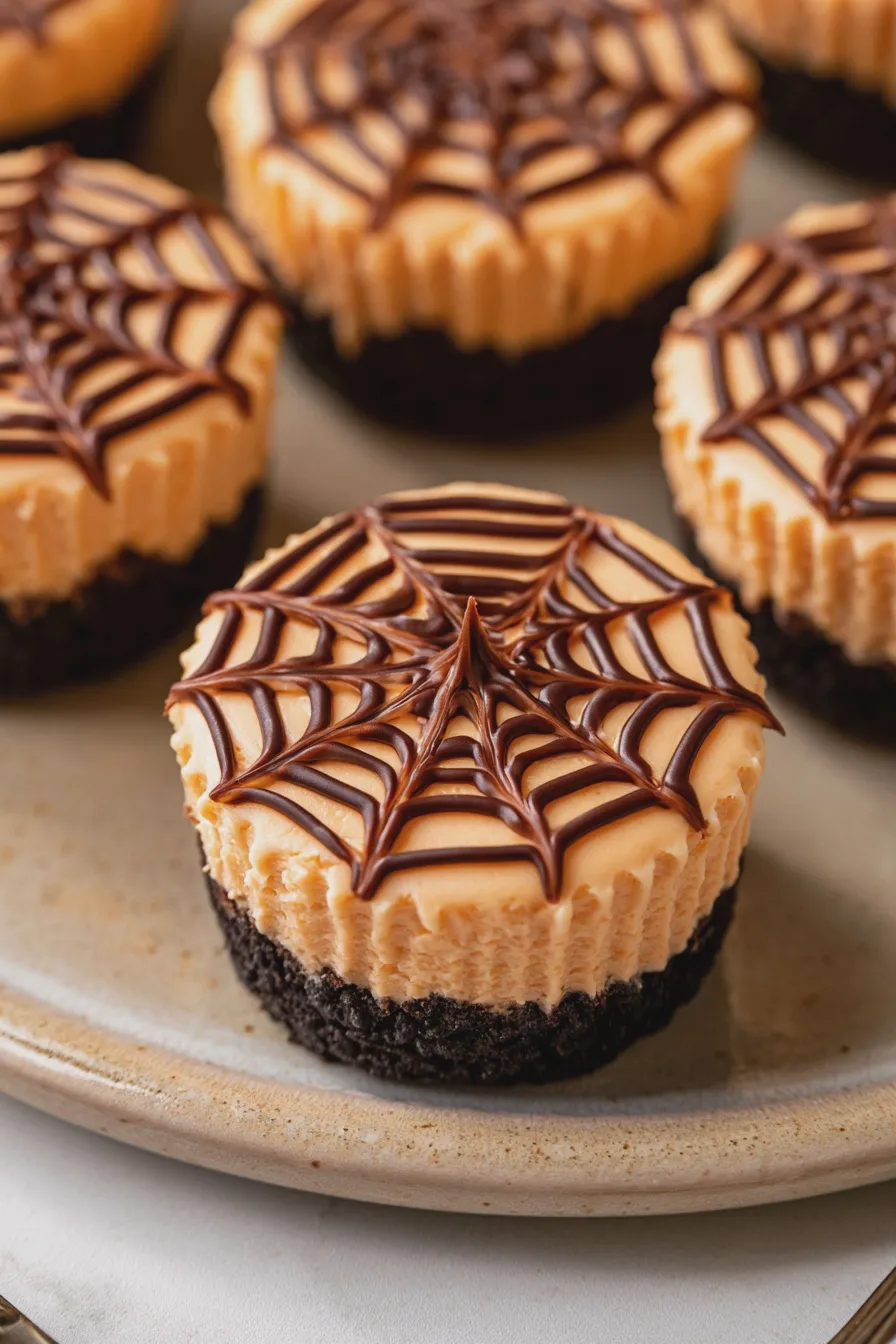
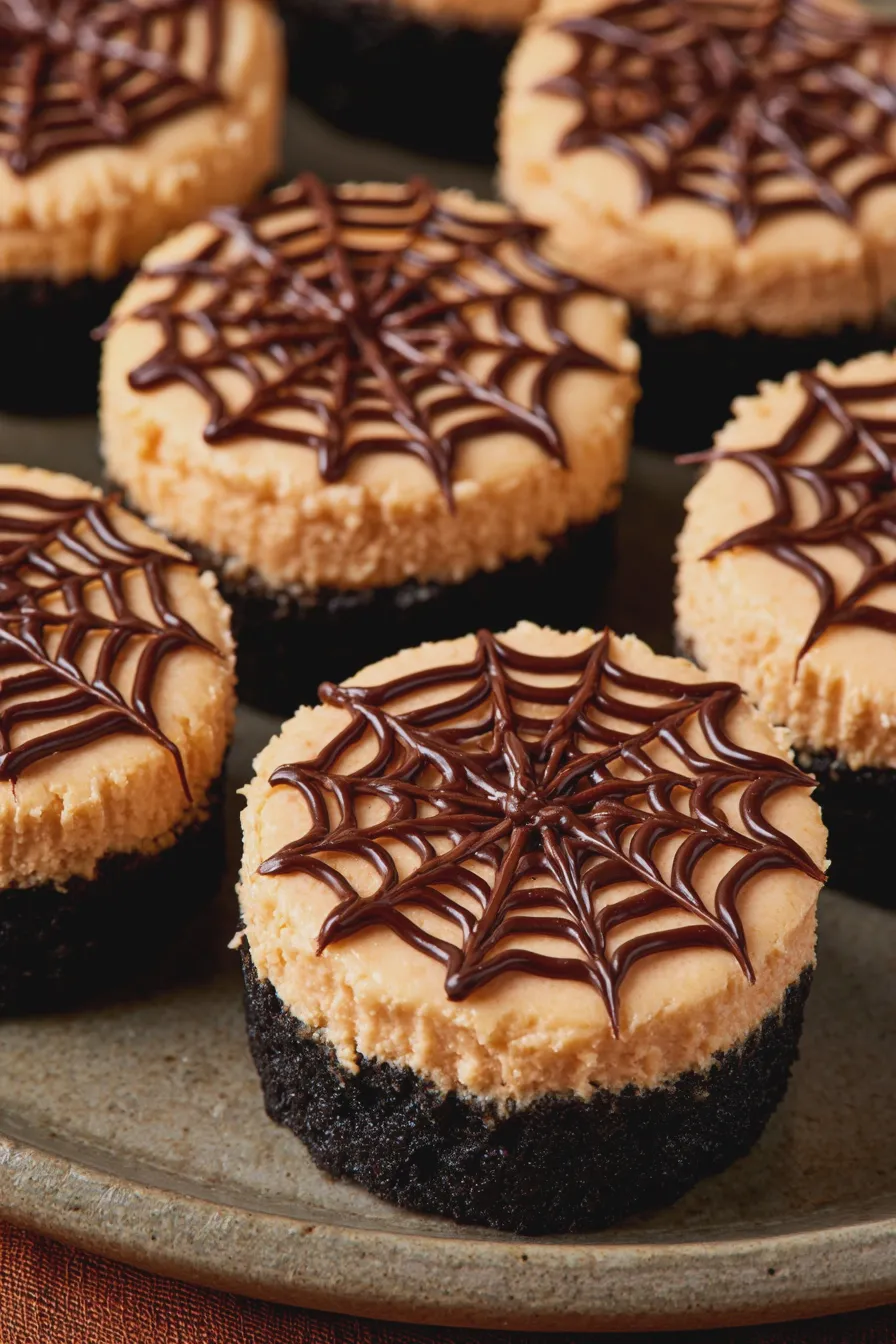
For chocolate cheesecake bites, pipe thin white frosting lines in concentric circles. Then, drag a toothpick from the center outwards to create a spiderweb design. For lighter cheesecakes, use chocolate frosting or melted chocolate for the web.
Bat Cheesecake Bites:
Use black frosting to create bat shapes, or cut out bat shapes from black fondant. You can also use chocolate chips for wings.
Don’t miss out on our guide to How To Make Ice Cream At Home.
Witch Finger Cheesecake Bites:
Shape the cheesecake filling into finger shapes before chilling, or pipe it on. Use green food coloring for the filling. Press a slivered almond into the tip for a fingernail and use a knife to score knuckle lines.
Remember, the goal is fun! Don’t stress about perfection. The charming imperfections often add to the homemade appeal of these halloween cream cheese desserts.
Tips for Perfect Halloween Cheesecake Bites
- Room Temperature Cream Cheese: Always ensure your cream cheese is fully softened to room temperature. This is critical for a smooth, lump-free filling.
- Don’t Overmix: Overmixing the filling, especially after adding powdered sugar, can incorporate too much air, leading to cracks if you were to bake them, or a less dense texture.
- Chill Thoroughly: Patience is key! Make sure your halloween cheesecake bites are fully chilled and set before decorating and serving. This ensures they hold their shape.
- Crust Consistency: The crust mixture should resemble wet sand. If it’s too dry, it won’t hold together; too wet, and it will be greasy.
- Lining is Key: Using paper liners or silicone molds makes removal a breeze and keeps your mini halloween cheesecakes looking neat.
- Flavor Pairings: Consider classic fall flavors like apple, cinnamon, or caramel to complement your halloween theme. For example, try an apple crumble cake with cream cheese topping as inspiration for flavor profiles.
Common Mistakes to Avoid
- Using Cold Cream Cheese: This is the most common mistake and leads to a lumpy, uneven filling.
- Not Chilling Long Enough: Rushing the chilling process will result in a cheesecake that falls apart when you try to serve or decorate it.
- Over-Sweetening: While cheesecake is sweet, be mindful of the sugar content, especially when adding sweetened condensed milk and powdered sugar. Taste as you go.
- Messy Decorating: If you’re new to decorating, keep it simple! Drizzles, sprinkles, and edible markers are your friends for quick, impressive results.
- Ignoring the Crust: A soggy or crumbly crust can ruin the experience. Ensure it’s well-pressed and has the right butter-to-crumb ratio.
Variations and Flavor Ideas
Beyond the basic decorations, let’s explore some more flavor-focused variations for your halloween cheesecake bites:
If you enjoyed this, you might also love our Soft Serve Ice Cream Recipes recipe.
- Chocolate Halloween Cheesecake Bites: Use Oreo crust and add cocoa powder to the filling. Decorate with chocolate ganache or sprinkles.
- No-Bake Halloween Cheesecake Bites: This entire guide is geared towards no-bake for ease, but it’s worth reiterating how simple they are!
- Pumpkin Cheesecake Bites: As mentioned, add pumpkin puree and spices. These are a quintessential fall treat.
- Salted Caramel: Swirl caramel sauce into the filling or drizzle on top. A sprinkle of sea salt enhances the flavor.
- Cookies and Cream: Fold crushed Oreos into the filling and use an Oreo crust.
- Fruity Twists: Consider adding a swirl of raspberry or cherry puree for a pop of color and tartness.
These variations ensure that your halloween cheesecake bites can be tailored to every palate. They are truly versatile halloween party desserts.
Print
halloween cheesecake bites recipe
Description
These adorable Spooky Spiderweb Cheesecake Bites are the perfect no-bake Halloween treat! Creamy, tangy cheesecake filling sits on a crunchy chocolate cookie crust, all topped with a fun and easy chocolate spiderweb design. They’re bite-sized, festive, and sure to be a hit at any Halloween party!
Ingredients
- For the Crust:
- 2 cups chocolate cookie crumbs (about 20 chocolate sandwich cookies)
- 6 tablespoons unsalted butter, melted
- 2 tablespoons granulated sugar
- For the Cheesecake Filling:
- 16 ounces cream cheese, softened
- 1/2 cup granulated sugar
- 1 teaspoon vanilla extract
- 1/4 cup heavy cream
- Orange food coloring (optional, for a hint of Halloween color)
- For the Spiderweb Topping:
- 1/2 cup semi-sweet chocolate chips
- 1 tablespoon vegetable oil or coconut oil
Instructions
- Prepare the Crust: In a medium bowl, combine the chocolate cookie crumbs, 2 tablespoons of sugar, and melted butter. Stir until well combined and the mixture resembles wet sand.
- Press the crust mixture evenly into the bottom of a 24-cup mini muffin tin. You can use the bottom of a small glass or your fingers to pack it down firmly.
- Make the Cheesecake Filling: In a large bowl, beat the softened cream cheese with an electric mixer until smooth and creamy.
- Add the 1/2 cup of sugar and beat until well combined and no lumps remain.
- Stir in the vanilla extract and heavy cream. Beat until the mixture is smooth and slightly thickened. If using, add a few drops of orange food coloring and mix until evenly distributed.
- Assemble the Bites: Spoon or pipe the cheesecake filling evenly over the crusts in the mini muffin tin, filling each cup almost to the top.
- Smooth the tops of the cheesecake filling with the back of a spoon or a small offset spatula.
- Chill the cheesecake bites in the refrigerator for at least 2 hours, or until firm.
- Prepare the Spiderweb Topping: In a microwave-safe bowl, combine the semi-sweet chocolate chips and vegetable oil. Microwave in 30-second intervals, stirring between each, until the chocolate is melted and smooth.
- Transfer the melted chocolate to a small piping bag or a Ziploc bag with a tiny corner snipped off.
- Once the cheesecake bites are firm, pipe concentric circles of melted chocolate onto the top of each bite, starting from the center and working outwards.
- Using a toothpick or a skewer, gently drag lines from the center outwards through the chocolate circles to create the spiderweb effect.
- Chill the finished cheesecake bites for another 15-30 minutes to set the chocolate before serving.
Notes
- For a cleaner removal from the mini muffin tin, you can line the cups with mini paper liners before adding the crust.
- If you don’t have a mini muffin tin, you can use a regular muffin tin and make larger cheesecake bites, adjusting the crust and filling quantities accordingly.
- These can be made a day in advance and stored in the refrigerator.
- Get creative with your spiderwebs! You can add a small chocolate dot in the center for a more defined web.
Nutrition
- Calories: 150
- Sugar: 12g
- Sodium: 80mg
- Fat: 9g
- Carbohydrates: 15g
- Protein: 2g