
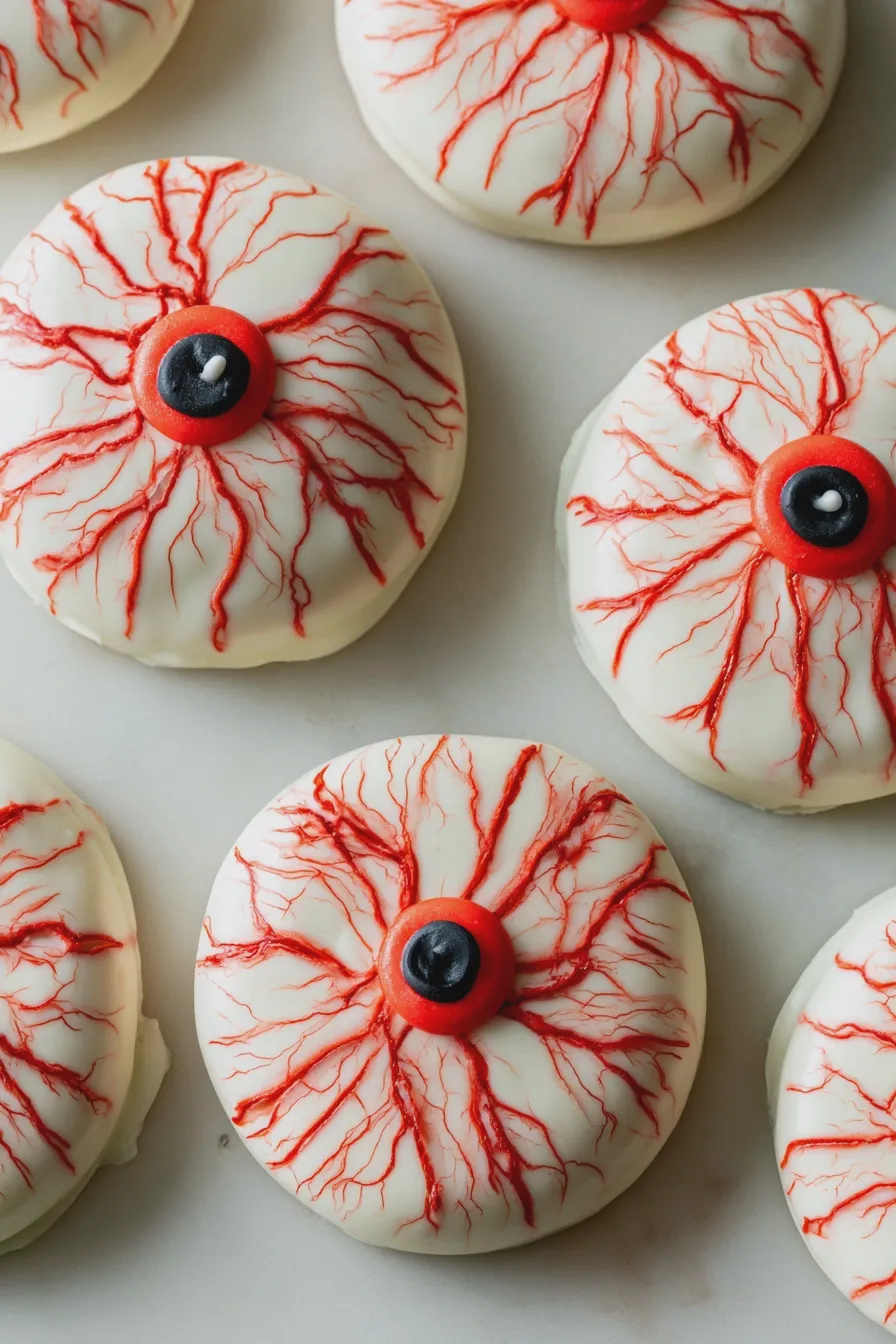
Get ready to spookify your baking with the most delightfully creepy treats: eyeball cookies! Whether you’re planning a Halloween party, looking for a fun activity with the kids, or just want to add a touch of the macabre to your dessert table, these edible eyeballs are sure to be a hit. They’re surprisingly easy to make and offer endless possibilities for personalization. Let’s dive into the world of spooky sweets and learn how to make eyeball cookies that will have everyone talking. For more foundational baking knowledge, you might find this guide on creaming butter and sugar incredibly helpful as a starting point for many cookie recipes.
What Makes Eyeball Cookies So Popular?
Eyeball cookies have become a Halloween staple for good reason. They combine a familiar, comforting cookie base with a fun, thematic decoration that’s instantly recognizable. The “eyeball” element is incredibly versatile, allowing for a wide range of styles, from cartoonish and cute to genuinely unnerving. They’re a fantastic way to engage your creativity and are always a conversation starter at any gathering. Plus, they’re incredibly adaptable; you can use your favorite sugar cookie recipe or even a no-bake option if you’re short on time. The core appeal lies in their visual impact and the sheer joy they bring to both the baker and the eater, making them a truly memorable treat.
The Best Base Recipe for Eyeball Cookies

While you can adapt almost any cookie recipe to become an eyeball cookie, a classic sugar cookie or shortbread recipe often works best. These cookies provide a sturdy, flat surface that’s perfect for decorating and don’t spread too much during baking, ensuring your eyeball designs remain intact. Here’s a simple and reliable sugar cookie recipe that forms a fantastic canvas for your edible eyeballs.
Classic Sugar Cookie Dough
This recipe yields crisp yet tender cookies, ideal for decorating.
Ingredients:
- 3 cups all-purpose flour
- 1 teaspoon baking powder
- 1/2 teaspoon salt
- 1 cup (2 sticks) unsalted butter, softened
- 1 ½ cups granulated sugar
- 2 large eggs
- 1 teaspoon vanilla extract
Instructions:
- In a medium bowl, whisk together the flour, baking powder, and salt. Set aside.
- In a large bowl, cream together the softened butter and granulated sugar until light and fluffy. This step is crucial for texture, and you can learn more about how to cream butter and sugar for optimal results.
- Beat in the eggs one at a time, followed by the vanilla extract.
- Gradually add the dry ingredients to the wet ingredients, mixing on low speed until just combined. Be careful not to overmix.
- Divide the dough in half, flatten each half into a disk, wrap in plastic wrap, and refrigerate for at least 1 hour, or until firm enough to roll.
This dough can be used for cut-out cookies or simple rounds, both of which are perfect for creating your eyeball cookie decorations. For more detailed instructions on the creaming method, refer to this comprehensive guide on the creaming method for cakes and cookies.
Don’t miss out on our guide to Cookie Dough Ice Cream.
Creating Realistic Eyeball Cookie Decorations
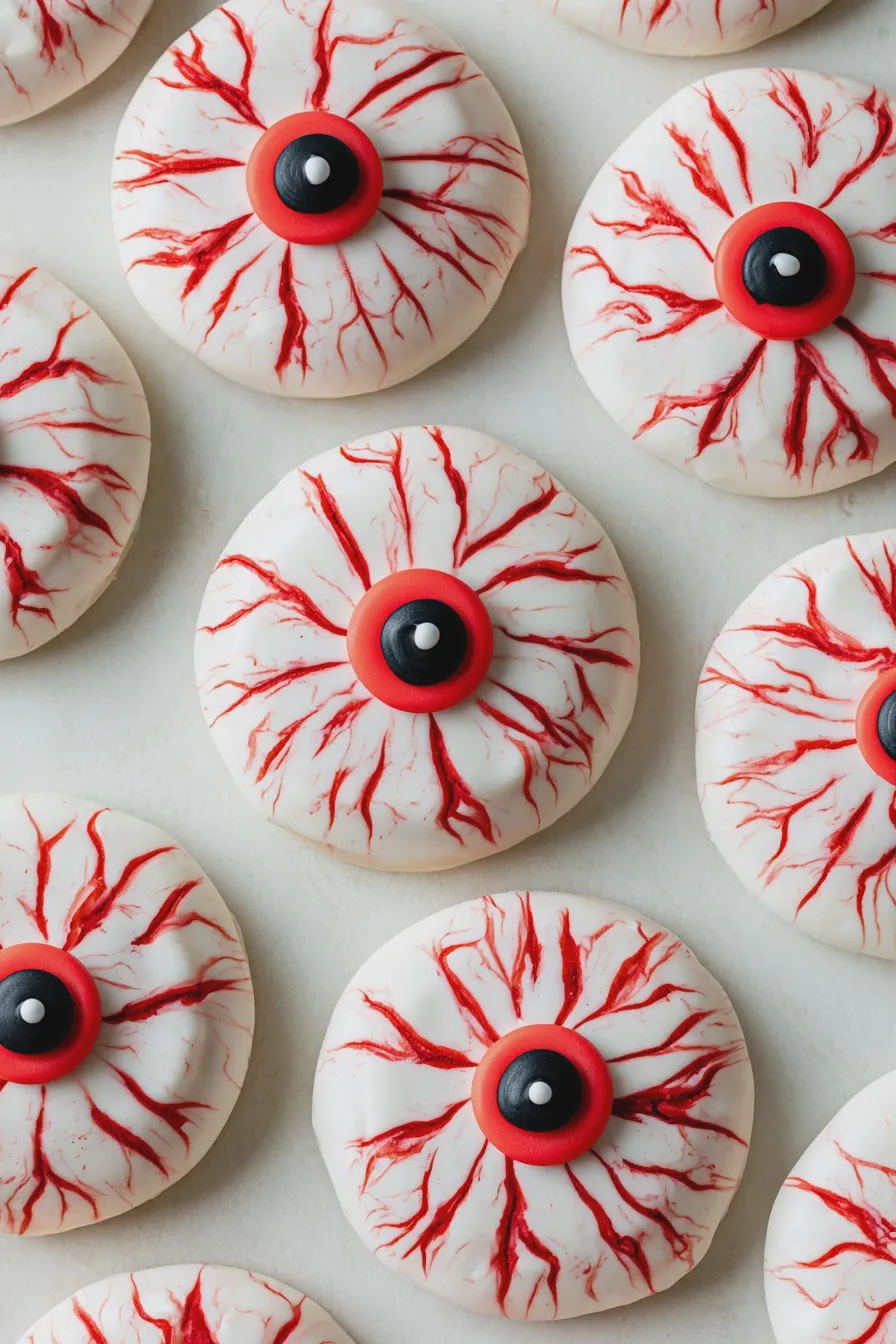
The magic of eyeball cookies lies in the decoration. You don’t need to be an artist to create impressive edible eyeballs! Here’s a breakdown of how to achieve that spooky, lifelike look.
Essential Decorating Supplies:
- Royal Icing: This dries hard and is perfect for creating smooth surfaces and details. You can find recipes online or purchase pre-made royal icing mix.
- Food Coloring: Gel food coloring is best for vibrant colors without altering the icing consistency. You’ll need white, red, black, and potentially green, blue, or brown.
- Piping Bags and Tips: Small round tips (like a Wilton #2 or #3) are ideal for fine details.
- Scribe Tool or Toothpick: For manipulating icing and creating fine lines.
- Edible Markers (Optional): For adding extra details like veins.
Step-by-Step Eyeball Decoration:
- Base Coat: Once your sugar cookies are baked and completely cooled, outline and flood them with white royal icing. Let this layer dry completely. This creates the sclera (the white part of the eye).
- The Iris: Using a piping bag with a small round tip, pipe a circle in the center of the white base. The size of this circle will determine the overall size of your eyeball. You can make it a vibrant green, blue, or brown.
- The Pupil: Pipe a smaller black circle directly in the center of the iris.
- Adding Depth and Realism: __WP_LIST_BLOCK_2__
- Drying: Allow all the icing to dry completely. This can take several hours, depending on humidity.
Mistakes happen! If your icing isn’t smooth, or a vein goes astray, don’t worry. You can often gently scrape away wet icing or cover imperfections with more icing once dry. For more on achieving smooth icing surfaces, look for tips on how to make smooth royal icing.
Variations for Spooky Eyeball Cookies
Once you’ve mastered the basic realistic eyeball, the fun really begins! Here are some variations to make your Halloween eyeball cookies even more exciting:
- Monster Eyeball Cookies: Use multiple, mismatched irises and pupils. Add crazy colors like purple or orange. Pipe jagged lines or dots around the eye for a monstrous texture.
- Vampire Eyeball Cookies: Add a touch of red icing dripping from the corner of the eye, or incorporate subtle red veins.
- Zombie Eyeball Cookies: Use sickly green or yellow for the sclera, and add more prominent, irregular red veins. You can even add a crackle effect to the icing.
- Witch Eyeball Cookies: Opt for unusual iris colors like yellow or neon green. Add a few stray hairs piped in black icing.
- Gross Eyeball Cookies: Focus on exaggerated veins, maybe even a bit of “bloodshot” effect. Consider adding a slightly off-center pupil for an unsettling look.
- Scary Eyeball Cookies: Use deep, dark colors for the iris and pupil. Add sharp, angular “scars” made from piped icing.
- No-Bake Eyeball Cookies: For a quick alternative, use pre-made cookies (like Nutter Butters or Milano cookies) and decorate them with candy melts and icing.
These variations are perfect for creating a whole cast of characters for your haunted eyeball cookie collection. Think about combining different cookie shapes with your eyeball designs for even more visual interest.
Don’t miss out on our guide to How To Make Ice Cream At Home.
Tips for Perfect Eyeball Cookies Every Time
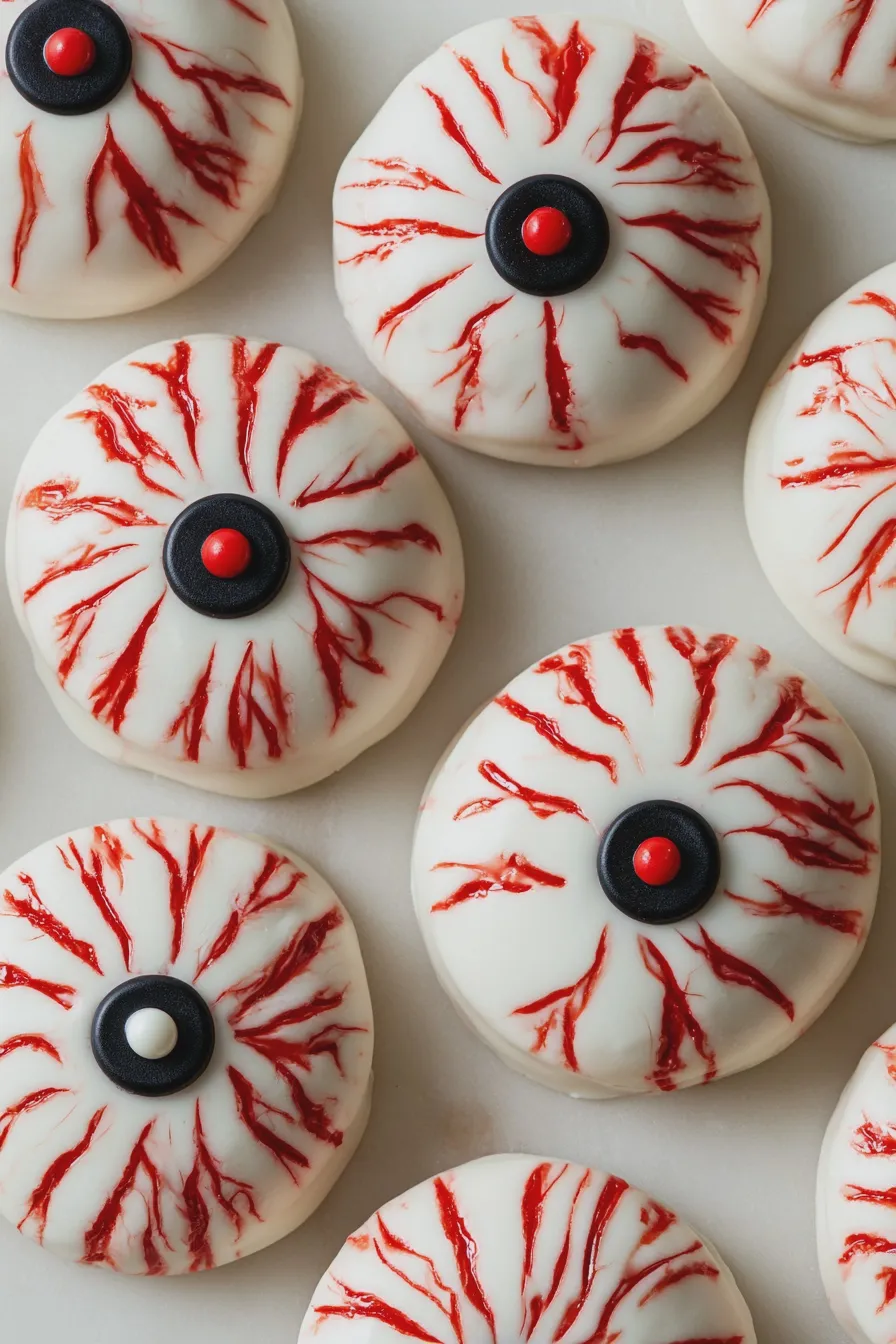
Baking and decorating can sometimes be tricky. Here are some expert tips to ensure your eyeball cookies turn out wonderfully:
- Room Temperature Ingredients: Ensure your butter and eggs are at room temperature for the best cookie dough consistency.
- Don’t Overmix Dough: Overmixing can lead to tough cookies. Mix until ingredients are just combined.
- Chill the Dough: Chilling prevents excessive spreading and makes the dough easier to handle.
- Consistent Cookie Size: Bake cookies of similar size so they cook evenly and provide a uniform base for decorating.
- Smooth Icing is Key: Sift your powdered sugar for royal icing to avoid lumps. Use a consistent amount of liquid to achieve the right flood consistency.
- Patience with Drying: Allow each layer of icing to dry completely before adding the next. This prevents colors from bleeding and designs from smudging.
- Practice Piping: If you’re new to piping, practice lines and circles on parchment paper before decorating your cookies.
- Clean Tools: Keep a damp cloth handy to wipe piping tips and tools as you work.
- Seal Your Cookies: Once fully dry, store eyeball cookies in an airtight container to keep them fresh.
Avoiding common mistakes, like rushing the drying process or using cold butter, will significantly improve your results. For more insights into baking techniques, exploring resources like The Kitchn’s baking tips can be invaluable.
Fun for the Whole Family: Eyeball Cookies for Kids
Eyeball cookies are an ideal baking project to do with children. The concept is simple enough for them to grasp, and the decorating offers a fantastic outlet for their creativity. Here’s how to make it a kid-friendly success:
- Pre-bake the Cookies: Have cooled sugar cookies ready for decorating.
- Simplify the Icing: Use store-bought icing or a simple buttercream that’s easier for little hands to manage. If using royal icing, a thicker consistency might be easier to control.
- Pre-portioned Colors: Have small bowls of pre-colored icing ready.
- Focus on Fun: Encourage them to make silly eyes, mismatched colors, and unique designs. Perfection isn’t the goal; enjoyment is!
- Edible Decorations: Provide candy eyeballs, sprinkles, and edible glitter for an extra touch of fun and ease.
- Supervise Closely: Especially when using piping bags or edible markers.
These easy Halloween cookies are a fantastic way to create lasting memories in the kitchen. The emphasis should be on the process and the fun, not just the final product.
Looking for more? Try this delicious How To Fold Ingredients Without Deflating next.
Troubleshooting Common Eyeball Cookie Issues
Even experienced bakers can run into snags. Here are solutions to common problems:
- Cookies Spreading Too Much: Ensure your butter isn’t too soft when creaming, and don’t skip the chilling step for the dough.
- Icing Too Runny: Gradually add more powdered sugar, a tablespoon at a time, until the desired piping or flooding consistency is reached.
- Icing Too Thick: Add a tiny amount of water or milk, just a few drops at a time, until it reaches the right consistency.
- Colors Bleeding: Ensure the base layer of icing is completely dry before adding subsequent colors or details.
- Uneven Surfaces: Work relatively quickly when flooding cookies. If you get air bubbles, pop them with a scribe tool immediately.
If you’re having trouble with royal icing consistency, consulting a detailed guide like the one on royal icing for cookies can offer more specific advice.







