
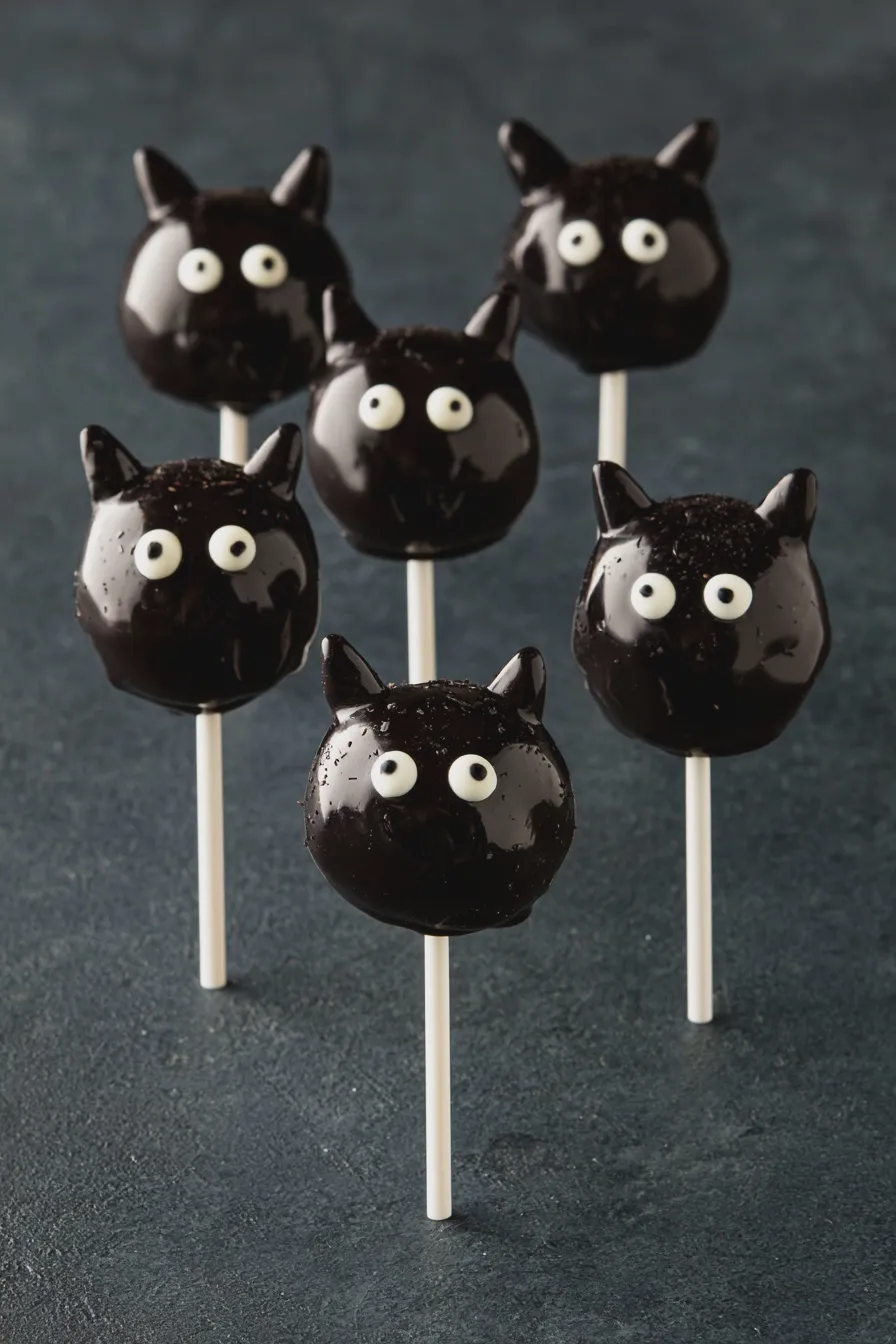
Halloween is a time for spooky delights and creative treats, and what could be more fun than a batch of homemade bat cake pops? These little bites of joy are perfect for parties, trick-or-treaters, or simply enjoying a festive afternoon. Whether you’re a seasoned baker or new to the kitchen, this guide will walk you through creating the best bat cake pops that are as impressive as they are delicious. Get ready to impress your guests with these charming and edible creations! For more inspiration on festive baking, check out these Halloween desserts.
What Are Bat Cake Pops?
Bat cake pops are a delightful twist on the classic cake pop, designed to resemble little bats, the iconic symbol of Halloween. Typically, they feature a dark-colored cake base (often chocolate) mixed with frosting, rolled into balls, and then dipped in chocolate or candy melts to create the “bat” body. Decorations like edible wings and candy eyes bring them to life. They are a fantastic example of creative cake pops and are a guaranteed hit for any Halloween party food spread.
The beauty of bat cake pops lies in their versatility. You can customize the cake flavor, the coating color, and the decorations to create unique and personalized treats. They are a wonderful way to add a homemade touch to your celebrations, making them feel extra special. If you’re looking for more easy halloween treats, these are a perfect choice.
The Foundation: Baking Your Cake for Bat Cake Pops
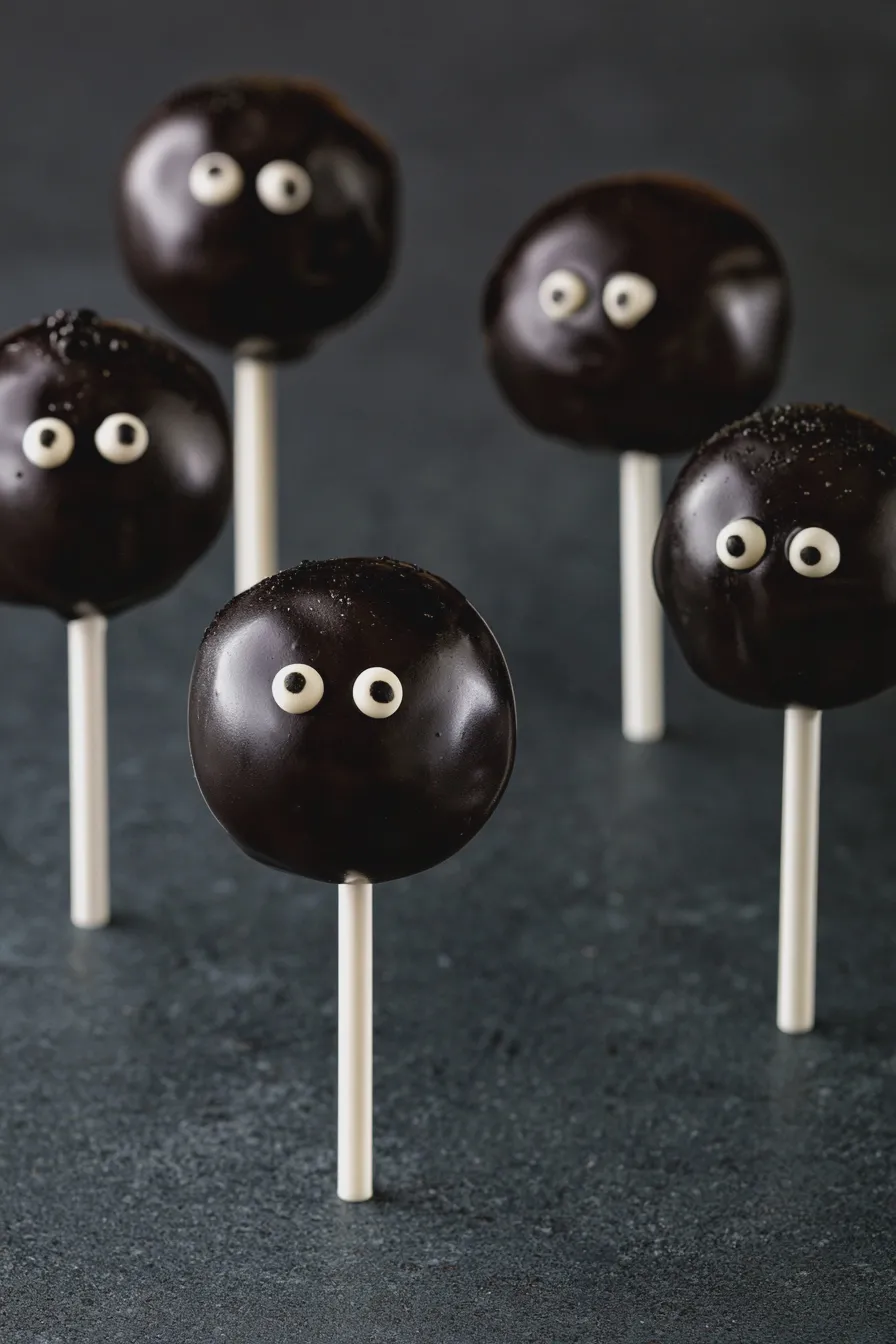
The base of any great cake pop is, well, cake! For bat cake pops, a rich chocolate cake is a popular choice because it complements the dark, mysterious theme. However, you can use any cake flavor you love, from a classic vanilla to a fun red velvet. The key is to bake a cake that is moist and has a good crumb, as this will be mixed with frosting to create the cake pop dough.
When baking your cake, remember a few helpful tips:
Looking for more? Try this delicious Why Did My Cake Sink In The Middle next.
- Don’t overmix: Overmixing can lead to a tough cake. Mix your ingredients until just combined.
- Accurate measurements: Baking is a science! Use measuring cups and spoons for dry and wet ingredients.
- Room temperature ingredients: Eggs and butter incorporate better when at room temperature.
- Don’t overbake: A dry cake won’t mix well. Test for doneness with a toothpick; it should come out with moist crumbs, not wet batter.
A common mistake bakers make is using a cake that is too dry or too crumbly. This makes it difficult to form the cake pops into stable balls. If your cake does turn out a bit dry, don’t worry! You can compensate by adding a little extra frosting or a touch of milk when you’re mixing it.
For those who prefer to skip the baking step, you can also use store-bought cake mixes or even leftover cake. This makes the process even quicker and easier, leading to delicious no-bake bat cake pops (if you consider cake mix preparation as the “baking” part).
Mixing the Cake Pop Dough
Once your cake is baked and completely cooled, it’s time to crumble it up. You can do this by hand or by pulsing it gently in a food processor. The goal is to have fine crumbs, similar to damp sand.
Next, you’ll add frosting. The general ratio is about 1/2 to 3/4 cup of frosting per 4 cups of crumbled cake. Start with less frosting and add more as needed. You want the mixture to be moist enough to hold together when squeezed, but not sticky or greasy. Think of it like making cookie dough – it should be pliable.
If you enjoyed this, you might also love our Apple Crumble Cake With Cream Cheese recipe.
Here are some frosting ideas:
- Chocolate Buttercream: A classic pairing with chocolate cake.
- Cream Cheese Frosting: Adds a lovely tanginess.
- Vanilla Buttercream: A neutral option that works with any cake flavor.
If you’re aiming for vegan bat cake pops, be sure to use vegan cake and vegan frosting. Similarly, for gluten-free bat cake pops, use a gluten-free cake recipe and ensure your frosting and other ingredients are also gluten-free. You can find excellent recipes for vegan cupcakes that can be adapted for cake pops. The key is to ensure all components are suitable for your dietary needs.
Shaping Your Bats
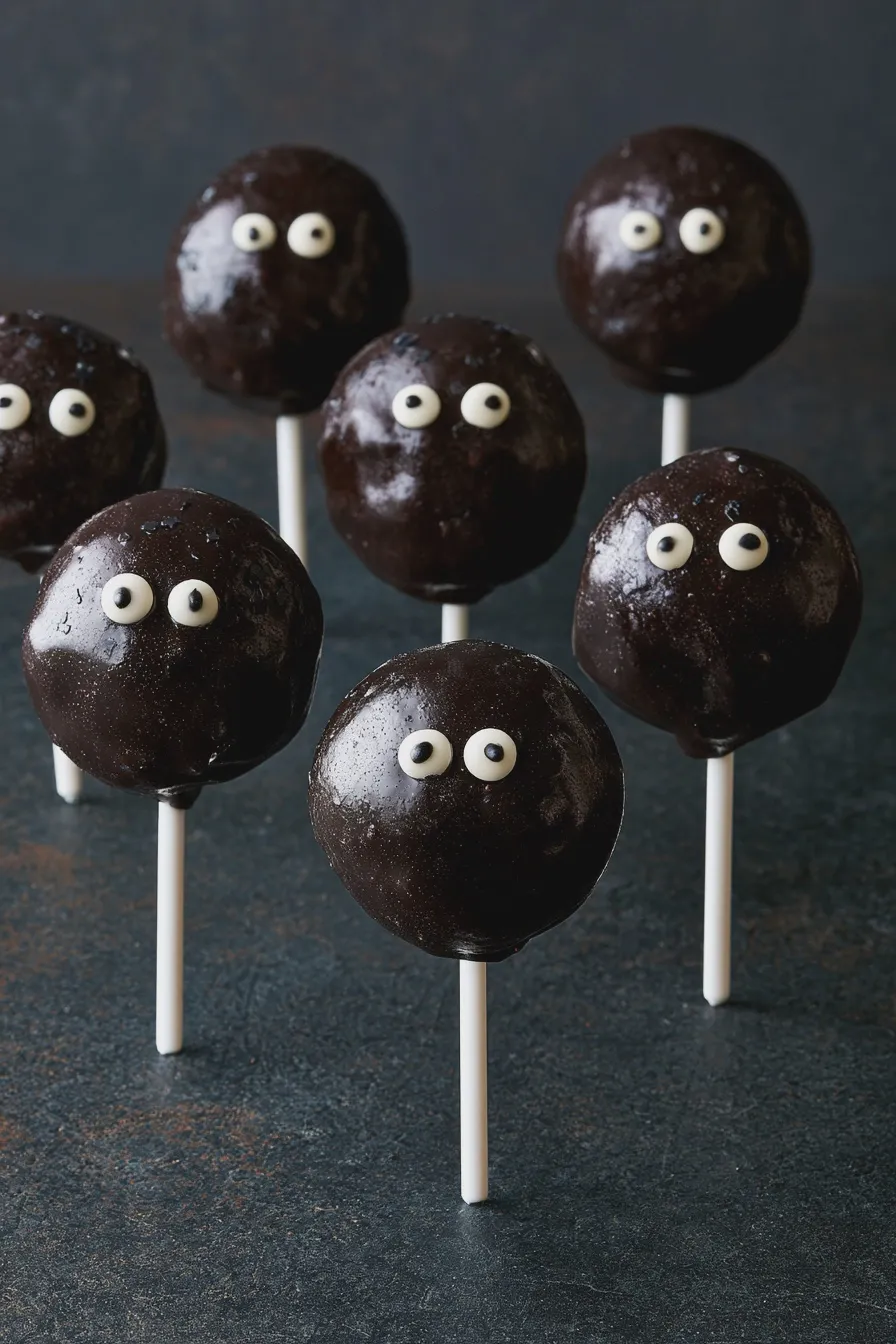
Now for the fun part: shaping! Take about a tablespoon of the cake and frosting mixture and roll it between your palms to form a smooth ball. This will be the body of your bat. For a more distinct bat shape, you can slightly elongate the ball and then gently pinch the sides to create subtle “ears” or a head shape.
Some bakers like to create bat wing cake pops by shaping the dough into a more elongated oval and then attaching wing shapes made from fondant or candy. However, the simplest method is to create round or slightly oval bodies and then add decorative wings later.
Don’t miss out on our guide to Cinnamon Roll Cake.
Mistakes to Avoid When Shaping:
- Overworking the dough: Too much handling can make the dough oily.
- Uneven sizes: Try to make all your balls roughly the same size for consistent results.
- Not chilling: Chilling the shaped balls before dipping is crucial. It helps them hold their shape and prevents them from melting when dipped in warm chocolate. Chill for at least 15-30 minutes until firm.
Dipping and Decorating Your Bat Cake Pops
This is where your spooky creations truly come to life! You’ll need candy melts or chocolate for dipping. For classic black bat cake pops, black candy melts are the easiest option. You can also use dark chocolate or even colored white chocolate.
Melting Your Chocolate/Candy Melts:
- Place the candy melts or chopped chocolate in a microwave-safe bowl.
- Microwave on 50% power for 30-second intervals, stirring between each interval, until smooth and fully melted. Be careful not to overheat, as this can cause it to seize.
- Alternatively, you can melt them in a double boiler.
Dipping Technique:
Looking for more? Try this delicious Labor Day Dessert Dip next.
- Insert a lollipop stick into each chilled cake ball. You might want to dip the end of the stick in melted chocolate first to help it adhere.
- Dip the cake ball into the melted chocolate, swirling gently to coat it completely.
- Lift the cake pop out and let the excess chocolate drip back into the bowl. You can gently tap the stick on the side of the bowl to help smooth the coating.
- Place the dipped cake pop on parchment paper or a Styrofoam block to set.
Decorating for the Bat Look:
- Wings: The most defining feature! You can use pre-made fondant bat wings, cut them from black fondant yourself, or even pipe them on with black icing. Another fun idea is to use chocolate bat wing candy molds.
- Eyes: Small edible candy eyes are readily available and perfect for giving your bats a spooky stare. You can also pipe small dots of white icing and add a tiny black dot for pupils.
- Mouths: A small line of red or white icing can create a mouth.
- Details: You can use edible glitter for a touch of sparkle or edible markers to add extra details.
For a truly unique look, consider using Oreo bat cake pops. Crush Oreos into the cake mixture for added flavor and texture, and then dip them in dark chocolate for an extra spooky effect. These are some of the most popular halloween cake pops for a reason!
Tips for Perfect Bat Cake Pops Every Time
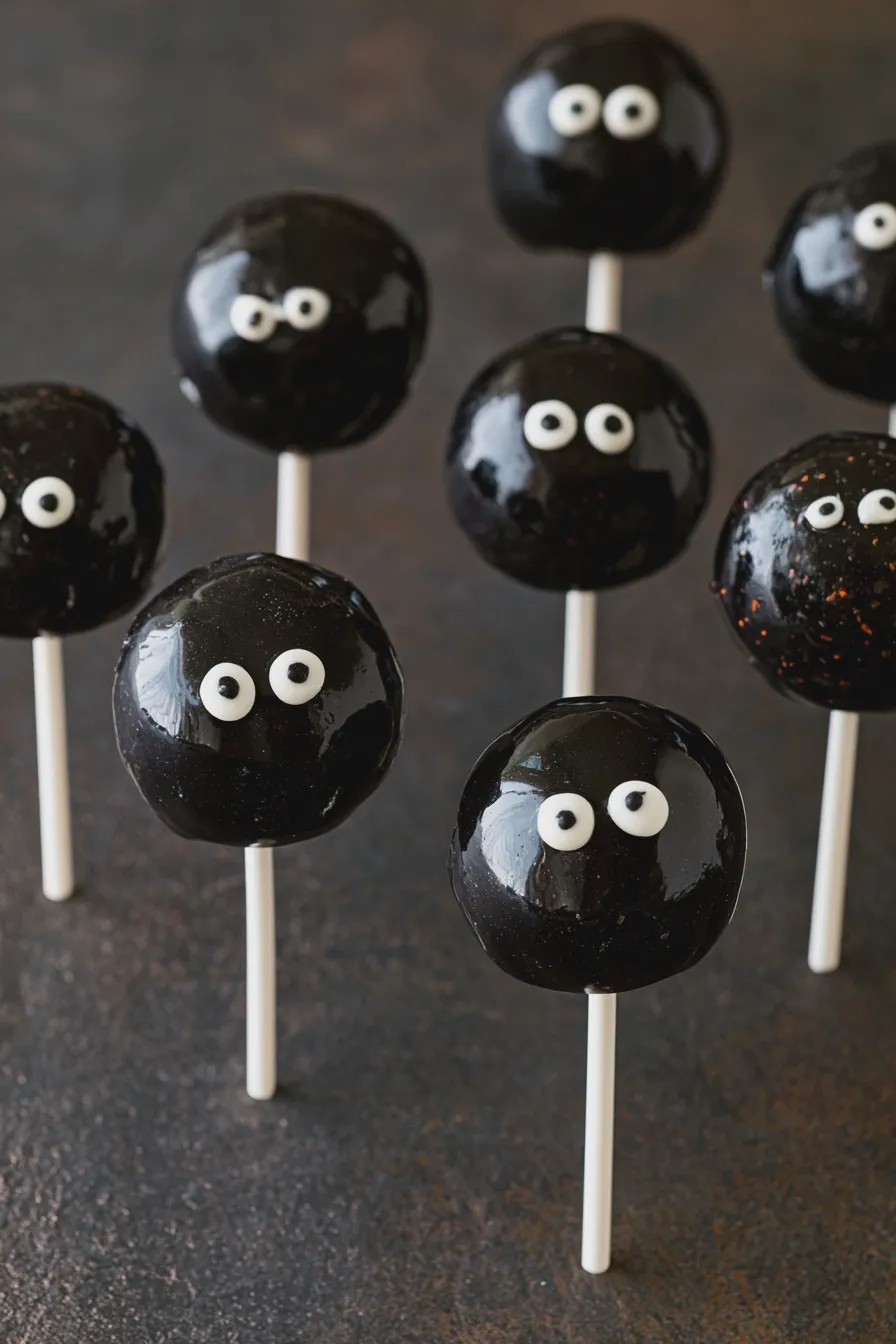
Here are some expert tips to ensure your bat cake pops are a smashing success:
- Use good quality chocolate/candy melts: This will make a big difference in taste and how smoothly they dip.
- Don’t skip the chilling step: It’s vital for preventing the cake pops from falling apart or melting in the chocolate.
- Thin your chocolate if needed: If your candy melts are too thick, add a teaspoon of vegetable shortening or coconut oil to thin them out.
- Work in batches: Don’t try to dip too many at once, especially if you’re new to this.
- Invest in good lollipop sticks: Sturdy sticks will prevent your cake pops from breaking off.
- Storage: Store cake pops in an airtight container at room temperature. Avoid refrigerating them, as this can cause the chocolate to sweat.
Creative Cake Pop Decorating Ideas
Beyond the basic bat, let your imagination fly! Here are some creative cake pop decorating ideas:
Looking for more? Try this delicious Labor Day No Bake Dessert next.
- Glitter Bats: Dust with edible black or silver glitter before the chocolate fully sets.
- Textured Bats: Use a fork to create a textured effect on the chocolate coating.
- Fruity Bats: Use a different colored candy melt (like purple or deep red) for a unique bat color.
- Monster Bats: Add extra eyes or quirky features to make them look like little monsters.
- Graveyard Bats: Place your finished bat cake pops on a bed of crushed cookie “dirt” for a spooky graveyard scene.
These creative cake pops can be part of a larger bat-themed desserts spread, alongside cookies, cupcakes, and other festive treats. They are perfect for any halloween party food table.
Common Mistakes and How to Fix Them
Even experienced bakers encounter challenges. Here are some common mistakes and their solutions:
- Cake pops falling off sticks: Ensure the cake mixture is moist enough to hold together and that the stick is inserted firmly. Chilling the balls before dipping also helps. If they still fall, try re-dipping the stick into melted chocolate and reinserting it.
- Chocolate coating is cracked or uneven: This often happens if the cake pops are too cold when dipped, or if the chocolate is too thick. Let the cake pops warm up slightly, or thin your chocolate.
- Chocolate coating is melting: Your hands might be too warm, or the room is too hot. Work quickly and try to keep your workspace cool.
- Cake pops are too crumbly: Add more frosting or a tablespoon of melted butter or oil to the cake mixture until it holds together.
For more in-depth troubleshooting on cake issues, you might find this article on why did my cake sink in the middle helpful, as some principles of cake texture apply.
Print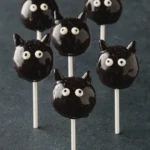
Bat Cake Pops Recipe Easy Halloween Treat
- Total Time: PT1H15M
- Yield: 24 cake pops 1x
- Diet: Vegetarian
Description
Whip up these spooky and delicious chocolate bat cake pops for your next Halloween party or any occasion that calls for a touch of dark magic. They’re surprisingly easy to make and guaranteed to be a crowd-pleaser!
Ingredients
- 1 box (15.25 oz) devil’s food cake mix
- Ingredients called for on cake mix box (eggs, oil, water)
- 1 cup (2 sticks) unsalted butter, softened
- 4 cups powdered sugar
- 1/2 cup unsweetened cocoa powder
- 1/4 cup milk
- 1 teaspoon vanilla extract
- 12 oz black candy melts
- 1/4 cup white candy melts (for eyes)
- Black edible marker
- Halloween-themed sprinkles (optional)
Instructions
- Prepare and bake the devil’s food cake according to package directions. Let cool completely.
- Crumble the cooled cake into a large bowl.
- In a separate bowl, cream together the softened butter, powdered sugar, cocoa powder, milk, and vanilla extract until smooth and well combined.
- Add the frosting mixture to the crumbled cake and mix until a dough-like consistency forms.
- Roll the cake mixture into 1-inch balls.
- Melt the black candy melts according to package directions. Dip lollipop sticks into the melted candy and then into the cake pops to secure them.
- Dip each cake pop into the melted black candy, ensuring it’s fully coated. Let excess drip off.
- Place the coated cake pops on a parchment-lined baking sheet.
- Melt the white candy melts and pipe small circles for the eyes onto the black-coated cake pops.
- Once the white eyes are set, use the black edible marker to draw pupils.
- If desired, add Halloween-themed sprinkles before the black candy coating fully sets.
- Allow the cake pops to set completely before serving.
Notes
- For a smoother coating, add a teaspoon of vegetable shortening to the candy melts when melting.
- You can make the cake pop mixture ahead of time and refrigerate it for up to 2 days.
- Store cake pops in an airtight container at room temperature.
- Prep Time: PT45M
- Cook Time: PT30M
- Category: Desserts
- Method: Baking and Dipping
- Cuisine: American
Nutrition
- Serving Size: 1 cake pop
- Calories: 250
- Sugar: 25g
- Sodium: 100mg
- Fat: 15g
- Saturated Fat: 9g
- Carbohydrates: 30g
- Protein: 2g







