
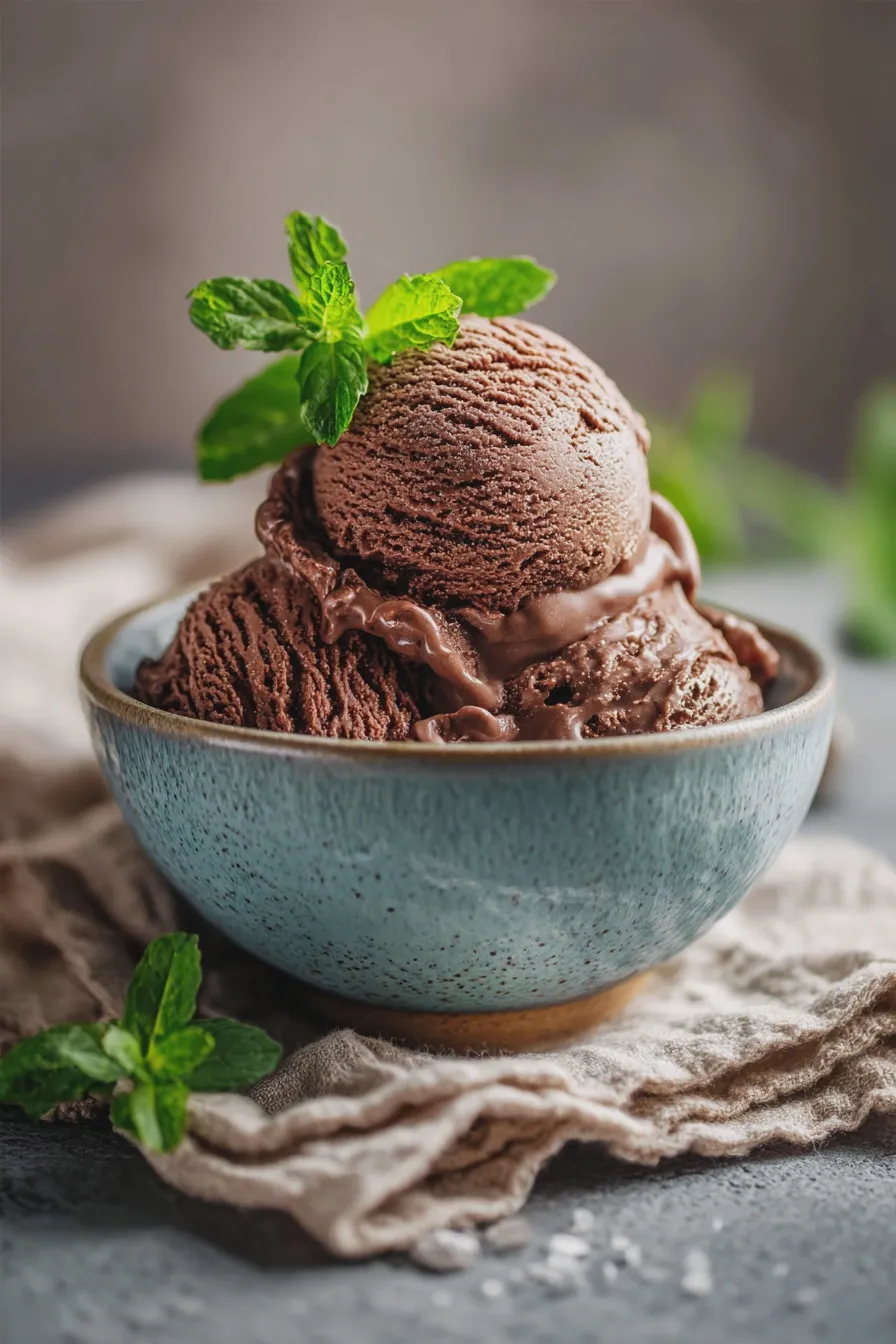
This classic, intensely flavored approach to chocolate ice cream requires an ice cream maker for the smoothest texture, yielding a rich, creamy frozen dessert perfect for summer scoops or decadent winter pairings. It relies on a cooked custard base for superior body, resulting in a much better texture than simple no-churn methods.
There is nothing quite as satisfying as digging into a bowl of homemade frozen treats, especially when that treat is deeply satisfying and deeply chocolatey. If you have been searching for the best homemade chocolate ice cream recipe that rivals your favorite parlor, look no further, as we are diving deep into the science of making truly exceptional frozen desserts right in your kitchen.
Making homemade frozen treats allows you to control the quality of every ingredient, ensuring your final product has an intense chocolate flavor that store-bought versions often lack. We will cover everything from tempering the eggs to achieving that signature velvety mouthfeel, making this an approachable recipe even if you usually rely on ice cream maker recipes for the first time.
Ingredients for Rich Dark Chocolate Ice Cream
The quality of your ingredients directly impacts the final success of this recipe, especially when aiming for a rich dark chocolate ice cream. We are using both high-quality cocoa powder and melted bittersweet chocolate to layer the flavor profile.
Dairy and Eggs
- 2 cups Heavy Whipping Cream
- 1 cup Whole Milk (do not substitute with low-fat milk for the best texture)
- 5 large Egg Yolks (these create the rich custard base)
- 1/4 cup Granulated Sugar (for the custard)
Chocolate Components
- 3/4 cup Granulated Sugar (for the main base)
- 1/2 cup Unsweetened Cocoa Powder (sifted if clumpy)
- 4 ounces Bittersweet or Semisweet Chocolate (chopped finely, 60-70% cacao recommended)
- 1 teaspoon Vanilla Extract
- Pinch of Salt (essential for balancing the sweetness)
When considering sugar, many people wonder about the difference between white and brown sugar in frozen desserts; for this specific custard base, standard granulated sugar works best to keep the texture clean, though you can read more about brown sugar vs white sugar distinctions for other baking needs.
How to Make Chocolate Ice Cream (Custard Method)
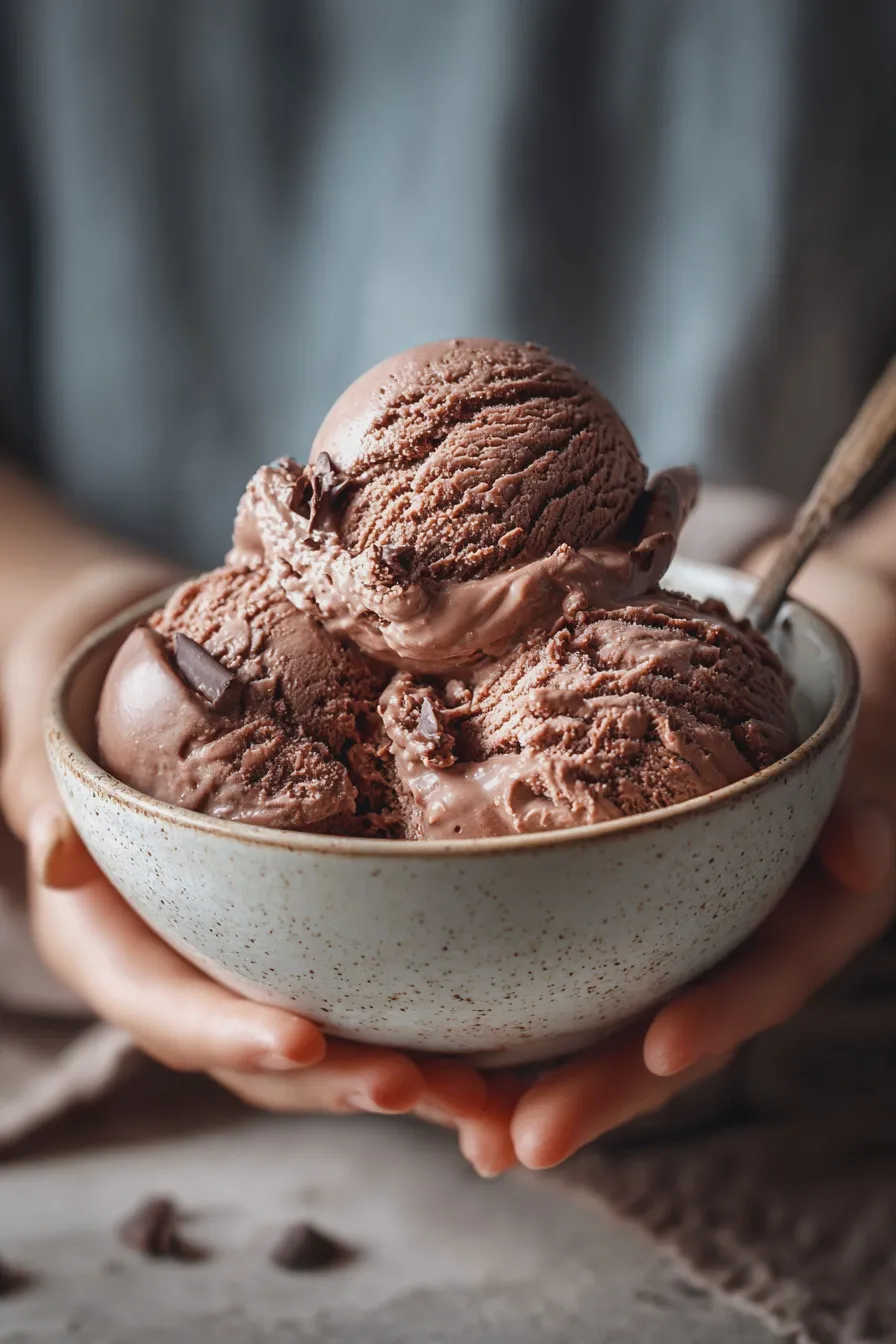
This section details the creation of the chocolate ice cream base recipe, which involves making a cooked custard known as crème anglaise. This step is crucial for achieving the smooth, scoopable texture associated with premium frozen desserts, unlike simpler preparations intended for easy no churn chocolate ice cream.
Heat the Dairy Components
- Combine the heavy cream and whole milk in a medium saucepan over medium heat.
- Heat this mixture until it just begins to simmer around the edges, but do not let it come to a rolling boil.
Tip: Heating the dairy gently ensures the fats are properly warmed without scorching the bottom of the pan, a common beginner mistake.
Whisk Together Sugars, Cocoa, and Yolks
- In a separate, medium heatproof bowl, vigorously whisk together the 3/4 cup sugar, the 1/4 cup sugar reserved for the yolks, the sifted cocoa powder, and the salt until thoroughly combined.
- Add the five egg yolks to the sugar and cocoa mixture and whisk until the mixture lightens slightly in color and thickens into a smooth paste.
Tip: Whisking the yolks with the dry ingredients first prevents the yolks from scrambling when the hot milk mixture is introduced later.
Temper the Egg Yolks
- Slowly ladle about one cup of the hot dairy mixture into the yolk mixture while whisking constantly and rapidly.
- Continue whisking while ensuring you add the hot liquid gradually so the yolks are gently warmed (tempered) rather than cooked instantly into scrambled eggs.
Tip: Tempering is a vital technique, similar to what you might use when preparing a base for a delicate pineapple upside-down cake filling, ensuring smooth incorporation.
Cook the Custard Base
- Pour the tempered yolk mixture back into the saucepan with the remaining hot milk and cream.
- Cook over medium-low heat, stirring constantly with a rubber spatula, until the mixture thickens enough to coat the back of the spatula (reaching about 175°F).
Visual Cue: If you draw a line across the coated back of the spatula with your finger, the line should hold its shape without the custard immediately running back together.
Melt the Chocolate and Chill
- Remove the saucepan from the heat immediately and stir in the finely chopped bittersweet chocolate until it is completely melted and smooth.
- Stir in the vanilla extract, then strain the entire mixture through a fine-mesh sieve into a clean bowl to ensure no small bits of cooked egg remain, creating a perfectly smooth chocolate ice cream base recipe.
Tip: Chilling is non-negotiable; cover the bowl directly with plastic wrap touching the surface of the base to prevent a skin from forming, and chill for at least 6 hours, but preferably overnight.
Churning for the Creamiest Chocolate Frozen Dessert
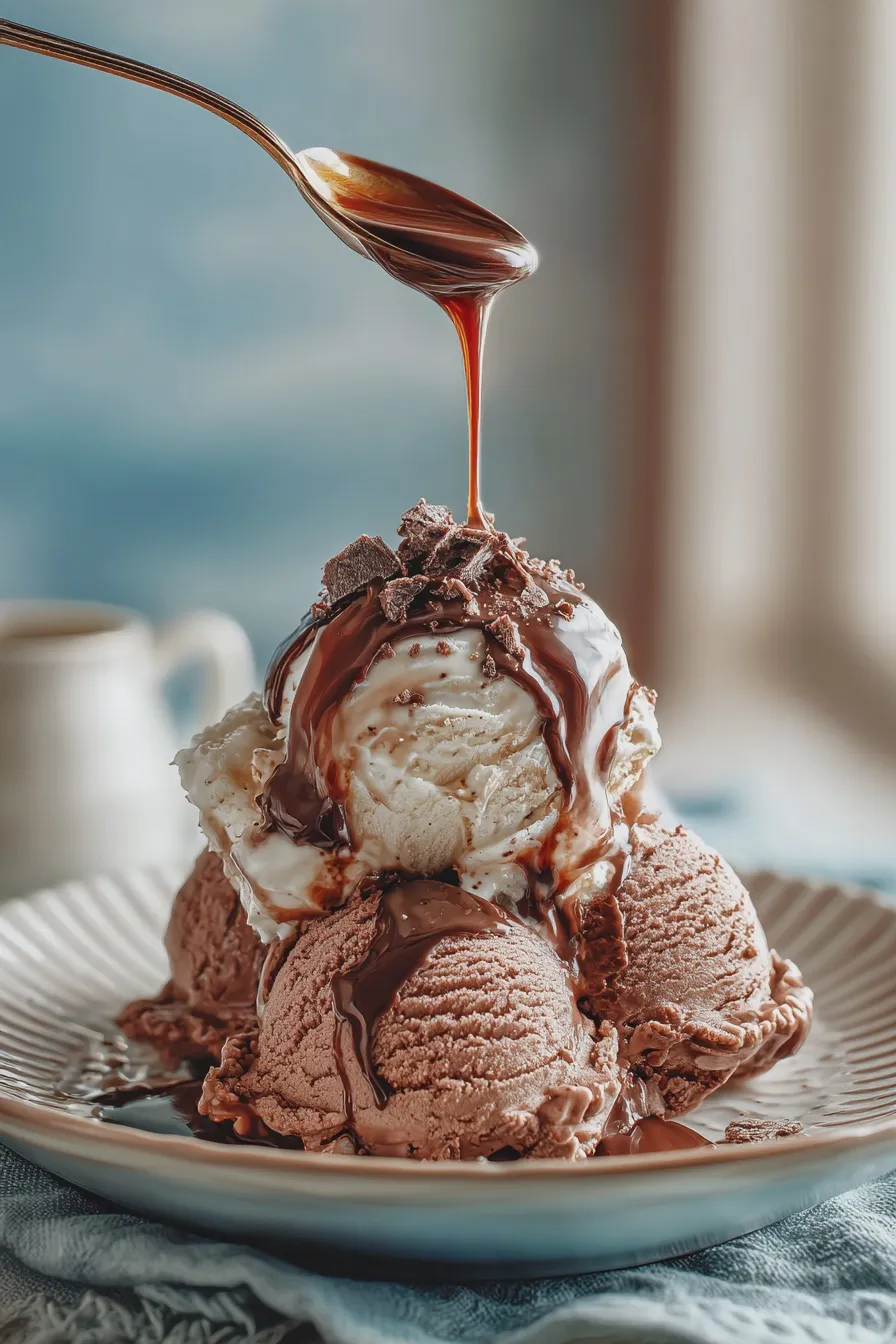
Once your base is thoroughly chilled, it is time to churn, which incorporates air and freezes the mixture simultaneously, creating that essential light and creamy chocolate frozen dessert texture. If you are interested in exploring other rich dessert bases, learning to make a chocolate mango cake can offer insights into balancing rich flavors.
Prepare the Ice Cream Maker
- Ensure your ice cream maker bowl has been frozen solid for at least 24 hours according to the manufacturer’s instructions.
- Pour the cold chocolate base into the pre-frozen canister, making sure not to overfill it, as the mixture will expand slightly during churning.
Tip: If you are making a mix-in version, like chocolate chip cookie dough ice cream, wait until the last few minutes of churning to add the extras.
Churn the Mixture
- Churn the mixture according to your machine’s directions, usually taking 20 to 30 minutes, until it reaches a soft-serve consistency.
- The final texture should be thick and frosty, indicating that enough air has been incorporated to prevent it from freezing into a solid block later.
Harden the Ice Cream
- Transfer the soft ice cream immediately into an airtight, freezer-safe container, pressing a piece of parchment paper directly onto the surface before sealing.
- Freeze for at least 4 hours, or until fully firm, allowing the flavors to fully meld and the texture to set properly for scooping.
Storage Tip: Storing homemade ice cream in shallow, wide containers helps it freeze more evenly than tall, narrow tubs.
Variations and Flavor Enhancements
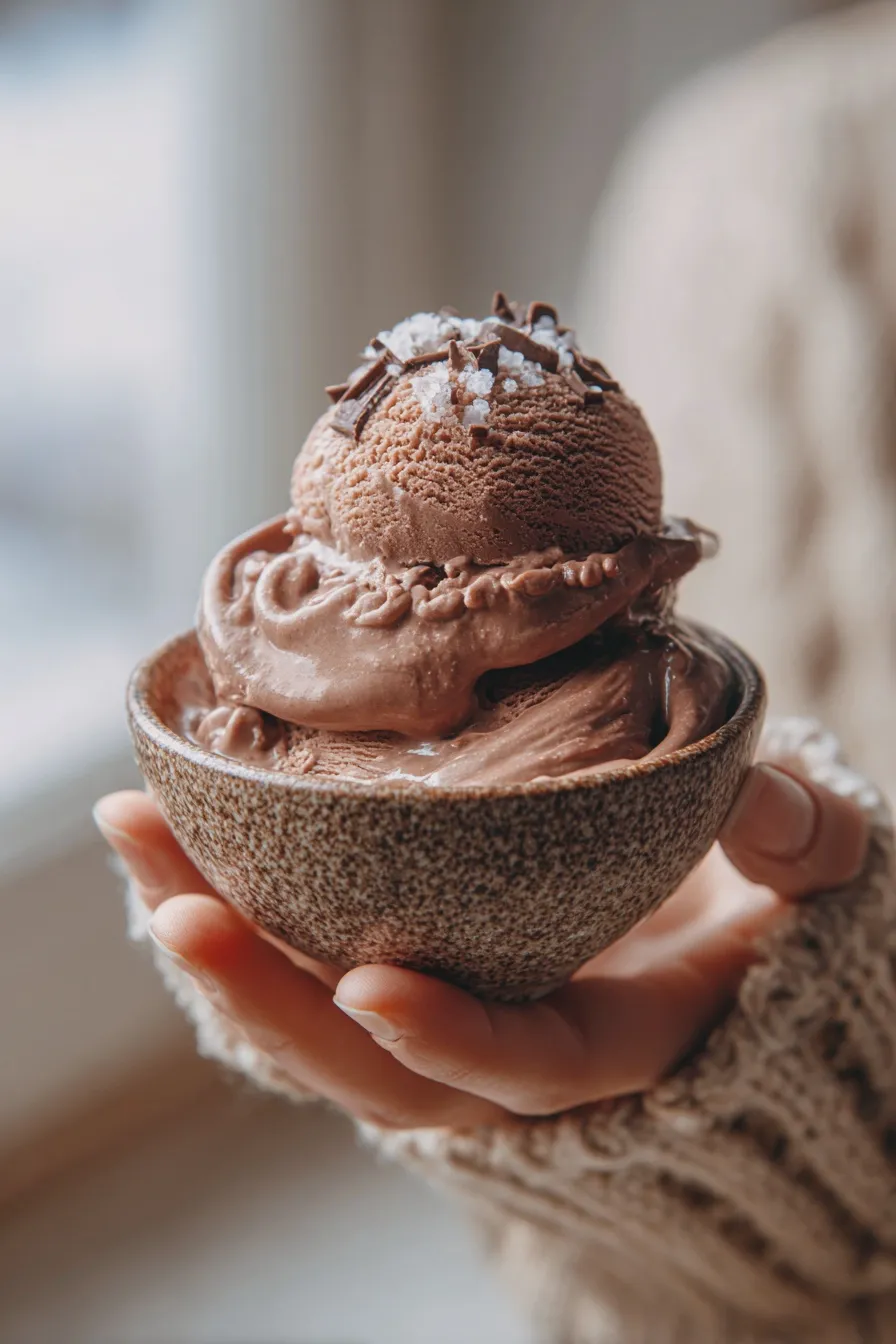
While this recipe delivers an intense chocolate flavor ice cream on its own, customizing it allows you to create truly gourmet chocolate ice cream flavors. Think about how you might adjust the base if you were making a lighter dessert like raspberry lemon cupcakes but wanted to keep the richness.
Boosting the Chocolate Intensity
- For a deeper, slightly bitter profile, substitute 1/4 cup of the cocoa with Dutch-processed cocoa, or even add a teaspoon of instant espresso powder to amplify the existing cocoa notes.
- You can also swap out some of the granulated sugar for dark brown sugar to introduce subtle molasses notes, though this may slightly affect the final color compared to using only white sugar, as discussed when comparing brown sugar vs white sugar uses.
Creating a Ripple Effect
- To make a luscious chocolate fudge ripple ice cream, prepare a simple fudge sauce separately and gently fold it into the soft-serve ice cream during the final minute of churning or layer it when transferring to the freezer container.
- Alternatively, for a crunchier addition, fold in crushed pretzels or chopped nuts right before the final hardening stage.
Dairy-Free and Healthy Options
- For a dairy-free chocolate ice cream recipe, replace the heavy cream with full-fat canned coconut cream (refrigerated overnight) and use a high-quality unsweetened almond or oat milk instead of whole milk.
- If you are looking for healthy chocolate ice cream options, you can experiment with using ripe, frozen bananas as the base, although this shifts the texture significantly away from a traditional custard-based frozen chocolate treats.
Serving and Storage Tips
The way you serve and store your homemade ice cream greatly impacts the enjoyment, especially when dealing with a dense, rich product like this one.
Serving Suggestions
- Allow the finished, hardened ice cream to sit on the counter for 5 to 10 minutes before attempting to scoop it, ensuring perfect serving consistency.
- This rich flavor pairs beautifully alongside warm baked goods, such as homemade butter cookies or a slice of warm brownie.
Storage Longevity
- Stored properly in an airtight container in the back of the freezer (where temperatures are most stable), this ice cream typically maintains its quality for up to three weeks.
- If you notice ice crystals forming on the surface, it means the container seal isn’t tight enough, or the container has been subjected to temperature fluctuations.

chocolate ice cream Recipe Homemade from Scratch
- Total Time: PT4H30M
- Yield: About 1 Quart 1x
- Diet: Vegetarian
Ingredients
- 1 cup Whole Milk
- 1 cup Heavy Cream (plus 1.5 cups for no-churn option)
- 3/4 cup Granulated Sugar (plus 1/2 cup for no-churn option)
- 1/2 cup Unsweetened Cocoa Powder (high quality recommended)
- 1/4 teaspoon Salt
- 2 large Egg Yolks (omit for no-churn)
- 1 teaspoon Vanilla Extract
- 1 (14-ounce) can Sweetened Condensed Milk (for no-churn option only)
Instructions
- Prepare the Chocolate Base (Custard Method – Churn): In a medium saucepan, whisk together the milk, 1 cup of heavy cream, sugar, cocoa powder, and salt. Heat over medium heat, stirring constantly, until the sugar is dissolved and the mixture is hot but not boiling (about 175°F/80°C).
- Temper the Egg Yolks: In a separate bowl, lightly whisk the egg yolks. Slowly drizzle about 1/2 cup of the hot chocolate mixture into the yolks while whisking constantly to temper them.
- Cook the Base: Pour the tempered yolk mixture back into the saucepan. Cook over low heat, stirring constantly with a rubber spatula, until the mixture thickens slightly and coats the back of the spoon (reaching 170°F/77°C). Do not boil.
- Chill: Remove from heat. Stir in the vanilla extract. Pour the custard base through a fine-mesh sieve into a clean bowl. Cover the surface directly with plastic wrap (to prevent a skin from forming) and chill completely in the refrigerator for at least 4 hours, or preferably overnight.
- Churn (If using a machine): Once chilled, pour the base into your ice cream maker and churn according to the manufacturer’s directions (usually 20-30 minutes) until it resembles soft-serve.
- Freeze: Transfer the soft ice cream to an airtight container and freeze for 2-4 hours to firm up before serving.
- No-Churn Method: Skip steps 1-4. Instead, whisk the cocoa powder, salt, and 1/2 cup of sugar into the 1 cup of milk until smooth. Stir in the vanilla. In a separate large bowl, whip the 1.5 cups of heavy cream until stiff peaks form. Gently fold the sweetened condensed milk into the chocolate milk mixture. Then, gently fold the whipped cream into the chocolate mixture until just combined.
- Freeze (No-Churn): Pour the no-churn mixture into a loaf pan or freezer-safe container, cover tightly, and freeze for a minimum of 6 hours, stirring every 90 minutes for the first 3 hours for a creamier result.
Notes
- For an even richer flavor, use dark or Dutch-processed cocoa powder.
- If the ice cream is too hard straight from the freezer, let it sit on the counter for 5-10 minutes before scooping.
- For an extra layer of flavor, add 1 teaspoon of espresso powder to the heated milk mixture.
- Prep Time: PT20M
- Cook Time: PT15M
- Category: Ice Cream
- Method: Churn or No-Churn
- Cuisine: American
Nutrition
- Serving Size: 1/2 cup
- Calories: 350
- Sugar: 35g
- Sodium: 75mg
- Fat: 22g
- Saturated Fat: 14g
- Protein: 6g
- Cholesterol: 80mg







