
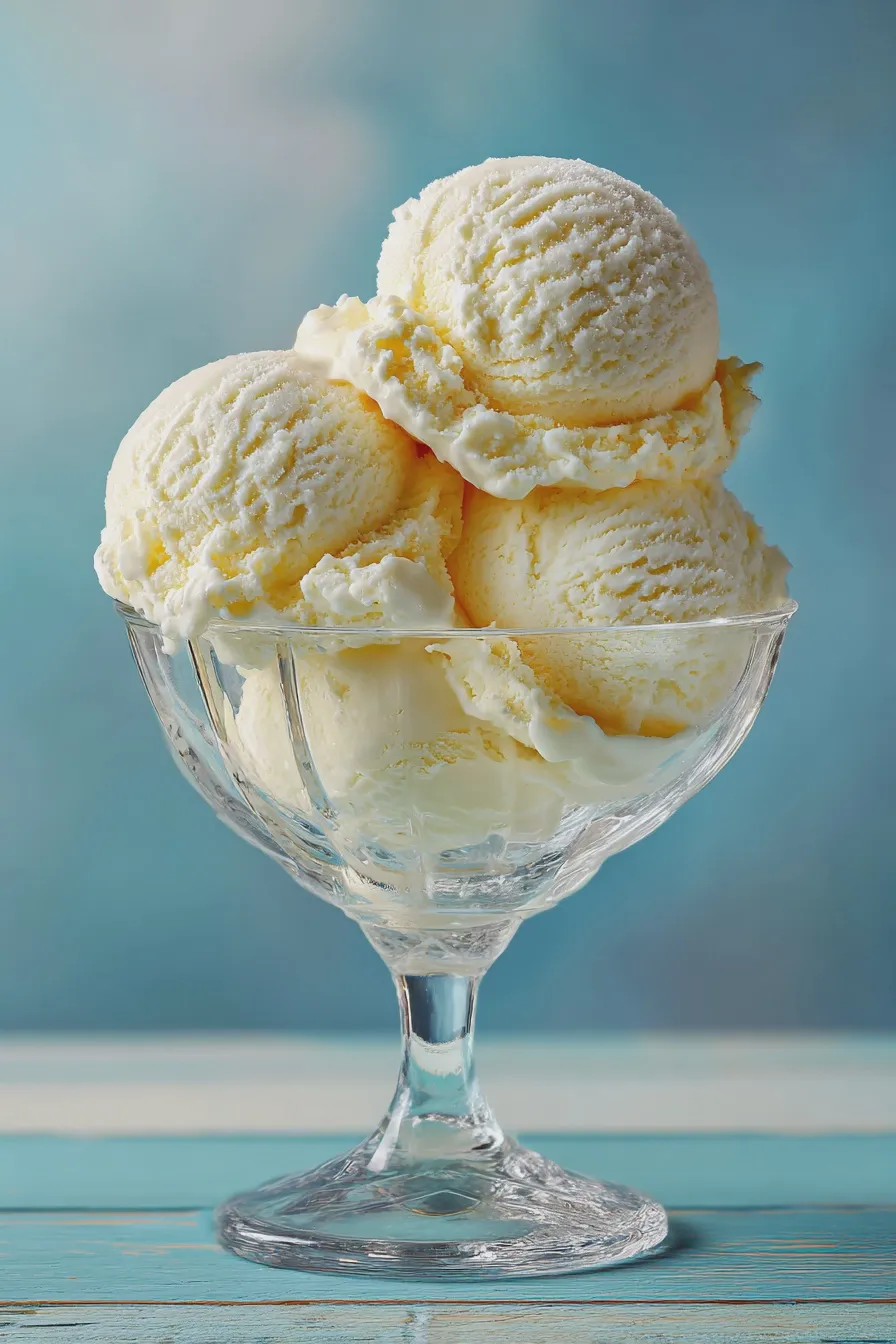
This classic, creamy recipe yields the absolute best vanilla ice cream you can make right at home, perfect for topping warm pies or enjoying in a simple cone. It uses a traditional custard base, resulting in a smooth, luxurious texture that truly captures that rich vanilla flavor without any icy crystals.
Welcome to the definitive guide for achieving that perfect scoop of homemade vanilla ice cream, a cornerstone of any frozen dessert enthusiast’s repertoire. Achieving that signature velvety mouthfeel requires attention to detail, but the reward is a flavor far superior to anything store-bought, making this a truly special treat.
Why Make Homemade Vanilla Ice Cream?
The primary reason to tackle making your own frozen dessert is unparalleled quality control over ingredients and flavor intensity. When you make your own custard base ice cream, you control the amount of sugar, the quality of the dairy, and most importantly, the quality of the vanilla extract you use. For many home cooks, mastering this foundational recipe is the gateway to exploring more complex classic dessert recipes, offering a satisfying culinary achievement.
Furthermore, store-bought options often contain stabilizers and gums to maintain texture on the shelf, which can mute the true essence of the flavor. This recipe focuses on creating a dense, scoopable product using simple, whole ingredients, ensuring every spoonful delivers that pure, rich vanilla flavor we all crave in a quality frozen dessert recipes experience.
Ingredients for Rich Vanilla Ice Cream
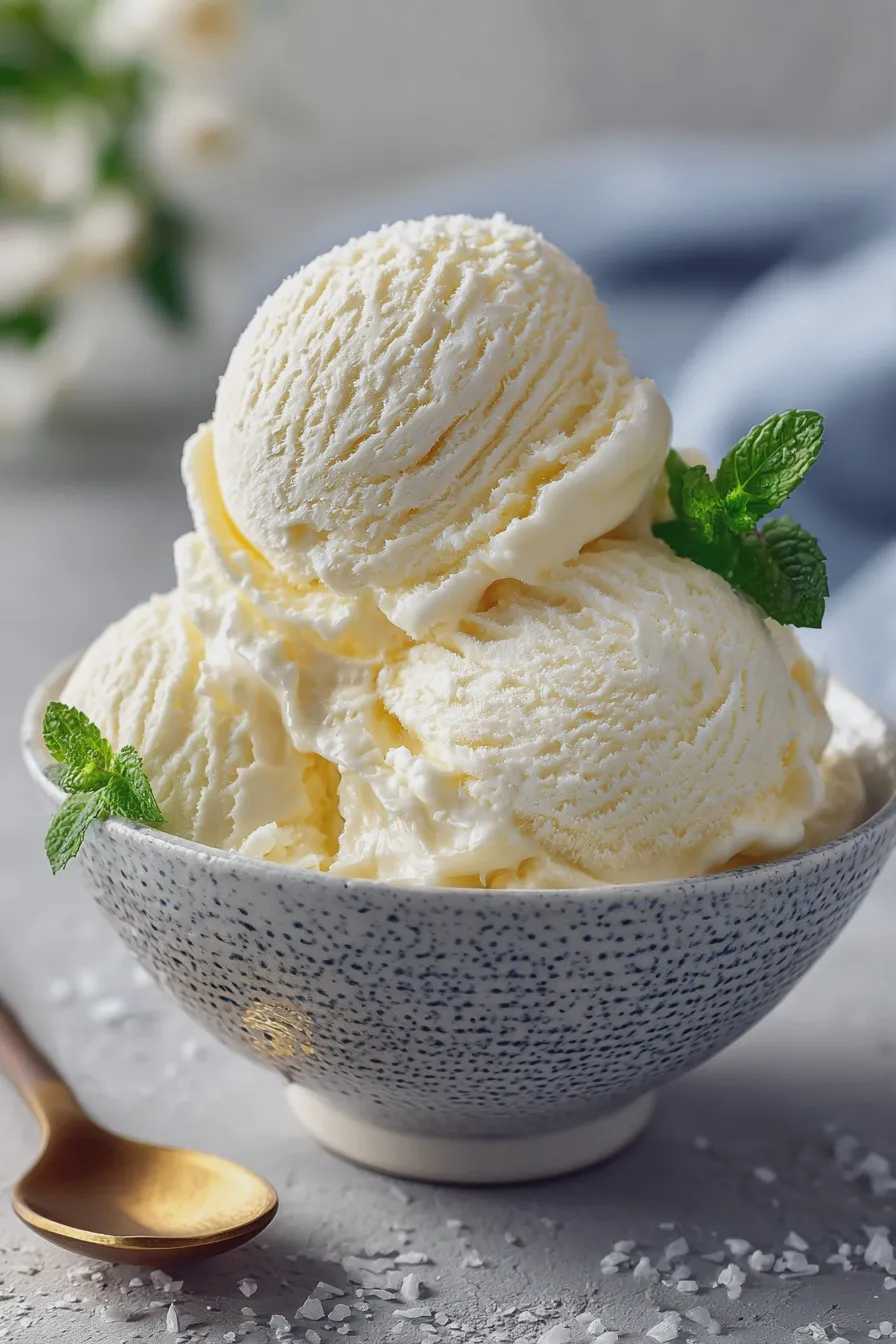
The quality of your ingredients directly impacts the final taste, especially when the flavor profile is this simple. We are aiming for a true vanilla bean ice cream recipe experience, even if we use high-quality extract as an alternative. For the most luxurious result, try to source heavy cream with a high butterfat content, which contributes significantly to a smoother final product.
Dairy Components
These elements form the backbone of the custard, providing the necessary fat content for creaminess and preventing the mixture from freezing too hard.
- 2 cups Heavy Cream (or whipping cream, minimum 36% fat)
- 1 cup Whole Milk (do not substitute with lower-fat options for the best texture)
- 1/2 cup Granulated Sugar (adjust slightly if you prefer a sweeter finish)
Flavor and Structure
The eggs are essential here, as this classic method relies on tempering them to create a stable, rich base, resulting in the superior texture often associated with french vanilla ice cream.
- 5 large Egg Yolks (save the whites for meringues or baking projects)
- 1 tablespoon Pure Vanilla Extract (or 1 whole vanilla bean, scraped)
- Pinch of Fine Sea Salt (this brightens the sweetness)
Ingredient Notes and Substitutions
If you are avoiding eggs, consider looking into a no churn vanilla ice cream method, although the texture will be different. For a deeper flavor, substituting half the granulated sugar with light brown sugar can add a subtle caramel note to your homemade vanilla ice cream recipe.
Preparing the Custard Base
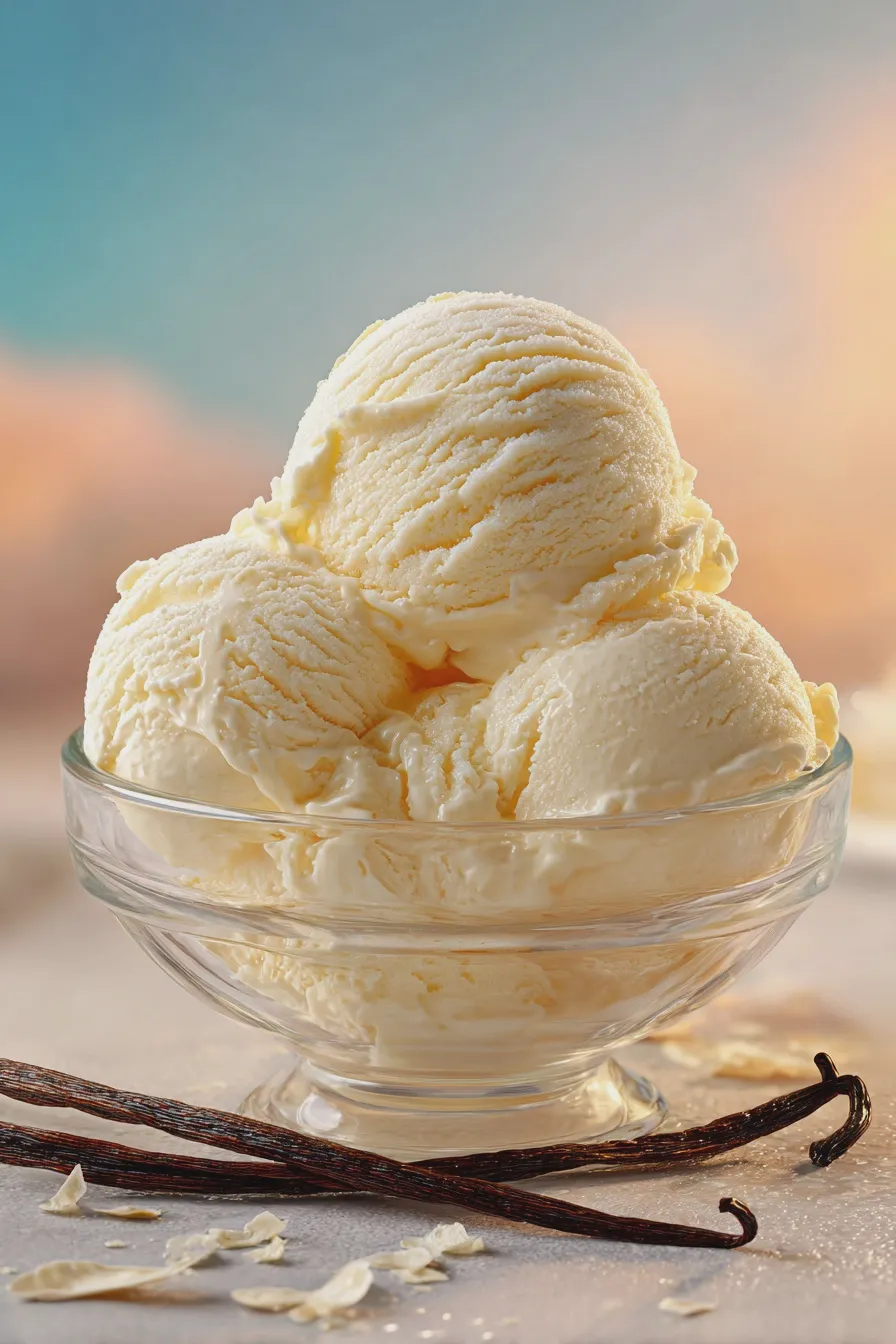
Creating the custard base is the most crucial step for achieving that velvety texture characteristic of high-quality ice cream maker recipes. Proper tempering ensures the eggs thicken the mixture smoothly without scrambling, which would ruin the entire batch.
Heating the Dairy
Combine the heavy cream, whole milk, and salt in a medium saucepan over medium heat, stirring occasionally until small bubbles form around the edges, indicating it is just about to simmer. Do not allow the mixture to reach a rolling boil, as overheating the dairy can scorch the bottom or negatively affect the final flavor.
Tempering the Egg Yolks
While the dairy heats, whisk the egg yolks and sugar together in a separate bowl until the mixture lightens in color and becomes thick, a process known as ribboning. Very slowly, ladle about one cup of the hot dairy mixture into the egg mixture while whisking constantly to gently raise the temperature of the yolks. This slow incorporation is vital for successful tempering.
Cooking the Custard
Pour the tempered egg mixture back into the saucepan with the remaining dairy and continue to cook over medium-low heat, stirring constantly with a rubber spatula. Cook until the mixture thickens enough to coat the back of the spatula, reaching 170°F on an instant-read thermometer, which is the perfect cue for doneness.
Chilling the Base
Immediately strain the finished custard through a fine-mesh sieve into a clean bowl set over an ice bath to halt the cooking process immediately. Once cooled slightly, stir in the vanilla extract, cover the bowl, and refrigerate the base for at least 4 hours, or preferably overnight, ensuring it is thoroughly chilled before churning.
How to Make Vanilla Ice Cream
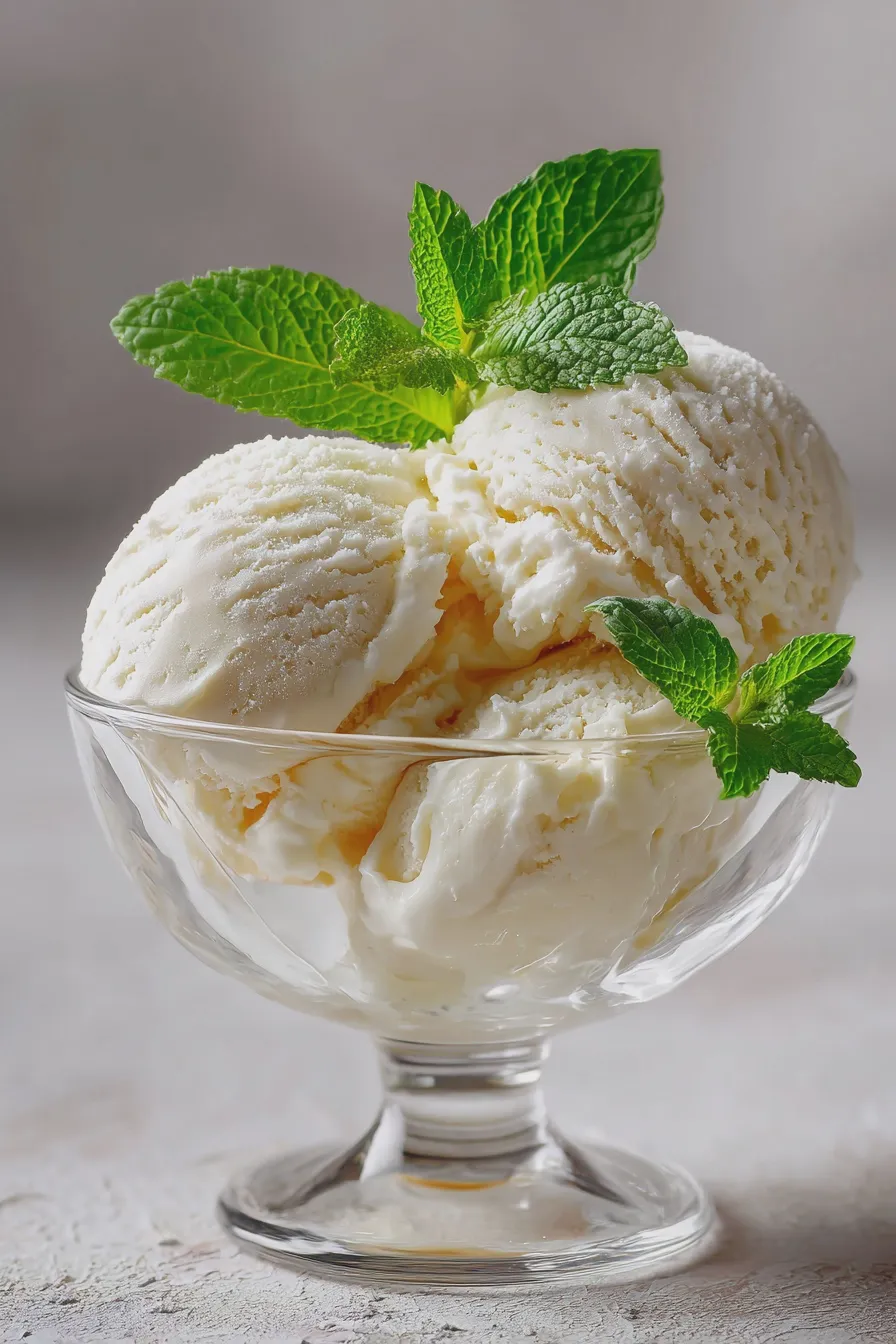
Once your custard base is completely cold, it is ready for the churning process, which incorporates air and freezes the mixture simultaneously to create the desired consistency. If you are making simple homemade ice cream without a machine, you will need to use a different freezing method, though the results will be icier.
Churning the Mixture
Pour the chilled custard base into your pre-frozen ice cream maker bowl according to the manufacturer’s directions, and begin churning immediately. Continue churning for about 20 to 30 minutes, or until the mixture has thickened to the consistency of soft serve vanilla ice cream.
Adding Mix-Ins (Optional)
If you are adding any solid mix-ins like chocolate chips or crushed cookies, wait until the last five minutes of churning to gently fold them in. This prevents them from being crushed too finely during the main churning process, maintaining their texture in the final product.
The Hardening Stage
Transfer the partially frozen mixture from the machine into an airtight, freezer-safe container, pressing a piece of plastic wrap directly onto the surface to prevent ice crystal formation. Freeze the container for at least 4 hours to allow the rich vanilla flavor to fully set into a firm, scoopable texture.
Tips for Perfect Scoopability and Storage
The biggest challenge with homemade frozen treats is often texture; we want that perfect combination of creamy and firm, not rock solid. Proper storage is just as important as the recipe itself when aiming for the best vanilla ice cream experience.
Preventing Ice Crystals
To achieve a texture closer to commercial products, consider adding 1 to 2 tablespoons of a clear liquid sweetener, like corn syrup or invert sugar, to your base before chilling. These sugars interfere with water crystallization, keeping the final product softer and easier to scoop straight from the freezer.
Serving Suggestions
For the easiest scooping, remove the container from the deep freeze about 10 to 15 minutes before you plan to serve it, allowing it to temper slightly at room temperature. This simple step makes serving much easier, whether you are topping a warm slice of pie or making a decadent sundae.
Long-Term Storage
Always store your finished ice cream in the coldest part of your freezer, usually the back, avoiding the door where temperature fluctuations are common. Stored properly in an airtight container, this homemade treat should remain delicious for up to three weeks, though it rarely lasts that long in our house.
Print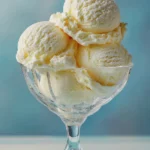
vanilla ice cream Homemade from Scratch
- Total Time: PT4H35M
- Yield: About 1 quart 1x
- Diet: Vegetarian
Description
The ultimate homemade vanilla ice cream recipe. Rich, creamy, and bursting with pure vanilla flavor, this custard-based ice cream is surprisingly easy to make with an ice cream maker.
Ingredients
- 2 cups heavy cream
- 1 cup whole milk
- ¾ cup granulated sugar
- ¼ teaspoon salt
- 1 vanilla bean, split and scraped (or 2 teaspoons pure vanilla extract)
- 5 large egg yolks
Instructions
- In a medium saucepan, combine the heavy cream, whole milk, sugar, and salt. If using a vanilla bean, add the pod and the scraped seeds to the mixture. Heat over medium heat until steaming but not boiling, whisking occasionally until the sugar dissolves completely. Remove from heat.
- In a separate bowl, whisk the egg yolks until smooth.
- Temper the egg yolks: Slowly ladle about 1 cup of the hot cream mixture into the egg yolks while whisking constantly. This prevents the eggs from scrambling.
- Pour the tempered egg yolk mixture back into the saucepan with the remaining cream mixture.
- Cook over low heat, stirring constantly with a wooden spoon or spatula, until the custard thickens enough to coat the back of the spoon (it should register 170°F/77°C on an instant-read thermometer). Do not let it boil.
- Remove from heat. If using vanilla bean, remove the pod. If using extract, stir it in now.
- Strain the custard through a fine-mesh sieve into a clean bowl set over an ice bath. Stir occasionally until cooled down.
- Cover the surface directly with plastic wrap (to prevent a skin from forming) and chill in the refrigerator for at least 4 hours, or preferably overnight, until thoroughly cold.
- Churn the chilled custard base in your ice cream maker according to the manufacturer’s instructions.
- Transfer the soft-serve consistency ice cream to an airtight container and freeze for at least 2-4 hours to firm up before serving.
Notes
- For the best flavor, use high-quality vanilla extract or a fresh vanilla bean.
- If you don’t have an ice cream maker, you can try the ‘bag method’ or simply stir the mixture vigorously every 30 minutes during the freezing process, though the texture may be icier.
- This recipe yields a rich, French-style custard base. Ensure all dairy is full-fat for the creamiest results.
- Prep Time: PT20M
- Cook Time: PT15M
- Category: Ice Cream
- Method: Churned
- Cuisine: American
Nutrition
- Serving Size: ½ cup
- Calories: 320
- Sugar: 25g
- Sodium: 60mg
- Fat: 22g
- Saturated Fat: 13g
- Protein: 5g
- Cholesterol: 140mg







