
This homemade caramel ice cream recipe yields a wonderfully rich, deeply flavored frozen dessert using simple ingredients, resulting in a creamy texture that rivals any store-bought gourmet option.
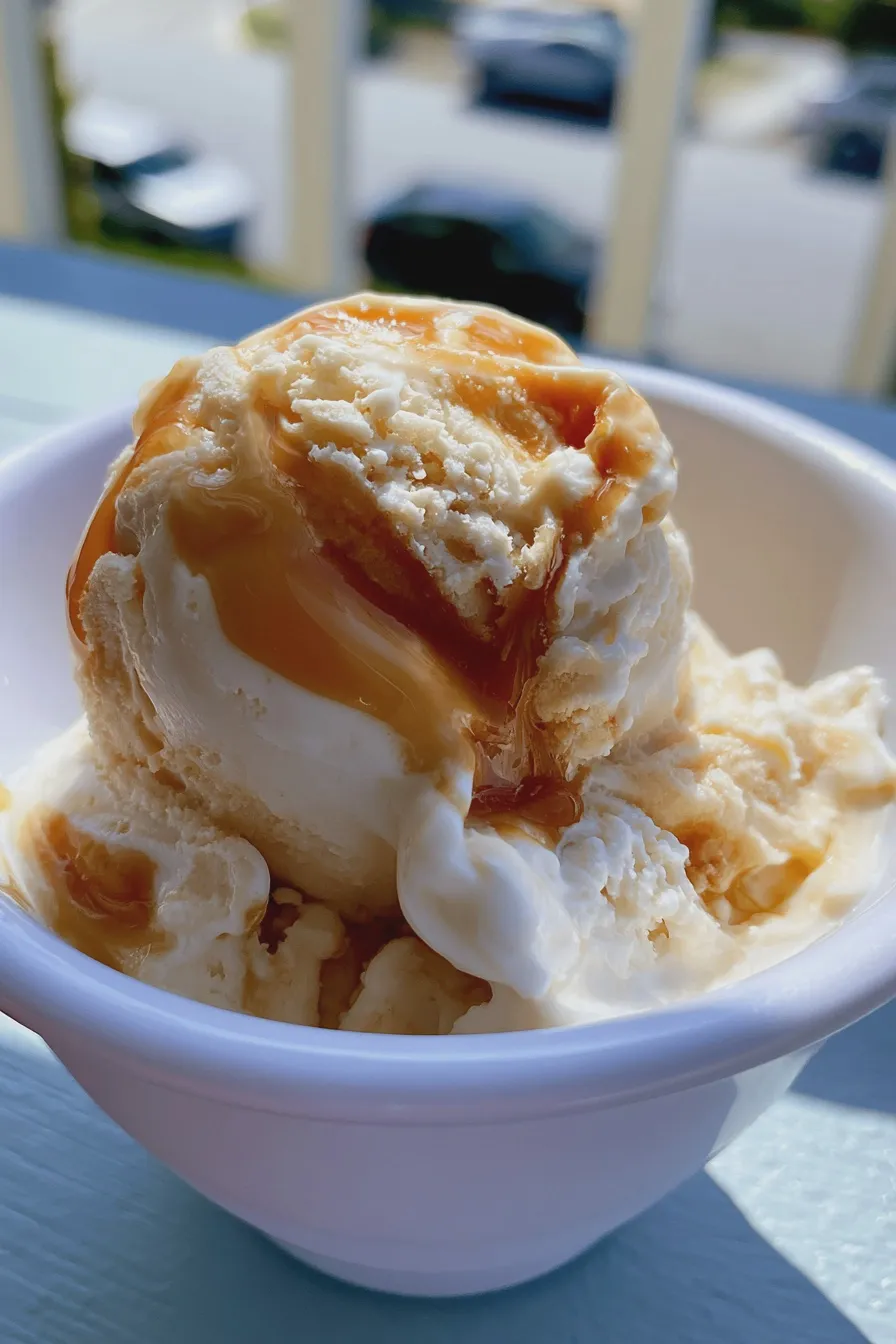
Making authentic caramel ice cream at home is easier than you might think, provided you master the art of creating a deep, flavorful caramel base first; this process transforms simple sugar into a sophisticated foundation for this rich caramel dessert.
Understanding the Magic of Homemade Caramel
The secret to achieving that signature toffee flavor in your caramel ice cream recipe lies entirely in how long you cook the sugar—don’t be afraid of a deep amber color.
Choosing Your Caramel Method
While some recipes advocate for the wet method (dissolving sugar in water first), I prefer the dry method for the deepest flavor, as it allows the sugar to caramelize fully without dilution.
If you are nervous about burning the sugar, remember that a light amber color yields a sweeter, milder flavor, perfect if you prefer an easy ice cream recipes approach without intense depth.
Creating the Rich Caramel Sauce
For the best results, we will first prepare the how to make caramel sauce component, which forms the backbone of this dessert.
Gently melt granulated sugar in a heavy-bottomed saucepan over medium heat without stirring initially; allow the edges to melt and turn amber before carefully stirring to ensure even cooking.
Once the sugar reaches a deep mahogany color—smelling slightly nutty, but not acrid—remove it from the heat and very carefully whisk in warm heavy cream, followed by butter, which will bubble aggressively.
Ingredients for the Best Homemade Caramel Ice Cream
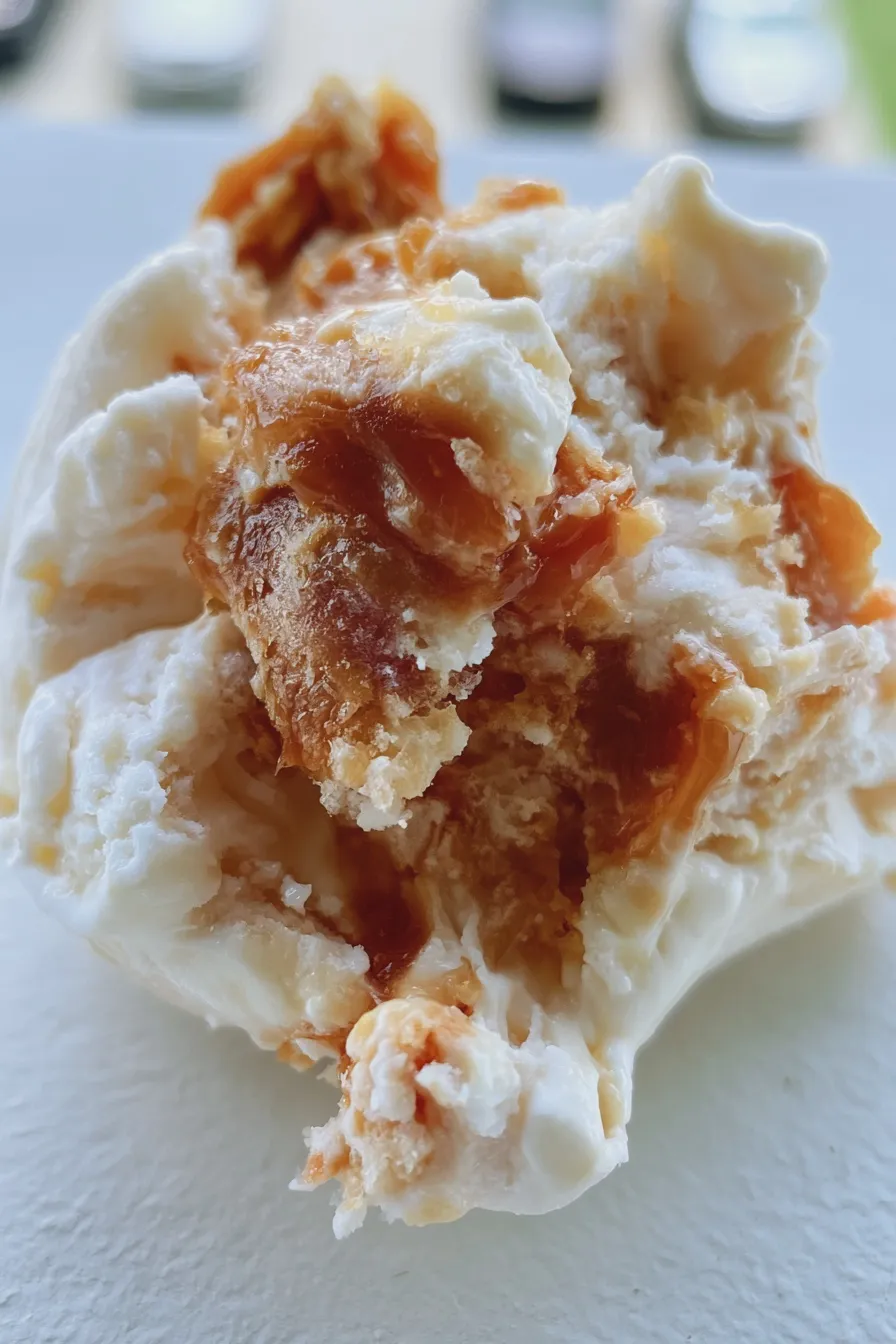
This recipe leans toward a traditional custard base, which provides that incredibly smooth, scoopable texture essential for the best homemade caramel ice cream; feel free to add a pinch of flaky sea salt at the end for a lovely salted caramel finish.
For the Caramel Base
- 1 cup Granulated Sugar
- 1/2 cup Heavy Cream (warmed slightly)
- 4 Tablespoons Unsalted Butter (cut into cubes)
- 1 teaspoon Vanilla Extract
- 1/2 teaspoon Flaky Sea Salt (optional, for salted caramel ice cream)
For the Custard Ice Cream
- 2 cups Heavy Cream
- 1 cup Whole Milk
- 3/4 cup Granulated Sugar
- 5 large Egg Yolks
- 1/4 teaspoon Salt
Customizing for Swirls and Texture
If you prefer a dramatic presentation, set aside about 1/4 cup of the finished caramel sauce before mixing it into the custard base.
- 1/4 cup Reserved Caramel Sauce (for swirling)
- 1/2 cup Praline Pecans or Toffee Bits (optional mix-ins for texture)
How to Make Caramel Ice Cream (Custard Base Method)
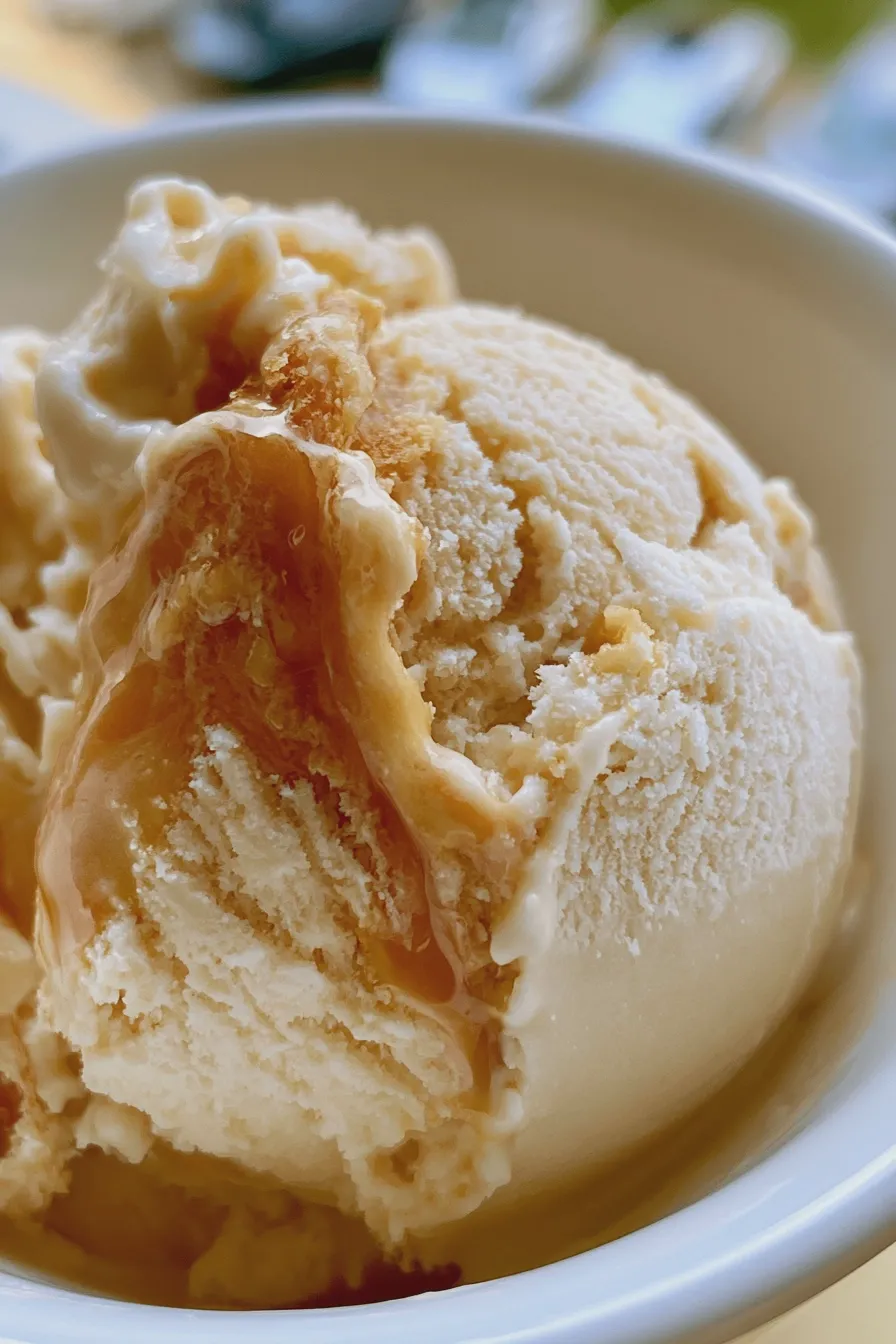
This method ensures a velvety texture, distinguishing it from recipes for no churn caramel ice cream, which rely more heavily on whipped cream stabilizers.
Step 1: Prepare the Custard Base
In a medium saucepan, whisk together the 2 cups of heavy cream, whole milk, 3/4 cup sugar, and salt, heating the mixture over medium heat until steaming but not boiling.
While the milk heats, whisk the egg yolks vigorously in a separate bowl until they lighten slightly in color—this helps prevent scrambling when tempering later.
Step 2: Temper the Egg Yolks
Slowly drizzle about one cup of the hot milk mixture into the egg yolks while whisking constantly to gently raise their temperature without cooking them into scrambled bits.
Pour the tempered yolk mixture back into the saucepan with the remaining hot milk, stirring constantly over low heat until the mixture thickens enough to coat the back of a spoon (reaching 170°F is ideal for a proper caramel custard ice cream).
Step 3: Chill the Base Completely
Remove the custard from the heat immediately and strain it through a fine-mesh sieve into a clean bowl set over an ice bath to halt the cooking process.
Once cooled slightly, cover the surface directly with plastic wrap to prevent a skin from forming, and chill in the refrigerator for at least 4 hours, though overnight yields the absolute best results for frozen caramel treats.
Step 4: Churning the Ice Cream
Once the custard base is thoroughly chilled, churn it according to your ice cream maker’s manufacturer instructions; this process incorporates air and freezes the base into a soft-serve consistency.
If you are making soft serve caramel ice cream and plan to eat it immediately, you can skip the final hardening step.
Step 5: Incorporate Caramel and Freeze
When the churning is nearly finished (about 2 minutes remaining), slowly drizzle in the cooled, prepared caramel sauce, allowing it to marble slightly rather than fully mixing in for a beautiful caramel swirl ice cream effect.
Transfer the churned mixture to an airtight, freezer-safe container, swirling in any remaining caramel sauce and optional mix-ins gently with a knife before pressing parchment paper onto the surface and sealing.
Step 6: Hardening for Scooping
Freeze the container undisturbed for at least 4 to 6 hours, or until firm enough to scoop easily, which transforms the soft base into the perfect rich caramel dessert.
If you notice it becomes too hard after several days, let it sit on the counter for 10 minutes before serving to achieve the ideal texture for enjoying this ice cream maker recipes delight.
Tips for Perfect Texture and Flavor
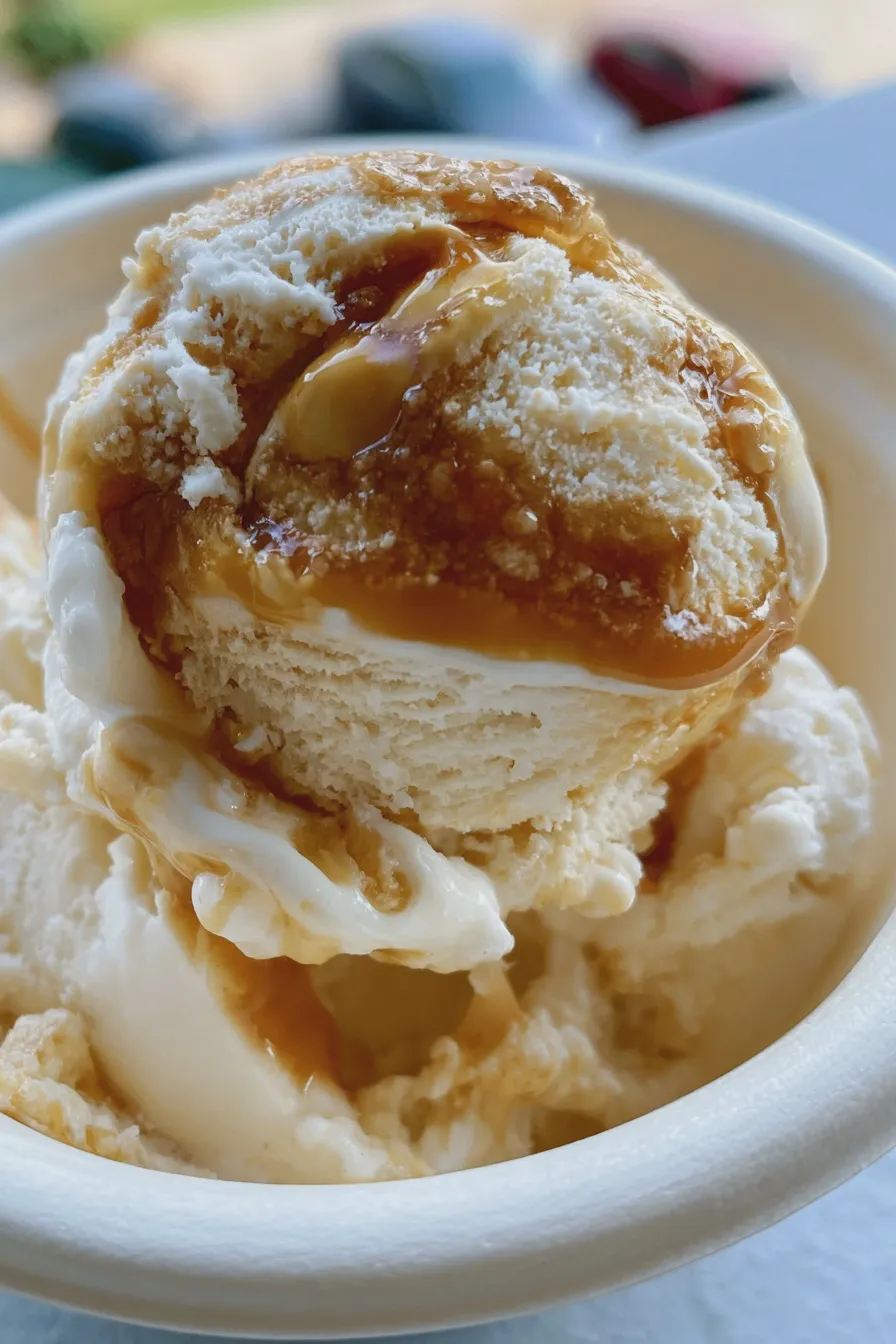
Achieving that perfect balance between intense caramel flavor and creamy mouthfeel takes a few small considerations.
Avoiding Ice Crystals
The high fat content from the heavy cream and egg yolks in this custard base naturally inhibits large ice crystal formation, which is why this method results in a superior texture compared to simple milk or water-based frozen desserts.
For an even smoother result, especially if you live in a very cold climate, consider adding a tablespoon of corn syrup or a splash of vodka to the base before churning, as these act as natural anti-freeze agents.
Flavor Variations: Burnt Sugar and Toffee
To lean into a more complex, slightly bitter profile, try cooking your sugar until it is just shy of burning—this creates a sophisticated burnt sugar ice cream flavor that pairs wonderfully with vanilla or sea salt.
If you prefer a crunch, fold in homemade or high-quality store-bought toffee bits during the final minute of churning for a satisfying toffee ice cream recipe texture.
Dairy-Free and Vegan Considerations
While this specific recipe relies on dairy, achieving a vegan caramel ice cream is possible by substituting the heavy cream with full-fat coconut cream and using a plant-based milk alternative for the remaining liquid.
Ensure your chosen vegan butter and egg replacer are suitable for frozen desserts, as the emulsification properties of the yolks are crucial for the custard structure.
Serving Suggestions for Your Homemade Treat
This rich dessert shines on its own, but it also complements many other baked goods beautifully.
Classic Pairings
Serve scoops alongside warm fruit crumbles, like apple or pear, where the cold, sweet creaminess provides a beautiful contrast to the hot filling.
This flavor is fantastic drizzled with extra homemade caramel sauce and a sprinkle of toasted nuts for added crunch.
Elevated Dessert Ideas
Use this ice cream as the star in an elevated sundae, perhaps layered with crushed chocolate wafer cookies or a drizzle of dark chocolate ganache for a sophisticated finish.
Consider making ice cream sandwiches using chewy oatmeal cookies instead of traditional wafers for a delightful texture combination.
Print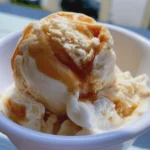
Caramel Ice Cream Recipe Homemade from Scratch
- Total Time: PT6H40M
- Yield: About 1.5 quarts 1x
- Diet: Vegetarian
Ingredients
- For the Caramel Sauce:
- 1 cup (200g) granulated sugar
- 1/4 cup (60ml) water
- 1/2 cup (120ml) heavy cream, warmed
- 4 tablespoons (56g) unsalted butter, cut into pieces
- 1/2 teaspoon sea salt (or more, to taste)
- For the Ice Cream Base (Custard Method):
- 2 cups (480ml) heavy cream
- 1 cup (240ml) whole milk
- 3/4 cup (150g) granulated sugar
- 5 large egg yolks
- 1 teaspoon vanilla extract
- For the Ice Cream Base (No-Churn Method):
- 2 cups (480ml) heavy cream, cold
- 1 (14-ounce) can sweetened condensed milk, cold
- 1 teaspoon vanilla extract
Instructions
- Make the Caramel Sauce: In a medium, heavy-bottomed saucepan, combine the 1 cup of sugar and 1/4 cup of water. Heat over medium heat without stirring until the sugar dissolves and the mixture turns an amber color (about 8-10 minutes).
- Carefully pour the warmed heavy cream into the caramel (it will bubble vigorously). Whisk until smooth. Remove from heat and whisk in the butter and salt until fully incorporated. Set aside to cool completely.
- Custard Method (Churning): Whisk the 3/4 cup sugar and egg yolks in a bowl. Heat the heavy cream and milk in a saucepan until steaming (do not boil). Slowly temper the hot milk mixture into the egg mixture while whisking constantly.
- Return the entire mixture to the saucepan. Cook over medium-low heat, stirring constantly with a wooden spoon, until the custard coats the back of the spoon (about 170°F/77°C). Do not let it boil.
- Strain the custard into a clean bowl, stir in the vanilla, and chill completely (at least 4 hours, preferably overnight). Once chilled, churn according to your ice cream maker’s instructions.
- No-Churn Method: In a large bowl, whip the 2 cups of cold heavy cream until stiff peaks form. In a separate bowl, whisk together the condensed milk and vanilla extract. Gently fold the condensed milk mixture into the whipped cream until just combined.
- Assembly (Both Methods): Once the ice cream base is churned (or the no-churn base is mixed), layer it into a freezer-safe container, alternating layers of the ice cream base with swirls of the cooled caramel sauce. Use a knife to gently swirl the layers together for a marbled effect.
- Freeze for at least 6 hours, or until firm. Let stand at room temperature for 5-10 minutes before scooping.
Notes
- For extra texture, reserve 1/4 cup of the caramel sauce to drizzle over individual scoops just before serving.
- If using the custard method, make sure the base is thoroughly chilled before churning, or it will not freeze properly.
- If you prefer a saltier flavor, increase the salt in the caramel sauce to a full teaspoon.
- Prep Time: PT25M
- Cook Time: PT15M
- Category: Ice Cream
- Method: Churning or No-Churn
- Cuisine: American
Nutrition
- Serving Size: 1/2 cup
- Calories: 350
- Sugar: 35g
- Sodium: 120mg
- Fat: 22g
- Saturated Fat: 14g
- Protein: 5g
- Cholesterol: 85mg







