
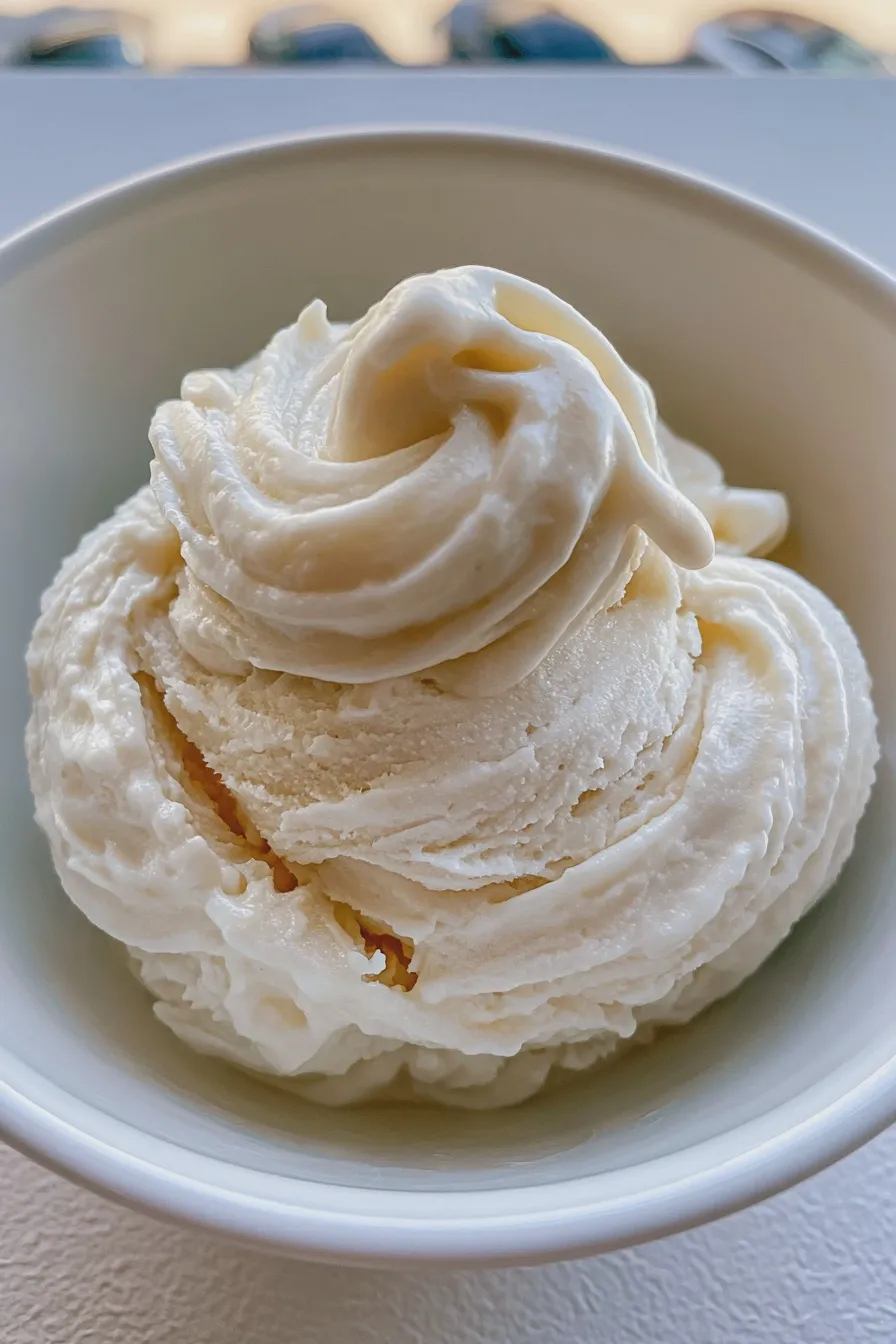
This incredibly simple, creamy banana ice cream recipe requires just two main ingredients and zero churning, making it the ultimate quick banana dessert for a hot afternoon.
Introduction
There is nothing quite as satisfying on a warm evening as a scoop of rich, sweet frozen treat, and this amazing banana ice cream recipe delivers pure comfort without the need for a complicated custard base or an ice cream maker. If you are looking for the best banana ice cream recipe that tastes like soft-serve but is miraculously easy to make, you have certainly landed in the right spot for this frozen banana dessert.
We are focusing on a technique that transforms ripe fruit into a luscious, ready-to-eat dessert, which is why many home cooks turn to this method when they want healthy banana ice cream without the fuss. For those curious about other simple sweets, you might also enjoy learning how to make chocolate mug cake when you need something warm and fast.
Understanding the Magic Behind This Simple Frozen Treat
This method is often referred to as homemade banana nice cream because the texture achieved mimics traditional dairy ice cream, even though it relies entirely on the natural structure of frozen bananas. Achieving that ideal creamy banana soft serve consistency relies heavily on using fruit that is perfectly ripe before it goes into the freezer, which is a crucial first step for success. If you are interested in learning more about the science behind frozen fruit desserts, you can check out some general techniques on Serious Eats for further reading.
Why This Recipe Works So Well
The structure of a frozen banana is unique; when blended, the ice crystals break down into tiny, smooth particles, creating an emulsion that feels wonderfully smooth on the tongue. This process is what allows us to create a truly satisfying no churn banana ice cream without adding heavy cream or eggs. The natural sugars in the fruit also prevent it from freezing rock-solid, which is a common pitfall when making homemade frozen treats.
Ingredient Selection for Optimal Flavor
For the absolute best results in this easy frozen banana dessert, you must select bananas that are spotted and very ripe, as this maximizes sweetness and creaminess. Avoid using green or slightly under-ripe bananas, as they will result in a starchy, less sweet final product that doesn’t blend nearly as well. If you are aiming for a truly healthy banana ice cream, using very ripe fruit ensures you don’t need to add any refined sweeteners at all.
- 3 large, very ripe bananas, peeled and sliced
- 1/4 cup milk (dairy, almond, or oat work well for texture)
- Optional additions: 1 teaspoon vanilla extract, 1 tablespoon peanut butter (for banana peanut butter ice cream)
Mastering the Preparation of Your Ice Cream Base
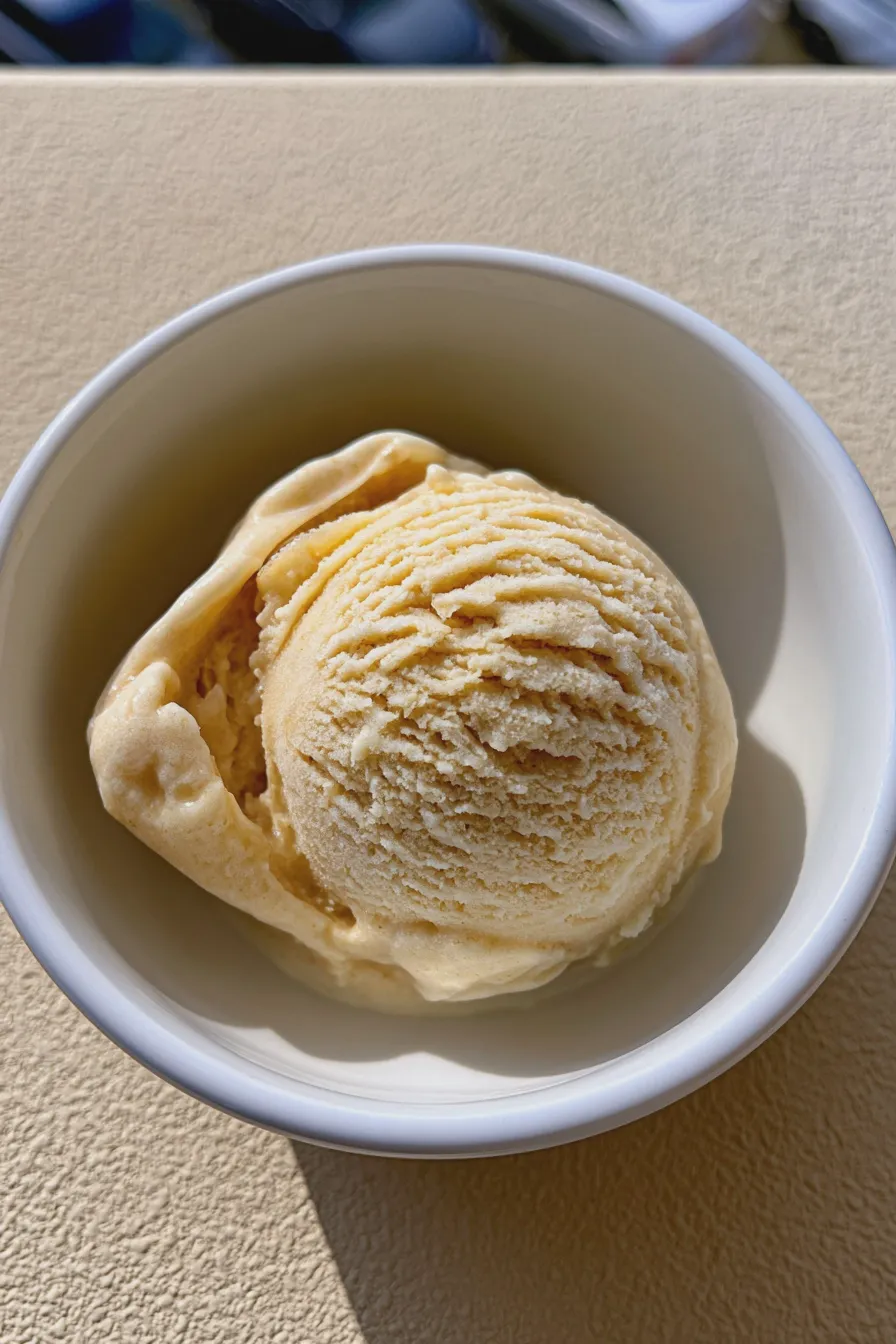
The preparation phase is straightforward, but timing the freezing process correctly is the secret to achieving that perfect scoopable texture right away. Proper slicing before freezing ensures that your food processor or blender doesn’t struggle when you begin the mixing process later on.
Freezing the Bananas Correctly
Peel your ripe bananas, slice them into roughly one-inch thick rounds, and lay them in a single layer on a parchment-lined baking sheet. Make sure the slices are separated so they don’t freeze into one giant, unusable clump, which is a very common beginner mistake. Freeze these slices completely solid, which usually takes at least four to six hours, though overnight is ideal for the best results.
Blending for Creamy Banana Soft Serve
Transfer the rock-hard frozen banana pieces into a high-powered blender or a sturdy food processor, adding the liquid (milk) and any flavorings you desire right away. Start blending on low, stopping frequently to scrape down the sides, and be patient as the mixture goes through several stages from crumbly to thick paste. If you find your machine is struggling, adding just one tablespoon of liquid at a time helps move the process along without sacrificing the final texture needed for this creamy banana soft serve.
Customizing Your Banana Ice Cream Recipe
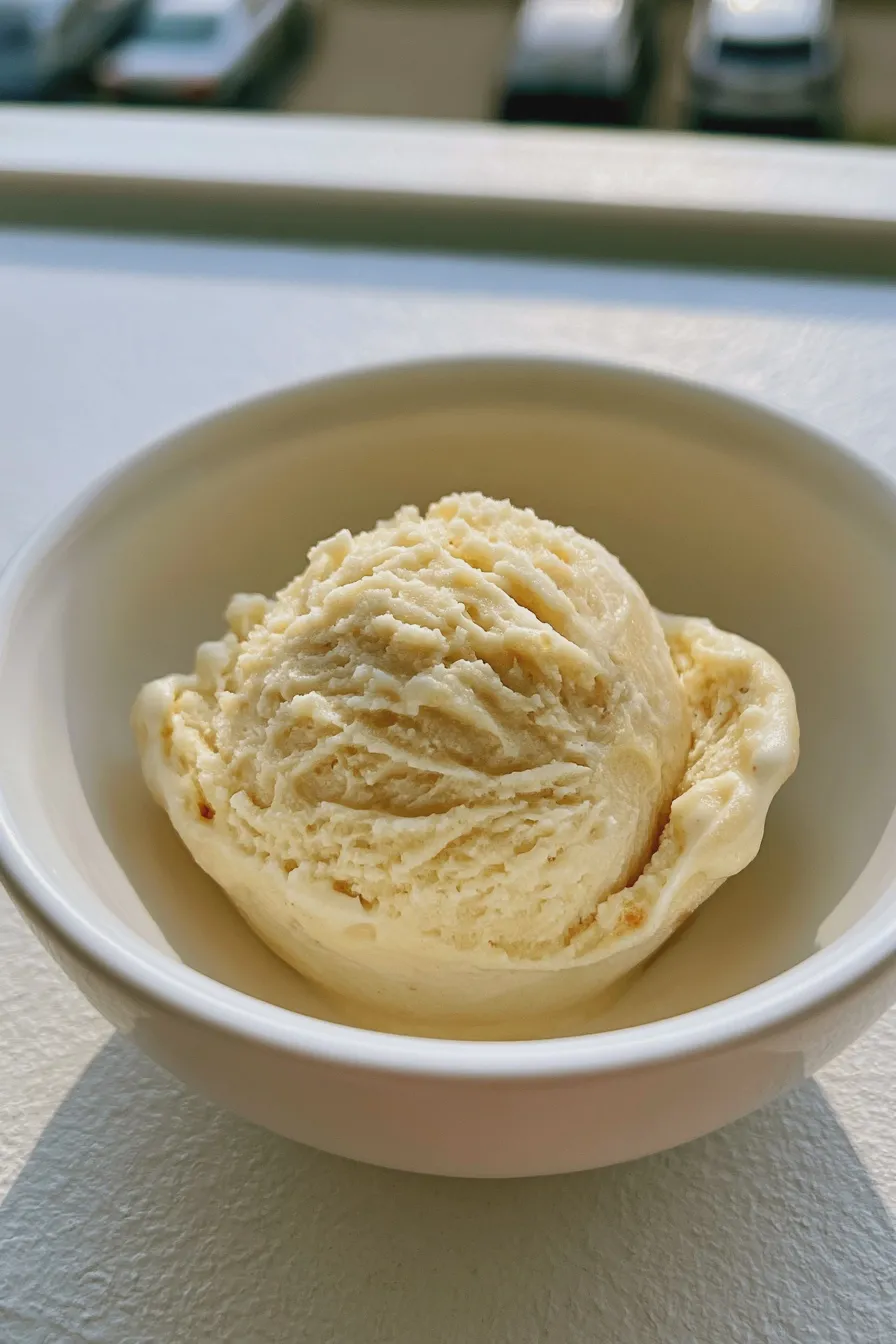
While the base recipe is technically a 2 ingredient banana ice cream recipe, the real fun comes in customizing the flavors to suit your mood or dietary needs. Whether you want a paleo banana ice cream option or something richer, these additions elevate the simple base beautifully. If you are looking for richer chocolate desserts, you might want to compare this to making fudgy brownies later.
Creating Richer, Dessert-Style Variations
To move beyond the basic flavor, consider adding cocoa powder for a chocolate version, or a spoonful of smooth peanut butter for a classic pairing. For a delightful textural contrast, stir in mini chocolate chips or chopped walnuts right after the mixture becomes smooth but before it hardens again. If you are feeling adventurous and want a richer, slightly more complex flavor profile, you might want to explore making Italian cream balls for another type of indulgent dessert experience.
Making Dairy-Free and Health-Conscious Swaps
This recipe is naturally accommodating for many dietary restrictions; using almond or oat milk makes it completely dairy-free banana ice cream without impacting the creaminess significantly. For those pursuing a keto banana ice cream alternative or low carb banana ice cream, this recipe isn’t ideal due to the natural sugar content of the fruit, but it is substantially better than most traditional store-bought options. If you are avoiding dairy and looking for other simple recipes, check out these no-bake cookies which can often be adapted easily.
Serving and Storing Your Homemade Frozen Treat
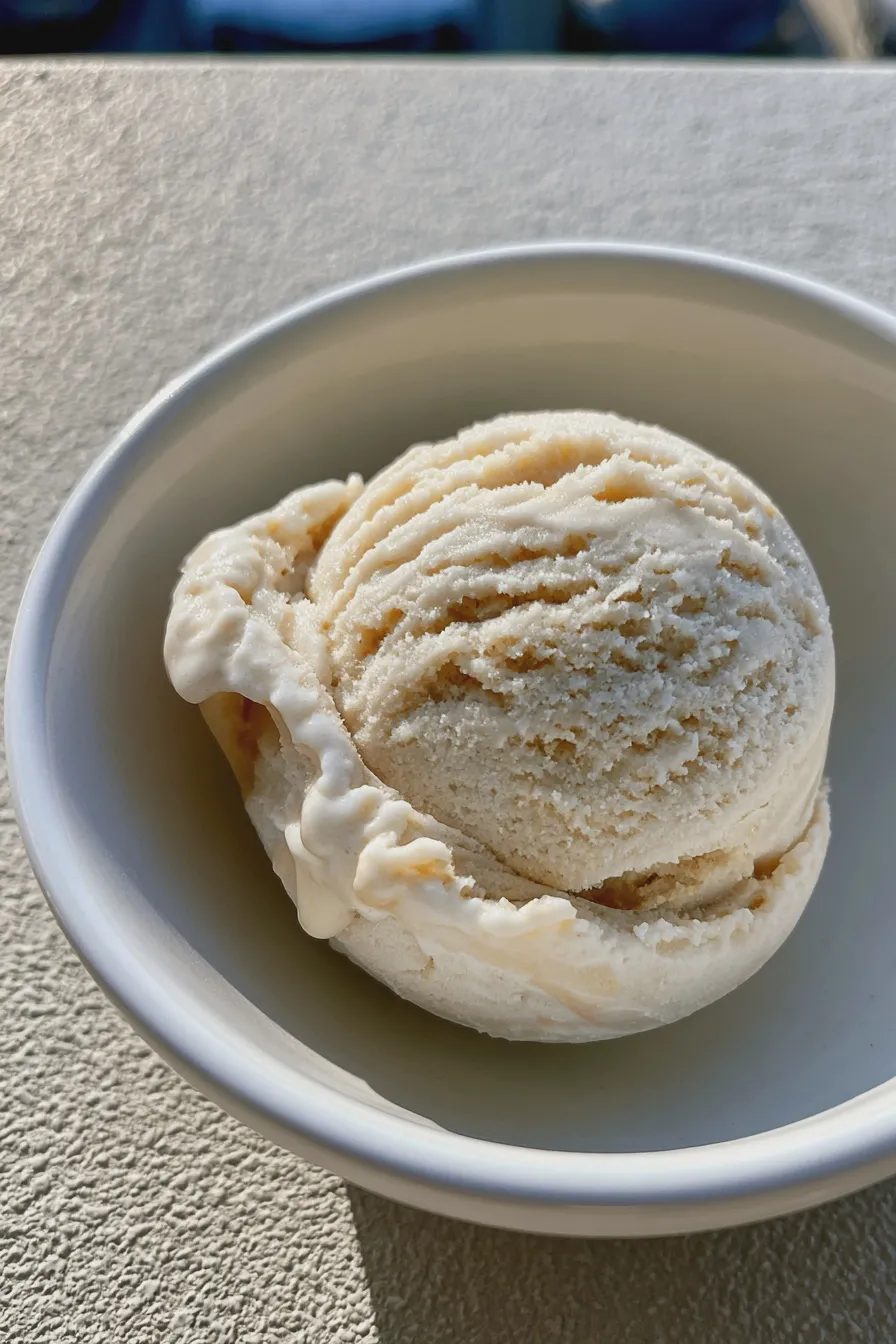
The texture you achieve immediately after blending is best described as a thick, soft-serve consistency, perfect for eating right away or piping into bowls. However, if you prefer a firmer scoopable texture that resembles traditional hard ice cream, a little extra freezing time is necessary. For the firmest texture, remember that this is technically a banana ice cream maker recipe that skips the machine, so it benefits from a brief hardening period.
Achieving Scoopable Texture
If you want a traditional scoopable texture, transfer the freshly blended mixture into a freezer-safe, airtight container immediately after blending. Press a piece of plastic wrap directly onto the surface of the mixture to prevent ice crystals from forming on top, then seal the container tightly. Freeze for at least two to three hours, stirring vigorously every 45 minutes for the first two hours to break up the forming ice crystals and maintain that smooth texture.
Serving Suggestions and Make-Ahead Advice
This frozen banana dessert is wonderful served simply, perhaps drizzled with a bit of melted dark chocolate or a sprinkle of cinnamon for an aromatic lift. If you are preparing this ahead of time for a party, allow it to sit on the counter for about 10 to 15 minutes before attempting to scoop, which softens it just enough. For an impressive presentation, you can even use a piping bag to shape the soft-serve consistency onto cones, much like you would with a traditional ice cream parlor treat.
Print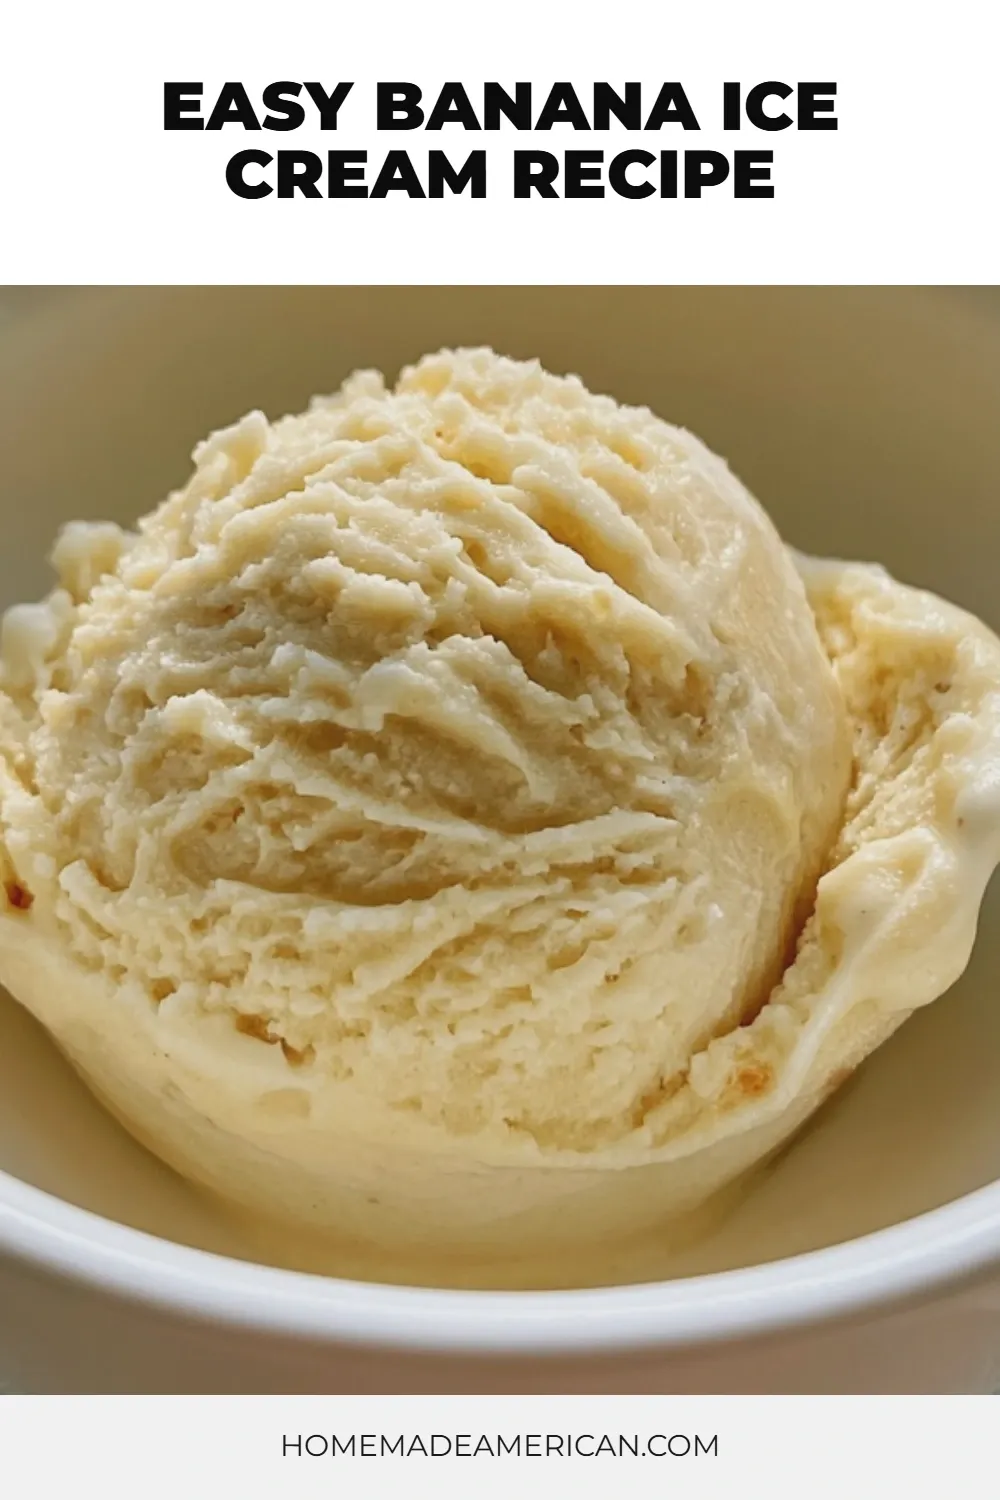
banana ice cream recipe Easy Homemade
- Total Time: PT5M
- Yield: 4 servings 1x
- Diet: Vegan, Gluten-Free
Description
Banana nice cream is the ultimate guilt-free dessert hack. By blending frozen bananas, you achieve a texture remarkably similar to soft-serve ice cream, requiring only three simple ingredients. It’s fast, healthy, and infinitely customizable!
Ingredients
- 4 large ripe bananas, peeled, sliced, and frozen solid (at least 8 hours)
- 1/4 cup milk of choice (dairy, almond, or soy)
- 1 teaspoon pure vanilla extract
Instructions
- Place the frozen banana slices into a high-powered food processor or a very strong blender.
- Add the milk and vanilla extract.
- Begin processing/blending. Initially, the mixture will look crumbly. Stop frequently to scrape down the sides.
- Continue blending. After 2-4 minutes, the mixture will suddenly transform into a smooth, soft-serve consistency. Do not over-blend, or it may liquefy.
- Serve immediately for soft-serve texture, or transfer to a freezer-safe container and freeze for 1-2 hours for a firmer scoopable texture.
Notes
- For chocolate nice cream, add 2 tablespoons of unsweetened cocoa powder along with the initial ingredients.
- For peanut butter swirl, add 1 tablespoon of creamy peanut butter during the final minute of blending.
- If your blender struggles, add liquid 1 tablespoon at a time until the mixture moves freely, but aim for the minimum amount necessary for the thickest result.
- Prep Time: PT5M
- Cook Time: 0 minutes
- Category: Vegan Dessert
- Method: Blended/Frozen
- Cuisine: American
Nutrition
- Serving Size: 1/4 of recipe
- Calories: 120
- Sugar: 17g
- Sodium: 5mg
- Fat: 0.5g
- Saturated Fat: 0g
- Carbohydrates: 30g
- Fiber: 3g
- Protein: 1.5g
- Cholesterol: 0mg







