
Welcome to a truly delightful corner of the baking world! Today, we’re diving into the wonderfully whimsical realm of bat cookies. Whether you’re planning a spooky Halloween bash, a fun kids’ baking project, or simply craving a uniquely shaped treat, bat cookies are sure to fly off the plate. These charming cookies can be adapted to suit any taste and skill level, from rich chocolate versions to simpler no-bake options. Let’s explore how to create these delightful delights that are perfect for any occasion. For a fantastic starting point on cookie basics, check out these cookie basics.
What Are Bat Cookies?
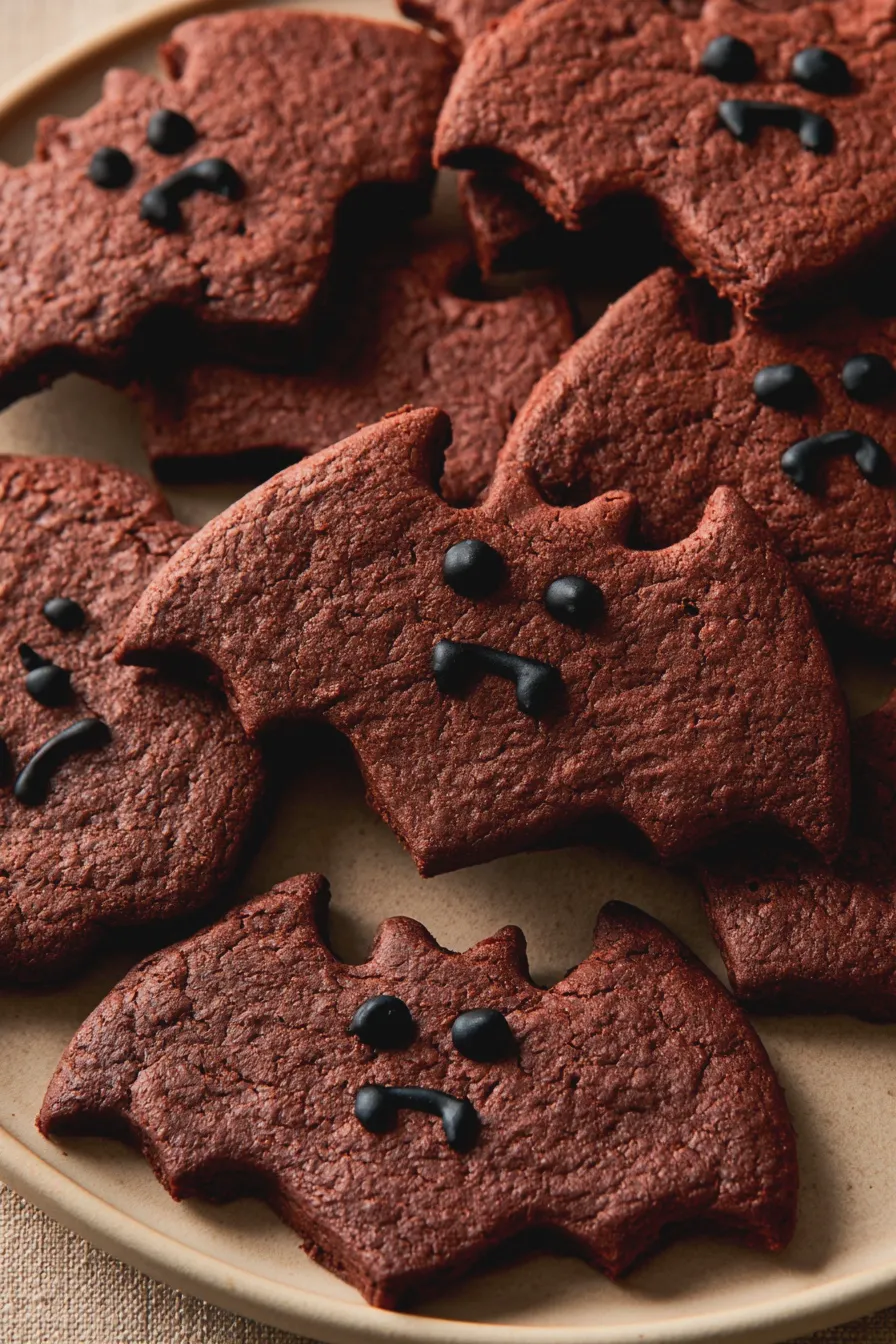
Bat cookies are, quite simply, cookies shaped like bats. This delightful concept can be brought to life in a multitude of ways. The most common approach involves using a bat cookie cutter to shape the cookie dough before baking. However, creativity knows no bounds! You can also freehand cut bat shapes, or even assemble cookies to resemble bats, like the popular Oreo bat cookies. The “bat” element usually refers to the shape, but it can also inspire flavor choices, such as dark chocolate for a nocturnal theme, or even incorporating pumpkin spice for a fall twist. The versatility of bat shaped cookies makes them a perennial favorite, especially when it comes to Halloween cookies.
Types of Bat Cookies
The world of bat cookies is wonderfully diverse. Here are some popular variations you might encounter or want to create:
- Bat Sugar Cookies: These are often the classic choice, made from a sturdy sugar cookie dough that holds its shape beautifully. They are perfect for decorating with icing to create intricate, spooky designs.
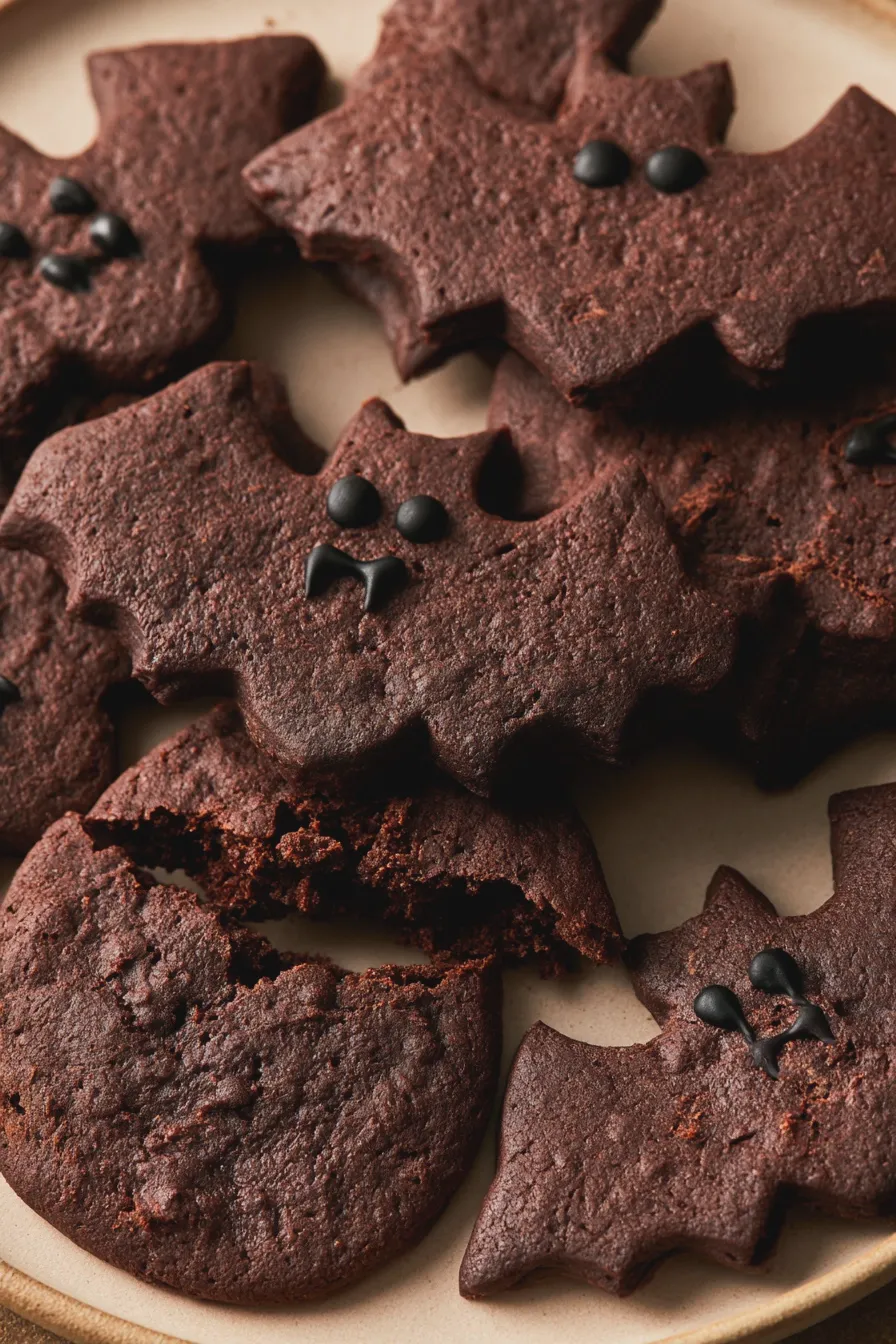
- Chocolate Bat Cookies: For the chocolate lovers, these cookies incorporate cocoa powder or melted chocolate directly into the dough, offering a rich, decadent flavor that perfectly complements the theme.
- No Bake Bat Cookies: Ideal for those who want a quick and easy treat without turning on the oven, these often involve ingredients like oats, peanut butter, and chocolate, formed into bat shapes or assembled into bat figures.
- Oreo Bat Cookies: A super simple and fun idea where Oreos are transformed into bats using frosting, candy, and edible markers. These are always a hit with kids!
- Vegan Bat Cookies: For those following a plant-based diet, vegan bat cookies can be made using dairy-free butter, eggs substitutes, and plant-based milk, without compromising on taste or texture.
- Gluten-Free Bat Cookies: Using gluten-free flour blends, these cookies cater to those with gluten sensitivities, ensuring everyone can enjoy the bat-themed fun.
- Chewy Bat Cookies: If you prefer a softer, chewier cookie, recipes often incorporate ingredients like brown sugar and an extra egg yolk to achieve that desirable texture.
Essential Ingredients for Bat Cookies
While specific recipes will vary, most bat cookie recipes share a common foundation of core baking ingredients. Understanding these ingredients is key to successful baking.
- Flour: All-purpose flour is the standard, providing structure. For gluten-free versions, you’ll use a good quality gluten-free flour blend.
- Fat: Butter is the gold standard for flavor and texture. For vegan options, plant-based butter or coconut oil can be used.
- Sugar: Granulated sugar provides sweetness and helps with browning. Brown sugar adds moisture and chewiness.
- Eggs: Eggs bind ingredients, add richness, and contribute to leavening. For vegan recipes, flax eggs, applesauce, or commercial egg replacers work well.
- Leavening Agents: Baking soda and baking powder help cookies spread and rise.
- Flavorings: Vanilla extract is a staple. Cocoa powder is essential for chocolate bat cookies. You might also use spices like cinnamon or nutmeg for seasonal flavors.
- Salt: Salt balances sweetness and enhances other flavors.
The Importance of Creaming Butter and Sugar
For many bat sugar cookies and other baked varieties, the creaming method is crucial. This process, where softened butter and sugar are beaten together until light and fluffy, incorporates air into the dough. This air expands during baking, contributing to the cookie’s texture and lift. Properly creamed butter and sugar create a lighter, more tender cookie. You can learn more about the creaming method for cakes and cookies here.
Another favorite of ours is the Creaming Method For Cakes And Cookies.
Baking Your Bat Cookies: A Step-by-Step Guide
Let’s get baking! This general guide will help you create delicious bat cookies, focusing on the most common baked sugar cookie version. Remember to always refer to your specific recipe for precise measurements and instructions.
1. Prepare Your Dough
Start by creaming your softened butter and sugar until light and fluffy. This is a critical step for texture. Beat in eggs one at a time, followed by vanilla extract. In a separate bowl, whisk together your dry ingredients: flour, baking powder or soda, and salt. Gradually add the dry ingredients to the wet ingredients, mixing until just combined. Be careful not to overmix, as this can lead to tough cookies. If making chocolate bat cookies, you’ll incorporate cocoa powder with the dry ingredients.
2. Chill the Dough
Chilling cookie dough is often a non-negotiable step, especially for shaped cookies. Chilling solidifies the fat, making the dough easier to handle and preventing excessive spreading during baking. Wrap the dough tightly in plastic wrap and refrigerate for at least 30 minutes, or until firm. For easier rolling, you might even chill it for an hour or two.
3. Roll and Cut
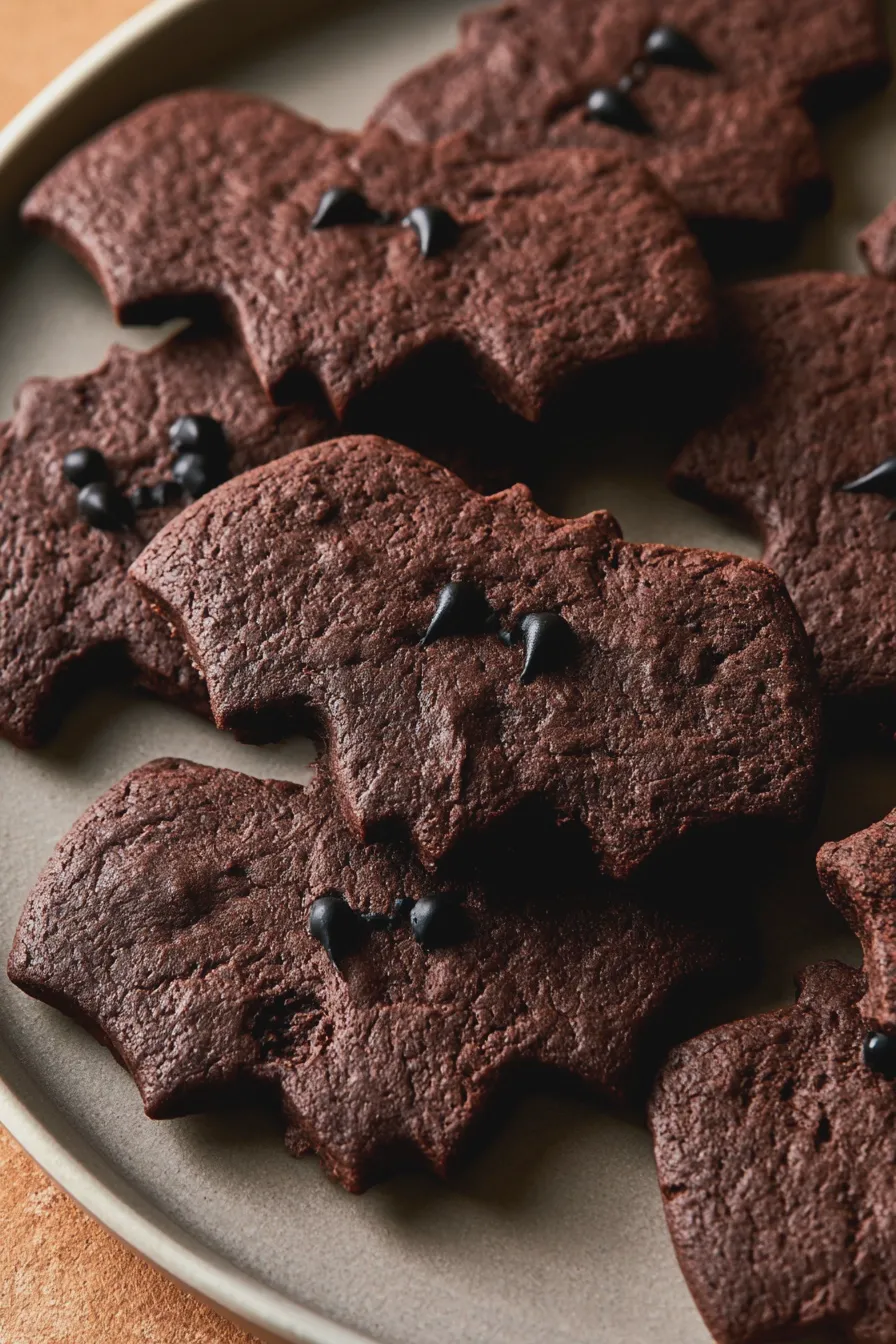
Once chilled, turn the dough out onto a lightly floured surface. Roll it out to your desired thickness, typically around 1/4 to 1/2 inch. Use a bat cookie cutter to cut out your shapes. If you don’t have a bat cookie cutter, you can freehand cut shapes or even use a template. Place the cut-out cookies onto parchment-lined baking sheets, leaving a little space between them.
Looking for more? Try this delicious How To Make Ice Cream At Home next.
4. Bake to Perfection
Preheat your oven to the temperature specified in your recipe (usually between 350°F and 375°F or 175°C and 190°C). Bake the cookies for the recommended time, usually 8-12 minutes, or until the edges are lightly golden brown. Keep a close eye on them, as baking times can vary. For chewy bat cookies, slightly underbaking can help achieve that desirable texture.
5. Cool and Decorate
Allow the cookies to cool on the baking sheet for a few minutes before carefully transferring them to a wire rack to cool completely. Once cooled, the real fun begins: decorating! This is where your spooky bat cookies truly come to life.
Decorating Your Spooky Bat Cookies
Decorating is where you can let your creativity soar! From simple to elaborate, here are some ideas for decorating your bat cookies:
- Royal Icing: This is the go-to for detailed decorating. You can tint it black for classic bats, purple or orange for Halloween colors, or even white for a ghostly effect. Use piping bags with various tips to create outlines, fill in areas, and add details like eyes or fangs.
- Simple Glaze: A simple powdered sugar glaze (powdered sugar mixed with a little milk or water) can be drizzled over the cookies for a quick and easy finish.
- Edible Markers: For quick and easy details on plain iced cookies, edible markers are fantastic. You can draw on eyes, smiles, or even add small patterns.
- Sprinkles: Add Halloween-themed sprinkles for extra color and sparkle.
- Chocolate Drizzle: Melted dark chocolate can be drizzled over the cookies for an extra layer of flavor and visual appeal.
- Candy Accents: Small candies can be used for eyes or other features.
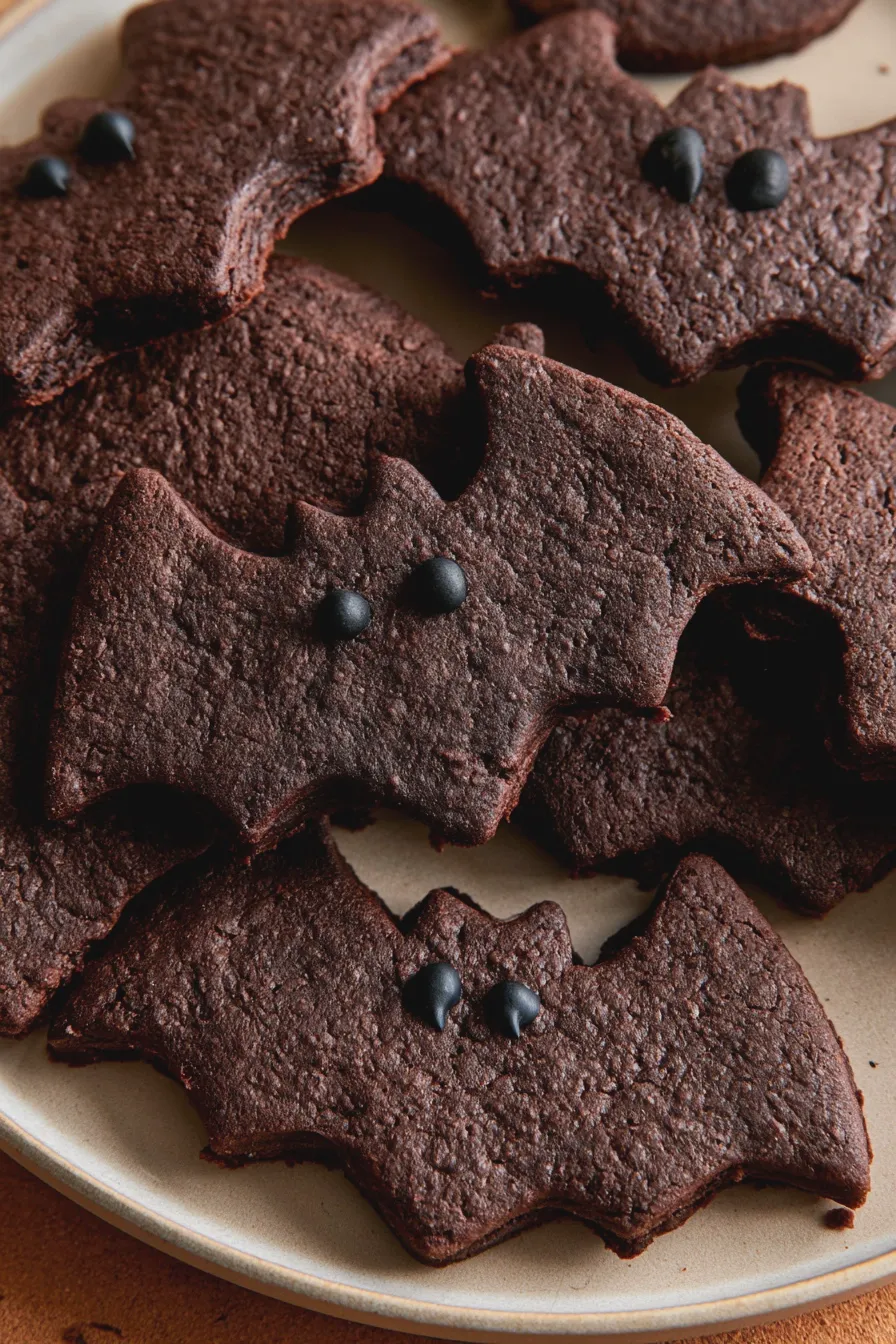
Remember that cookie decorating bat can be as simple or as complex as you like. For bat cookies for kids, keep the designs simple and let them have fun with colors and sprinkles. For a more sophisticated look, intricate icing designs can transform your cookies into edible art.
Another favorite of ours is the How To Fold Ingredients Without Deflating.
Tips for Perfect Bat Cookies Every Time
Baking is a science, but a few tricks can elevate your results. Here are some tips for making your bat cookies the best they can be:
- Use Room Temperature Ingredients: For most cookie recipes, especially those using the creaming method, ensure your butter and eggs are at room temperature. This helps them emulsify properly, creating a smoother dough and better texture.
- Don’t Overmix: Overmixing develops gluten in the flour, resulting in tough cookies. Mix until just combined.
- Chill Your Dough: As mentioned, chilling is vital for shaped cookies. It prevents spreading and makes the dough easier to handle.
- Use Parchment Paper: Baking on parchment paper prevents sticking and makes cleanup a breeze.
- Even Baking: Rotate your baking sheets halfway through baking to ensure even browning.
- Cooling Rack: Transfer cookies to a wire rack to cool completely. This prevents the bottoms from becoming soggy.
- Storage: Store cooled cookies in an airtight container at room temperature. For decorated cookies, ensure the icing is completely dry before stacking.
Common Mistakes to Avoid
Even experienced bakers can run into issues. Here are some common mistakes when making bat cookies and how to avoid them:
- Too Much Flour: Adding too much flour can make cookies dry and crumbly. Measure flour accurately, preferably by weight, or spoon it into your measuring cup and level it off.
- Oven Temperature: An oven that’s too hot will cause cookies to spread too much and burn quickly. An oven that’s too cool can lead to pale, flat cookies. Use an oven thermometer to ensure accuracy.
- Overcrowding the Baking Sheet: Cookies need space to spread. Too many on a sheet can cause them to bake unevenly and stick together.
- Not Chilling Enough: If your dough is too soft and spreads excessively, it’s likely because it wasn’t chilled long enough.
- Decorating Wet Icing: Trying to decorate or stack cookies before the icing is fully dry can lead to smudges and a messy appearance.
Bat Cookies for Every Occasion
While Halloween is the most obvious time for spooky bat cookies, their charm extends far beyond October. Consider these ideas:
- Kids’ Parties: Bat shaped cookies are perfect for a fun afternoon activity. Kids love cutting out the shapes and decorating them.
- Themed Birthdays: Whether it’s a superhero party or a general “creepy crawly” theme, bat cookies fit right in.
- “Just Because” Treats: Sometimes, you just need a fun, uniquely shaped cookie. These are always a delightful surprise.
- Baking Challenges: If you’re looking for a simple yet fun baking challenge, mastering decorated bat cookies can be very rewarding.
For a truly simple and delightful treat, consider no bake cheesecake recipes, which can sometimes be adapted with cookie crumbs for a base or topping. While not bat-shaped, they offer a similar ease of preparation for no-bake options.
Looking for more? Try this delicious How To Prepare A Cake Pan To Prevent Sticking next.







