
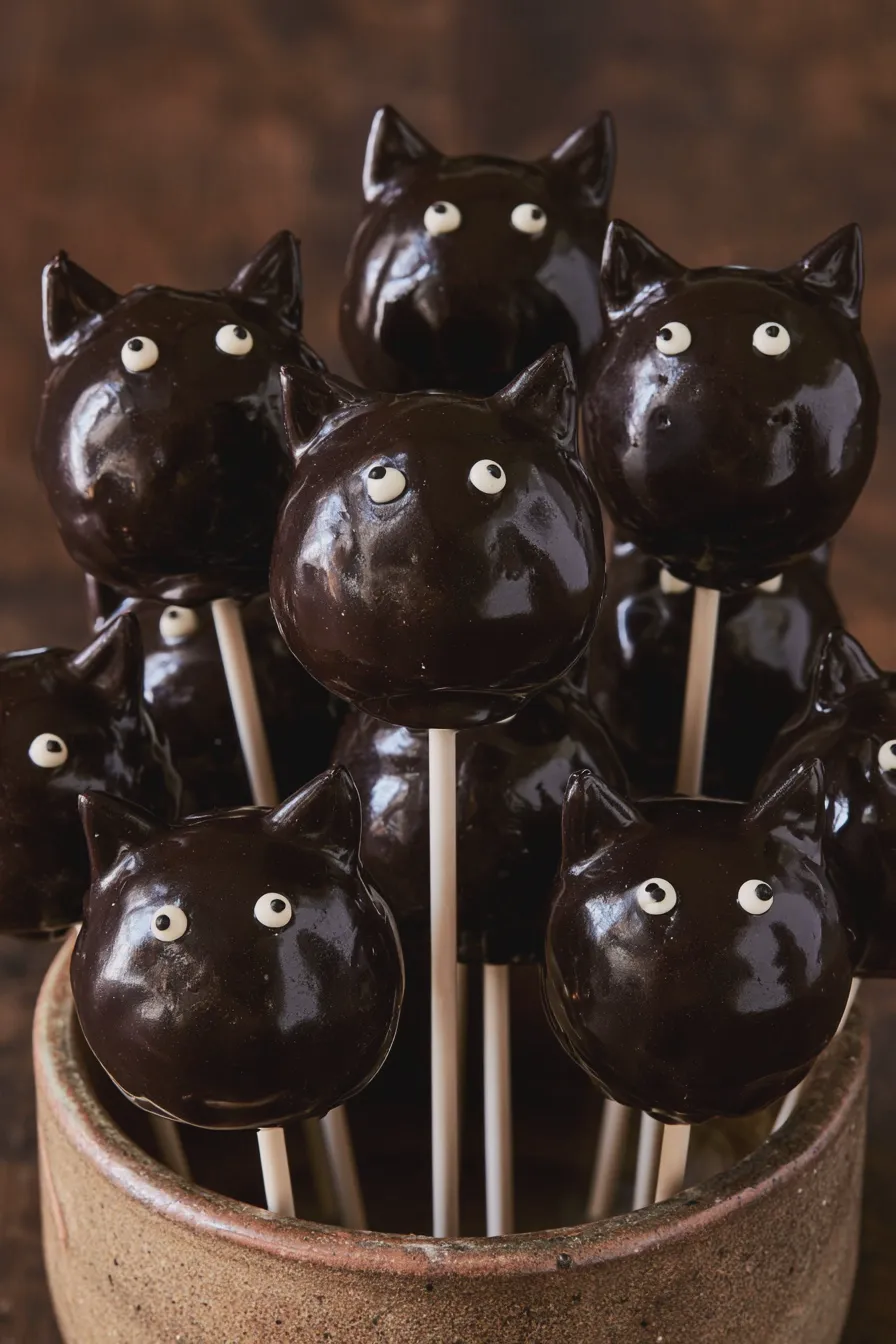
Halloween is a time for spooky fun, and what’s more fun than creating adorable black cat cake pops? These little feline delights are perfect for parties, trick-or-treaters, or just a sweet treat to get you into the Halloween spirit. They might look intricate, but with a little patience and these detailed instructions, you’ll be crafting your own charming black cat treats in no time. This black cat cake pops recipe is a fantastic way to add a touch of playful spookiness to your celebrations, and they are sure to be a hit with both kids and adults alike. Let’s dive into making these delightful cat-themed desserts!
The Magic of Cake Pops
Cake pops are essentially bite-sized cakes on a stick, coated in chocolate or candy melts and decorated. They are incredibly versatile and a fantastic way to use up leftover cake or to create a special dessert from scratch. The base can be any flavor of cake you love – classic chocolate cake pops or simple vanilla cake pops are always crowd-pleasers. The real fun comes with the decorating, and for this black cat cake pops recipe, we’ll focus on bringing these cute creatures to life.
To get started, you’ll need a few key components. First, your cake. You can bake a cake from scratch or use a boxed mix. For this recipe, we recommend a sturdy cake that won’t crumble too easily. A dense chocolate cake or a vanilla pound cake works wonderfully. Once baked and completely cooled, you’ll crumble it into fine pieces. This is where the magic begins, as you’ll mix the crumbs with a binder to create a dough-like consistency. This binder is typically frosting. You can use store-bought frosting or make your own. For a truly decadent treat, consider a rich chocolate buttercream frosting to complement your chocolate cake pops.
Ingredients You’ll Need:
- 1 baked cake (any flavor, cooled completely)
- 1/2 cup frosting (buttercream or cream cheese frosting)
- 12-16 ounces black candy melts or dark chocolate
- 1 tablespoon vegetable shortening or coconut oil (optional, for thinning candy melts)
- Cake pop sticks
- Edible googly eyes
- Black decorating gel or melted black candy melts (for details)
- Optional: White candy melts for accents
Equipment Essentials:
- Large mixing bowl
- Spatula or wooden spoon
- Baking sheet lined with parchment paper or wax paper
- Microwave-safe bowls or a double boiler for melting chocolate
- Tall, narrow cup or jar for dipping cake pops
- Styrofoam block or a specialized cake pop stand for drying
Step-by-Step Black Cat Cake Pops
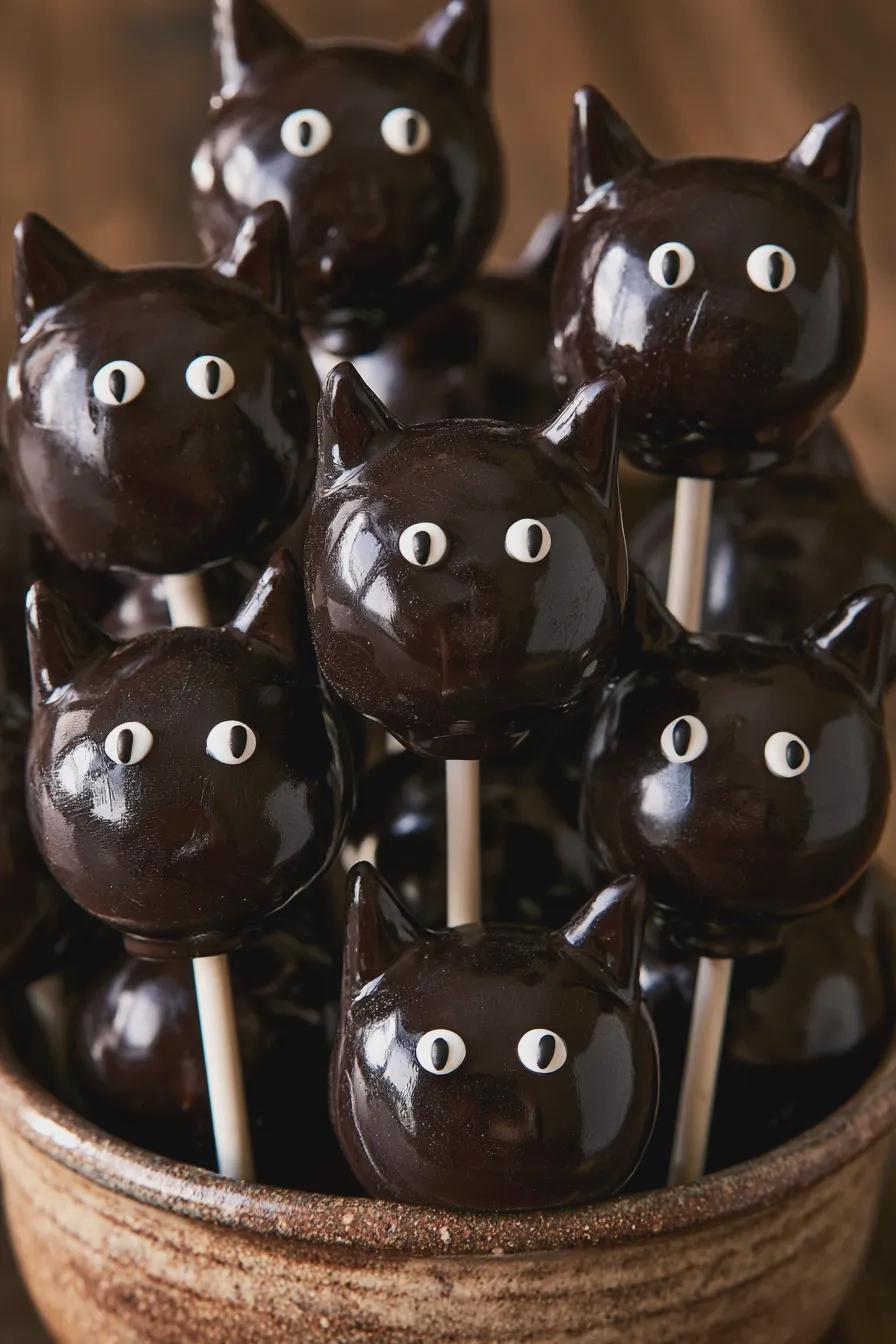
Now, let’s get down to creating these adorable spooky cake pops. Follow these steps carefully for the best results.
If you enjoyed this, you might also love our Why Did My Cake Sink In The Middle recipe.
1. Prepare the Cake Base
Start by crumbling your cooled cake into very fine crumbs. You want no large chunks left. A food processor works wonders for this, but you can also use your hands. Transfer the crumbs to a large mixing bowl.
Next, add your frosting. Begin with about half a cup and mix it into the cake crumbs. Use a spatula or your hands to combine until the mixture holds together when squeezed. It should have the consistency of playdough. If it’s too dry, add a tablespoon more frosting at a time until it’s just right. If it’s too wet, add a few more cake crumbs. This mixture is the foundation for your black cat treats.
2. Shape Your Black Cats
Once you have your dough, it’s time to shape. Roll small portions of the mixture into balls, about 1 to 1.5 inches in diameter. For the cat shape, you’ll want to create a slightly elongated oval for the head and then pinch off a smaller piece from the top side to create two little ears. Gently press and smooth the shapes to ensure they are cohesive. Don’t worry about perfection; a slightly rustic look adds to their charm!
If you enjoyed this, you might also love our Apple Crumble Cake With Cream Cheese recipe.
Place the shaped cake pop bodies onto the parchment-lined baking sheet. Once all are shaped, place the baking sheet in the refrigerator for at least 30 minutes, or in the freezer for 15 minutes. This chilling step is crucial for preventing them from falling apart when you dip them.
3. Melting the Candy Melts
While your cake pops are chilling, prepare your coating. Place the black candy melts in a microwave-safe bowl. Heat them in 30-second intervals, stirring well after each interval, until they are completely smooth and melted. Be careful not to overheat, as this can cause them to seize. If the candy melts are too thick, you can add a teaspoon of vegetable shortening or coconut oil to help thin them out, making dipping easier. Alternatively, you can use a double boiler for a more controlled melting process.
Pour the melted black candy melts into a tall, narrow cup or jar. This makes dipping the cake pops much easier and ensures a smooth, even coating.
If you enjoyed this, you might also love our Zucchini Cake With Cream Cheese Frosting recipe.
4. Dipping and Sticking
Remove the chilled cake pop shapes from the refrigerator. Dip the tip of a cake pop stick into the melted black candy melts and then insert it about halfway into a cake pop ball. This acts as ‘glue’ to help secure the cake pop to the stick. Repeat for all your shapes.
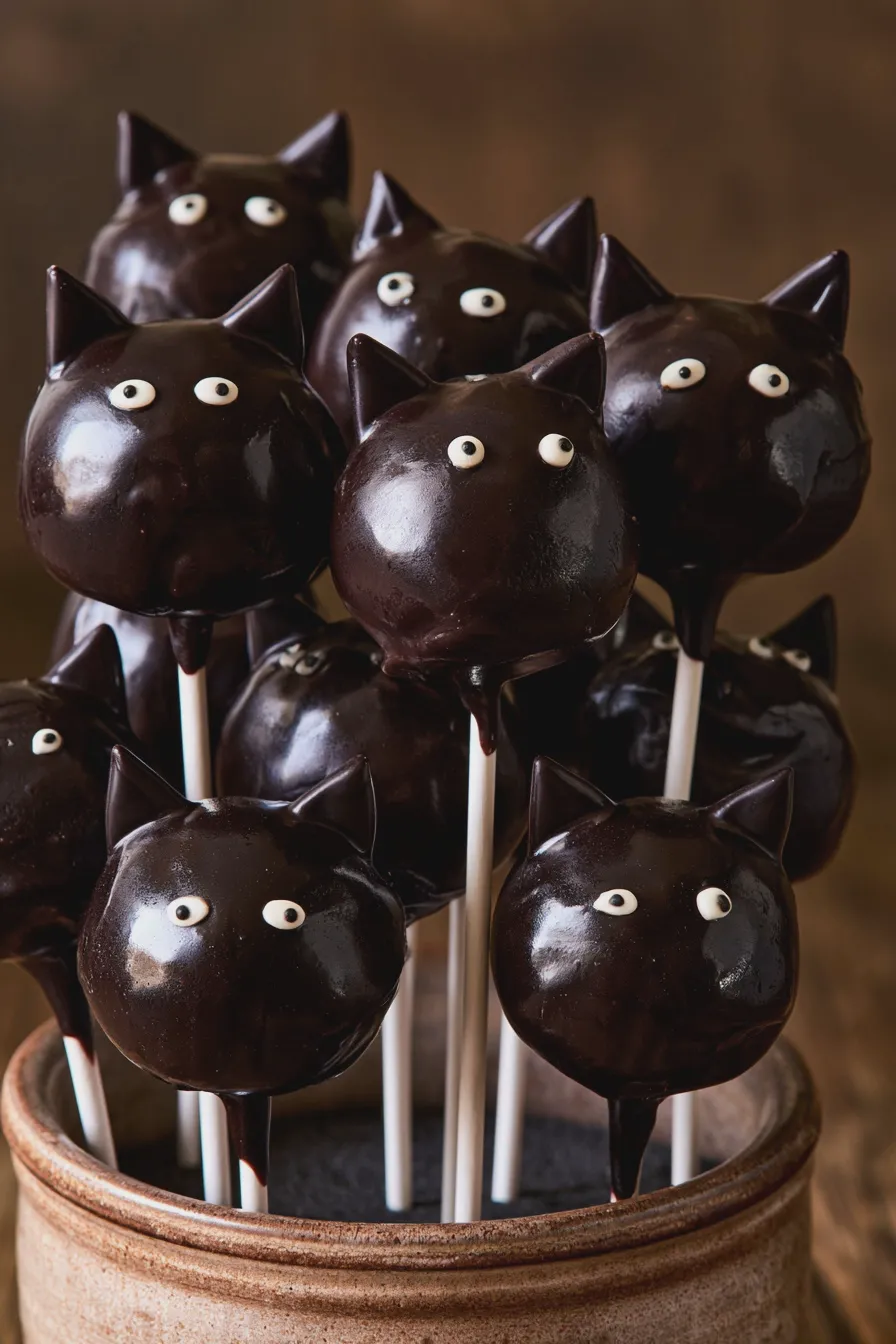
Once the sticks are in place, let them set for a few minutes. Now, dip the entire cake pop into the melted black candy melts, ensuring it’s fully coated. Gently swirl it to get an even coat. Tap the stick lightly on the side of the cup to allow excess chocolate to drip off. You can use a spoon or a toothpick to help smooth out any drips or uneven spots.
Immediately after dipping, while the coating is still wet, you can gently press two small pieces of the cake mixture or two small candy melt dots onto the top of the head to form the ears. Alternatively, you can add these details after the coating has set.
Don’t miss out on our guide to Carrot Cake With Cream Cheese Frosting.
5. Drying and Decorating
Place the dipped cake pops, stick-side down, into a Styrofoam block or a cake pop stand to dry completely. If you don’t have either, you can carefully lay them on their sides on the parchment paper, rotating them every so often to prevent flat spots.
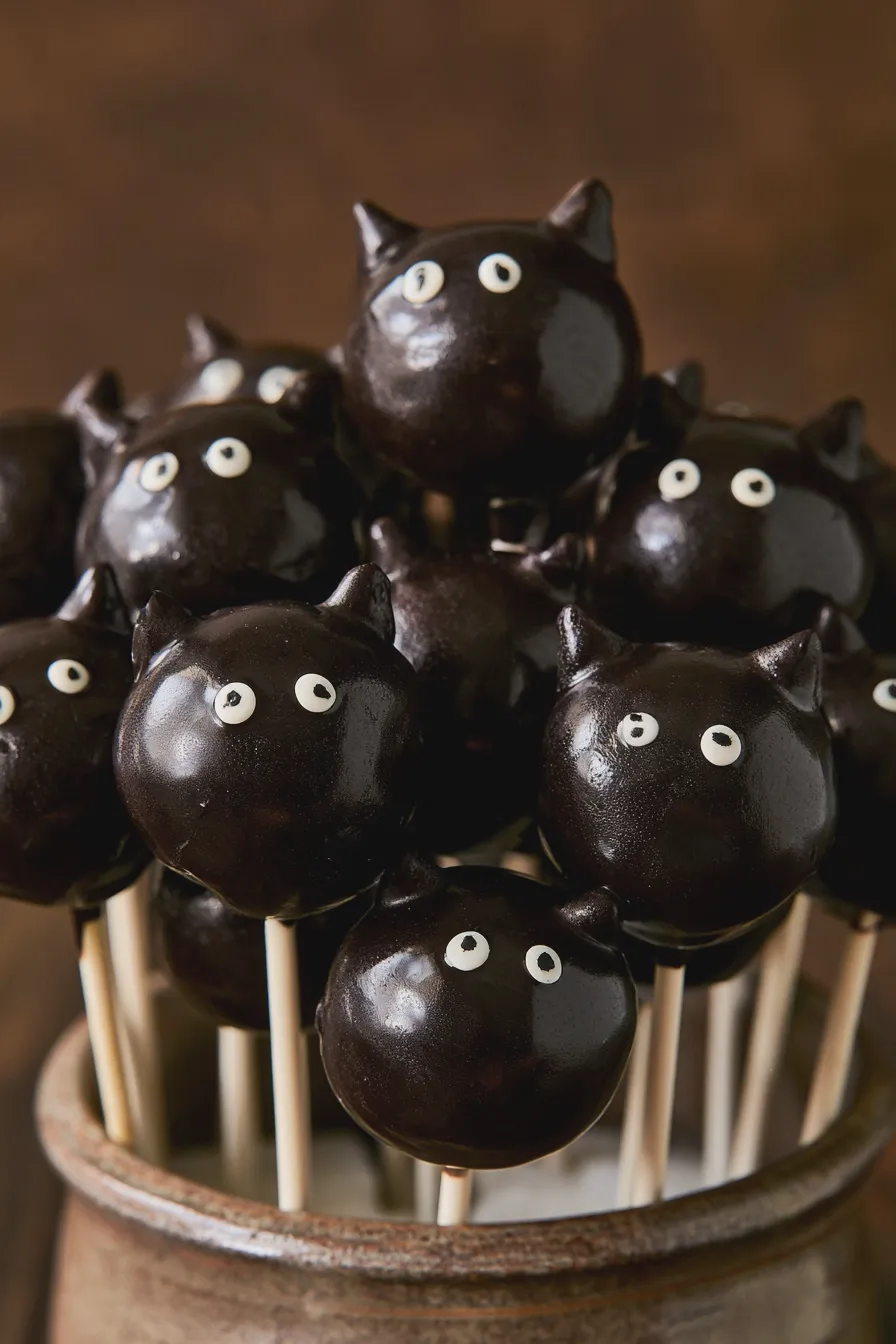
Once the black coating has set, it’s time for the fun part: decorating your black cat treats! Use your black decorating gel or melted black candy melts to draw on a small triangle nose and whiskers. For the eyes, carefully place two edible googly eyes onto the face. If you don’t have googly eyes, you can use small dots of white candy melts and then add a tiny black dot in the center for eyes.
You can also get creative with other Halloween cake pops designs like witch’s brew cake pops or monster cake pops using similar techniques. These black cat cake pops are a delightful addition to any Halloween party food spread.
Another favorite of ours is the How To Make Ice Cream At Home.
Tips for Perfect Black Cat Cake Pops
- Cake Choice: Opt for cakes that are not too moist or crumbly. Pound cake or dense chocolate cake works best. If your cake is very moist, you might need less frosting.
- Frosting Consistency: The goal is a dough that holds its shape but isn’t sticky. Adjust with more cake crumbs or frosting as needed.
- Chilling is Key: Don’t skip the chilling step! It makes shaping and dipping much easier and prevents the pops from falling apart.
- Melting Candy Melts: Melt in short bursts and stir frequently to avoid burning. If they become too thick, use shortening or oil sparingly.
- Dipping Technique: A tall, narrow cup is your best friend for an even coating. Swirl gently and tap off excess.
- Drying Station: A Styrofoam block is ideal. If using parchment, rotate frequently to avoid flat spots.
- Decoration Details: Use a piping bag with a fine tip for precise details like whiskers and noses.
Common Mistakes to Avoid
- Cake Too Moist: This will result in a sticky mixture that’s hard to shape and prone to falling off the stick. Bake your cake thoroughly and let it cool completely.
- Not Enough Frosting: The mixture will be too dry and crumbly, making it impossible to form into cohesive shapes.
- Too Much Frosting: The mixture will be too soft and sticky, leading to misshapen pops and difficulty in dipping.
- Not Chilling Enough: Warm cake pop dough will be soft and may not hold its shape when dipped, leading to broken pops.
- Overheating Candy Melts: Burnt candy melts are unusable and have an unpleasant taste. Melt slowly and stir often.
- Dipping Too Quickly: Allow the ‘glue’ from the first dip of the stick to set slightly before dipping the entire pop.
- Rushing the Drying Process: Trying to decorate before the coating is fully set will result in smudged designs.
Variations for Your Black Cat Treats
While this black cat cake pops recipe focuses on a classic black cat, you can get creative with variations. Consider using different colored candy melts for accents, like white for the belly or paws. You could also add a little bow tie made from fondant for a dapper cat! For a different flavor profile, try using vanilla cake pops as your base and tinting the candy melts a deep purple for a mystical cat, or even green for a witch’s cat. These creative dessert ideas can be adapted for any theme, making them perfect for birthdays or other celebrations.
If you’re looking for more easy Halloween desserts, consider other themed cake pops like ghost cake pops or pumpkin cake pops. They offer a similar fun and festive approach to dessert making.







