
This simple, creamy recipe for classic vanilla is the ultimate homemade summer ice cream, requiring no special equipment and delivering rich flavor perfect for warm afternoons. It relies on sweetened condensed milk and heavy cream to achieve that perfect scoopable texture without needing an ice cream maker, making it one of the most accessible frozen treats you can make.
When the heat rises, nothing beats a bowl of homemade frozen goodness, and mastering a simple, decadent recipe is key to enjoying the season fully. This guide will walk you through creating a luscious dessert that rivals any store-bought pint, proving that delicious homemade ice cream without machine churning is perfectly achievable for every home cook.
Why This Homemade Summer Ice Cream Recipe Works
The magic behind this recipe lies in its simplicity and the quality of the dairy used, resulting in a truly satisfying experience that skips the usual churning process. We are focusing on no-churn ice cream recipes here, which bypass the need for specialized equipment, making it one of the best summer desserts for spontaneous cravings. For those curious about the science behind different frozen delights, understanding the difference between gelato vs ice cream can help you appreciate the texture we are aiming for here.
This method is fantastic because it minimizes the risk of ice crystals forming, which is the bane of many homemade ice cream attempts. If you’ve struggled with making smooth frozen desserts before, you might find this base much more forgiving than traditional custard-style recipes. For more inspiration on easy frozen desserts, you can explore other refreshing frozen treats ideas online.
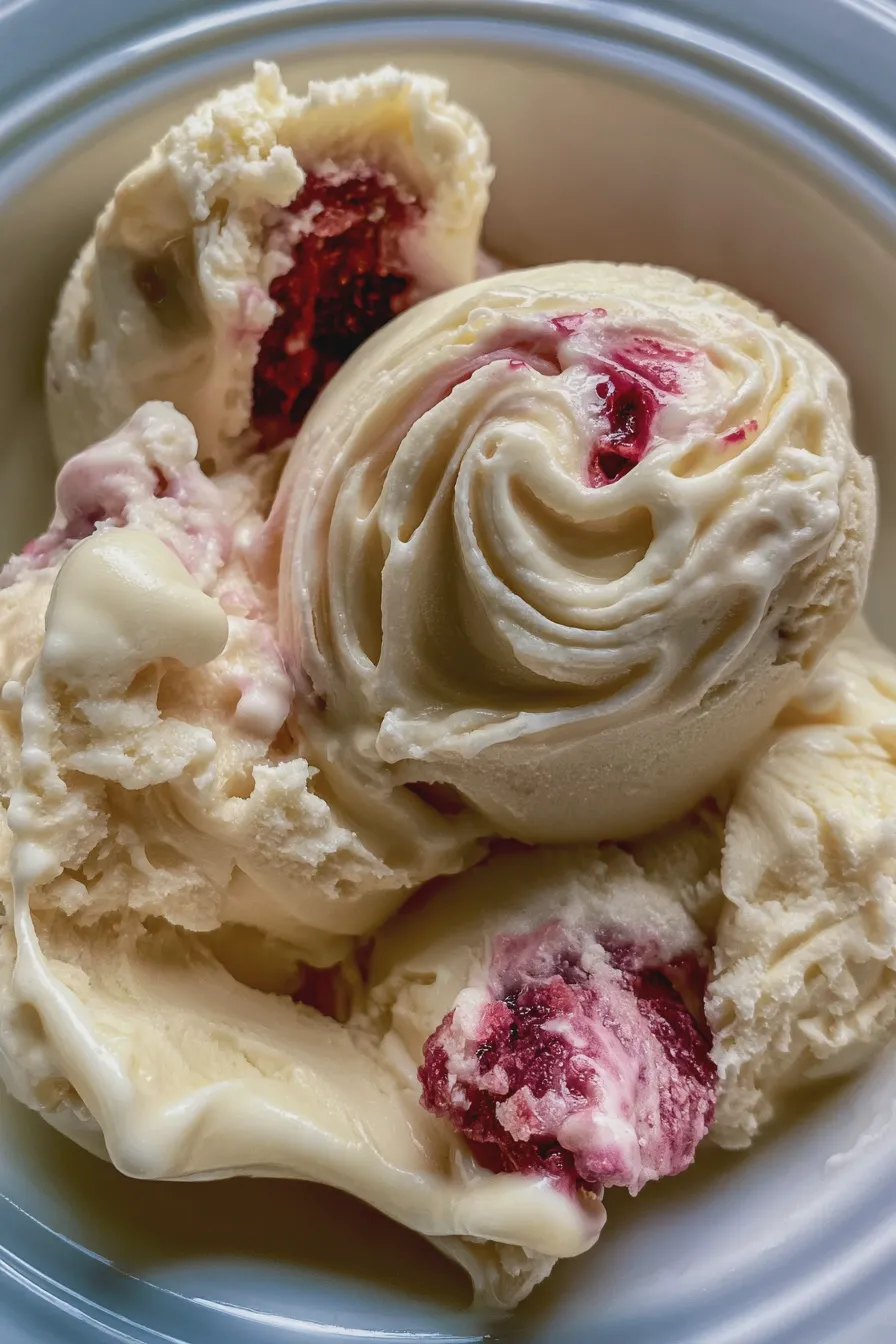
Gathering Your Ingredients for Creamy Vanilla
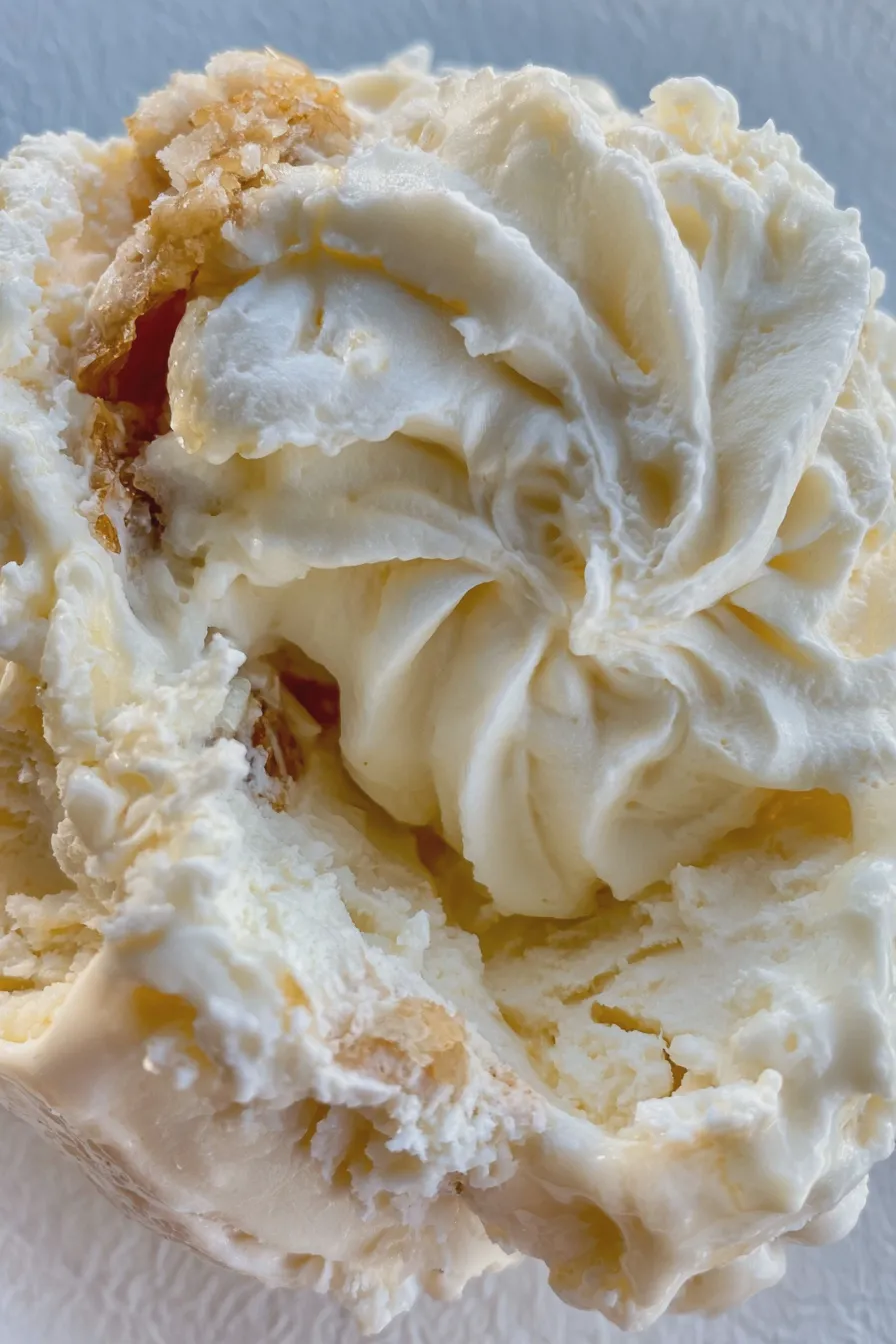
The ingredients list for this recipe is wonderfully short, focusing on high-quality components that deliver maximum flavor payoff. Having everything measured out before you start ensures a smooth assembly process, which is crucial when dealing with fast-setting mixtures.
Essential Components
- 2 cups (1 pint) Heavy Whipping Cream, very cold
- 1 (14-ounce) can Sweetened Condensed Milk, chilled
- 1 tablespoon Pure Vanilla Extract (use the best quality you can find)
- Pinch of Fine Sea Salt (this enhances the sweetness)
Ingredient Notes and Substitutions
The heavy cream must be cold to whip up properly, so don’t skip the chilling time if you plan ahead. If you want to experiment with other easy ice cream flavors, you can substitute the vanilla extract with 1 teaspoon of almond extract or even a tablespoon of high-quality instant coffee powder mixed in with the condensed milk. For those looking for low sugar ice cream variations, using an alternative sweetener in place of condensed milk is possible, though texture may change slightly, moving closer to a sorbet recipes consistency.
How to Make summer ice cream
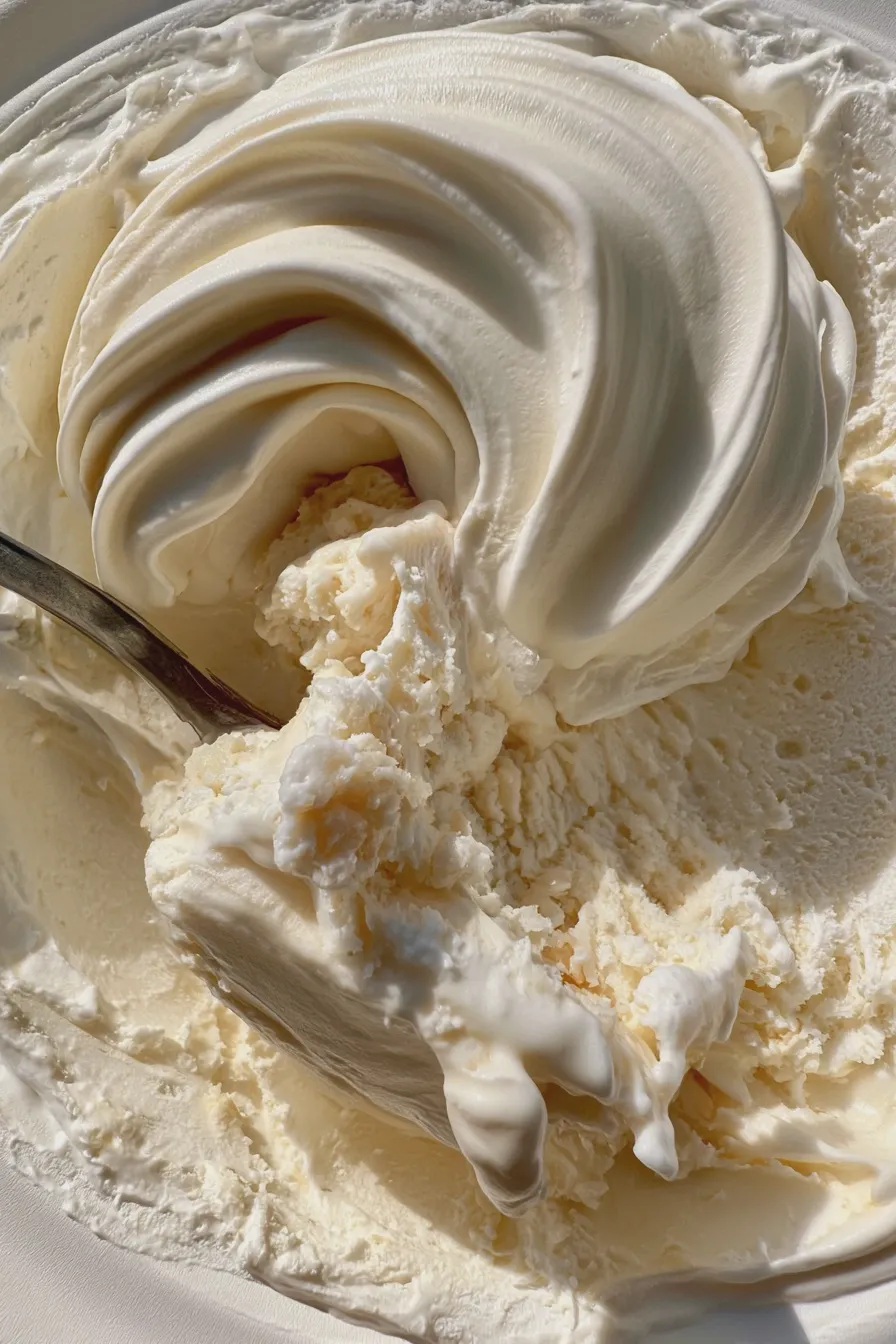
The process is broken down into two main stages: whipping the cream and then gently folding in the remaining base ingredients. Keep your mixing bowls and whisk attachments chilled for the best results when whipping the cream.
Whipping the Heavy Cream
Place the very cold heavy cream into a large, chilled mixing bowl and begin whipping it on medium speed until soft peaks start to form. Gradually increase the speed to high and continue beating until stiff, glossy peaks form; be careful not to over-whip into butter.
Tip: Stiff peaks mean that when you lift the whisk, the peak holds its shape firmly but the very tip might gently curl over; this structure is what gives your final dessert its airy lift.
Creating the Sweetened Base
In a separate medium bowl, whisk together the chilled sweetened condensed milk, vanilla extract, and salt until they are smoothly combined. This mixture forms the rich, sweet foundation that prevents the dessert from freezing rock-solid, ensuring a creamy final product. If you were making a fruit ice cream recipes variation, this is where you would gently fold in a smooth fruit puree.
Folding for Optimal Texture
Take about one-third of the whipped cream and gently fold it into the condensed milk mixture using a rubber spatula until just combined. This initial addition lightens the base mixture, making it easier to incorporate the rest of the whipped cream without deflating the air you just worked so hard to create.
Now, gently fold the remaining whipped cream into the lightened base in two additions, taking care to use an under-and-over motion until no white streaks remain. Overmixing at this stage is the quickest way to lose volume, resulting in a denser, less desirable texture in your final frozen treat.
Freezing and Setting
Pour the finished mixture into a freezer-safe container, such as a loaf pan (8×4 or 9×5 inches works well) or a shallow, airtight container, smoothing the top with your spatula. Covering the surface directly with plastic wrap before sealing the lid helps prevent any freezer burn or ice formation on the top layer.
Freeze the container for a minimum of six hours, though overnight is best, until the dessert is firm enough to scoop easily. If you are aiming for artisanal ice cream recipes perfection, chilling the container in the freezer for 30 minutes before pouring the mixture in can help set the edges faster.
Elevating Your Homemade Frozen Dessert
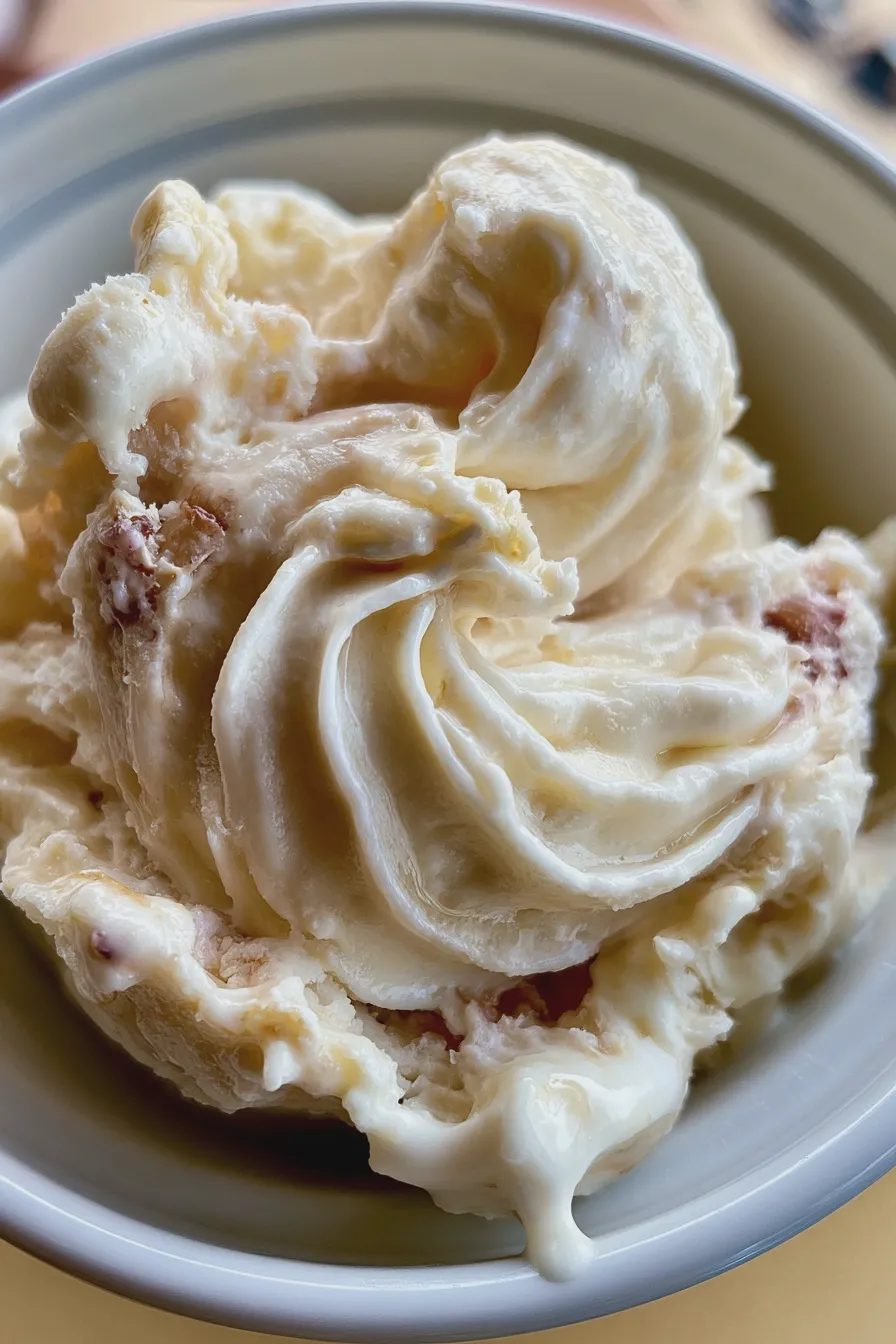
Once the base is set, the real fun begins with customization, turning a simple vanilla base into something extraordinary. This is where you can explore tropical ice cream flavors or add familiar comforts like chocolate chunks, similar to how one might elevate a simple batch of chocolate brownies.
Flavor Twists and Mix-Ins
Consider adding mix-ins during the last hour of freezing, just as the mixture is starting to firm up around the edges, which prevents heavy additions from sinking to the bottom. For richer flavors, swirl in melted chocolate, caramel sauce, or a vibrant mango curd recipe before the final freeze. Other popular additions include crushed cookies, nuts, or even a swirl of fruit jam for something reminiscent of a summer frozen yogurt.
Serving Suggestions and Toppings
To achieve that perfect, scoopable consistency straight from the freezer, let the container sit on the counter for 5 to 10 minutes before serving; this tempering step is essential for easy scooping. The best ice cream toppings elevate the experience, whether you prefer classic hot fudge, fresh berries, or a sprinkle of toasted coconut.
For a slightly healthier take, you could pair this with fresh fruit or consider making homemade popsicles next time for a different format of quick frozen desserts. If you enjoy baking alongside your frozen treats, perhaps try a scoop alongside a rich chocolate bundt cake or some chewy peanut butter cookies.
Troubleshooting and Storage
Even simple recipes can have hiccups, but understanding common issues related to texture and storage will ensure your batch is a success every time. Storing homemade frozen desserts properly is key to maintaining that desirable creamy mouthfeel.
Addressing Texture Issues
If your dessert freezes too hard, it usually means there wasn’t enough fat or sugar content, or perhaps the bowl was too shallow, allowing too much surface area for ice crystal development. To fix a batch that is too icy, let it soften slightly on the counter and then briefly re-whip it with a hand mixer before refreezing in a smaller, deeper container.
Conversely, if it never seems to firm up enough, you may have accidentally under-whipped the cream initially, meaning you didn’t incorporate enough air to suspend the liquids, which is a common issue when trying to make dairy-free summer desserts without stabilizers.
Best Practices for Storage
Always store your homemade ice cream in an airtight container, and pressing a layer of plastic wrap directly onto the surface before sealing is the best way to keep out freezer odors and moisture. Properly stored, this dessert should maintain excellent quality for about two to four weeks before the texture starts to noticeably degrade.
Print
summer ice cream Made Easy Homemade Recipe
- Total Time: PT6H15M
- Yield: About 1.5 quarts 1x
- Diet: Vegetarian
Description
Cool down this summer with the creamiest, dreamiest homemade No-Churn Strawberry Cheesecake Ice Cream! It requires just a few simple ingredients and no complicated ice cream maker.
Ingredients
- 1 (8 ounce) package cream cheese, softened
- 1 cup granulated sugar
- 1 teaspoon vanilla extract
- 1 cup heavy whipping cream, cold
- 1 cup fresh strawberries, finely chopped
- 1/2 cup graham cracker crumbs (for swirl)
Instructions
- In a large bowl, beat the softened cream cheese with an electric mixer until smooth and creamy.
- Gradually add the granulated sugar and vanilla extract to the cream cheese mixture, beating until fully combined and fluffy.
- In a separate, chilled bowl, whip the cold heavy whipping cream until stiff peaks form.
- Gently fold the whipped cream into the cream cheese mixture in two additions until just combined, being careful not to deflate the air.
- Gently fold in the finely chopped fresh strawberries.
- Layer half of the ice cream mixture into a loaf pan (or freezer-safe container). Sprinkle half of the graham cracker crumbs over the top. Add the remaining ice cream mixture and top with the remaining graham cracker crumbs. Create a slight swirl effect with a knife if desired.
- Cover the container tightly with plastic wrap or an airtight lid and freeze for at least 6 hours, or until firm.
- Let the ice cream sit at room temperature for 5-10 minutes before scooping and serving.
Notes
- For an extra rich flavor, use freeze-dried strawberries that have been rehydrated slightly, or substitute 1/4 cup of strawberry jam for fresh berries.
- Ensure the cream cheese is truly room temperature for the smoothest base.
- Store leftovers tightly covered to prevent ice crystals from forming.
- Prep Time: PT15M
- Cook Time: 0 minutes
- Category: No-Churn Ice Cream
- Method: Freezing
- Cuisine: American
Nutrition
- Serving Size: 1/2 cup
- Calories: 320
- Sugar: 25g
- Sodium: 180mg
- Fat: 23g
- Saturated Fat: 14g
- Protein: 4g
- Cholesterol: 75mg







