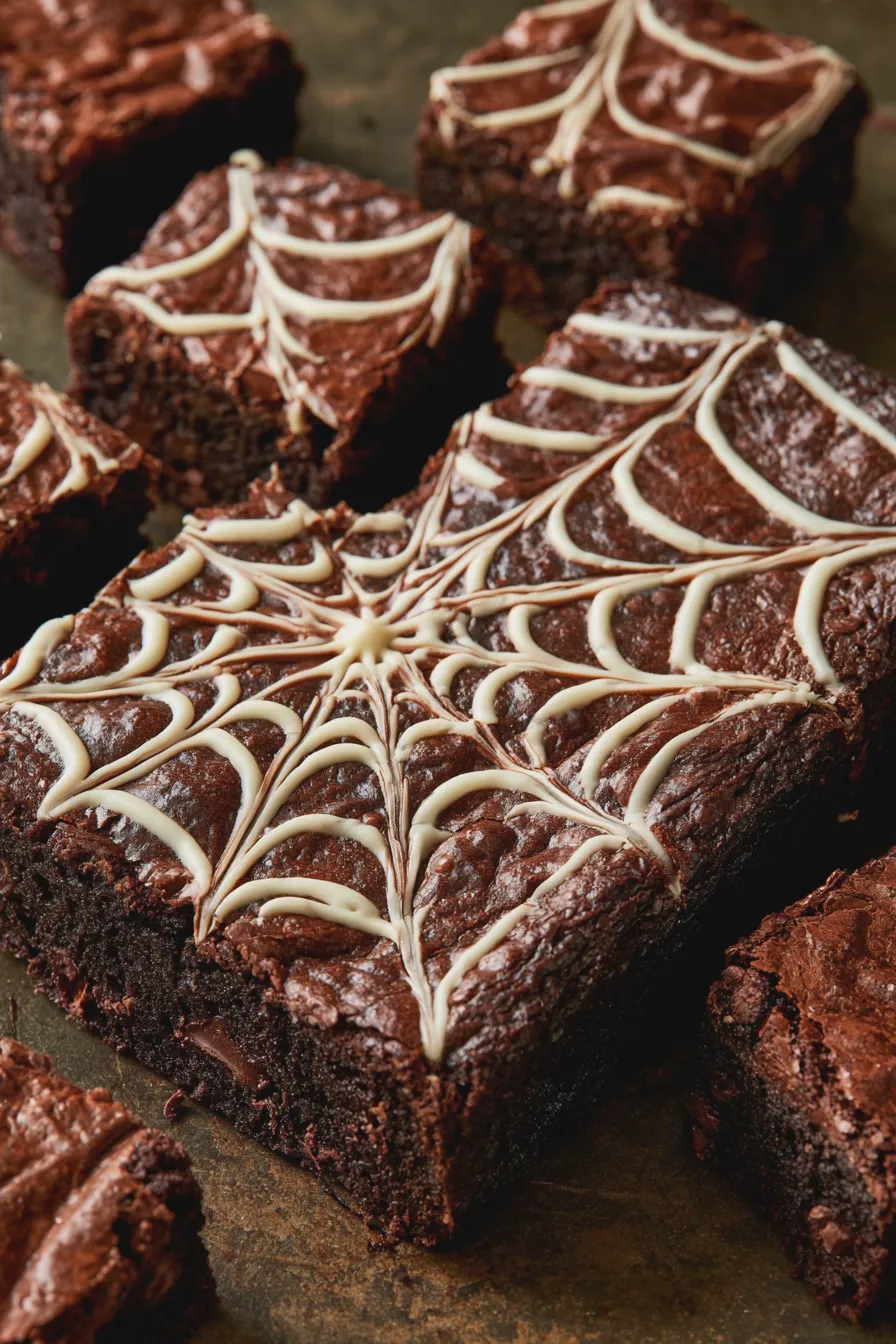
These spider web brownies are a fun and festive Halloween treat, combining rich chocolatey goodness with a spooky, decorative twist perfect for parties. They’re surprisingly simple to make, transforming a classic brownie into a delightful chocolate spider web dessert that kids and adults will adore.
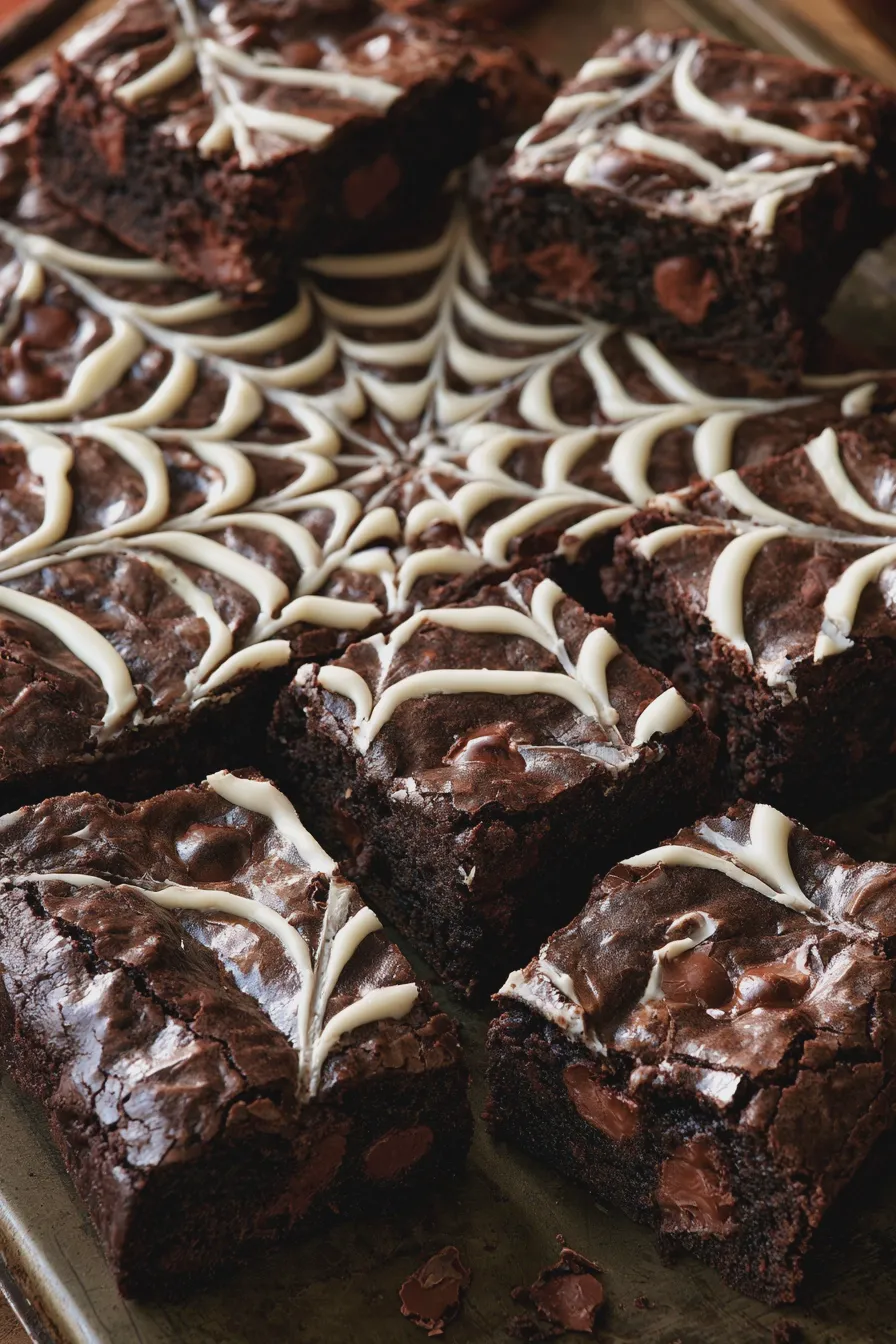
Get ready to impress your guests with these incredibly charming spider web brownies, a must-have for any Halloween celebration. The deep, fudgy chocolate base is elevated by a delicate white chocolate web, creating a visually stunning and delicious treat that’s sure to be a hit.
What are Spider Web Brownies?
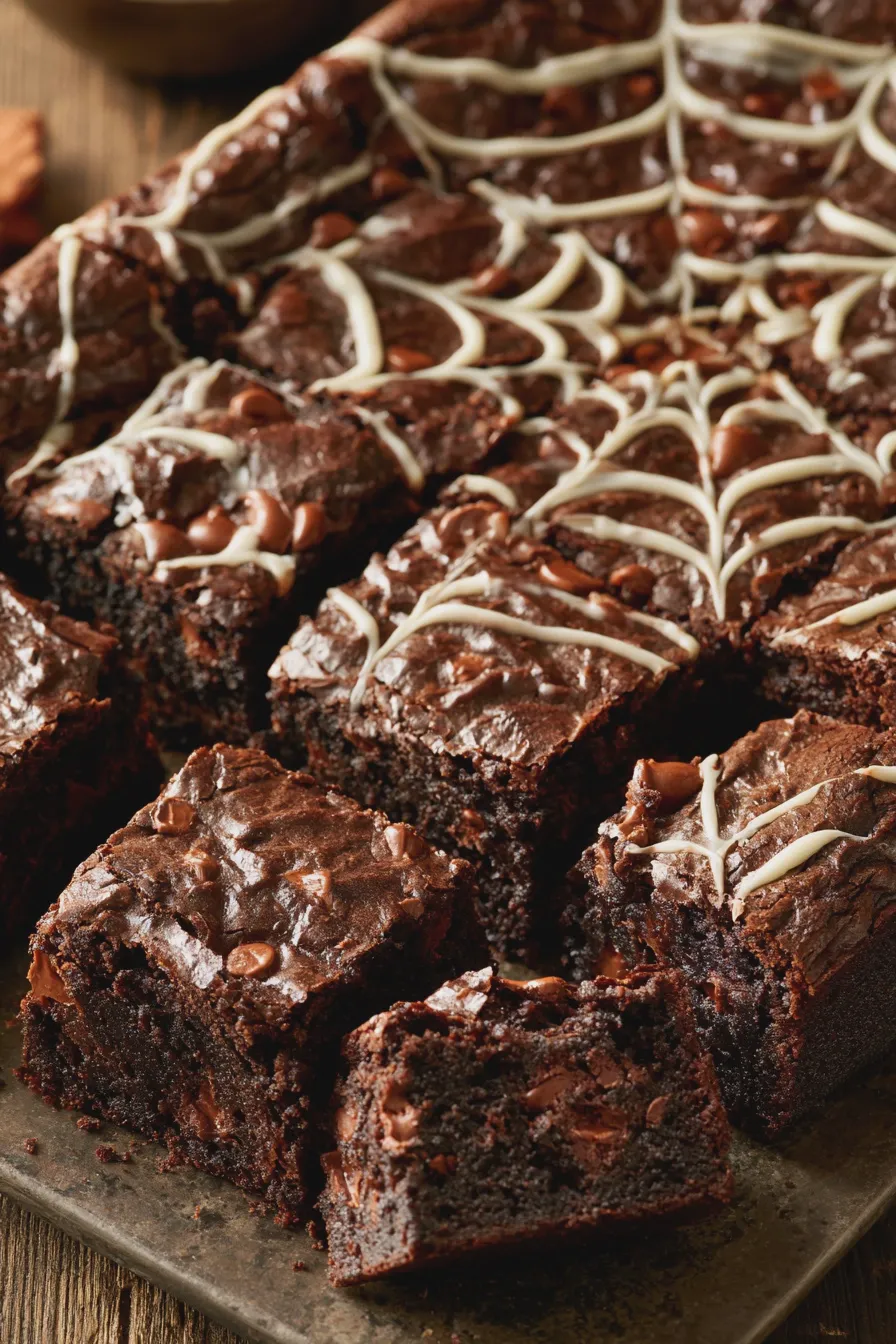
Spider web brownies are a classic chocolate brownie base decorated with a contrasting “web” pattern, typically made from white chocolate or a similar frosting. This design mimics a spider’s web, making them a popular choice for Halloween baking and other spooky-themed parties. They offer a delightful combination of rich chocolate flavor and a visually engaging presentation that’s both fun and festive.
The magic of these decorated brownies lies in their simplicity and adaptability. While the core is a delicious, fudgy brownie, the spider web topping allows for a lot of creativity. You can achieve this effect using melted white chocolate or a simple powdered sugar glaze piped onto the surface, making them accessible for bakers of all skill levels. These are often considered among the best spooky brownies for their easy yet impactful decoration.
Ingredients You’ll Need
- 1 cup (2 sticks) unsalted butter, melted
- 2 cups granulated sugar
- 4 large eggs
- 1 teaspoon vanilla extract
- 1 cup all-purpose flour
- 1/2 cup unsweetened cocoa powder
- 1/2 teaspoon salt
- 1/4 teaspoon baking powder
- 1 cup (6 ounces) semi-sweet chocolate chips (optional, for extra chocolatey goodness)
- 4 ounces white chocolate, chopped (for the web)
- 1 tablespoon vegetable oil or coconut oil (to thin the white chocolate)
For the brownies, using good quality butter is essential for flavor and texture; learn more about the role of butter in desserts. If you prefer a dairy-free option, you can explore vegan brownies by using plant-based butter and egg substitutes. Ensure your cocoa powder is unsweetened for the best chocolate flavor balance. The semi-sweet chocolate chips are optional but highly recommended for those who love an intensely chocolatey experience.
How to Make Spider Web Brownies
Prepare Your Pan and Oven
Preheat your oven to 350°F (175°C) and grease and flour a 9×13 inch baking pan, or line it with parchment paper for easy removal. This step ensures your brownies won’t stick and will bake evenly, preventing burnt edges. Using parchment paper with overhangs makes lifting the entire slab of brownies out of the pan a breeze.
Melt the Butter
In a large microwave-safe bowl, melt the butter. You can also do this in a saucepan over low heat on the stovetop. Be careful not to overheat the butter; you just want it fully melted and smooth. This forms the rich, fudgy base of your brownie batter.
Combine Wet Ingredients
To the melted butter, add the granulated sugar and whisk until well combined. Then, beat in the four large eggs one at a time, followed by the vanilla extract. Mix until the batter is smooth and glossy, ensuring the sugar is mostly dissolved.
Add Dry Ingredients
In a separate medium bowl, whisk together the all-purpose flour, unsweetened cocoa powder, salt, and baking powder. This helps to evenly distribute the leavening agents and cocoa, preventing clumps in your final brownie. Sifting these ingredients is an extra step that guarantees an even smoother texture.
Combine Wet and Dry Mixtures
Gradually add the dry ingredients to the wet ingredients, mixing until just combined. Be careful not to overmix at this stage, as overmixing can develop the gluten in the flour, leading to tougher brownies. A few streaks of flour are okay; they will disappear during baking.
Add Chocolate Chips (Optional)
If using, gently fold in the semi-sweet chocolate chips. This adds pockets of melty chocolate throughout the brownies, enhancing their richness and texture. Ensure they are evenly distributed throughout the batter for consistent chocolatey bites in every piece.
Bake the Brownies
Pour the batter into the prepared baking pan and spread it evenly. Bake for 25-30 minutes, or until a toothpick inserted into the center comes out with moist crumbs attached, not wet batter. It’s important not to overbake them, as this can result in dry, cakey brownies instead of the desired fudgy texture.
Cool the Brownies
Let the brownies cool completely in the pan on a wire rack. This step is crucial before decorating; warm brownies are too fragile to handle and will cause the white chocolate to melt unevenly. Patience here will result in cleaner lines for your web design.
Prepare the White Chocolate Web
Once the brownies are completely cool, melt the chopped white chocolate with the vegetable oil or coconut oil in a microwave-safe bowl in 30-second intervals, stirring in between, until smooth and pourable. The oil helps to thin the chocolate, making it easier to pipe and create delicate web lines. Ensure the white chocolate is completely smooth and free of lumps before proceeding.
Decorate with the Spider Web
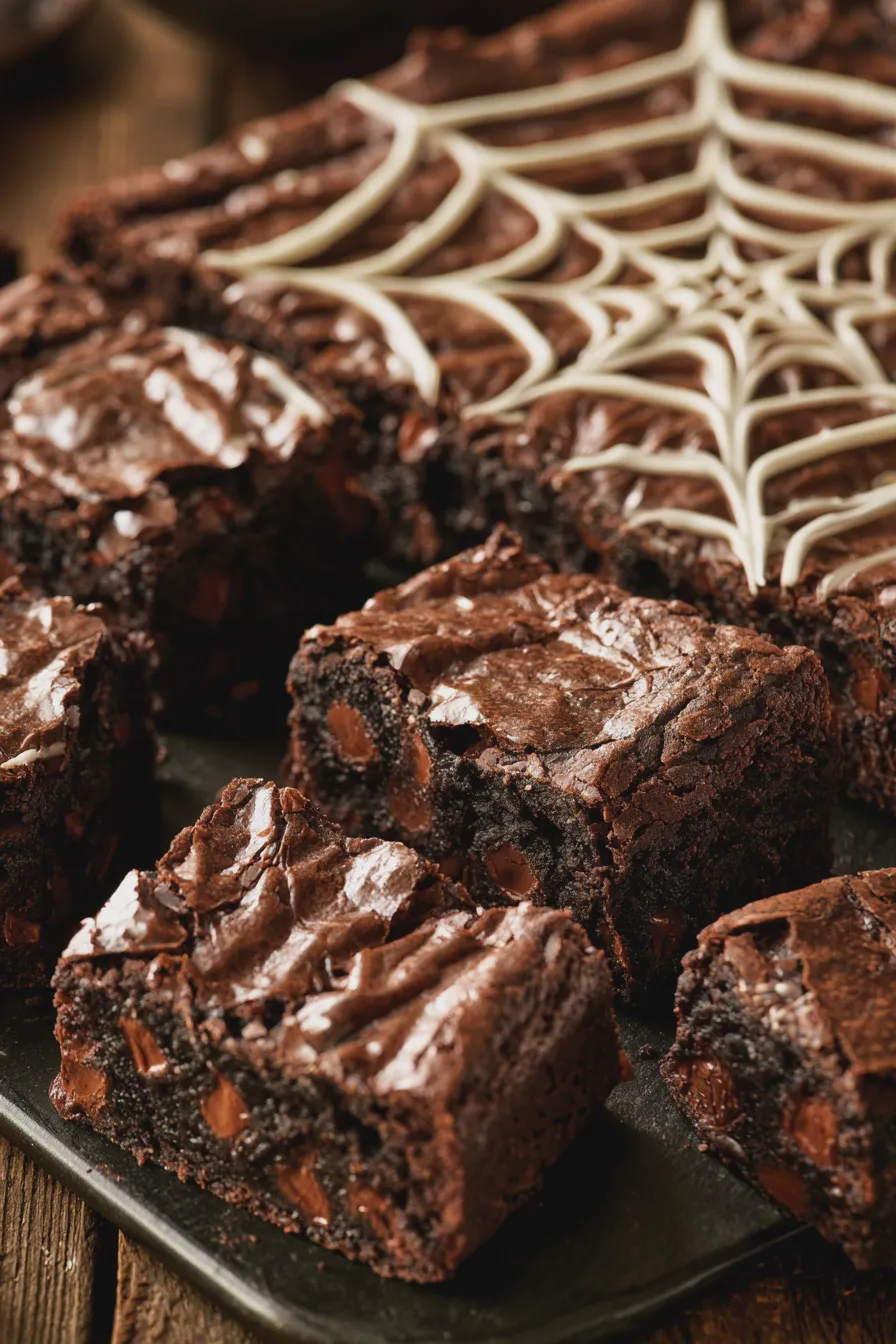
Transfer the melted white chocolate to a piping bag fitted with a small round tip, or a zip-top bag with a tiny corner snipped off. Start by piping concentric circles of white chocolate onto the brownie surface, working from the center outwards. Then, using a toothpick or skewer, drag lines from the center outwards through the circles to create the web effect. Work quickly before the chocolate sets.
Chill and Cut
Allow the white chocolate web to set completely, which can be expedited by placing the pan in the refrigerator for about 15-20 minutes. Once set, cut the brownies into squares or bars using a sharp knife. For the cleanest cuts, wipe the knife clean between each slice.
Tips for Perfect Spider Web Brownies
- Fudgy vs. Cakey: For fudgier brownies, use more butter and less flour. For cakey brownies, use a bit more flour and ensure you add the baking powder. This recipe leans towards fudgy, which is ideal for a rich chocolate base.
- Cocoa Quality: Using high-quality unsweetened cocoa powder makes a significant difference in the depth of chocolate flavor. Dutch-processed cocoa will yield a darker color and smoother flavor.
- Don’t Overmix: Overmixing the batter after adding the flour can lead to tough brownies. Mix until just combined for the best tender texture.
- Cooling is Key: Ensure the brownies are completely cool before decorating. Applying the white chocolate web to warm brownies will result in a messy, melted design.
- Web Design Tips: If you don’t have a piping bag, you can use a fork to drizzle the white chocolate and then drag a toothpick. For a more intricate look, consider adding a small white chocolate spider made from a mold.
- Make-Ahead: Brownies can be baked a day in advance and stored at room temperature. Decorate them closer to serving time for the freshest appearance.
These spooky brownies are a fantastic addition to any Halloween party desserts spread. They pair wonderfully with other themed treats like ghost brownies or mummy brownies. You might also enjoy other festive small treats like mini apple pies or mini lemon blueberry cheesecakes for a variety of delicious options.
Print