
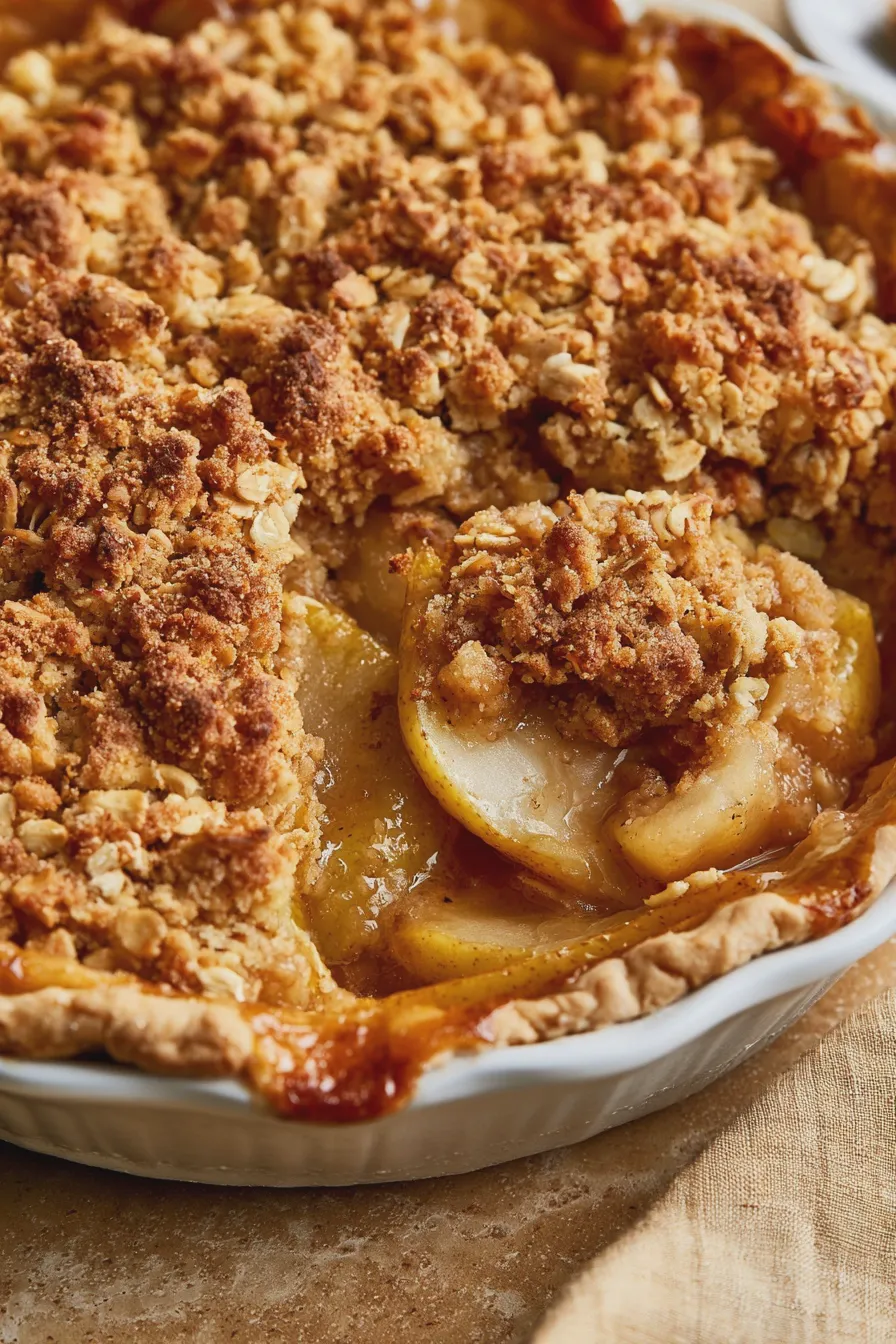
There’s something incredibly comforting about a warm, bubbling fruit crisp, and a Pear Crisp is a delightful variation on a classic. The tender, sweet pears nestled under a buttery, crunchy topping are pure bliss. It’s the perfect dessert to welcome the cooler weather or to enjoy any time you’re craving a simple yet elegant treat. This recipe focuses on creating a truly delicious and accessible Pear Crisp that will become a go-to in your dessert repertoire. We’ll cover everything from selecting the best pears to achieving that perfect crumble topping. If you’re looking for a straightforward way to create a show-stopping dessert, you’ve come to the right place. For more inspiration on fruit-based desserts, check out these fruit crisp recipes.
Why You’ll Love This Pear Crisp Recipe
This easy pear crisp is designed to be forgiving and utterly delicious. It’s a wonderful way to highlight the natural sweetness of pears without a lot of fuss. The beauty of a fruit crisp lies in its rustic charm; it doesn’t need to be perfect to be spectacular. This recipe strikes a lovely balance between tender, juicy fruit and a satisfyingly crisp topping. It’s a fantastic option for a weeknight treat or a casual gathering. You’ll find that making a pear crisp is a rewarding experience, yielding a dessert that’s both comforting and elegant.
Choosing the Right Pears for Your Crisp
The foundation of any great Pear Crisp is, of course, the pears! Not all pears are created equal when it comes to baking. You want pears that will soften beautifully but still hold their shape, offering a pleasant texture rather than turning into mush. My top recommendations for a baked pear crisp are:
- Bosc Pears: These are a favorite for a reason. They have a firm texture and a rich, slightly spicy-sweet flavor that holds up wonderfully to baking. Their skin also softens nicely.
- Anjou Pears (Green or Red): Anjou pears are reliably good for baking. They are sweet with a mild flavor and a tender, juicy texture when ripe.
- Comice Pears: If you can find them and want a very sweet, soft filling, Comice pears are a good choice. They are exceptionally juicy and sweet, but be mindful that they can become quite soft.
Pears to use with caution: Bartlett pears are very popular, but they tend to become very soft and mushy when baked. If you use them, make sure they are slightly underripe, or mix them with a firmer variety like Bosc.
Tip: When selecting pears, look for ones that are ripe but still firm to the touch. They should yield slightly to gentle pressure near the stem. Avoid pears that are bruised or overly soft. For a more in-depth look at different pear varieties, you can explore resources on pear varieties.
Creating the Perfect Crumble Topping
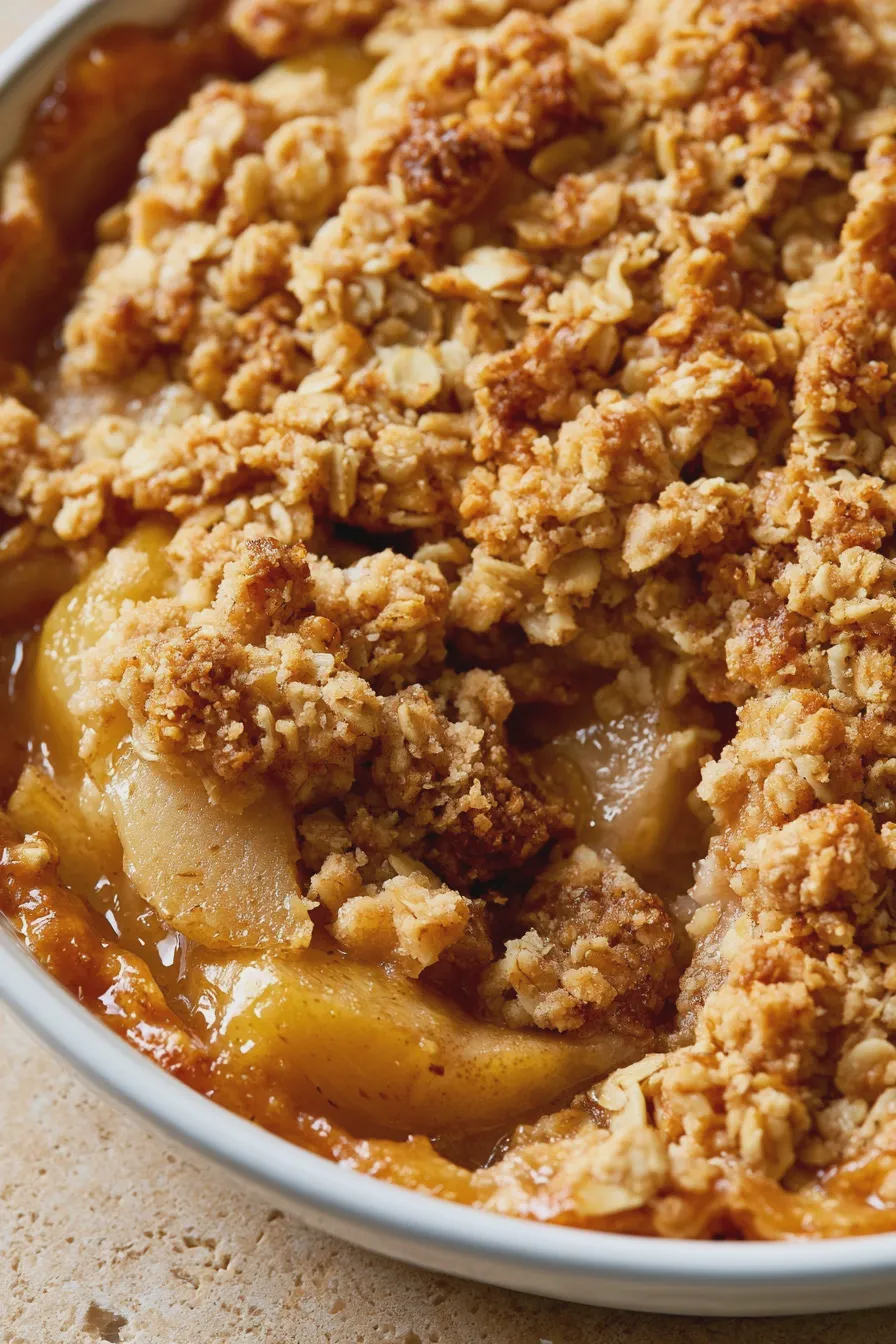
The crumble topping is what elevates a simple baked fruit into a true crisp. For the best pear crisp, you want a topping that is buttery, slightly sweet, and wonderfully textured. A good crumble topping recipe is versatile and can be used for many different fruit crisps.
If you enjoyed this, you might also love our Labor Day Crisp Recipe recipe.
Here’s what goes into a classic crumble topping:
- All-Purpose Flour: This provides the structure for our topping.
- Rolled Oats (Old-Fashioned Oats): These are crucial for that signature crisp texture. They add chewiness and a lovely nutty flavor. Avoid instant oats, as they can become too mushy.
- Brown Sugar: Light or dark brown sugar adds moisture and a caramel-like sweetness that pairs beautifully with pears.
- Granulated Sugar: A touch of white sugar helps with crispness and browning.
- Butter: Cold, unsalted butter is key. When cut into the dry ingredients, it creates small pockets that bake up into delicious, crumbly bits.
- Spices: Cinnamon is a must, but you can also add nutmeg, ginger, or cloves for extra warmth.
- Salt: A pinch of salt balances the sweetness and enhances the flavors.
Mistakes to Avoid with Crumble Topping:
- Using melted butter: Melted butter will make your topping more like a cookie dough or a wet paste, not a crumbly topping.
- Overmixing: Mix the ingredients just until coarse crumbs form. Overmixing can develop the gluten in the flour, leading to a tough topping.
- Using instant oats: As mentioned, instant oats break down too much during baking, resulting in a less desirable texture.
Baking Explanation: The cold butter pieces coat the flour and sugar. As the crisp bakes, the butter melts, creating steam that helps to lift the flour and sugar particles, forming those delightful, irregular crumbs. The oats also toast up, adding to the texture and flavor.
Simple Pear Crisp Recipe: Ingredients and Instructions
This simple pear crisp recipe is designed for ease and fantastic flavor. It’s a wonderful example of a rustic pear crisp.
Ingredients:
For the Filling:
Another favorite of ours is the Strawberry Cake From Scratch.
- 6-7 medium ripe but firm pears (about 2.5 – 3 lbs), peeled, cored, and sliced (about 1/2 inch thick)
- 2 tablespoons granulated sugar
- 1 tablespoon all-purpose flour
- 1 teaspoon lemon juice
- 1 teaspoon ground cinnamon
- 1/4 teaspoon ground nutmeg
For the Crumble Topping:
- 1 cup all-purpose flour
- 1 cup rolled oats (old-fashioned)
- 3/4 cup packed light brown sugar
- 1/2 teaspoon ground cinnamon
- 1/4 teaspoon salt
- 1/2 cup (1 stick) cold unsalted butter, cut into small cubes
Instructions:
- Preheat and Prep: Preheat your oven to 375°F (190°C). Lightly grease a 9-inch pie dish or an 8×8 inch baking dish.
- Prepare the Pears: In a large bowl, gently toss the sliced pears with granulated sugar, flour, lemon juice, cinnamon, and nutmeg. Make sure the pears are evenly coated. Pour the pear mixture into the prepared baking dish, spreading it out evenly.
- Make the Crumble Topping: In a medium bowl, whisk together the flour, rolled oats, brown sugar, cinnamon, and salt. Add the cold butter cubes. Using a pastry blender, your fingertips, or a fork, cut the butter into the dry ingredients until the mixture resembles coarse crumbs with some larger pea-sized pieces.
- Assemble the Crisp: Sprinkle the crumble topping evenly over the pear filling in the baking dish.
- Bake: Place the dish on a baking sheet (to catch any potential drips) and bake for 35-45 minutes, or until the topping is golden brown and the pear filling is bubbling around the edges.
- Cool and Serve: Let the Pear Crisp cool for at least 15-20 minutes before serving. This allows the filling to set slightly. Serve warm, perhaps with a scoop of vanilla ice cream or a dollop of whipped cream.
This is a fantastic example of a quick pear crisp that doesn’t skimp on flavor. For more ideas on making fruit crumbles, consider exploring fruit crumble recipes.
Tips for the Best Pear Crisp
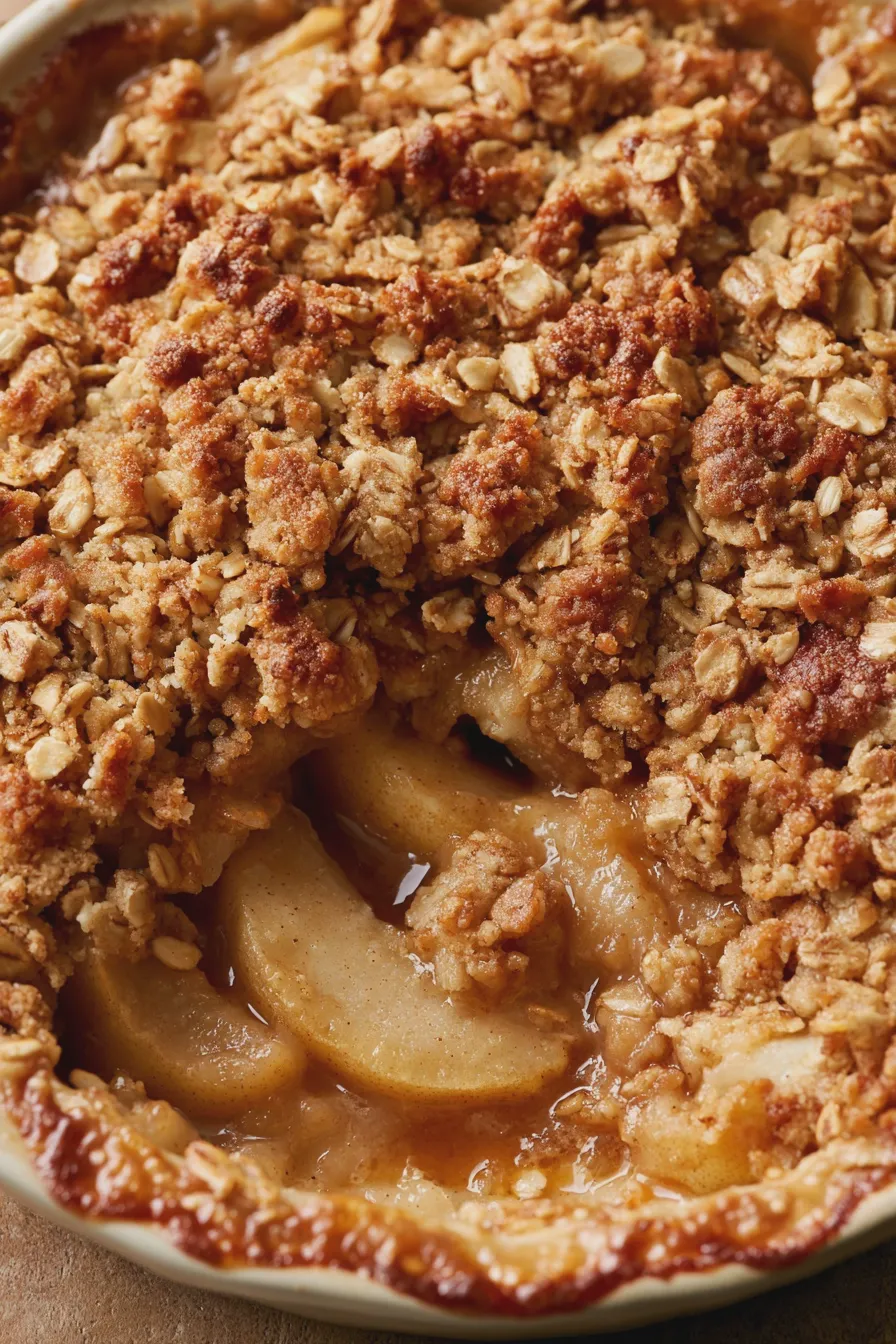
To ensure your Pear Crisp turns out perfectly every time, keep these tips in mind:
- Don’t Overcrowd the Pears: Ensure your pears are in a single layer as much as possible in the baking dish. This helps them cook evenly. If you have a very large amount of pears, consider using a slightly larger dish or making individual crisps.
- Adjust Sweetness: The sweetness of pears can vary greatly. Taste a slice of pear before you start mixing. If your pears are very sweet, you might want to reduce the sugar in the filling slightly. If they are tart, you might add a touch more.
- Spice it Up: Feel free to adjust the spices to your liking. A pinch of ground ginger or cardamom can add an interesting depth of flavor to your spiced pear crisp.
- For Extra Crunch: If you like a very crunchy topping, you can add a handful of chopped nuts (like pecans or walnuts) to the crumble mixture.
- Prevent a Soggy Bottom: Baking the crisp on a baking sheet helps catch drips and also allows air to circulate underneath, which can help prevent a soggy bottom crust. Some bakers also like to add a thin layer of cake crumbs or crushed cookies at the bottom of the dish before adding the pears for an extra layer of texture.
Common Mistakes to Avoid
Even with a simple recipe like this, a few common mistakes can happen. Being aware of them can help you achieve a better result:
- Using underripe pears: They won’t soften enough and will be hard and unpleasantly crunchy.
- Using overripe pears: They will turn to mush, and your crisp will lack texture.
- Not chilling the butter for the topping: Warm butter leads to a dense, greasy topping instead of a light, crumbly one.
- Overmixing the topping: This can make it tough. You want it to be crumbly, not doughy.
- Cutting the fruit too small: Pieces that are too small can break down too much during baking. Aim for slices about 1/2 inch thick.
Variations on Pear Crisp
Once you’ve mastered the basic Pear Crisp, you can have fun with variations! This is where the magic of dessert recipes with pears truly shines.
If you enjoyed this, you might also love our Rhubarb Bars With Oat Topping recipe.
- Spiced Pear Crisp: Add more warming spices like ginger, cloves, or cardamom to the pear filling. A touch of orange zest can also be lovely.
- Nutty Pear Crisp: Incorporate chopped pecans, walnuts, or almonds into the crumble topping for added texture and flavor.
- Individual Pear Crisps: Assemble and bake your crisp in individual ramekins for elegant single servings. Baking time might be slightly shorter for individual portions.
- Gluten-Free Pear Crisp: Use a gluten-free all-purpose flour blend and certified gluten-free oats in the topping. You may need to adjust the liquid slightly depending on your flour blend.
- Vegan Pear Crisp: Swap the butter in the topping for a solid vegan butter substitute or chilled coconut oil. Ensure your sugar is vegan-friendly.
- Cast Iron Pear Crisp: Bake your pear crisp in a cast iron skillet for a beautiful presentation and excellent heat distribution. Just ensure your skillet is well-seasoned.
For inspiration on other crisp variations, you might enjoy this Apple Crisp Recipe.
Serving Your Pear Crisp
The best way to serve Pear Crisp is warm. The heat gently melts any ice cream or softens whipped cream, creating a delightful contrast in temperatures and textures. Here are some ideas:
- Vanilla Ice Cream: A classic pairing that never fails. The cool, creamy ice cream melting into the warm, spiced pears is pure heaven. If you’re feeling ambitious, consider making your own ice cream at home!
- Whipped Cream: Light and airy, homemade or store-bought whipped cream is a simple yet elegant accompaniment.
- Caramel Sauce: A drizzle of warm caramel sauce over the top adds another layer of decadent flavor.
- Cheddar Cheese: For those who enjoy a sweet and savory contrast, a sharp cheddar cheese is a traditional pairing with fruit crisps.
This dessert is so versatile, it fits perfectly into any collection of dessert recipes.
Print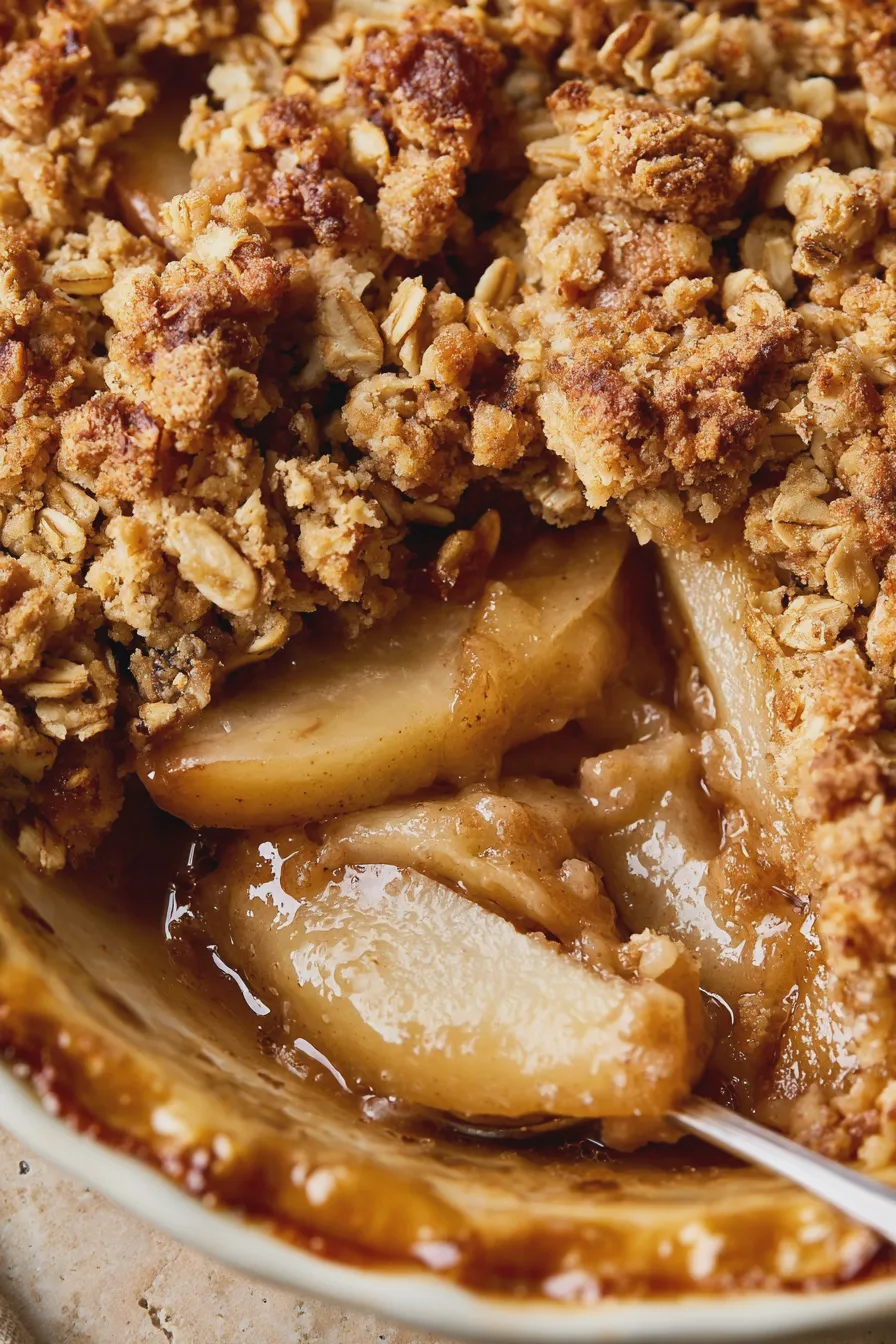
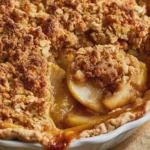
Pear Crisp Recipe Easy Comforting and Delicious
Description
A warm and comforting pear crisp with a buttery, crumbly topping. Perfect for a cozy dessert any time of year.
Ingredients
- 6 medium ripe pears (such as Bartlett or Bosc), peeled, cored, and sliced
- 1 tablespoon lemon juice
- 1/4 cup granulated sugar
- 1 teaspoon ground cinnamon
- 1/4 teaspoon ground nutmeg
- 1 cup all-purpose flour
- 1/2 cup packed light brown sugar
- 1/2 teaspoon salt
- 1/2 cup (1 stick) cold unsalted butter, cut into small cubes
- 1/2 cup rolled oats (not instant)
Instructions
- Preheat oven to 375°F (190°C). Butter a 9-inch pie dish or an 8×8 inch baking dish.
- In a large bowl, toss the sliced pears with lemon juice, granulated sugar, cinnamon, and nutmeg. Pour the pear mixture into the prepared baking dish.
- In a separate medium bowl, whisk together the flour, brown sugar, and salt. Add the cold butter cubes.
- Using a pastry blender, your fingertips, or a fork, cut the butter into the dry ingredients until the mixture resembles coarse crumbs with some pea-sized pieces of butter remaining. Stir in the rolled oats.
- Evenly sprinkle the crumb topping over the pears.
- Bake for 35-40 minutes, or until the topping is golden brown and the pears are tender and bubbly.
- Let cool for at least 10 minutes before serving. Serve warm, perhaps with a scoop of vanilla ice cream or a dollop of whipped cream.
Notes
- For a richer flavor, you can add 1/4 cup of chopped pecans or walnuts to the crisp topping mixture.
- If your pears are very ripe and juicy, you can drain off some of the excess liquid before assembling the crisp to prevent it from becoming too watery.
- Leftovers can be stored in the refrigerator and reheated gently in the oven or microwave.
Nutrition
- Calories: 350
- Sugar: 30g
- Sodium: 150mg
- Fat: 15g
- Carbohydrates: 50g
- Fiber: 5g
- Protein: 3g
- Cholesterol: 35mg







