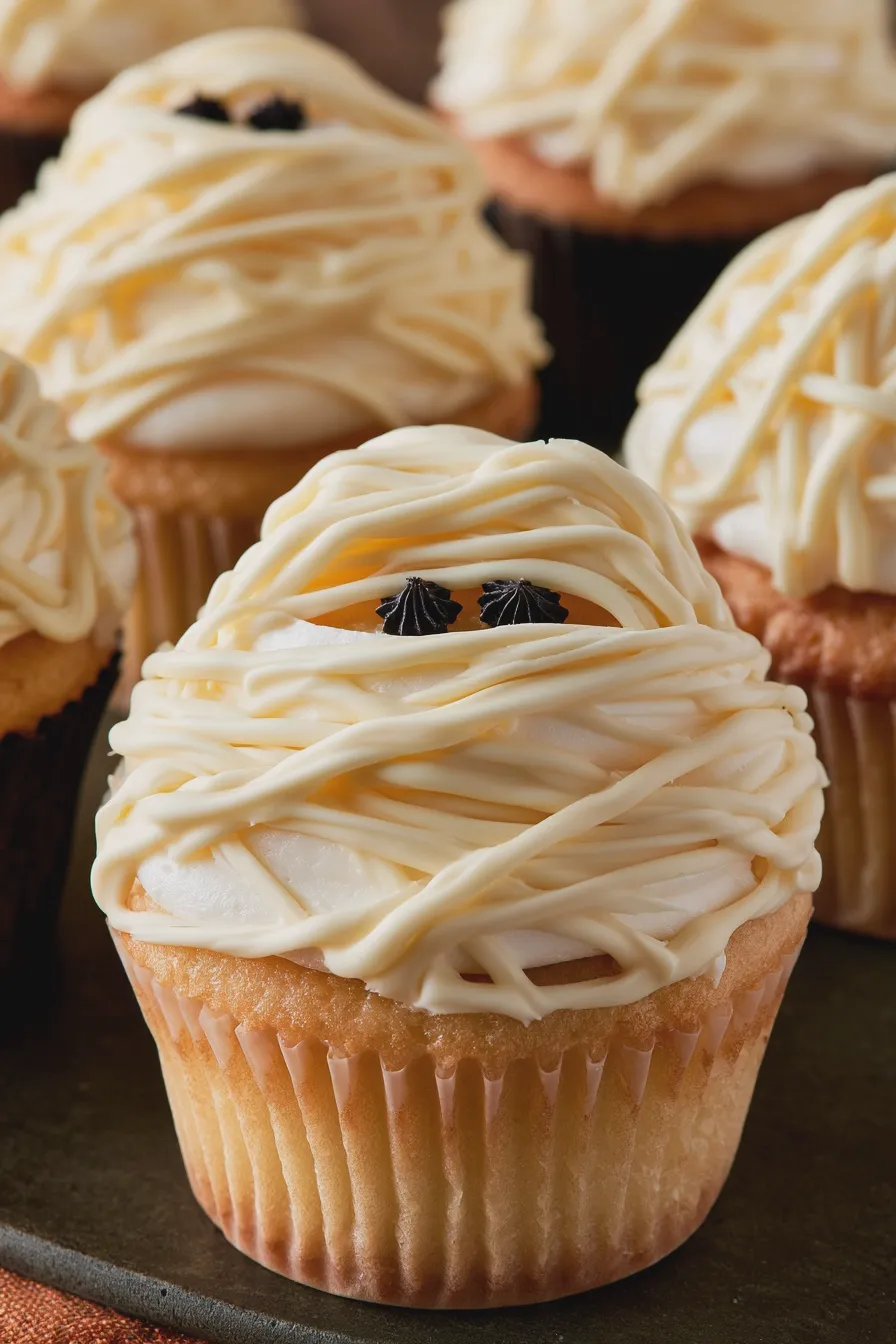
These delightful mummy cupcakes are a fun and festive treat perfect for Halloween parties or any autumn gathering. They combine a moist cake base with a creamy frosting, all decorated to look like adorable, bandaged mummies, making them a hit with both kids and adults for simple Halloween desserts.
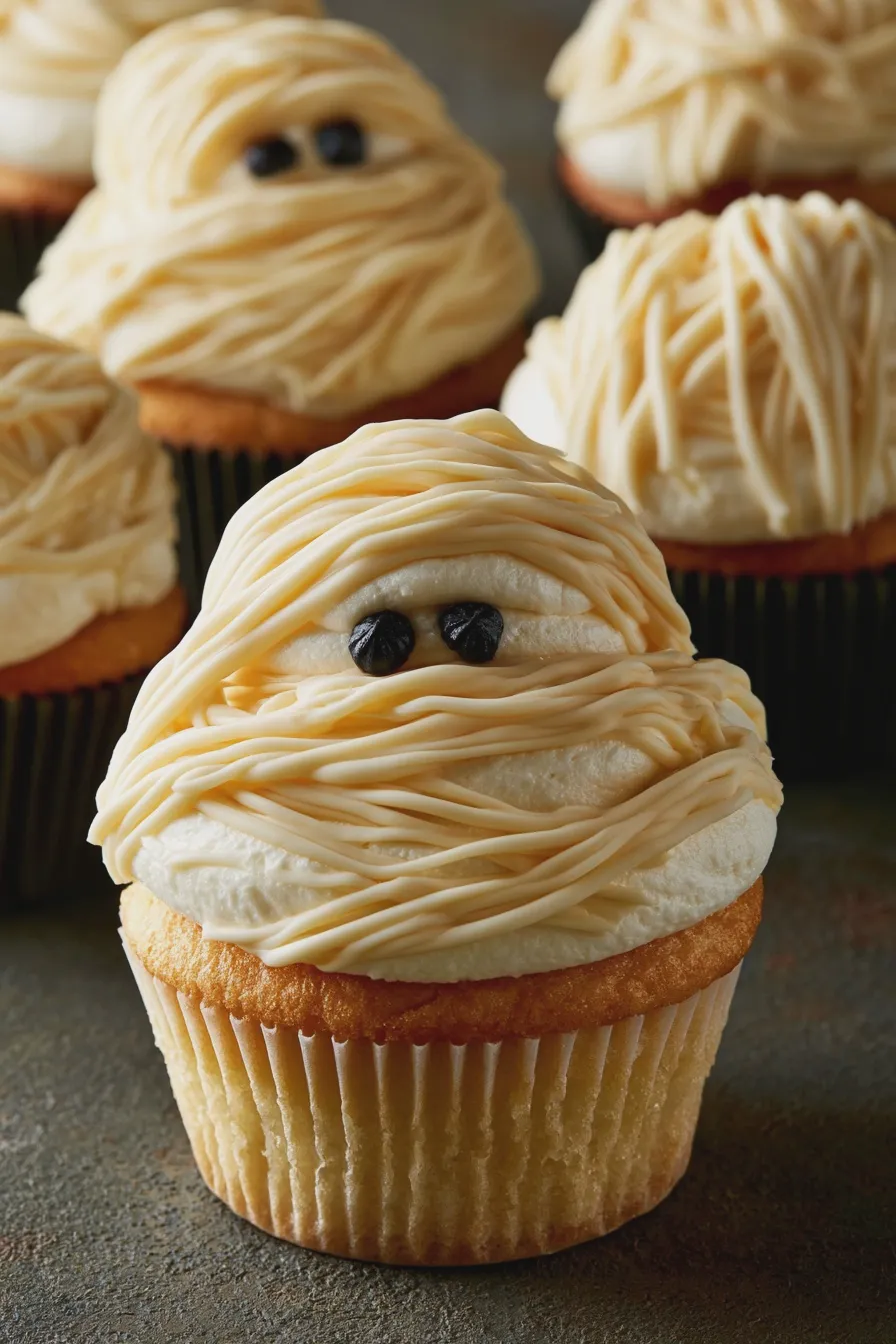
Get ready to create some spooky fun in your kitchen with this easy mummy cupcakes recipe. These charming treats are sure to be the star of your Halloween spread, offering a delicious and visually engaging way to celebrate the season. They’re surprisingly simple to assemble, proving that impressive-looking Halloween desserts don’t need to be complicated.
What are Mummy Cupcakes?
Mummy cupcakes are a festive dessert designed to resemble mummies from Egyptian folklore, typically made for Halloween. They usually consist of a vanilla or chocolate cupcake base topped with white frosting that’s been piped or drizzled to look like mummy bandages, often finished with candy eyes. These fun treats are a popular choice for Halloween desserts and kids’ parties, offering a playful and edible decoration.
The charm of mummy cupcakes lies in their customizable appearance and the joy they bring to decorating. Whether you’re aiming for slightly spooky or endearingly funny, the basic concept of a frosted cupcake with strategically placed frosting “bandages” and candy eyes is incredibly adaptable. This recipe focuses on creating a delicious base and straightforward decorating techniques so anyone can achieve impressive results.
Ingredients for Mummy Cupcakes
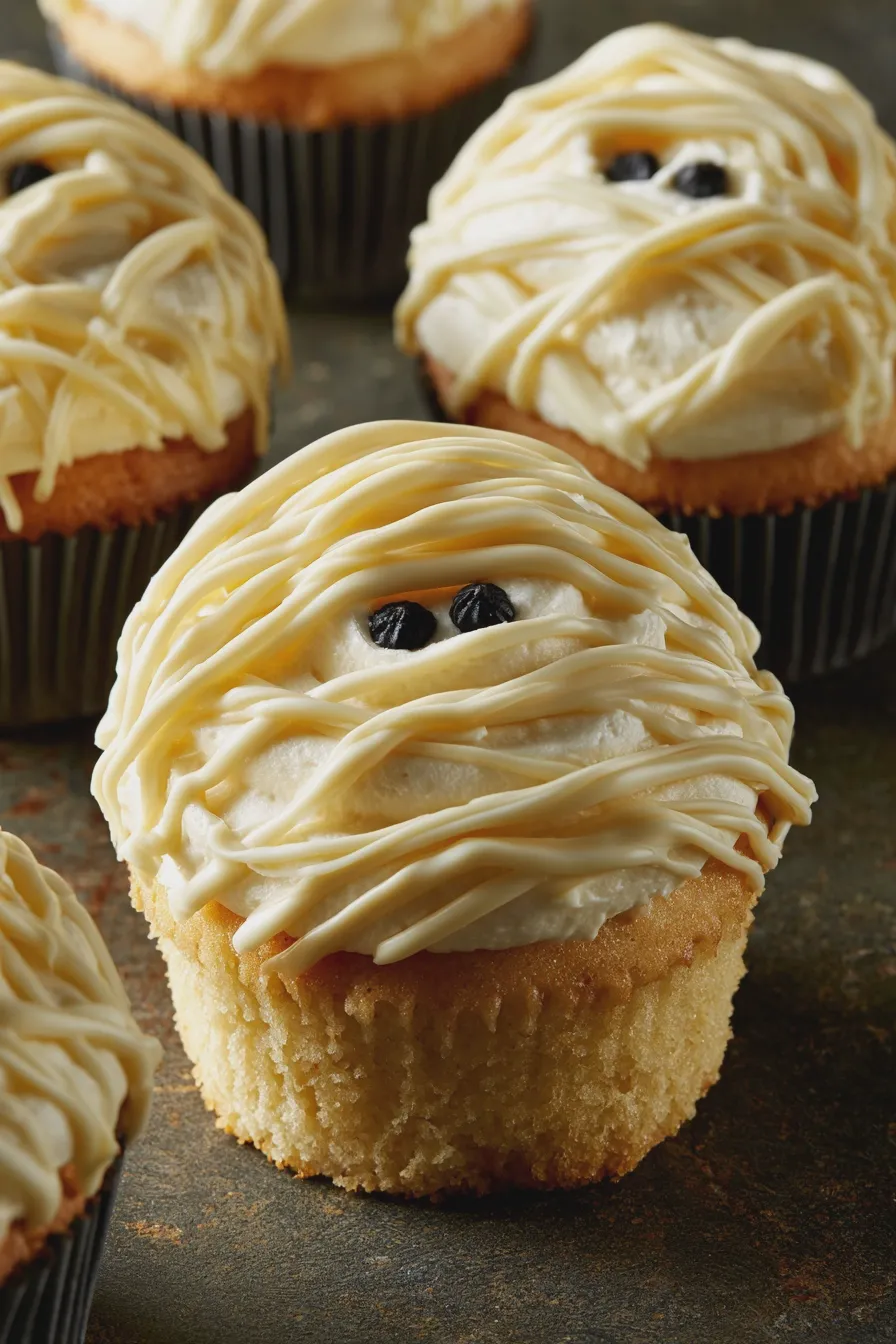
To make these fantastic mummy cupcakes, you’ll need ingredients for both the cupcakes and the frosting. We’ll start with a classic vanilla cupcake recipe, which is a crowd-pleaser and a perfect canvas for our mummy decorations. If you prefer, you can easily adapt this to a chocolate base by using a good chocolate brownie recipe as inspiration for your cake flavor.
- For the Cupcakes:
- 2 ½ cups all-purpose flour
- 1 ½ cups granulated sugar
- 3 ½ teaspoons baking powder
- 1 teaspoon salt
- ½ cup unsalted butter, softened
- 2 large eggs
- 1 cup milk (whole or 2% recommended)
- 2 teaspoons vanilla extract
- For the White Frosting (Mummy Bandages):
- 1 cup unsalted butter, softened
- 4 cups powdered sugar
- ¼ cup milk
- 1 teaspoon vanilla extract
- Pinch of salt
- For Decoration:
- Candy eyes (store-bought or homemade)
- Optional: Black edible marker for drawing pupils if needed
For the cupcakes, using room temperature ingredients like butter, eggs, and milk will help everything combine smoothly, leading to a lighter, fluffier texture. If you find yourself out of baking powder, a common substitution is to use 1 teaspoon of baking soda mixed with 2 teaspoons of cream of tartar, though this can slightly alter the flavor. For the frosting, ensure your butter is truly softened, not melted, to achieve the best consistency for piping.
How to Make Mummy Cupcakes
Preheat Oven and Prepare Muffin Tins
Begin by preheating your oven to 350°F (175°C) and lining a standard 12-cup muffin tin with cupcake liners. Having your oven at the correct temperature ensures the cupcakes bake evenly and rise properly. Preparing the muffin tin ahead of time prevents the batter from sticking and makes for easier cleanup later.
Combine Dry Ingredients
In a large mixing bowl, whisk together the all-purpose flour, granulated sugar, baking powder, and salt. This step ensures that the leavening agents and salt are evenly distributed throughout the flour, which is crucial for a consistent cake texture. Properly combining dry ingredients prevents pockets of salt or baking powder in your final cupcakes.
Cream Butter and Sugar
In a separate bowl, cream together the softened butter and granulated sugar until light and fluffy, about 3-5 minutes using an electric mixer. This process incorporates air into the batter, which contributes significantly to the cake’s tender crumb and volume. Don’t rush this step; the creaming is key to a delicate texture, similar to how creaming is vital for a good pink lemonade sheet cake.
Add Eggs and Vanilla
Beat in the eggs one at a time, mixing well after each addition, then stir in the vanilla extract. Adding eggs gradually helps them emulsify properly with the butter and sugar mixture, creating a stable base for the batter. The vanilla extract provides a warm, classic flavor that complements the sweetness of the cake.
Alternate Adding Dry and Wet Ingredients
Gradually add the dry ingredients to the wet ingredients, alternating with the milk. Begin and end with the dry ingredients, mixing on low speed until just combined after each addition. This method helps prevent overmixing, which can develop the gluten in the flour and result in tough cupcakes. If you’re aiming for a dairy-free version, consider looking into recipes like dairy-free brownies for inspiration on suitable milk and butter substitutes.
Bake the Cupcakes
Divide the batter evenly among the prepared muffin cups, filling each about two-thirds full. Bake for 18-22 minutes, or until a wooden skewer inserted into the center comes out clean. Overfilling the cups can cause the batter to overflow, while underfilling may result in flat tops. The skewer test is a reliable way to ensure they are fully baked without being overdone.
Cool the Cupcakes
Let the cupcakes cool in the muffin tin for about 5-10 minutes before transferring them to a wire rack to cool completely. Allowing them to cool slightly in the tin prevents them from breaking when you remove them. Cooling them completely on a wire rack is essential before frosting, as warm cupcakes will melt the frosting.
Make the White Frosting
While the cupcakes cool, prepare the white frosting. In a large bowl, beat the softened butter until creamy. Gradually add the powdered sugar, alternating with the milk, and mix until smooth and fluffy. Stir in the vanilla extract and salt for flavor enhancement. This classic buttercream is easy to make and holds its shape well for decorating.
Decorate the Mummy Cupcakes
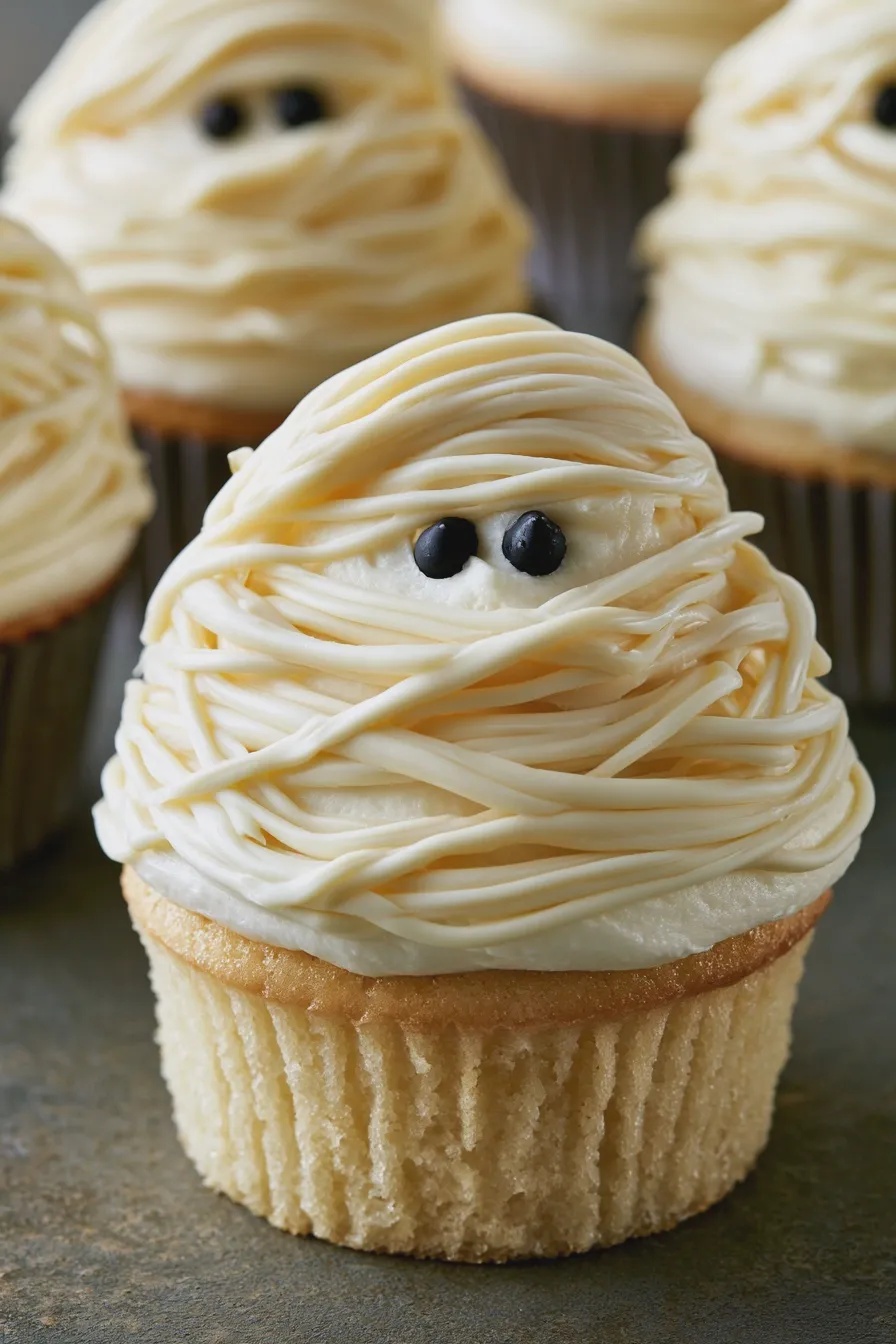
Once the cupcakes are completely cool, it’s time for the fun part! Fit a piping bag with a small round tip (or simply snip the corner off a zip-top bag). Fill the bag with the white frosting. Pipe thin, wavy lines of frosting across the top of each cupcake to resemble mummy bandages, leaving a small gap for the eyes. Place two candy eyes in the gap you left on each cupcake.
For a more detailed mummy look, you can pipe several layers of frosting “bandages” crisscrossing over each other, ensuring you leave space for the eyes. If your candy eyes don’t have pre-made pupils, a tiny dot from a black edible marker can add them. For a different style of spooky cupcakes, you might explore making whoopie pies with a similar theme.
Tips for the Best Mummy Cupcakes
Achieving the Perfect Frosting Texture
For the best results when decorating, ensure your frosting is smooth and pipeable. If it’s too stiff, add a teaspoon of milk at a time until it reaches the desired consistency. If it’s too thin, add a tablespoon of powdered sugar. A well-prepared frosting is key to clean mummy bandage lines and prevents your decorations from sliding off.
Creative Decoration Ideas
Beyond the basic mummy look, consider adding small details to make your Halloween mummy cupcakes even more special. You could use different sized candy eyes for a funny, cross-eyed mummy, or even draw a little mouth with an edible marker. For a bolder flavor, consider incorporating some lemon crumb bars inspired zest into your cupcake batter or frosting.
Making Ahead and Storage
These cupcakes can be baked a day in advance and stored in an airtight container at room temperature. It’s best to frost them the day you plan to serve them for the freshest appearance, but they will hold their decorated state for a day or two. If storing frosted cupcakes, ensure they are not stacked to avoid smudging the decorations.
Avoiding Common Mistakes
A common mistake is frosting warm cupcakes, which leads to melted frosting and a messy appearance. Always wait until the cupcakes are completely cool. Another pitfall is overmixing the batter, which can result in dense, tough cupcakes. Mix only until the ingredients are just combined to maintain a tender crumb.
Print