These delightful mummy cake pops are a fun and easy way to bring some spooky charm to your Halloween celebrations. Combining a moist cake center with a sweet candy coating, they’re perfect for parties or as a fun baking project with kids.
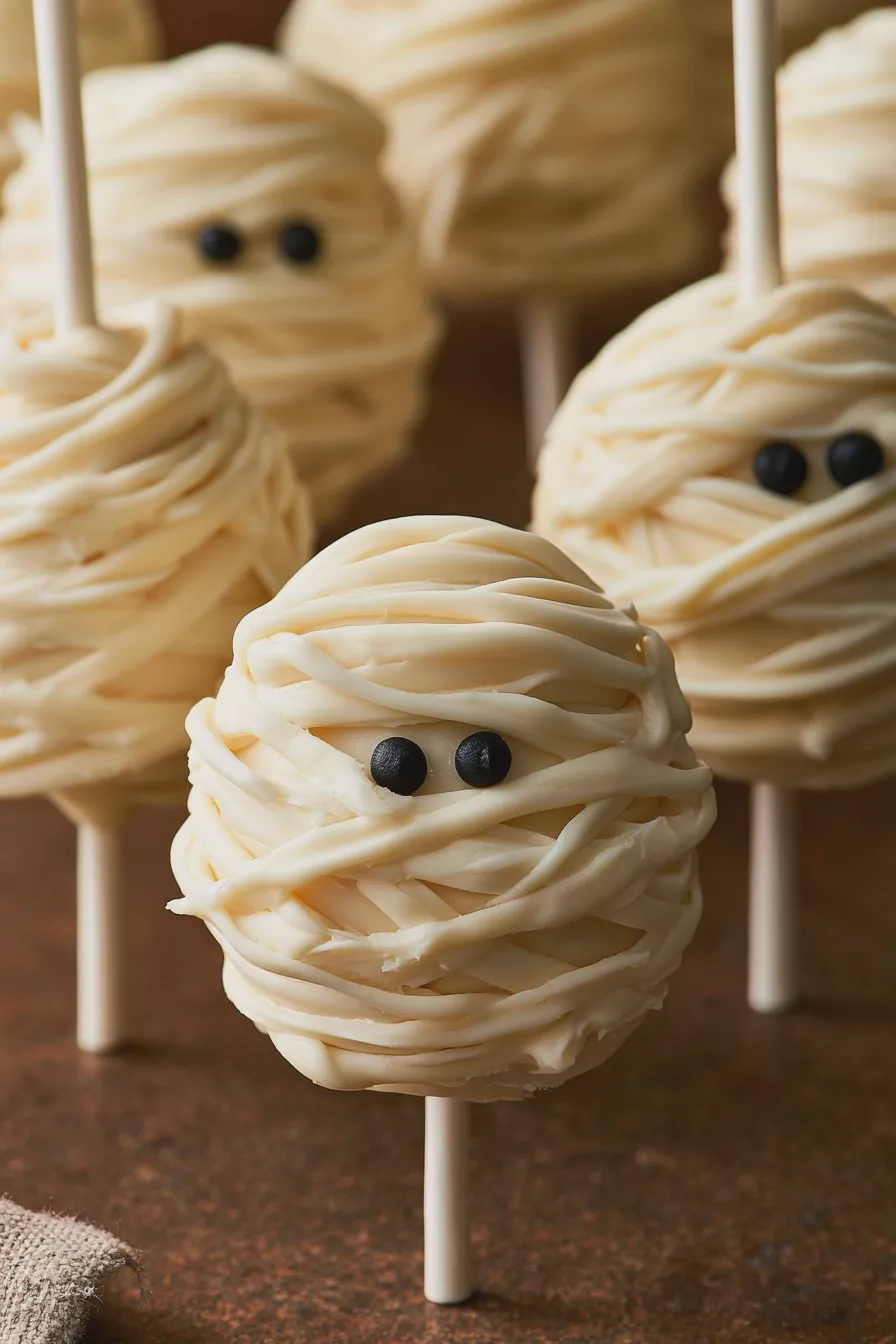
Get ready to create some frightfully delicious treats with this mummy cake pops recipe! These adorable confections are sure to be a hit at any Halloween gathering, offering a perfect balance of sweet cake and creamy chocolate.
What Are Mummy Cake Pops?
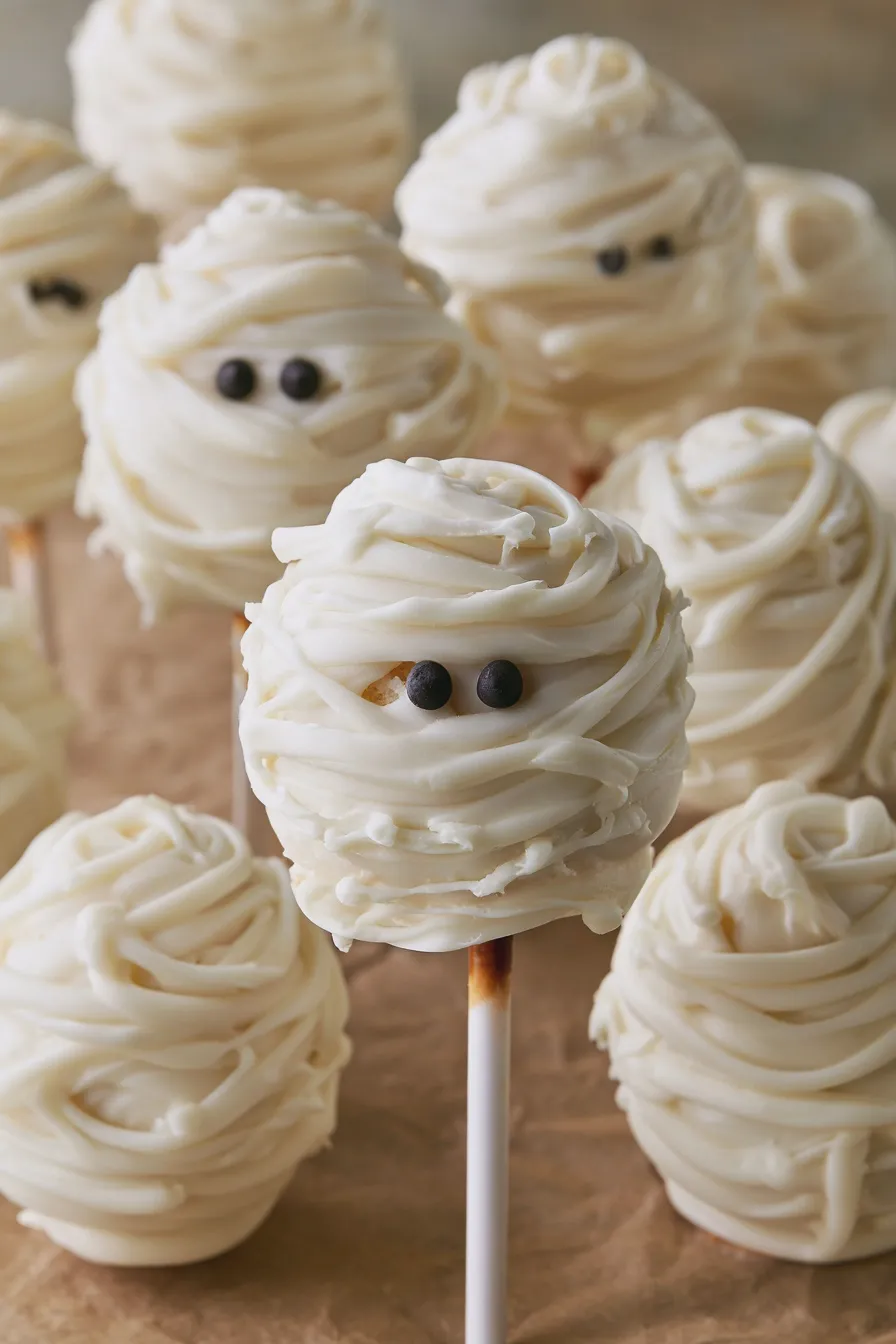
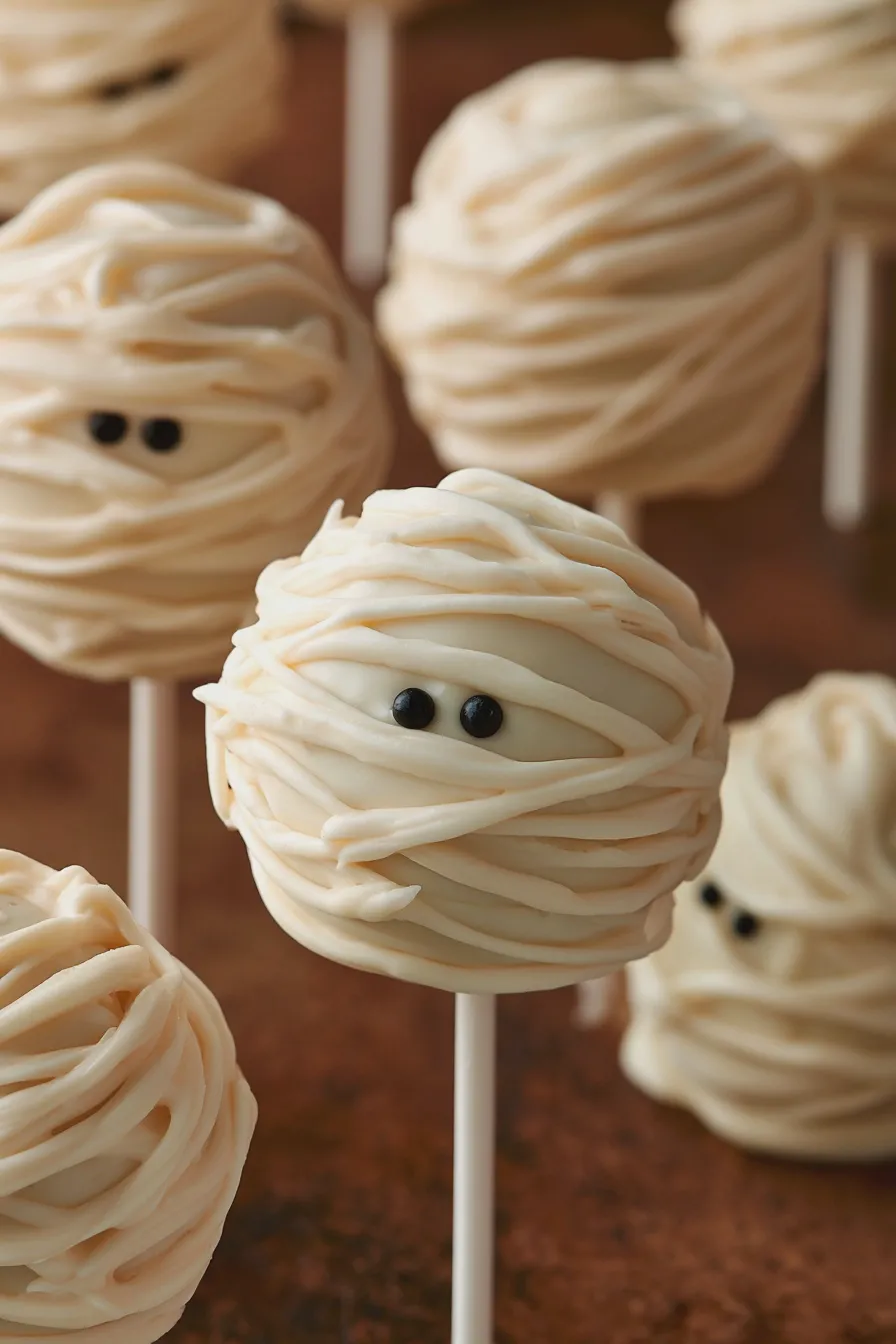
Mummy cake pops are a festive twist on the classic cake pop, designed to look like mummies with their signature white candy-wrap bandages. They start with a base of crumbled cake mixed with frosting, rolled into balls, and then dipped in a sweet coating. The final touch involves drizzling white chocolate or candy melts to create the mummy’s bandages, with a couple of candy eyes peeking through. You can find more inspiration for creative Halloween desserts to complement these spooky treats.
These charming mummy cake pops are incredibly versatile, making them a fantastic addition to your dessert spread. Whether you’re hosting a big party or just looking for a fun activity, these treats offer a delightful experience from baking to decorating.
Ingredients You’ll Need
- 1 box (15.25 oz) vanilla or yellow cake mix, plus ingredients to prepare (eggs, oil, water)
- 1 can (16 oz) vanilla frosting
- 1/4 cup milk (or heavy cream for a richer taste)
- 1 bag (12 oz) white candy melts
- 1/4 cup black decorating gel or melted dark chocolate (for eyes)
- Optional: Lollipop sticks, styrofoam block for drying
How to Make Mummy Cake Pops
Bake and Cool the Cake
Prepare your favorite cake mix according to package directions, opting for a vanilla or yellow cake for a classic flavor. Bake the cake in a 9×13 inch pan until a toothpick inserted into the center comes out clean, then let it cool completely in the pan.
Tip: For even baking, ensure your oven temperature is accurate. A baking thermometer can be a great addition to your kitchen tools.
Crumble and Mix the Cake Base
Once the cake is completely cool, crumble it into a large bowl, removing any large chunks or burnt edges. Add the entire can of vanilla frosting and the milk, mixing until the ingredients are well combined and form a dough-like consistency.
Tip: If the mixture seems too dry, add another tablespoon of milk at a time until it holds together without being sticky. This base is the foundation for your mummy cake pop recipe.
Roll and Chill the Cake Balls
Roll the cake mixture into small balls, about 1 inch in diameter, and place them on a baking sheet lined with parchment paper. Chill the cake balls in the refrigerator for at least 30 minutes to firm them up before dipping.
Tip: Using a cookie scoop can help ensure uniform size for all your cake balls, which makes dipping and decorating easier. These firm balls are key to successful chocolate dipped cake pops.
Melt the Candy Melts
Melt the white candy melts in a microwave-safe bowl in 30-second intervals, stirring in between, until smooth and fully melted. Alternatively, you can melt them in a double boiler over simmering water.
Tip: Avoid overheating candy melts, as they can seize up and become unusable. Gentle heating and frequent stirring are best.
Dip the Cake Balls
Dip each chilled cake ball into the melted white candy melts, using a lollipop stick inserted into the ball for easier handling. Ensure the entire ball is coated, then tap off any excess candy melt before placing it back on the parchment-lined baking sheet.
Tip: If the candy melts start to thicken, reheat them gently. For extra security, you can dip the end of the lollipop stick in melted candy melts before inserting it into the cake ball.
Decorate the Mummy Cake Pops
Once the base white coating has set, use a fork or a piping bag filled with melted white candy melts or black decorating gel to create mummy bandage lines across each cake pop. Add two small dots of black gel or melted dark chocolate for eyes before the white coating fully hardens.
Tip: Work relatively quickly once the initial coating is set, as the candy melt can harden. If you are making no bake mummy cake pops, this decorating step is crucial for the final look. This is where your mummy cake pop decorating skills truly shine.
Allow to Set
Let the decorated mummy cake pops sit undisturbed until the candy melt coating is completely set and hardened. You can place them in the refrigerator for a few minutes to speed up this process, but avoid leaving them in too long to prevent cracking.
Tip: Ensure your cake pops are fully set before moving them or packaging them, as this prevents smudging the decorations. These spooky cake pops are almost ready to be enjoyed!
Tips for Perfect Mummy Cake Pops
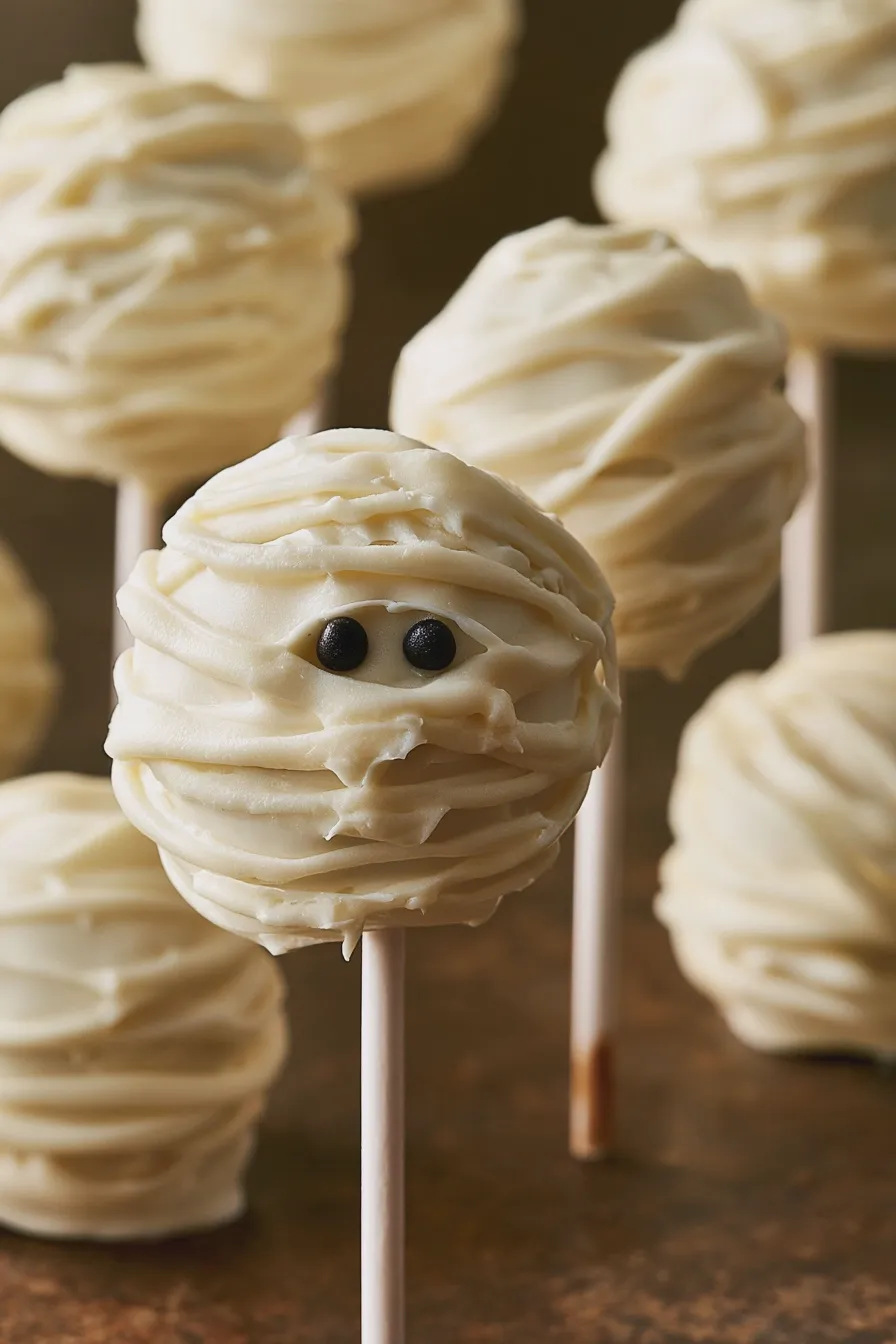
Achieving perfectly formed and decorated mummy cake pops involves a few key techniques. Ensuring your cake base is the right consistency is crucial; too wet and they won’t hold their shape, too dry and they’ll crumble. The chilling step is vital for making the balls firm enough to handle the dipping process without falling apart. When melting candy melts, patience is key to avoid scorching, and a touch of vegetable oil (not water!) can help thin them if they become too thick, though use sparingly.
For the decorating stage, thin, wavy lines of white candy melt create the best mummy effect. Don’t strive for perfection; the slightly uneven look adds to the charm of these homemade treats. You can also experiment with different types of cake and frosting for variations on the classic cake pop recipe. Consider adding a pinch of salt to your cake batter for a more complex flavor profile, similar to how salt enhances flavors in other baked goods.
Flavor Variations and Substitutions
While vanilla and yellow cake are classic choices, feel free to explore other cake flavors for your mummy cake pops. A rich chocolate cake base would make for delicious chocolate mummy cake pops, or you could try a red velvet for a bolder color and flavor. For those seeking gluten-free options, a good quality gluten-free cake mix can be used, though the texture might be slightly different.
You can also vary the frosting used to bind the cake crumbs. Cream cheese frosting adds a tangy note, while a chocolate frosting can deepen the flavor. For the mummy bandages, if you prefer not to use candy melts, you can use white chocolate, but it tends to be a bit trickier to work with for dipping. Consider pairing these with other desserts that offer contrasting flavors and textures, like a bright lemon treat.
Make-Ahead and Storage Instructions
Mummy cake pops can be made a day or two in advance, which is a lifesaver when preparing for halloween party food. Once the decorations are completely set, store them in an airtight container at room temperature. Avoid stacking them directly on top of each other; a layer of parchment paper between layers can prevent sticking and smudging.
If you need to store them for longer, they can be refrigerated in an airtight container for up to a week. However, be aware that refrigeration can sometimes cause condensation when brought back to room temperature, potentially affecting the candy coating. For best results, allow them to come to room temperature gradually before serving. These are excellent kid friendly halloween treats that can be prepped ahead.
Print