These delightful mummy cookies are a fun and festive treat, perfect for Halloween parties or just to bring some spooky cheer to your kitchen. They combine a tender, slightly sweet cookie base with adorable candy eyes for a charmingly eerie finish.
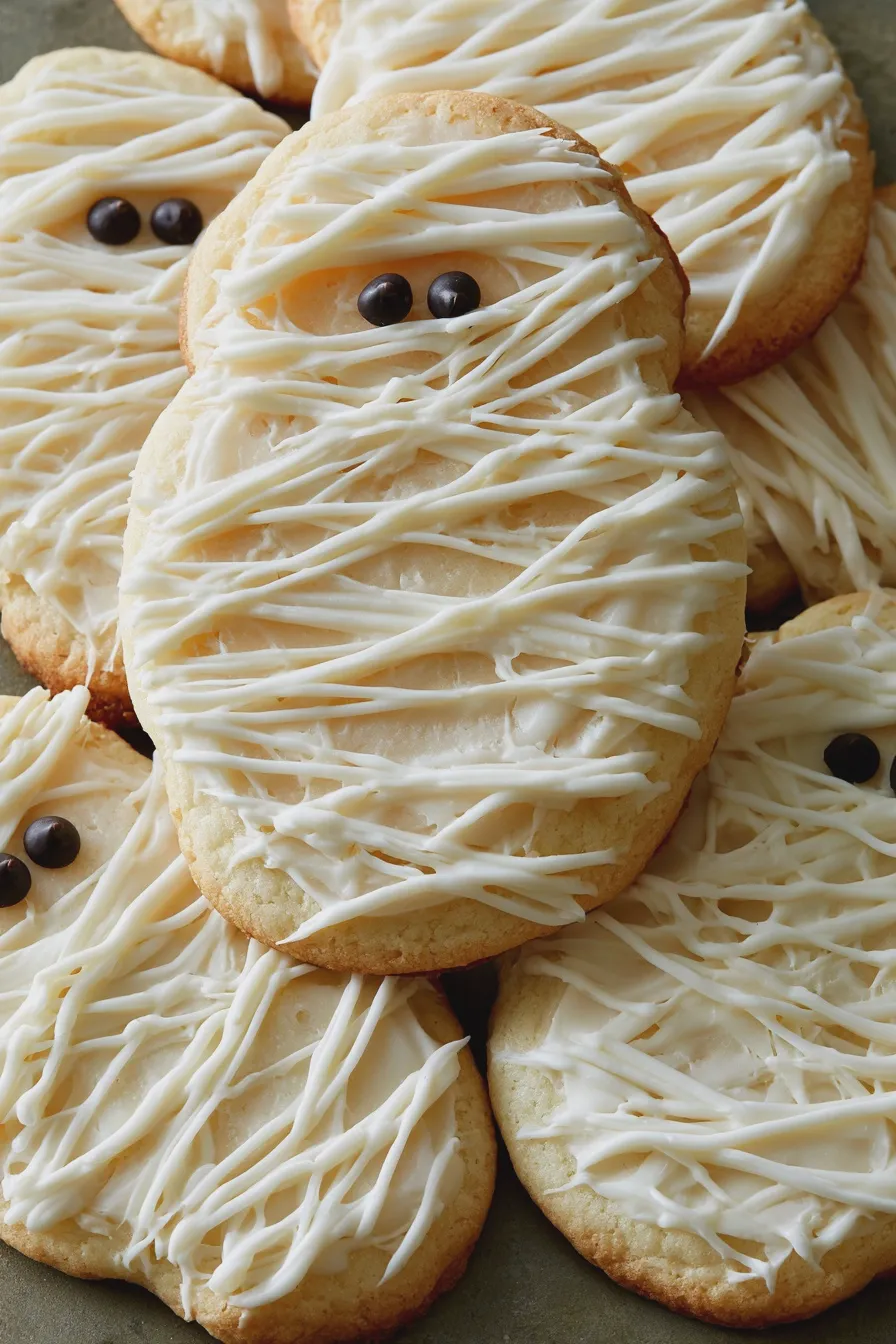
Get ready to create some truly enchanting mummy cookies that are as fun to make as they are to eat. These simple cookies are sure to be a hit with both kids and adults, offering a perfect blend of homemade charm and Halloween spirit.
What are Mummy Cookies?
Mummy cookies are a popular halloween cookie recipe, characterized by their whimsical design meant to resemble a mummy. Typically, they feature a base cookie that is decorated with white frosting or icing piped in thin, crisscrossing lines to mimic mummy bandages. A couple of candy eyes are then placed on top to give the impression of a peeking mummy face.
These cookies are a fantastic way to add a festive touch to any mummy cookies halloween party, offering a delightful visual appeal that children especially adore. The process is straightforward, making them an accessible baking project for families looking for a fun activity.
Ingredients for Mummy Cookies
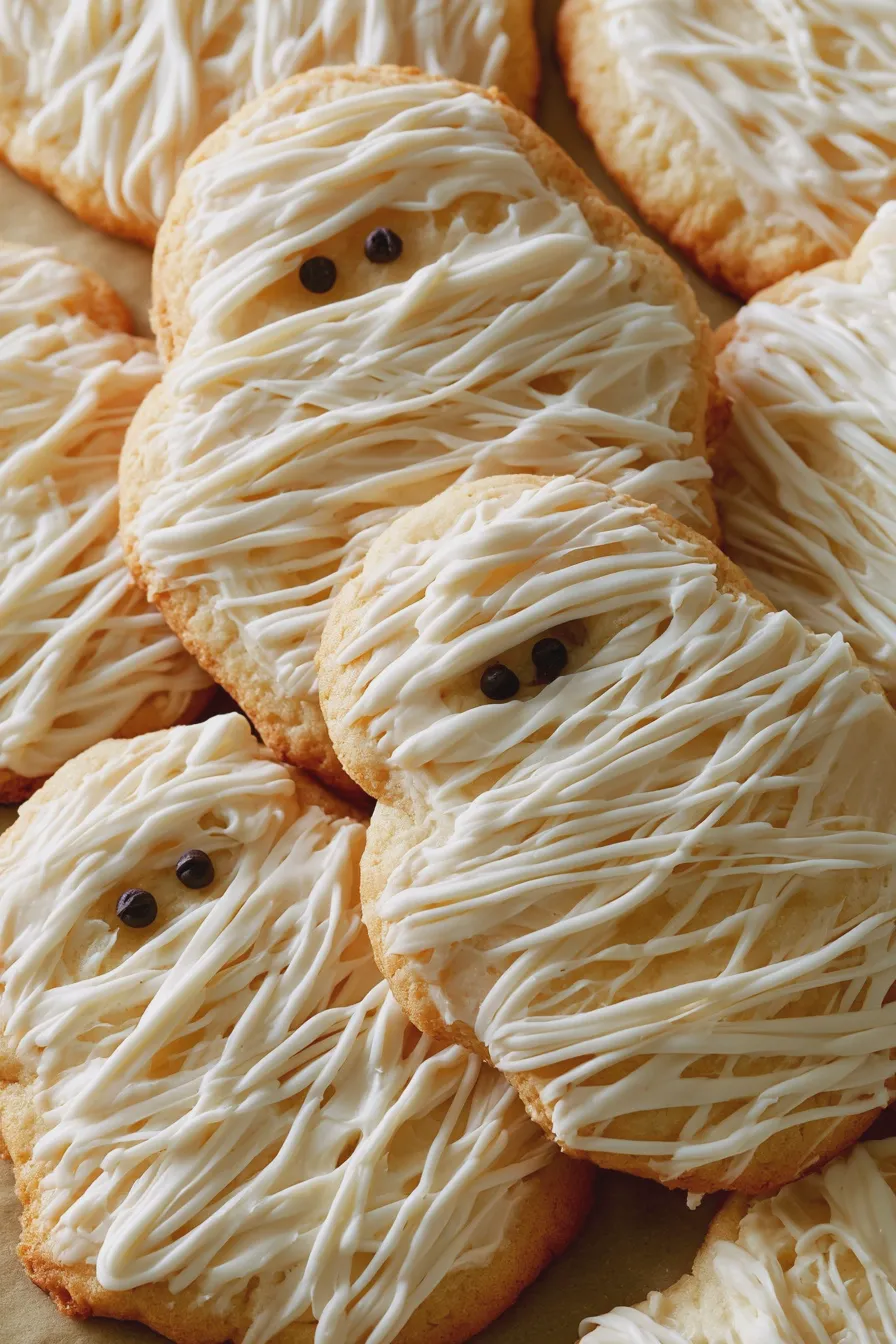
To make the best mummy cookies, you’ll need a few key ingredients for the cookie dough and the decorating elements. This recipe focuses on a classic sugar cookie base, which holds its shape well and provides a lovely canvas for the decorations.
- 1 cup (2 sticks) unsalted butter, softened
- 1 ½ cups granulated sugar
- 2 large eggs
- 1 teaspoon vanilla extract
- 3 cups all-purpose flour
- 1 teaspoon baking powder
- ½ teaspoon salt
- For Decorating:
- 1 cup powdered sugar
- 2-3 tablespoons milk (or water)
- ½ teaspoon vanilla extract (optional, for flavor)
- Candy eyes (available at most craft or grocery stores)
- Optional: A few drops of black food coloring for darker eyes
For the icing, you can adjust the milk amount to achieve your desired piping consistency. If the icing is too thick, add milk a teaspoon at a time; if it’s too thin, add a little more powdered sugar. This simple icing is the key to achieving that classic mummy look on your mummy cookies from scratch.
How to Make Mummy Cookies
Cream the Butter and Sugar
In a large bowl, cream together the softened butter and granulated sugar using an electric mixer until the mixture is light and fluffy. This process incorporates air, which helps create a tender cookie texture and prevents the cookies from spreading too much during baking. Ensure your butter is at room temperature, not melted, for the best results.
Add Wet Ingredients
Beat in the eggs one at a time, ensuring each is fully incorporated before adding the next. Stir in the vanilla extract until combined, which adds a wonderful aroma and flavor to the cookie dough. Scrape down the sides of the bowl as needed to ensure everything is evenly mixed.
Combine Dry Ingredients
In a separate medium bowl, whisk together the all-purpose flour, baking powder, and salt. Whisking the dry ingredients ensures that the leavening agent (baking powder) and salt are evenly distributed throughout the flour, which promotes uniform rising and flavor.
Incorporate Dry into Wet Ingredients
Gradually add the dry ingredients to the wet ingredients, mixing on low speed until just combined. Be careful not to overmix the dough at this stage, as overmixing can develop the gluten in the flour, leading to tough cookies. Stop mixing as soon as you no longer see streaks of flour.
Chill the Dough
Gather the dough into a ball, flatten it into a disc, and wrap it tightly in plastic wrap. Refrigerate the dough for at least 1 hour, or until firm enough to handle. Chilling the dough is crucial for sugar cookies as it solidifies the butter, making it easier to roll out and preventing the cookies from spreading excessively during baking, ensuring your easy mummy cookies keep their shape.
Roll and Cut the Dough
Preheat your oven to 350°F (175°C) and line baking sheets with parchment paper. On a lightly floured surface, roll out the chilled dough to about ¼-inch thickness. Using a cookie cutter (a simple circle, oval, or even a ghost shape works well for ghost cookies), cut out your cookie shapes and carefully transfer them to the prepared baking sheets.
Bake the Cookies
Bake for 8-12 minutes, or until the edges are lightly golden brown and the centers are set. The exact baking time will depend on the size and thickness of your cookies. Avoid overbaking, as this can lead to dry and crumbly cookies; slightly underbaked centers will continue to set as they cool on the baking sheet.
Cool the Cookies
Let the cookies cool on the baking sheets for 5 minutes before transferring them to a wire rack to cool completely. Ensuring the cookies are entirely cool before decorating is essential, as warm cookies will melt the icing and make decorating impossible.
Prepare the Icing
While the cookies cool, whisk together the powdered sugar, 2 tablespoons of milk, and the vanilla extract in a small bowl until smooth. If the icing is too thick for piping, add more milk, one teaspoon at a time, until you reach a thick but pipeable consistency. This simple icing forms the bandages for your adorable mummy cookies with candy eyes.
Decorate the Mummy Cookies
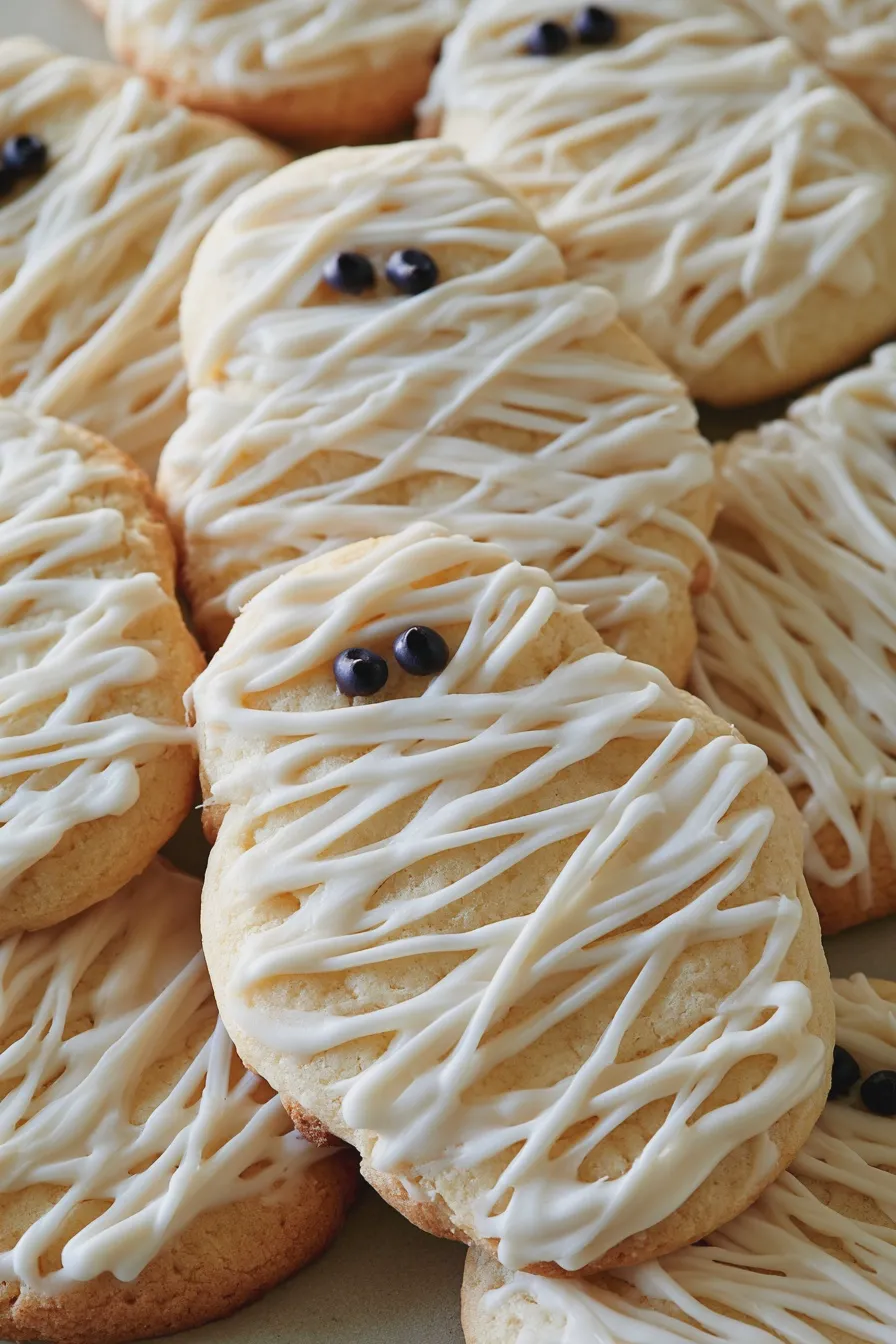
Once the cookies are completely cool, transfer the icing to a piping bag fitted with a small round tip, or use a zip-top bag with a tiny corner snipped off. Pipe thin, wavy lines across each cookie to resemble mummy bandages, leaving a small space for the eyes. Immediately before the icing sets, gently press two candy eyes into the icing for each mummy’s face.
Tips for Perfect Mummy Cookies
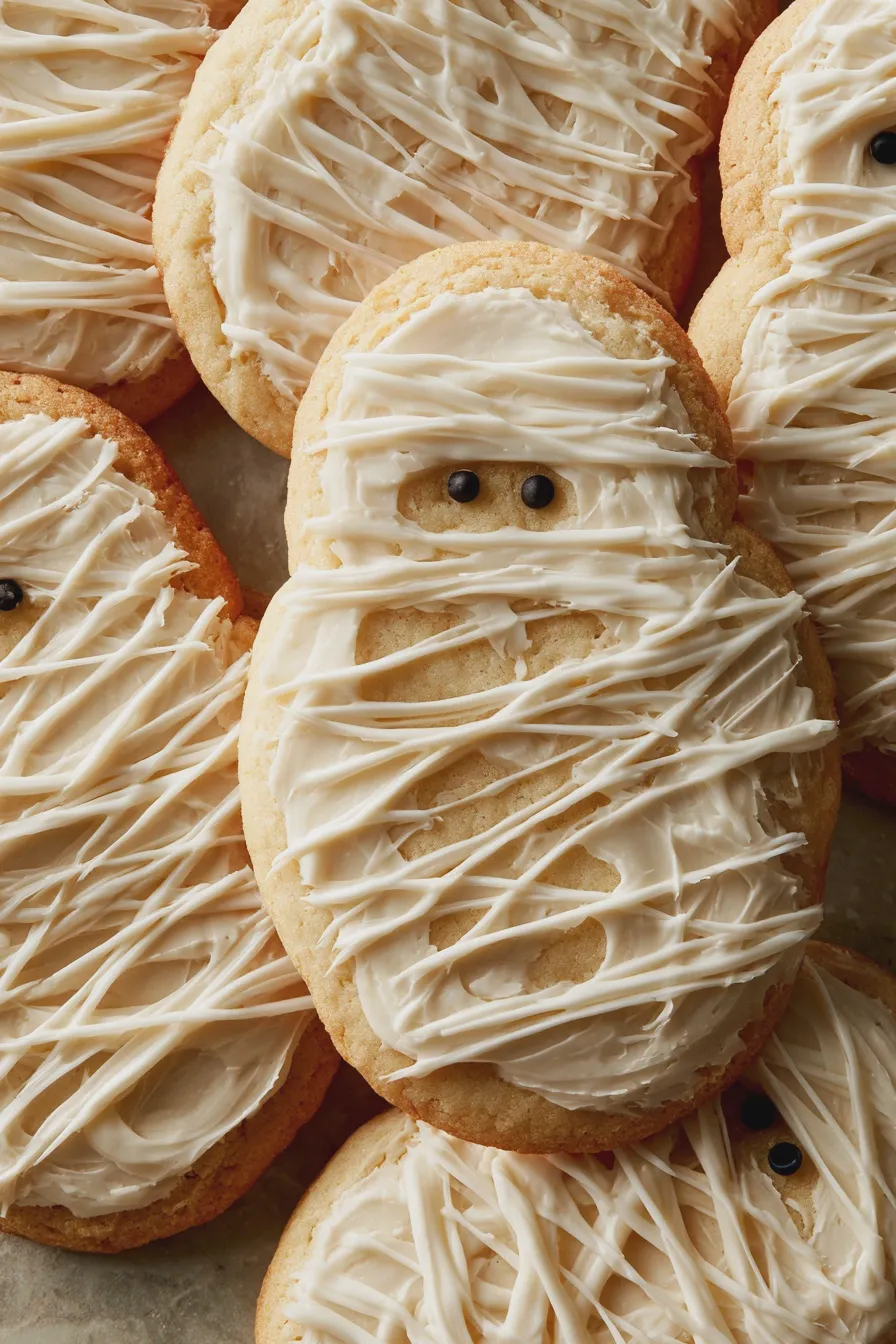
Achieving perfectly shaped and decorated mummy cookies involves a few key techniques. Paying attention to the dough consistency and the icing texture will make a big difference in the final appearance of your mummy cookies dough.
- Dough Consistency: If the dough is too sticky to roll, chill it for an additional 15-30 minutes. If it seems too dry and crumbly, you can try kneading in a teaspoon of milk or softened butter.
- Rolling Evenly: Use rolling pin guides or ensure you have an evenly floured surface to get consistent cookie thickness, which leads to even baking.
- Icing Texture: The icing should be thick enough to hold its shape but thin enough to pipe easily. If it becomes too stiff, stir in a tiny bit more milk; if too runny, add more powdered sugar. This is important for creating neat mummy bandages for your mummy cookies with frosting.
- Candy Eyes Placement: Place the candy eyes while the icing is still wet so they adhere securely. If the icing has dried, you might need a tiny dab of fresh icing to stick them on.
- Preventing Spreading: Ensure your butter is softened but not melted, and don’t skip the chilling step. For extra insurance against spreading, you can chill the cut-out cookies on the baking sheet for 10-15 minutes before baking.
Mummy Cookie Variations and Ideas
While the classic design is charming, there are several fun ways to customize your mummy cookies to suit your preferences or theme. Experimenting with different cookie bases or decoration elements can lead to unique and delightful treats.
- Different Cookie Bases: Instead of a sugar cookie, you could try a snickerdoodle cookie for a cinnamon-spiced twist, or a chewy ginger cookie for a more robust flavor. Even red velvet cookies could be fun for a more dramatic spooky effect.
- No-Bake Option: For a quick and easy alternative, consider a no-bake mummy cookie recipe. These often involve cereal or oats bound together with a chocolate or peanut butter mixture, decorated similarly.
- Pretzel Mummies: Incorporate small pieces of pretzels into the dough before baking, or use pretzel sticks as part of the “bandages” for a salty crunch. This adds another layer of texture to your mummy cookies with pretzels.
- Flavor Additions: Add a touch of almond extract or a bit of orange zest to the cookie dough for a different flavor profile.
- Spooky Eyes: You can also use small dots of black icing to create the eyes if candy eyes are unavailable.
Storage and Make-Ahead Tips
These mummy cookies are a great candidate for making ahead, which is perfect for busy holiday seasons. Proper storage will keep them fresh and delicious for your mummy cookies for kids or any gathering.
- Make-Ahead Dough: The cookie dough can be made up to 2 days in advance and kept chilled in the refrigerator. It can also be frozen for up to 3 months; thaw it in the refrigerator overnight before rolling and cutting.
- Baking Ahead: Baked and completely cooled cookies can be stored in an airtight container at room temperature for up to 5 days. It’s best to store them in a single layer or with parchment paper between layers to prevent sticking.
- Decorating Ahead: Decorated cookies can also be stored in an airtight container at room temperature for 2-3 days. If stacking, place parchment paper between layers of decorated cookies to prevent the icing from smudging.
- Freezing Decorated Cookies: While possible, freezing decorated cookies can sometimes affect the icing’s texture. If you choose to freeze them, ensure they are well-wrapped and thaw them slowly at room temperature to minimize condensation.