Whip up these delightful mummy rice Krispie treats for a fun and spooky Halloween dessert that’s incredibly easy to make. These no-bake treats combine the classic crispy, chewy texture with adorable edible mummy decorations, making them a hit with kids and adults alike. Perfect for parties or a festive afternoon snack, these treats are a guaranteed crowd-pleaser and a fantastic addition to your Halloween dessert recipes.
Introduction
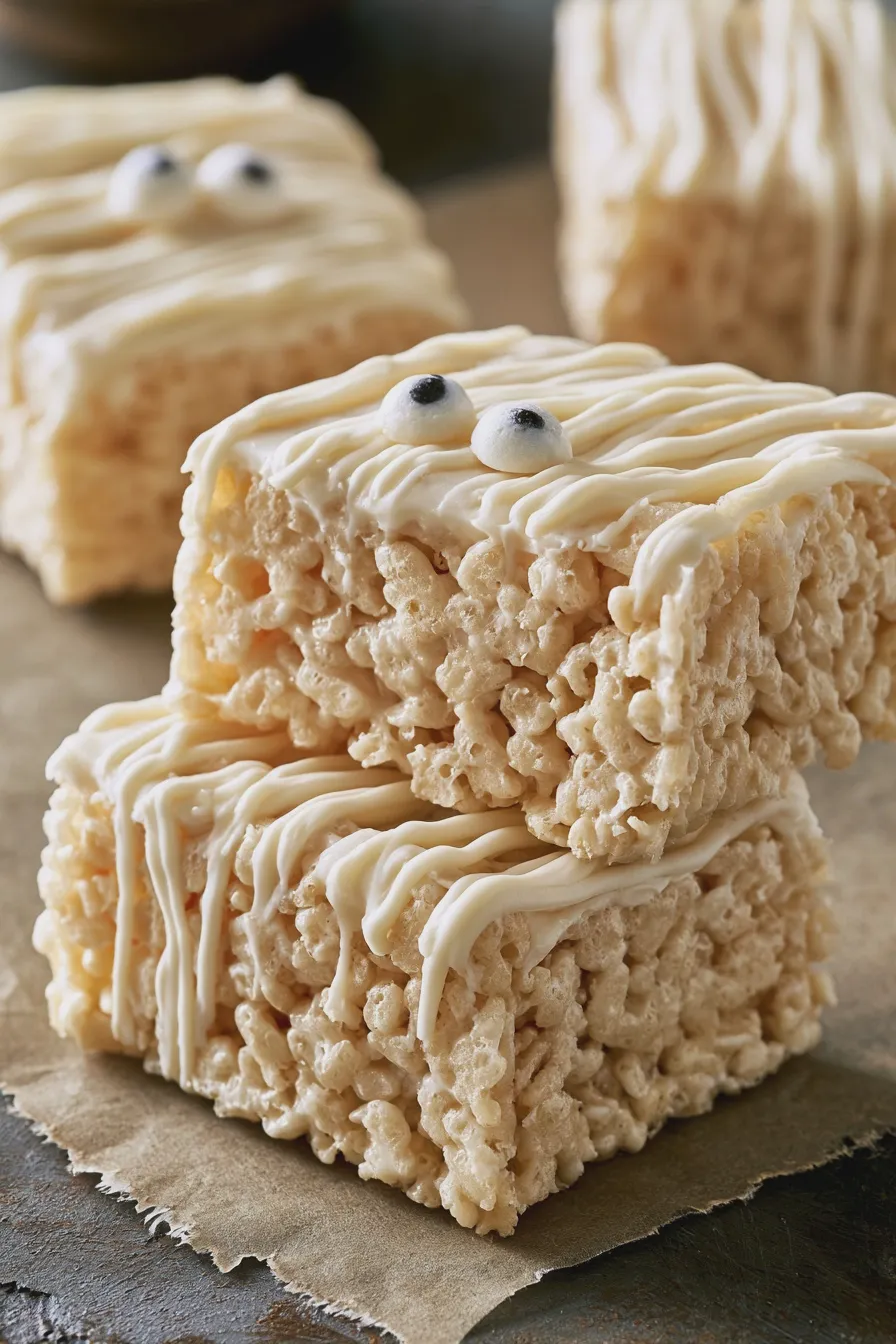
Get ready to spookify your snack table with these charming mummy Rice Krispie treats! They offer that irresistible sweet, buttery, and crispy-chewy goodness everyone loves, with a fun, festive twist that’s perfect for the season. These delightful squares are simple enough for little helpers to get involved, making them a wonderful activity for a rainy afternoon or a pre-Halloween crafting session.
Creating these iconic Halloween Rice Krispie ideas is a breeze, even for novice bakers, and they come together in a flash. They are a beloved classic for a reason, and transforming them into edible mummy decorations adds an extra layer of fun to this already fantastic treat. For more inspiration on creative holiday sweets, you might enjoy exploring fun halloween desserts.
What Are Mummy Rice Krispie Treats?
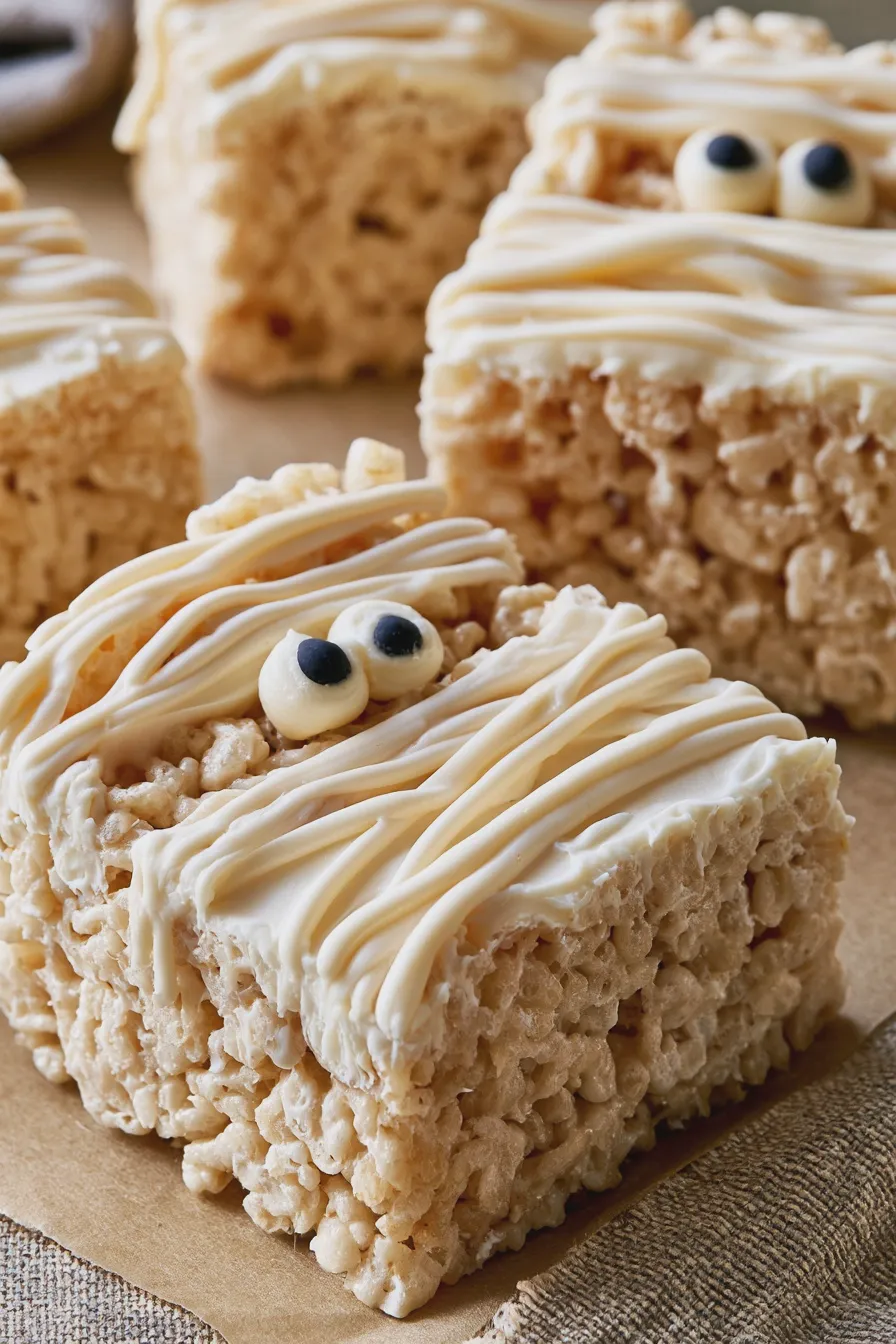
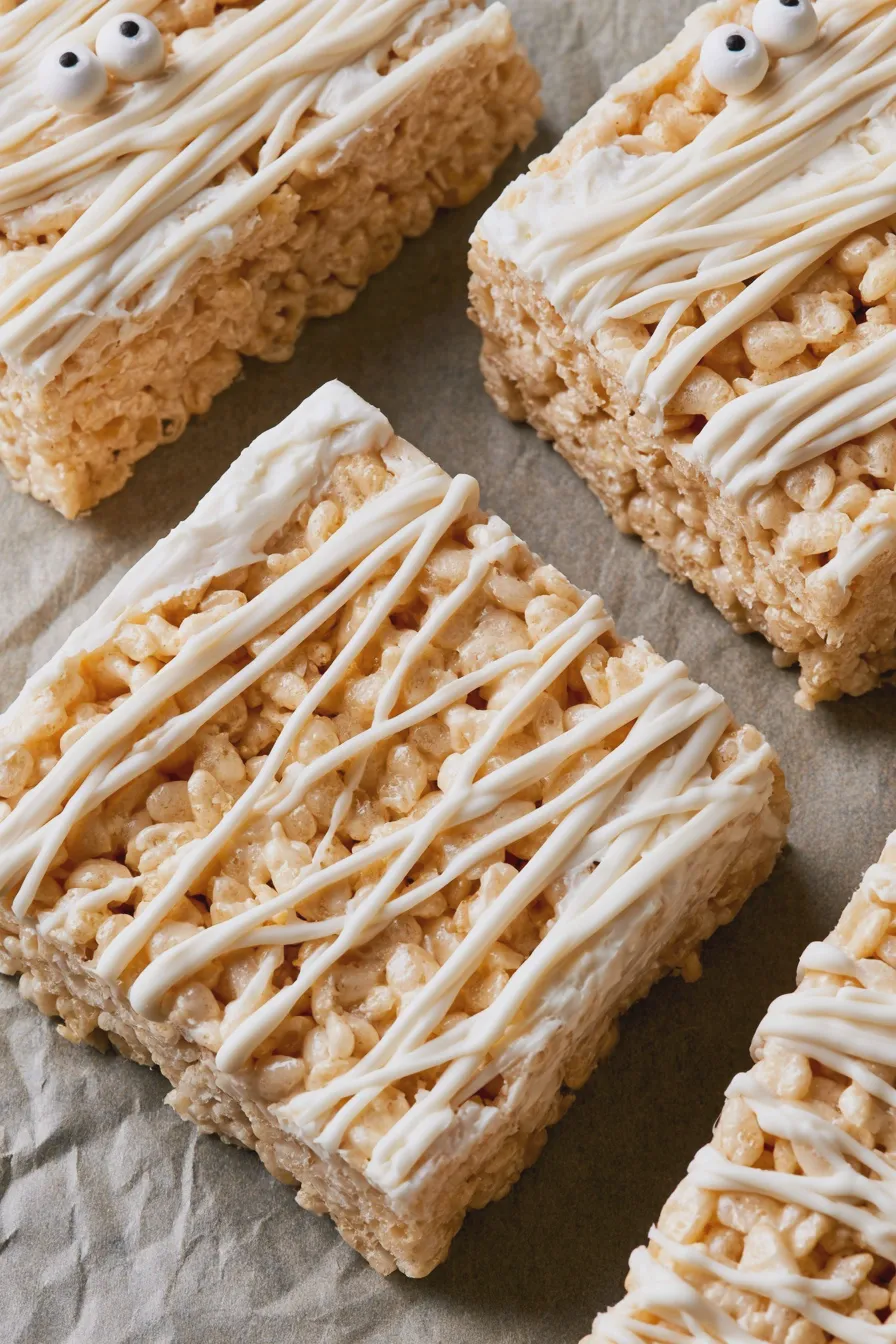
Mummy Rice Krispie treats are a playful and festive variation of the classic Rice Krispie treat. They take the familiar crispy, chewy, and gooey confection and transform it into adorable mummy shapes. This is typically achieved by cutting the treats into rectangles or squares and then decorating them with white icing or candy melts to resemble mummy wrappings, along with candy eyes to bring them to life. They are a popular choice for kid friendly halloween treats because they are easy to handle and visually engaging.
These spooky krispie treats are not just visually appealing; they deliver the same comforting, nostalgic flavor and texture that has made Rice Krispie treats a beloved snack for generations. The simple combination of cereal, marshmallows, and butter creates a delightful base that is perfect for creative decorating. They stand out as one of the easiest and most effective no bake mummy desserts, making them a go-to for last-minute party preparations or a fun family activity.
Ingredients You’ll Need
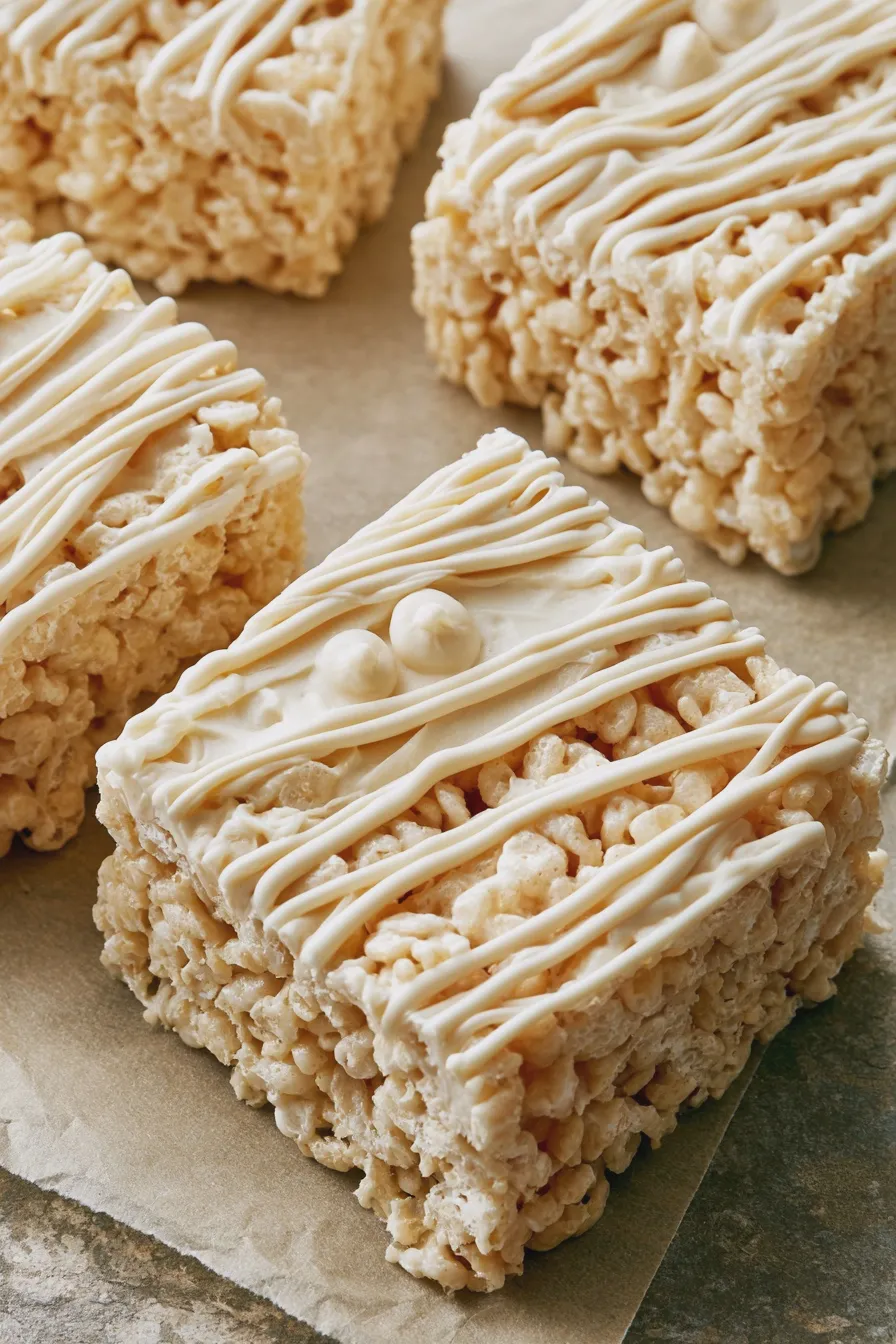
Gathering your ingredients for these mummy marshmallow treats is straightforward, as they rely on pantry staples and a few simple decorative elements. The base recipe is the classic Rice Krispie treat formula, ensuring that familiar delightful crunch and chew. The magic happens with the simple additions that transform them into spooky characters.
- 6 cups Rice Krispies cereal (or a similar crispy rice cereal)
- 10 ounces marshmallows (about 40 large or 10 cups mini marshmallows)
- 3 tablespoons butter (unsalted or salted is fine)
- 1 teaspoon vanilla extract (optional, for added flavor)
- 1/2 cup white candy melts or white chocolate chips (for mummy wrappings)
- 1/4 cup green candy melts or green chocolate chips (optional, for a spooky green effect)
- Candy eyeballs (for the mummy eyes)
- Non-stick cooking spray or butter (for greasing)
For the mummy decorations, white candy melts are the easiest and most effective way to create the wrapped look. If you prefer, you can also use royal icing or even a simple glaze made from powdered sugar and milk. For a bit of extra color and spooky flair, consider melting some green candy melts to drizzle over the white wrappings, or even tinting a portion of the white melts green. Remember, the goal is to have fun and be creative with your best rice krispie treat recipes.
How to Make Mummy Rice Krispie Treats
Creating these festive mummy krispie treats is a wonderfully simple process, perfect for bakers of all skill levels. The steps are straightforward, focusing on melting, mixing, shaping, and decorating. This recipe is designed to be accessible, ensuring you can achieve delightful results every time.
Step 1: Prepare Your Pan
Lightly grease a 9×13 inch baking pan with butter or non-stick cooking spray. This crucial step prevents the sticky marshmallow mixture from adhering to the pan, ensuring your treats can be easily removed and cut. You can also line the pan with parchment paper, leaving an overhang on the sides for easier lifting later.
Step 2: Melt the Butter and Marshmallows
In a large saucepan, melt the butter over low heat. Once melted, add the marshmallows and stir continuously until they are completely smooth and melted. It’s important to use low heat to prevent the marshmallows from scorching or becoming tough. If using vanilla extract, stir it in during the last minute of melting.
Step 3: Combine Cereal and Marshmallow Mixture
Remove the saucepan from the heat and immediately add the Rice Krispies cereal. Stir gently but thoroughly until the cereal is evenly coated with the marshmallow mixture. A rubber spatula works well for this. Don’t overmix, as this can break down the cereal too much and result in a denser treat.
Step 4: Press Mixture into Pan
Transfer the cereal mixture into the prepared baking pan. Using a buttered spatula or your hands (lightly greased with butter or cooking spray), gently press the mixture evenly into the pan. Avoid pressing too firmly, as this can make the treats hard; a light, even pressure is best for that classic chewy texture.
Step 5: Let Them Set
Allow the Rice Krispie treats to cool and set in the pan for at least 30 minutes. This resting period is essential for them to firm up enough to be cut cleanly. Rushing this step can lead to crumbly or misshapen treats, impacting the final presentation of your mummy marshmallow treats.
Step 6: Cut into Shapes
Once set, invert the entire slab of treats onto a cutting board. If you used parchment paper, this step is even easier. Cut the slab into desired shapes for your mummies. Rectangles or squares are traditional, but you can also cut them into slightly irregular shapes for a more rustic, spooky look. This is where the rice krispie mummy shapes really begin to take form.
Step 7: Melt the Candy Melts
While the treats are cooling or being cut, prepare your white candy melts for decorating. Place the white candy melts in a microwave-safe bowl and heat in 30-second intervals, stirring between each, until smooth and fully melted. Be careful not to overheat them, as they can seize up. If you want a slightly thinner consistency for drizzling, you can add a tiny bit of vegetable shortening or coconut oil.
Step 8: Decorate Your Mummies
Dip a fork or a small spoon into the melted white candy. Drizzle the melted candy back and forth over the top of each Rice Krispie treat to create mummy wrappings. Overlap the drizzles to give the appearance of bandages. For an extra spooky effect, you can drizzle some melted green candy melts over the white before it sets.
Step 9: Add the Eyes
While the white candy melt drizzles are still wet, carefully place two candy eyeballs onto each treat to create the mummy’s eyes. Position them near the top of the drizzles for the most effective look. If the candy has already set, you can use a tiny dab of melted white chocolate or a dot of icing to “glue” the eyes in place. These are truly among the best halloween krispie treats.
Step 10: Let Decorations Set
Allow the candy melt decorations to cool and harden completely. This usually takes about 15-30 minutes at room temperature, or you can speed it up by placing the treats in the refrigerator for about 10 minutes. Once set, your spooky easy mummy treats are ready to be enjoyed!
Tips for Perfect Mummy Rice Krispie Treats
Achieving perfectly chewy, well-shaped, and spookily decorated mummy Rice Krispie treats is all about a few key techniques. Paying attention to the melting process, the pressing, and the decorating will elevate your treats from good to ghastly (in the best way possible!).
- Don’t Overcook Marshmallows: Melt marshmallows over low heat and stir constantly. Overheating can make them tough and less sticky, resulting in brittle treats.
- Gentle Pressing is Key: Resist the urge to pack the cereal mixture down too hard in the pan. A light, even press ensures the treats remain chewy and airy, not dense and hard.
- Use Fresh Cereal: Stale Rice Krispies cereal can lead to a less satisfying crunch and texture. Ensure your cereal is fresh for the best results.
- Butter Your Hands/Spatula: When pressing the mixture, lightly greasing your hands or spatula with butter or cooking spray will prevent sticking and allow for a smoother finish.
- Candy Melt Consistency: If your candy melts are too thick for drizzling, add a teaspoon of vegetable shortening or coconut oil and stir until smooth. This helps create those fine, even mummy lines.
- Work Quickly with Marshmallows: Once the marshmallows are melted and combined with the cereal, work relatively quickly to press them into the pan before they start to cool and harden.
- Storage Matters: Store finished treats in an airtight container at room temperature. Avoid refrigerating them, as this can make them hard and lose their ideal chewy texture.
- Creative Eyes: If you don’t have candy eyeballs, you can use mini chocolate chips or even small dots of black icing to create the mummy eyes.
These tips will help ensure your mummy treats are not only visually striking but also boast that perfect, nostalgic texture that everyone adores. They are wonderful as simple halloween snacks that impress.
Serving and Storage Ideas
Once your mummy Rice Krispie treats are decorated and set, they are ready to be the star of your Halloween spread! Their festive appearance and classic taste make them incredibly versatile for various occasions and settings.
For serving, these treats are fantastic on their own as a sweet bite. They are also a wonderful addition to a Halloween dessert platter, alongside other halloween candy alternatives. Consider arranging them on a platter with some chocolate spiderweb cookies or gummy worms for a truly spooky scene. They are also a fun and easy option for halloween party food ideas, especially for events where you need something quick and mess-free.
When it comes to storage, it’s best to keep these treats at room temperature. Place them in an airtight container to maintain their freshness and chewiness. They will stay delicious for up to 3-4 days. Avoid refrigerating them, as the cold can cause the marshmallows to harden, changing the texture significantly. If you need to store them for longer, you can consider freezing them, though the texture might be slightly altered upon thawing.
Print