
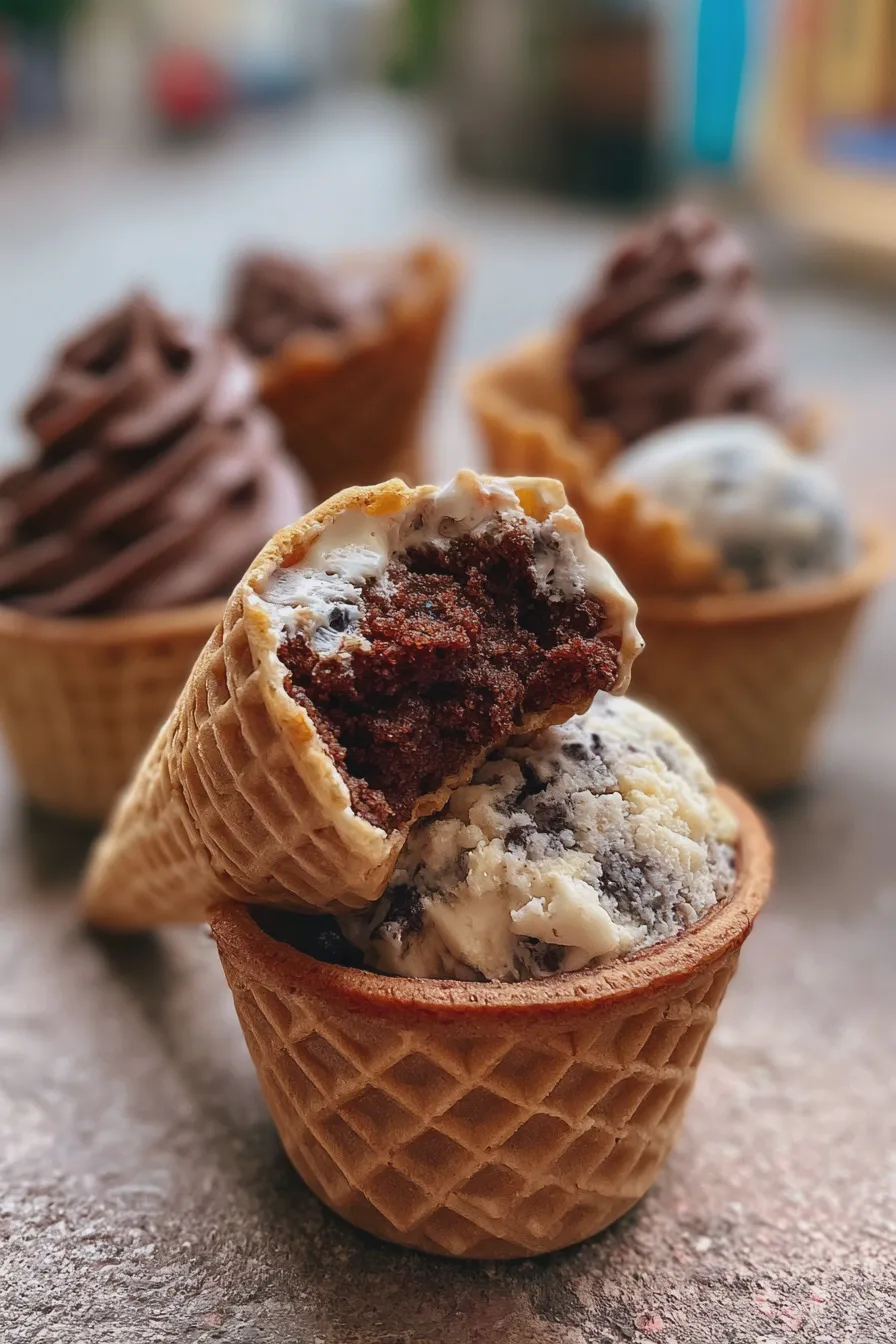
These delightful ice cream cone cupcakes offer the nostalgic joy of a summer treat packaged in a perfectly portioned, easy-to-handle baked good, making them a fantastic alternative to traditional frosting-heavy desserts.
If you are searching for the ultimate fun dessert recipes that minimize cleanup while maximizing smiles, look no further than this simple preparation for baked-in-cone goodness.
These whimsical ice cream cone cupcakes manage to capture the essence of a scoop shop favorite right in your own oven, giving you a sturdy, edible base for your favorite toppings. They are especially wonderful because the cone acts as its own wrapper, which is perfect for parties or letting the kids help with the assembly later.
We are going to use a simple, moist vanilla cake batter today, but feel free to adapt this base to your favorite flavor profile, perhaps even substituting it with a rich batter similar to what you might use for a chocolate bundt cake if you prefer chocolate. Achieving that perfect, slightly crisp cone exterior while keeping the cake tender inside is the key to mastering these cupcake recipes with cones.
Gathering Your Waffle Cone Cupcake Ingredients
Before we start mixing, ensure you have all your components ready; preparation is half the battle when aiming for beautiful, uniform results, especially when working with delicate waffle cones. For those who prefer a quick alternative, you might look into making no bake ice cream cone cupcakes, but this baked method yields a superior texture.
Cake Batter Essentials
For the cake portion, we are sticking to a classic, reliable vanilla base that pairs well with virtually any frosting or filling you choose to add later.
- 1 and 1/2 cups All-Purpose Flour
- 1 teaspoon Baking Powder
- 1/2 teaspoon Baking Soda
- 1/4 teaspoon Salt
- 1/2 cup Unsalted Butter, softened
- 1 cup Granulated Sugar
- 2 large Eggs, room temperature
- 1 teaspoon Vanilla Extract (use high quality for best flavor)
- 1/2 cup Milk (whole milk works best for moisture)
Tip: Make sure your butter and eggs are at room temperature; this simple step ensures they emulsify properly, leading to a smoother batter and a more tender crumb in your final kid-friendly cupcake recipes.
The Cone and Topping Components
The success of these easy ice cream cone cupcakes hinges on selecting the right type of cone and having sturdy frosting ready for piping.
- 12 Standard Waffle Cones (avoid sugar cones if possible, as they sometimes crack more easily)
- 1 batch of your favorite Buttercream Frosting (about 2 cups needed)
- Optional: Sprinkles, chopped nuts, or a drizzle of chocolate sauce for decorating ice cream cone cupcakes
When selecting cones, look for ones that are relatively straight and sturdy; thin, brittle sugar cones are more likely to break when you fill and bake them, so robust waffle cone cupcakes start with good materials. If you are making these for a special occasion, consider using naturally dyed frostings for truly colorful ice cream cone cupcakes.
How to Make ice cream cone cupcakes
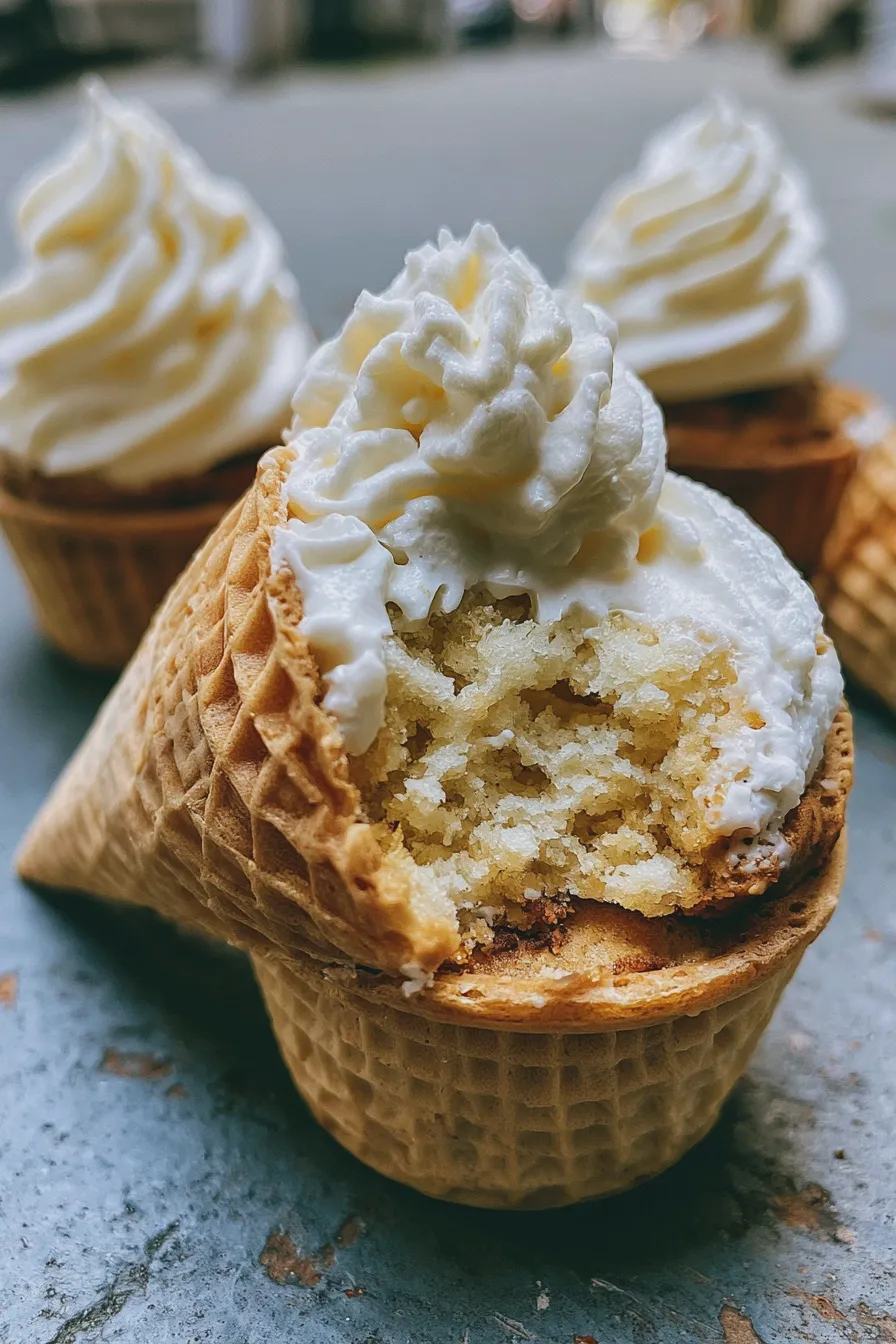
This process involves carefully filling the cones and then baking them upright, which requires a specialized setup to keep them stable in the oven.
Preparing the Cones for Baking
To keep the cones perfectly upright during baking, you will need a specialized baking tray or a makeshift holder, as they cannot sit directly on a flat sheet.
Use a standard muffin tin and gently place one cone into each cup, ensuring they sit securely; if the cups are too large, you can use crumpled aluminum foil around the base of the cone to stabilize it, preventing spills.
Mixing the Cake Batter
Cream the butter and sugar together until the mixture is light and fluffy, which typically takes about three minutes with an electric mixer.
Beat in the eggs one at a time, ensuring each is fully incorporated before adding the next, followed by the vanilla extract, while scraping down the sides of the bowl to maintain even mixing.
Combining Dry and Wet Ingredients
In a separate bowl, whisk together the flour, baking powder, baking soda, and salt, ensuring the leavening agents are evenly distributed throughout the dry mixture.
Alternate adding the dry ingredients and the milk to the creamed mixture, beginning and ending with the dry ingredients, mixing only until just combined to avoid developing tough gluten, a common error when learning how to make ice cream cone cupcakes.
Filling the Cones Carefully
The most crucial step for successful homemade ice cream cone cupcakes is ensuring you do not overfill the cones.
Using a piping bag fitted with a large round tip, or simply a small spoon, fill each cone about two-thirds full, leaving space at the top for the cake to rise without spilling over the edge.
Baking to Golden Perfection
Bake the filled cones in a preheated oven at 350°F (175°C) for approximately 18 to 22 minutes, depending on your oven’s accuracy.
The cupcakes are done when a toothpick inserted near the center comes out clean, and the cake has puffed up slightly over the rim of the cone; be careful not to overbake, as this will dry out the cake inside the cone.
Cooling and Preparing for Decoration
Once baked, let the cones cool in the muffin tin holder for about five minutes before carefully transferring them to a wire rack to cool completely.
It is essential that they reach room temperature before you attempt to frost them, otherwise, the heat will melt the buttercream instantly, ruining the final look of your mini ice cream cone cupcakes.
Tips for Frosting and Presentation
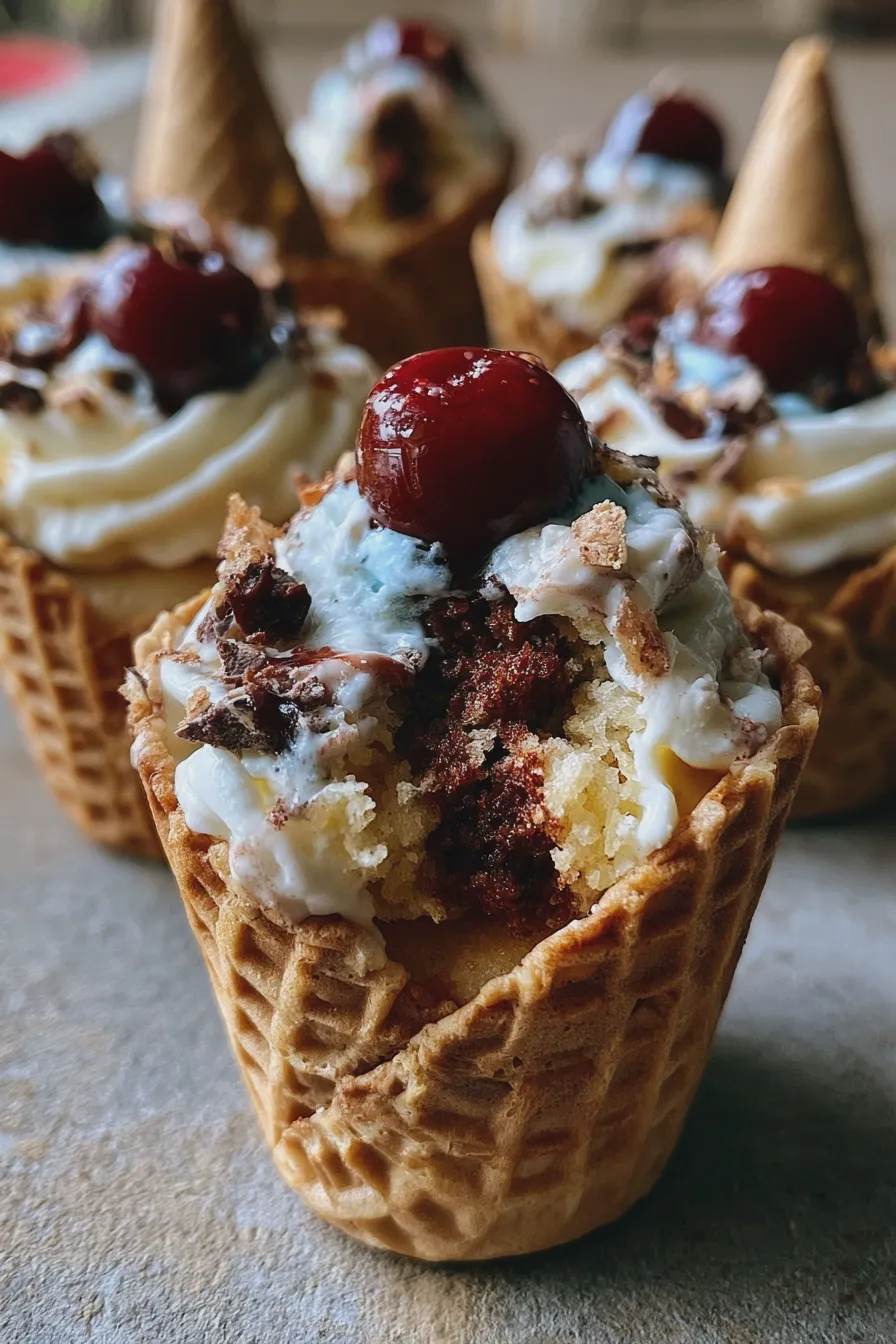
The presentation is what truly elevates these simple baked treats into show-stopping cute birthday cupcakes, so don’t skimp on the finishing touches.
Making Sturdy Buttercream
For the best piping results, your buttercream should be firm enough to hold sharp edges but soft enough to move easily through the decorating tip.
If the frosting seems too soft, chill it for 15 minutes; if it is too stiff, add a few drops of milk or cream until the desired consistency for decorating ice cream cone cupcakes is achieved.
Piping Techniques
Use a large star tip, like a Wilton 1M, to create a beautiful swirl effect resembling soft-serve ice cream piled high on top of the cake.
Start piping directly onto the center of the cooled cake and work your way outward in a continuous, circular motion, finishing with a slight upward flick to create a peak.
Fun Topping Variations for Summer Dessert Ideas
To enhance the dessert experience, consider toppings that mimic real ice cream sundaes, making these perfect for summer dessert ideas.
You can drizzle melted chocolate over the swirl, add colorful sprinkles immediately after frosting, or even press chopped peanuts onto the sides for a classic crunchy texture.
Storage and Serving Suggestions
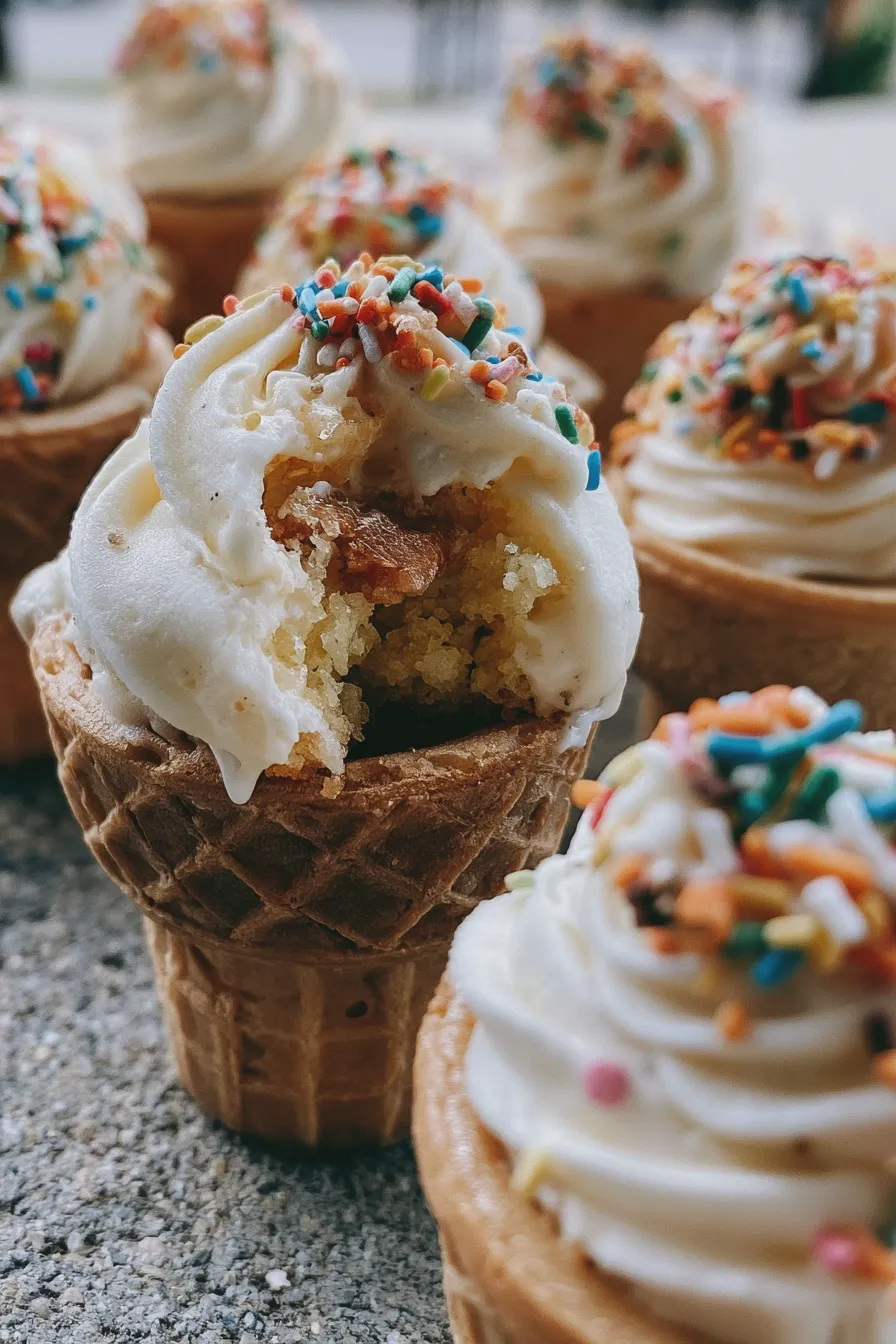
Proper storage is key to maintaining the texture of the cake and the crispness of the cone, especially if you are making these ahead of time.
Short-Term Storage (Same Day)
If you plan to serve these within a few hours, you can store them uncovered at cool room temperature, provided your kitchen isn’t too warm.
If your frosting is delicate (like cream cheese frosting), cover them loosely with plastic wrap, but avoid tightly sealing the container, as moisture trapped inside will soften the cones quickly.
Longer Storage and Freezing
For keeping them fresh longer, it is best to store unfrosted vanilla ice cream cone cupcakes in an airtight container at room temperature for up to two days.
If you must freeze them, freeze the unfrosted cakes only, wrap them tightly in plastic wrap, and then freeze for up to one month; thaw completely before frosting and serving.
Print
ice cream cone cupcakes Recipe Easy Homemade
- Total Time: PT40M
- Yield: 12 cupcakes 1x
- Diet: Vegetarian
Description
A delightful twist on two classic desserts! These Funfetti Ice Cream Cone Cupcakes combine moist, sprinkle-filled vanilla cake baked right inside crisp sugar cones, topped with fluffy buttercream frosting. Perfect for birthdays and summer parties!
Ingredients
- 1 box (15.25 oz) white cake mix (plus ingredients listed on box, typically eggs, oil, and water)
- 1/2 cup rainbow sprinkles (jimmies)
- 12 standard sugar cones or cake cones
- 1 cup (2 sticks) unsalted butter, softened
- 3 cups powdered sugar, sifted
- 1 teaspoon vanilla extract
- 2–3 tablespoons milk or heavy cream
- Extra sprinkles for decoration
Instructions
- Preheat your oven to 350°F (175°C). Line a baking sheet with foil.
- Prepare the cake batter according to the box instructions, but gently fold in the 1/2 cup of rainbow sprinkles just before pouring. Do not overmix.
- Place the sugar cones upright on the prepared baking sheet. Carefully fill each cone about 2/3 full with the Funfetti cake batter.
- Bake for 18-22 minutes, or until a toothpick inserted into the center comes out clean. Note: Baking time may vary based on your oven and cone size.
- Let the cones cool completely on a wire rack. As they cool, the cake may settle slightly inside the cone.
- Prepare the buttercream: In a large bowl, beat the softened butter until creamy. Gradually add the sifted powdered sugar, mixing on low until combined, then increasing speed to medium-high. Add vanilla extract and 2 tablespoons of milk. Beat until light and fluffy, adding the remaining tablespoon of milk if needed to reach a pipeable consistency.
- Transfer the frosting to a piping bag fitted with a star tip (like Wilton 1M). Pipe a generous swirl of frosting onto each cooled cupcake cone.
- Decorate immediately with extra sprinkles. Serve and enjoy!
Notes
- To prevent the cones from tipping during baking, you can place them inside a muffin tin (if they fit snugly) or wrap the base of the baking sheet in crumpled foil to hold them upright.
- If you prefer a less sweet frosting, reduce the powdered sugar to 2 1/2 cups.
- These are best served the day they are made, as the cake texture can change if stored too long with the frosting.
- Prep Time: PT20M
- Cook Time: PT20M
- Category: Cupcakes & Muffins
- Method: Baking
- Cuisine: American
Nutrition
- Serving Size: 1 cupcake
- Calories: 350
- Sugar: 45g
- Sodium: 250mg
- Fat: 16g
- Saturated Fat: 9g
- Unsaturated Fat: 5g
- Trans Fat: 0.5g
- Carbohydrates: 50g
- Fiber: 1g
- Protein: 4g
- Cholesterol: 35mg







