
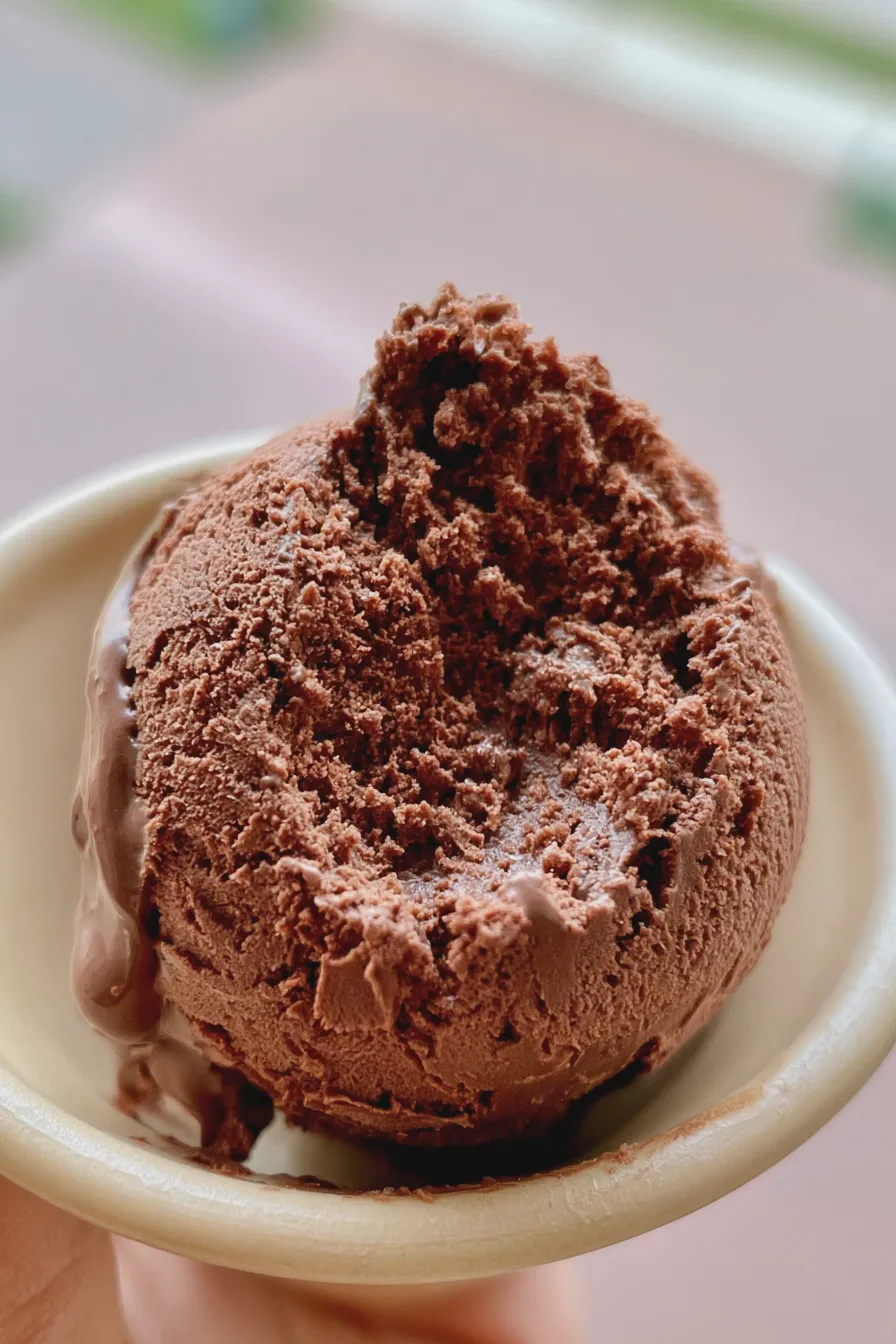
This recipe delivers a deeply satisfying, rich dark chocolate ice cream that rivals any premium store-bought version, offering that perfect scoopable texture without requiring hours of custard preparation. It’s the quintessential creamy homemade ice cream that every chocolate lover dreams of making right in their own kitchen.
When you crave a truly indulgent frozen chocolate dessert, nothing beats the depth of flavor achieved by making your own. We are diving deep into crafting the best homemade chocolate ice cream recipe, focusing on techniques that ensure maximum creaminess and intense cocoa notes, perfect for those warm summer evenings or as a rich after-dinner treat.
This straightforward recipe uses high-quality cocoa powder and melted chocolate to build a spectacular flavor foundation, resulting in a fudgy chocolate ice cream that sets beautifully in the freezer. If you’re looking for inspiration on pairing this dessert, perhaps you’ve enjoyed something like lemon cookies before, but this intense chocolate flavor stands perfectly on its own.
Why This Easy Chocolate Ice Cream Recipe Works
Many people hesitate to make ice cream at home, fearing complicated tempering steps or the need for specialty equipment, but this guide simplifies the process significantly. While this particular method is designed for use with an ice cream maker, the resulting texture is exceptionally smooth, achieving that desirable creamy homemade ice cream consistency without relying on stabilizers.
The secret to achieving that addictive, rich dark chocolate ice cream flavor lies in blooming the cocoa powder in hot liquid, which extracts the deepest chocolate essence possible from the dry ingredients. For those seeking alternatives, if you are interested in exploring baked chocolate goods, you might also enjoy a recipe for brownies aesthetic, but today we focus purely on the frozen delight.
Ingredients for Rich Homemade Chocolate Ice Cream
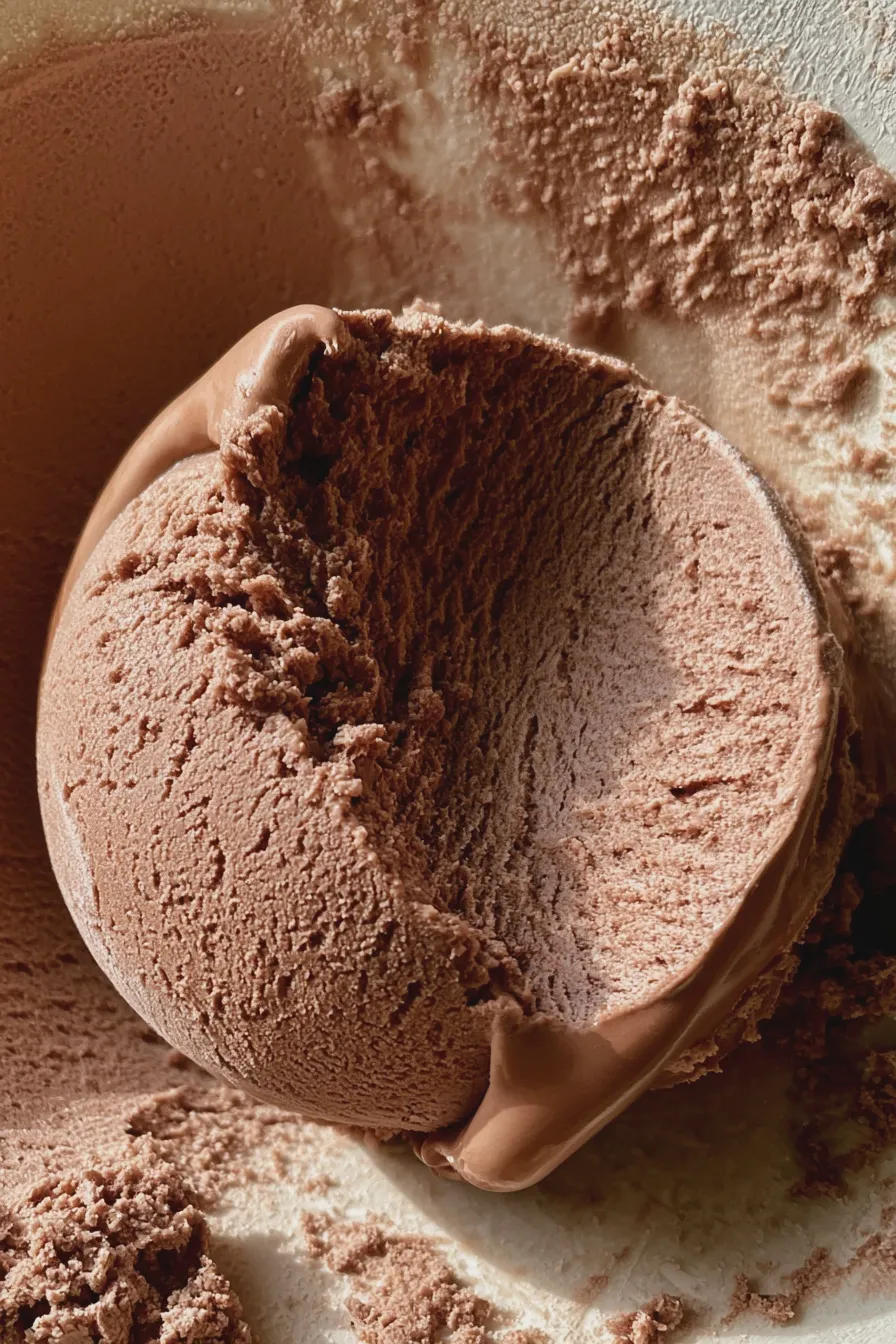
Gathering your high-quality ingredients is the first crucial step toward making a truly gourmet chocolate ice cream. Using good quality cocoa powder makes a noticeable difference in the final richness of your chocolate ice cream base recipe.
Dairy Components
- 2 cups Heavy Whipping Cream
- 1 cup Whole Milk (Do not substitute with low-fat milk for the best texture)
- 1/2 cup Granulated Sugar
- 1/4 cup Packed Light Brown Sugar (Adds depth and helps prevent iciness)
Chocolate Flavoring
- 3/4 cup Unsweetened Cocoa Powder (Dutch-process recommended for a darker color)
- 4 ounces High-Quality Semisweet or Bittersweet Chocolate, finely chopped (70% cacao or higher is excellent)
- 1 teaspoon Pure Vanilla Extract
- Pinch of Salt (Essential for balancing the sweetness)
Optional Add-ins and Flavor Boosters
- 1 tablespoon Espresso Powder (Intensifies the chocolate flavor without tasting like coffee)
- Optional: 1/4 cup Chocolate Chips or finely chopped chocolate for texture
How to Make homemade chocolate ice cream
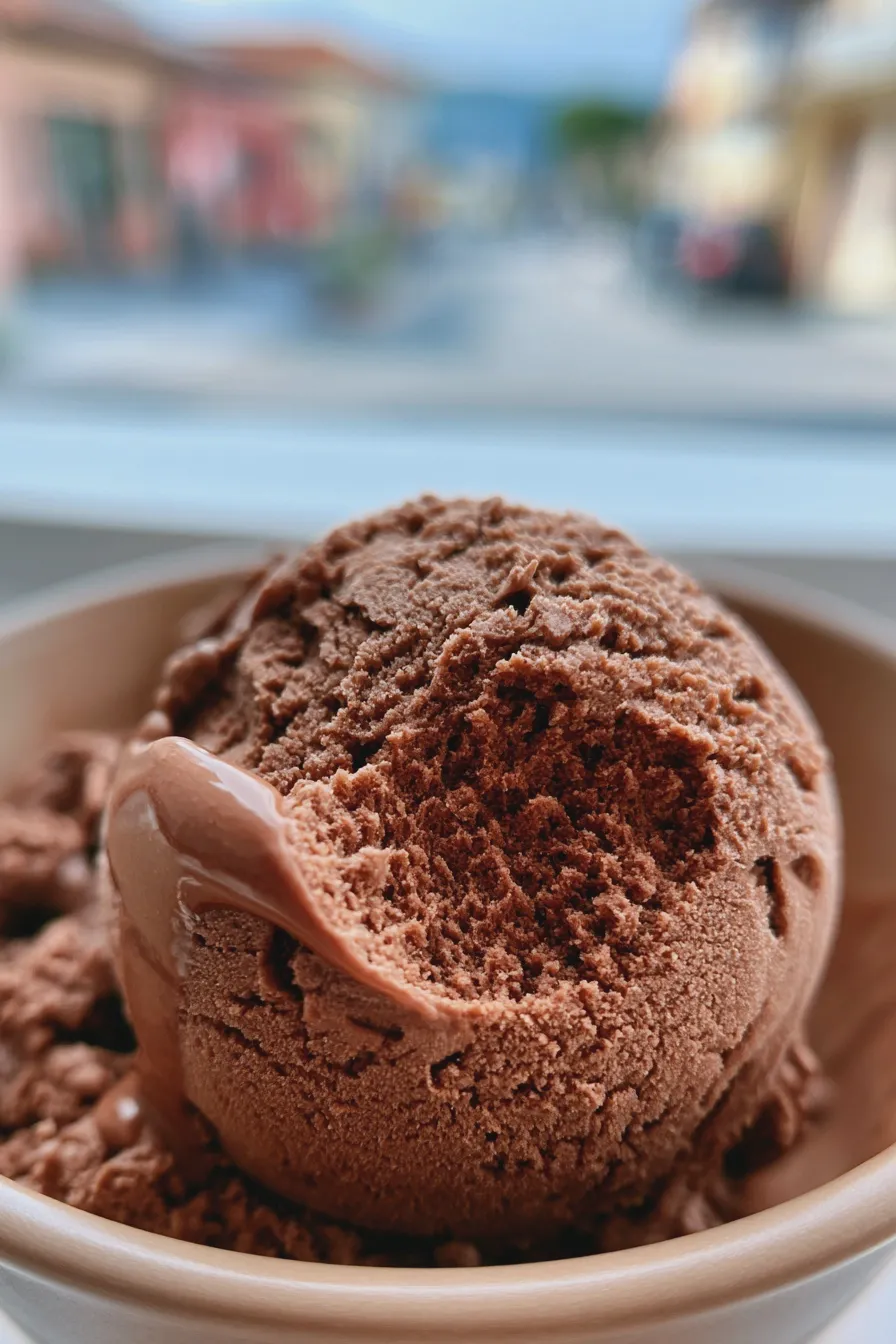
Preparing the chocolate ice cream base recipe correctly is key to ensuring a smooth, professional finish, whether you plan to use an ice cream maker or try a no churn chocolate ice cream variation later.
Prepare the Chocolate Mixture
In a medium saucepan, whisk together the whole milk, cocoa powder, granulated sugar, brown sugar, and salt until no lumps of cocoa remain.
Heat this mixture over medium heat, stirring constantly until the sugar is completely dissolved and the mixture just begins to steam around the edges, ensuring you do not let it boil vigorously.
Bloom the Cocoa and Melt the Chocolate
Remove the saucepan from the heat and immediately add the finely chopped bittersweet chocolate, stirring gently until the chocolate is completely melted and incorporated into the warm liquid.
Stir in the espresso powder, if using, allowing the heat to bloom the coffee flavor, which deepens the profile of this fudgy chocolate ice cream.
Chill the Base Completely
Pour the warm chocolate mixture into a clean bowl, then whisk in the heavy whipping cream and vanilla extract until everything is smoothly combined.
Cover the bowl tightly with plastic wrap, pressing the wrap directly onto the surface of the mixture to prevent a skin from forming, and refrigerate for at least 4 hours, or preferably overnight, until thoroughly chilled.
Churn the Ice Cream
Once the base is ice cold (below 40°F), pour it into your pre-frozen ice cream maker bowl according to the manufacturer’s instructions.
Churn the mixture for 20 to 30 minutes, or until the mixture has thickened to the consistency of soft-serve ice cream; this is where the magic happens for truly creamy homemade ice cream.
Harden and Store
Transfer the soft ice cream into an airtight, freezer-safe container, stirring in any optional chocolate chips now if you desire extra texture.
For the firmest texture, press a piece of parchment paper directly onto the surface before sealing the container and freeze for at least 4 hours to allow it to firm up into scoopable perfection.
Tips for Achieving the Creamiest Homemade Ice Cream
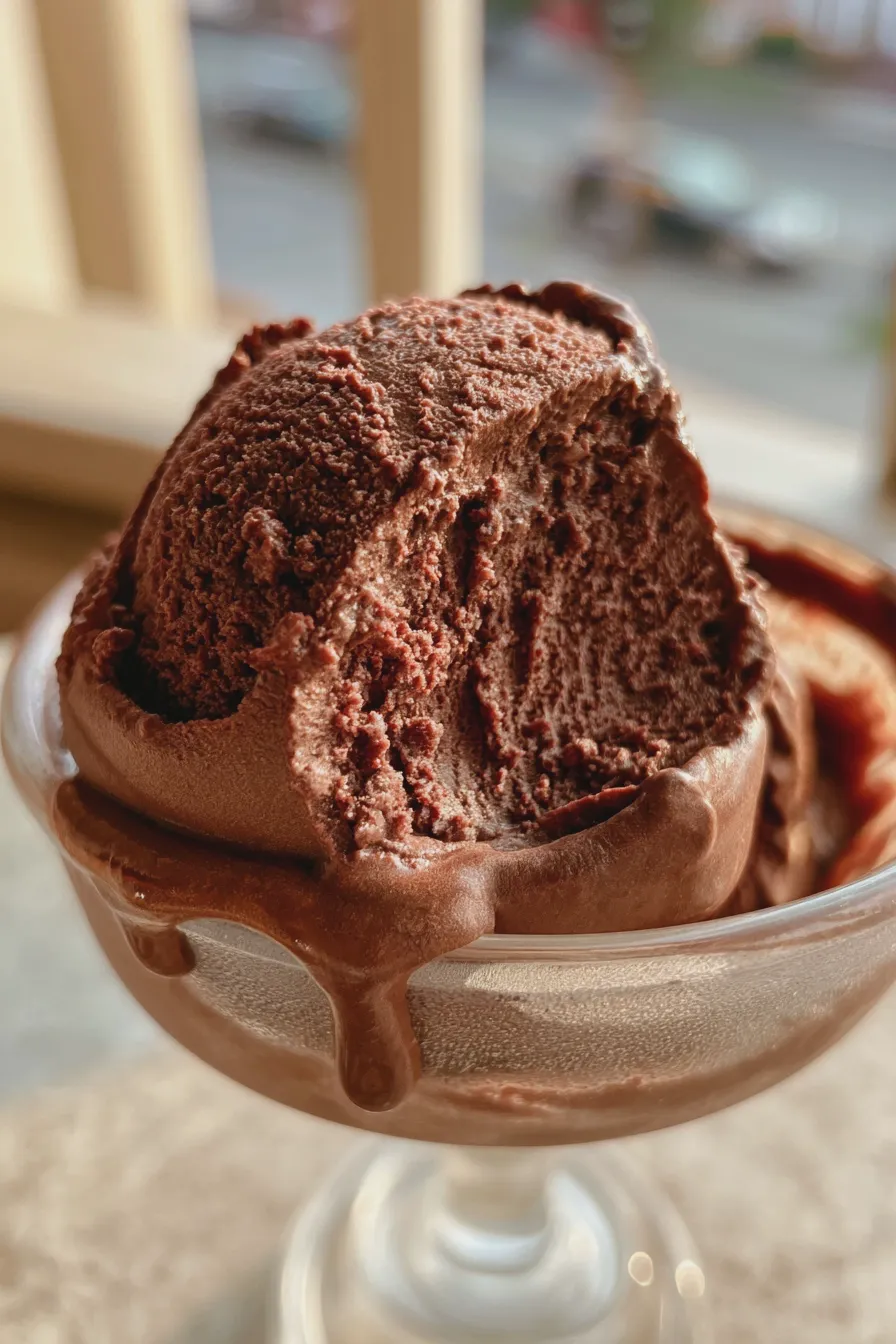
Texture is paramount when aiming for a dessert that rivals professional scoop shops, and successfully making chocolate ice cream without eggs requires attention to fat content and chilling time.
The Importance of Fat Content
Always use heavy cream and whole milk; lower fat ratios allow more water content to freeze into ice crystals, resulting in a harder, less pleasant texture.
If you were making a baked item like greek yogurt brownies, tanginess would be the goal, but here, fat equals smoothness.
Proper Chilling and Curing
Never rush the chilling process; the colder the base goes into the machine, the faster it freezes, which minimizes the size of ice crystals formed during churning.
Allowing the finished frozen dessert to cure in the freezer for several hours after churning develops the final structure, making it easier to scoop.
Flavor Enhancements
Remember that cold mutes flavor, so ensure your base tastes slightly sweeter and more intensely chocolatey than you think it should before chilling it down.
Adding a small amount of corn syrup or a tablespoon of a neutral liqueur (like vodka) can also inhibit ice crystal formation, further improving the texture of your frozen chocolate dessert.
Variations on Your Chocolate Ice Cream Base Recipe
Once you master this foundational recipe, adapting it for different flavor profiles, like making a double chocolate ice cream or exploring alternatives to dairy, becomes simple.
Creating Double Chocolate Ice Cream
To make a double chocolate ice cream, simply fold in 1/2 cup of miniature chocolate chips or chopped fudge pieces during the final five minutes of churning.
Alternatively, you can swirl in a thick chocolate fudge sauce during the final transfer to the storage container for a ribboned effect.
Exploring No Churn Chocolate Ice Cream
If you want a no churn chocolate ice cream version, whip the heavy cream separately to stiff peaks, then gently fold in the cooled, chocolate-infused milk mixture and the condensed milk (replacing the sugar measurements).
Freeze this mixture without churning, stirring vigorously every 45 minutes for the first three hours to break up ice crystals, though the texture will be slightly softer than churned ice cream.
Making Dairy Free Chocolate Ice Cream
For a vegan chocolate ice cream or dairy free chocolate ice cream, substitute the heavy cream with full-fat coconut cream (refrigerated overnight) and use a high-quality oat or soy milk in place of the whole milk.
Ensure the chopped chocolate you use is certified dairy-free, as many high-cacao options still contain milk solids, which is important if you are aiming for a keto brownies counterpart flavor profile.
Serving and Storing Your Homemade Frozen Dessert
Presentation matters, and having the right chocolate ice cream toppings can elevate a simple scoop into a memorable dessert experience.
Serving Suggestions
Allow the ice cream to sit on the counter for about 5 to 10 minutes before scooping; this slight softening allows the full flavor and creamy texture to shine.
Consider topping it with homemade sauces, crushed nuts, or perhaps a contrasting flavor like a swirl of homemade salted caramel, similar to what you might find in salted caramel pretzel cheesecake balls.
Chocolate Ice Cream Storage
For optimal chocolate ice cream storage, keep it in a shallow, airtight container rather than a deep one, as this reduces the surface area exposed to air.
If you notice hard spots forming, it indicates minor temperature fluctuations; simply let it soften slightly before serving, or try adding a small amount of corn syrup next time to improve its resistance to freezer burn.
Print
homemade chocolate ice cream Recipe from Scratch
- Total Time: PT8H
- Yield: About 1.5 quarts 1x
- Diet: Vegetarian
Ingredients
- 2 cups (480ml) cold heavy whipping cream
- 1 (14-ounce) can sweetened condensed milk, chilled
- 1/2 cup unsweetened cocoa powder, sifted
- 1 teaspoon pure vanilla extract
- 1/4 teaspoon salt
- 1/2 cup chocolate chips or chopped dark chocolate (optional, for texture)
Instructions
- In a large bowl, or the bowl of a stand mixer fitted with the whisk attachment, pour in the cold heavy whipping cream. Beat on medium-high speed until stiff peaks form (this usually takes 3-5 minutes). Be careful not to over-beat into butter.
- In a separate medium bowl, whisk together the sifted cocoa powder, vanilla extract, and salt into the chilled sweetened condensed milk until completely smooth and uniform in color.
- Gently fold about one-third of the whipped cream into the chocolate-condensed milk mixture to lighten it up.
- Carefully fold in the remaining whipped cream in two additions, using a rubber spatula. Use a gentle folding motion to keep as much air in the mixture as possible. Fold in the chocolate chips now, if using.
- Pour the mixture into a freezer-safe loaf pan (about 9×5 inches) or an airtight container. Cover the surface directly with plastic wrap to prevent ice crystals, then cover the container tightly with a lid or foil.
- Freeze for a minimum of 6 hours, or preferably overnight, until firm.
- Before serving, let the ice cream sit on the counter for 5-10 minutes to soften slightly for easier scooping. Enjoy!
Notes
- For an extra rich flavor, use Dutch-processed cocoa powder.
- If you prefer a fudgier texture, warm the sweetened condensed milk slightly with the cocoa powder before cooling completely and mixing.
- This ice cream freezes very hard due to the lack of stabilizers. Allowing it to temper on the counter for 10-15 minutes before serving is crucial for optimal texture.
- Prep Time: PT15M
- Cook Time: 0 minutes
- Category: Frozen Dessert
- Method: No-Churn
- Cuisine: American
Nutrition
- Serving Size: 1/2 cup
- Calories: 350
- Sugar: 38g
- Sodium: 75mg
- Fat: 20g
- Saturated Fat: 12g
- Carbohydrates: 40g
- Fiber: 2g
- Protein: 5g
- Cholesterol: 60mg







