")
Table of Contents
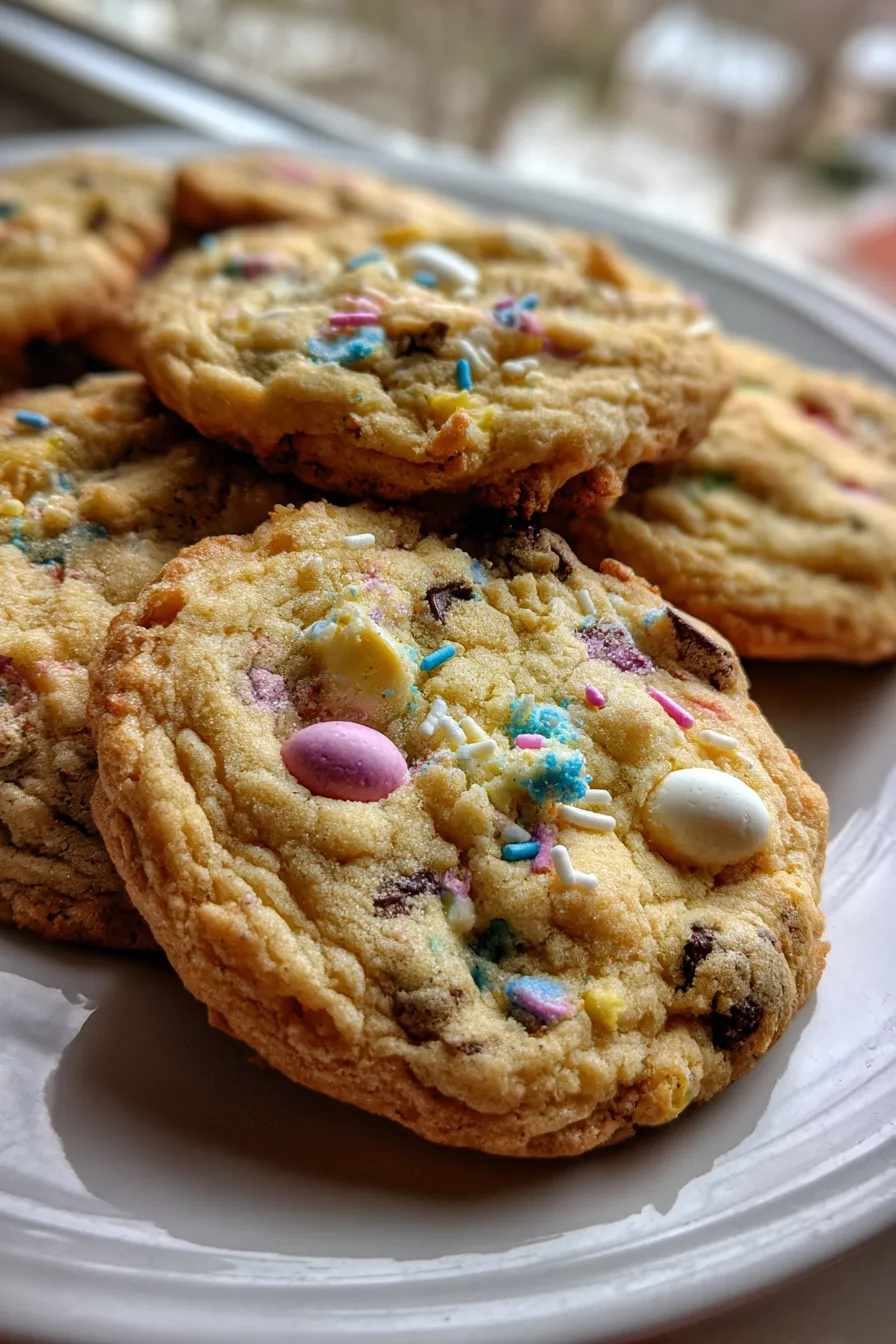
As the days grow longer and the promise of spring fills the air, there’s no sweeter way to celebrate than with a batch of delightful easter cookies. These treats are a perfect centerpiece for your Easter spread, a fun activity to enjoy with the family, and a delicious way to welcome the season. Whether you’re a seasoned baker or just starting out, creating these festive cookies is a joy. You can find many inspiring ideas and recipes by searching online; for example, Allrecipes has a wide selection.
The beauty of easter cookies lies in their versatility. From classic Easter sugar cookies to whimsical shapes, there’s a cookie for everyone. They’re ideal for an Easter cookie exchange, gifts, or simply enjoying with a cup of tea. The vibrant colors and playful designs truly capture the spirit of the holiday. Let’s dive into the world of Easter dessert ideas and create some memorable treats!
This recipe focuses on creating delicious and visually appealing cookies that are perfect for any Easter celebration. We’ll cover everything from the basic cookie dough to the fun of decorating, making the process easy and enjoyable. Get ready to bake some smiles and spread the joy of spring.
Essential Ingredients for Perfect Easter Cookies
Before we start baking, let’s gather all the necessary ingredients. Having everything prepped and ready will make the baking process smoother and more enjoyable. This recipe is designed to be accessible, using common ingredients that you likely already have in your pantry. Feel free to explore variations and substitutions to suit your preferences, such as making gluten-free Easter cookies or vegan Easter cookies.
For even more recipe inspiration, consider searching Serious Eats for their take on Easter cookie recipes.
Cookie Dough Ingredients
- 2 1/2 cups all-purpose flour
- 1 teaspoon baking powder
- 1/2 teaspoon salt
- 1 cup (2 sticks) unsalted butter, softened
- 1 cup granulated sugar
- 1 large egg
- 1 teaspoon vanilla extract
Icing Ingredients
- 4 cups powdered sugar
- 1/4 cup milk or water (more as needed)
- 1 teaspoon vanilla extract
- Food coloring (gel or liquid)
How to Make Easter Cookies
Now, let’s get into the fun part: baking! This section will guide you through each step of the process, from making the cookie dough to decorating your beautiful decorated Easter cookies. We’ll break down each step clearly, offering tips and tricks to ensure your cookies turn out perfectly.
Making the Cookie Dough
First, prepare your dry ingredients. In a medium bowl, whisk together the flour, baking powder, and salt. This ensures even distribution of the leavening agent and salt, leading to a consistent texture in your cookies. Set this aside for now; it’s essential to have all ingredients ready before you start mixing.
Next, cream together the butter and sugar. In a large mixing bowl, using an electric mixer, cream together the softened butter and granulated sugar until light and fluffy. This process incorporates air into the butter, which is crucial for a tender cookie. If you’re unsure how to achieve the perfect creamed butter and sugar consistency, you might find some helpful tips at how to cream butter and sugar.
Now, incorporate the egg and vanilla. Beat in the egg and vanilla extract until well combined. The egg adds richness and helps bind the ingredients together. Vanilla extract enhances the overall flavor profile, creating a more delicious cookie. Be sure to scrape down the sides of the bowl to ensure everything is evenly incorporated.
Gradually add the dry ingredients. Gradually add the dry ingredients to the wet ingredients, mixing on low speed until just combined. Be careful not to overmix, as this can develop the gluten in the flour, resulting in tougher cookies. Overmixing can also affect the final texture. If you want to understand how the creaming method works, check out how the creaming method works.
Finally, chill the dough. Divide the dough in half, flatten each into a disc, wrap in plastic wrap, and refrigerate for at least 30 minutes, or up to 2 hours. Chilling the dough helps prevent the cookies from spreading too much during baking and makes them easier to handle. This also allows the flavors to meld together.
Rolling and Cutting the Cookies
Preheat your oven and prepare your workspace. Preheat your oven to 350°F (175°C) and line baking sheets with parchment paper. This will prevent the cookies from sticking and make cleanup easier. Parchment paper also helps ensure even baking.
Roll out the dough. On a lightly floured surface, roll out one disc of dough to about 1/4-inch thickness. Use a rolling pin to ensure an even thickness. If the dough becomes too sticky, sprinkle a little more flour on the surface.
Cut out the shapes. Use Easter cookie cutters in various shapes, such as Easter egg cookies, bunny cookies, and flowers, to cut out your cookies. Place the cut-out cookies on the prepared baking sheets, leaving about an inch of space between each cookie. This allows for even baking.
Gather the scraps and repeat. Gather the scraps of dough, gently re-roll, and cut out more cookies until all the dough is used. This ensures you make the most of your dough. If the dough becomes too warm, chill it again before re-rolling.
Baking the Cookies
Bake the cookies. Bake the cookies for 8-10 minutes, or until the edges are lightly golden. Keep a close eye on them, as baking times can vary depending on your oven. You’ll know they are done when they are set around the edges.
Cool the cookies. Let the cookies cool on the baking sheets for a few minutes before transferring them to a wire rack to cool completely. This prevents them from breaking. Cooling them completely is crucial before decorating.
Prepare for icing. While the cookies are cooling, prepare the icing. This will give you ample time to get ready for decorating, ensuring your cookies are ready to be transformed into works of art.
Making the Icing
Whisk the ingredients together. In a medium bowl, whisk together the powdered sugar, milk or water, and vanilla extract until smooth. Start with a small amount of liquid and add more, a teaspoon at a time, until you reach your desired consistency. The icing should be thick enough to hold its shape but still easy to pipe or spread.
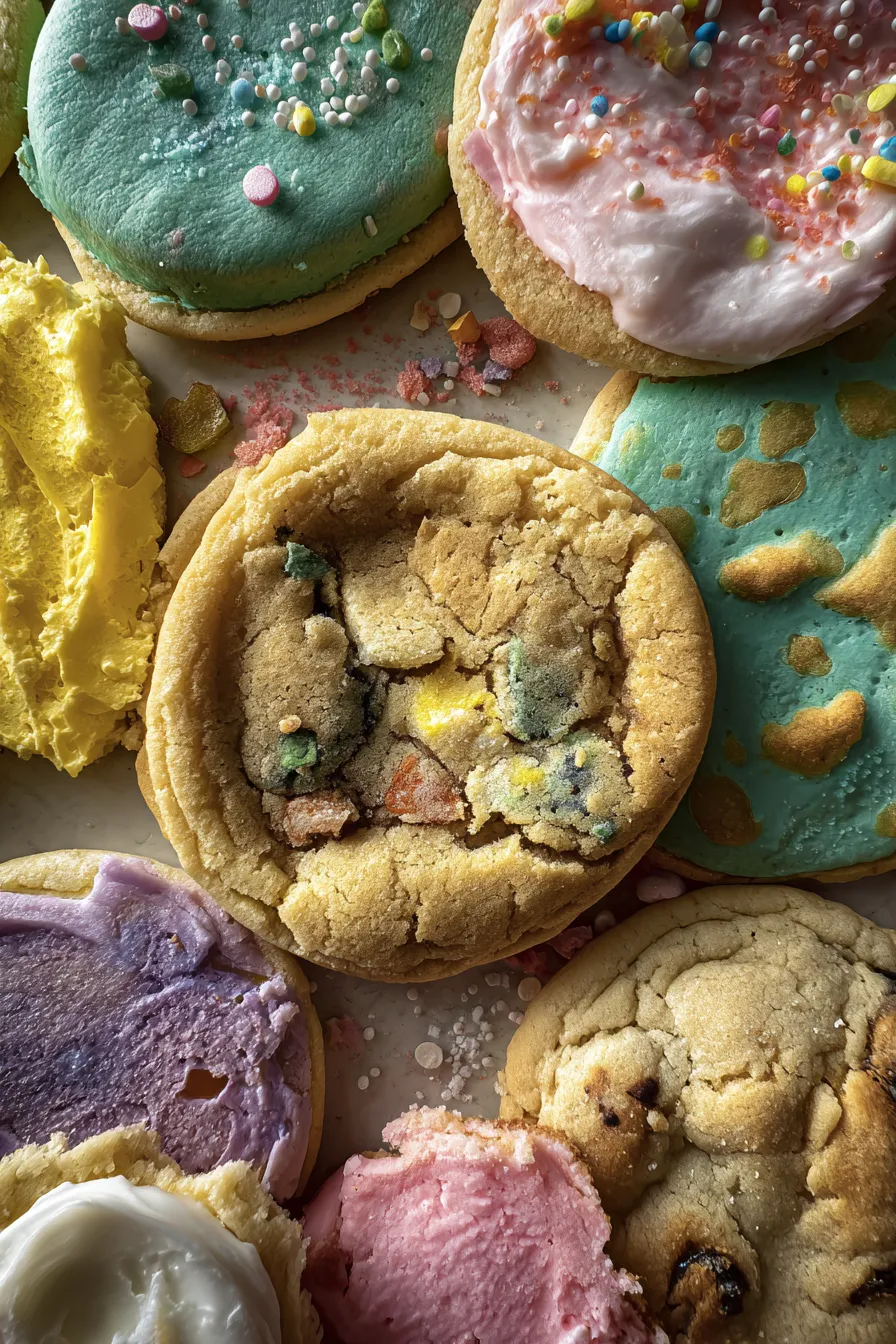
Divide and color the icing. Divide the icing into separate bowls and add food coloring to each, mixing until you achieve your desired pastel Easter cookies shades. Gel food coloring is often preferred for its vibrant colors, but liquid food coloring works too. Use a variety of colors to make your cookies visually appealing.
Adjust the consistency as needed. If the icing is too thick, add a few more drops of liquid. If it’s too thin, add a bit more powdered sugar. The consistency is key to achieving the desired effect when decorating.
Decorating the Easter Cookies
Prepare your decorating tools. Gather your piping bags or squeeze bottles, decorating tips (if using), and any sprinkles or other decorations you plan to use. Have everything ready before you start decorating to make the process more efficient.
Ice the cookies. Fill your piping bags or squeeze bottles with the colored icing. Start by outlining the edges of the cookies with one color and then fill in the center, or simply spread the icing evenly. Feel free to experiment with different techniques for Easter cookie decorating.
Add details and decorations. Use different colors of icing to add details, such as patterns, lines, or dots. Immediately add sprinkles or other decorations while the icing is still wet to help them adhere. Easter basket cookies often look great with edible grass and jelly beans.
Let the icing dry. Allow the icing to dry completely before stacking or storing the cookies. This usually takes a few hours, or even overnight. Patience is key to achieving a professional look.
Tips and Variations for Easter Cookies
Here are some additional tips and variations to help you create the perfect easy Easter cookies. These suggestions will enhance your baking experience and allow you to personalize your creations.
Flavor Enhancements
Add extracts. Experiment with different extracts, such as almond or lemon, for a unique flavor twist. These subtle additions can elevate the taste of your cookies. You can even try combining extracts for a more complex flavor profile.
Incorporate spices. Add a pinch of cinnamon or nutmeg to the dough for a warm, inviting flavor. Spices can transform your cookies into something extra special. Spices can vary, so taste as you go to avoid overpowering the recipe.
Use citrus zest. Add the zest of an orange or lemon to the dough for a bright, refreshing flavor. This can brighten up your baking and is perfect for spring. Citrus zest provides a lovely aroma and subtle tang.
Decorating Ideas
Use different icing techniques. Experiment with flooding, outlining, and wet-on-wet techniques to create intricate designs. There are many online tutorials available to help you master these techniques. Don’t be afraid to try new things!
Add edible decorations. Incorporate edible glitter, pearls, or candies to add extra flair. These decorations can make your cookies look even more festive. Edible decorations are a great way to add fun and visual interest to your cookies.
Create themed cookies. Design cookies based on specific Easter themes, such as Easter egg cookies, chicks, or bunnies. This is a great way to make your cookies match your Easter decor. Theme cookies are perfect for parties and gifts.
Ingredient Substitutions
Use gluten-free flour. Substitute all-purpose flour with a gluten-free all-purpose flour blend for gluten-free Easter cookies. Make sure the blend contains xanthan gum for the best results. Check the product instructions for the best results when using gluten-free alternatives.
Make a vegan version. Substitute the butter with vegan butter and the egg with a flax egg (1 tablespoon flaxseed meal mixed with 3 tablespoons water). This allows everyone to enjoy your cookies, regardless of dietary restrictions. Make sure you know the role of butter in desserts before making any substitutions.
Adjust the sugar. Reduce the amount of sugar if you prefer a less sweet cookie. Adjust the sugar according to your taste preferences. You can also explore alternatives such as honey, although you may need to adjust the other ingredients. If you are using honey, learn more about honey vs sugar in baking to adjust your recipe accordingly.
Storing and Serving Easter Cookies
Proper storage is essential to keep your Easter cookies fresh and delicious. Here are some tips for storing and serving your delightful treats.
Storing Cookies
Store in an airtight container. Once the icing is completely dry, store the cookies in an airtight container at room temperature. This will help maintain their freshness and prevent them from drying out. Proper storage is key to extending their shelf life.
Separate layers. If stacking cookies, place a layer of parchment paper between each layer to prevent them from sticking together. This will protect the delicate decorations. It also prevents the cookies from getting damaged.
Consider freezing. For longer-term storage, freeze the cookies in a single layer on a baking sheet, then transfer them to a freezer-safe bag or container once frozen. This helps preserve their quality and flavor. Frozen cookies can last for several months.
Serving Suggestions
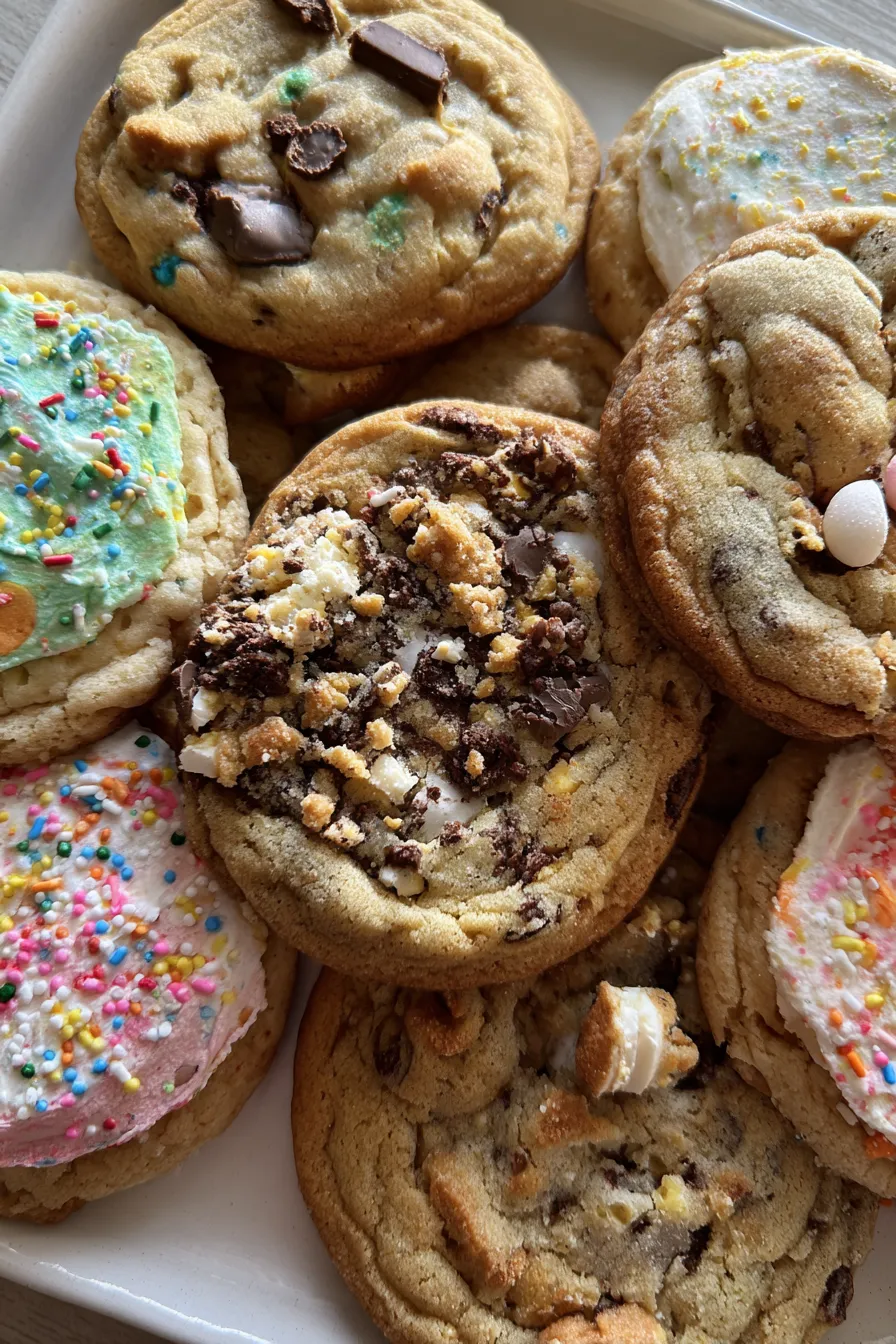
Arrange on a platter. Display your decorated Easter cookies on a beautiful platter for an eye-catching presentation. You can mix and match different shapes and colors to create a visually appealing display. A well-arranged platter adds to the festive atmosphere.
Package as gifts. Wrap individual cookies in cellophane bags and tie with ribbons for a charming gift. This is perfect for sharing with friends and family. Homemade gifts are always appreciated.
Serve with drinks. Pair your cookies with a glass of milk, tea, or coffee. A warm beverage complements the sweetness of the cookies perfectly. Consider offering a variety of drinks to cater to different tastes.
Frequently Asked Questions About Easter Cookies
Here are some frequently asked questions to help you troubleshoot any baking issues and ensure your Easter cookies for kids and adults alike are a success.
Can I make the cookie dough ahead of time?
Yes, you can make the cookie dough ahead of time. The dough can be made a day or two in advance and stored in the refrigerator, wrapped tightly. This gives the flavors time to meld together.
How can I prevent my cookies from spreading too much?
To prevent spreading, make sure your butter is softened but not too soft. Chill the dough for at least 30 minutes before rolling and baking. Also, avoid overmixing the dough.
What if my icing is too thick or too thin?
If the icing is too thick, add a few drops of milk or water until you reach the desired consistency. If it’s too thin, add a bit more powdered sugar. The consistency is key to successful decorating.
Can I use different types of sprinkles?
Absolutely! You can use any type of sprinkles you like, from classic jimmies to nonpareils or even edible glitter. The varieties of sprinkles can vary, and you can get creative.
How can I make my cookies look more professional?
Practice makes perfect! Experiment with different decorating techniques and use high-quality ingredients. A steady hand and attention to detail will also help you achieve professional-looking results. Also, consider the impact on your cookies from the use of how eggs affect desserts.
With these tips and the recipe, you’re well on your way to creating beautiful and delicious spring cookies for your Easter celebration. Enjoy the baking process, and have a happy Easter!
Print
Easter Cookies Easy Recipe for Spring Celebrations
- Total Time: 30 minutes
- Yield: 24 cookies 1x
- Diet: Vegetarian
Description
These Easter Cookies are a delightful treat, perfect for the spring holiday. They are easy to make and can be customized with various sprinkles and decorations.
Ingredients
- 1 cup (2 sticks) unsalted butter, softened
- 1 cup granulated sugar
- 1 teaspoon vanilla extract
- 1/2 teaspoon almond extract (optional)
- 2 1/2 cups all-purpose flour
- 1 teaspoon baking powder
- 1/4 teaspoon salt
- Easter-themed sprinkles and decorations
Instructions
- Preheat oven to 350°F (175°C). Line baking sheets with parchment paper.
- In a large bowl, cream together the softened butter and sugar until light and fluffy.
- Beat in the vanilla extract and almond extract (if using).
- In a separate bowl, whisk together the flour, baking powder, and salt.
- Gradually add the dry ingredients to the wet ingredients, mixing until just combined. Do not overmix.
- Roll the dough out on a lightly floured surface to about 1/4 inch thickness.
- Use Easter-themed cookie cutters to cut out shapes.
- Place cookies on the prepared baking sheets.
- Decorate with sprinkles and other decorations.
- Bake for 8-10 minutes, or until the edges are lightly golden.
- Let the cookies cool on the baking sheets for a few minutes before transferring them to a wire rack to cool completely.
Notes
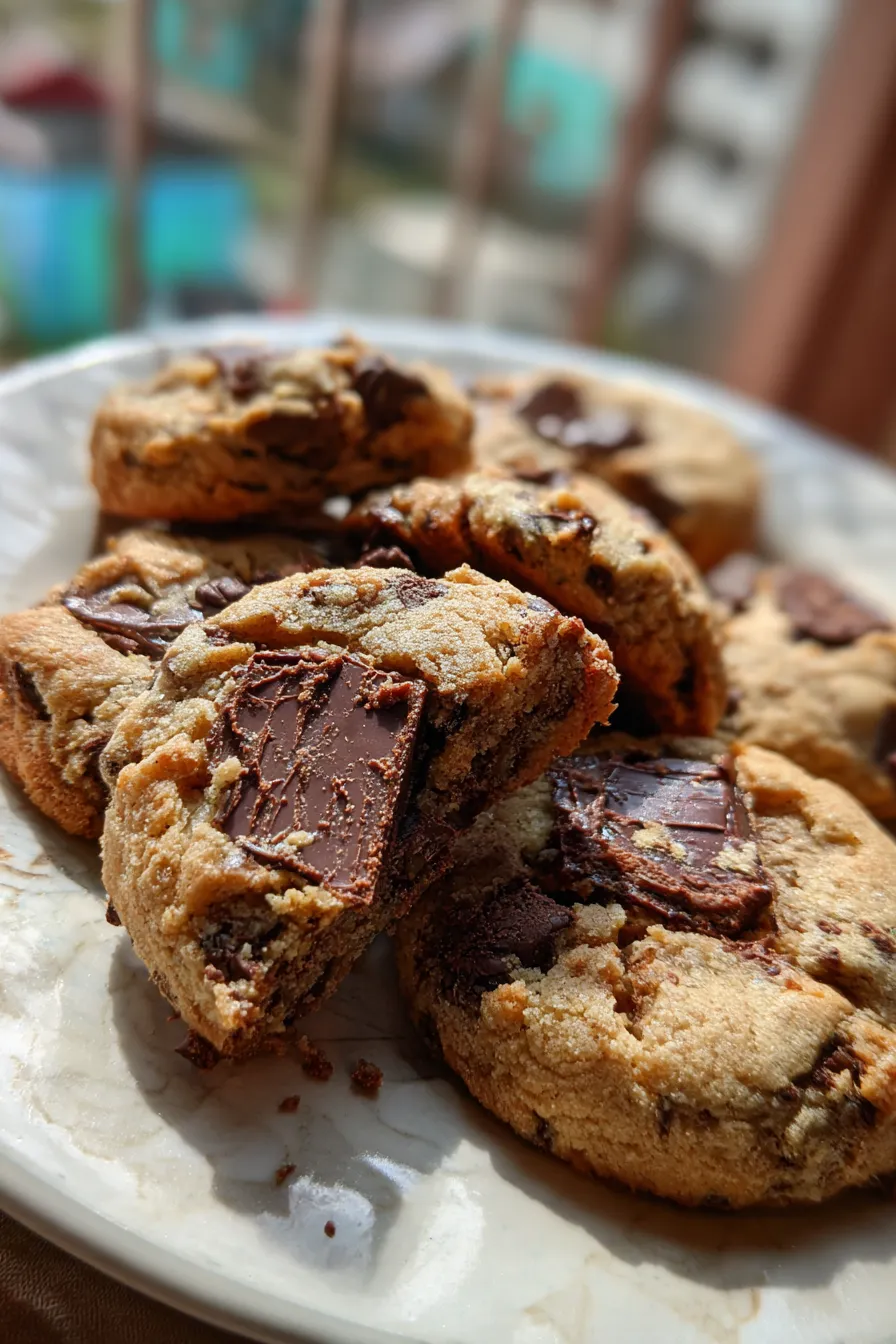
- For a richer flavor, use brown butter.
- Feel free to experiment with different extracts, like lemon or orange.
- Store cookies in an airtight container at room temperature for up to a week.
- Prep Time: 20 minutes
- Cook Time: 10 minutes
- Category: Cookies
- Method: Bake
- Cuisine: American
Nutrition
- Serving Size: 1 cookie
- Calories: 150
- Sugar: 15g
- Sodium: 75mg
- Fat: 7g
- Saturated Fat: 4g
- Carbohydrates: 20g
- Protein: 2g