
Halloween is a time for ghoulish delights and sweet treats, and what better way to embrace the season than with a batch of perfectly spooky chocolate cookies? As a seasoned baking expert, I know that a good cookie recipe is the foundation for endless creativity, especially when it comes to decorating. This guide will walk you through creating the ultimate spooky chocolate cookies recipe, perfect for your Halloween parties or just a fun afternoon in the kitchen. We’ll cover everything from achieving that perfect chocolatey base to transforming them into delightfully creepy creations. Get ready to impress your guests with these fun halloween treats!
The Perfect Spooky Chocolate Cookies Base
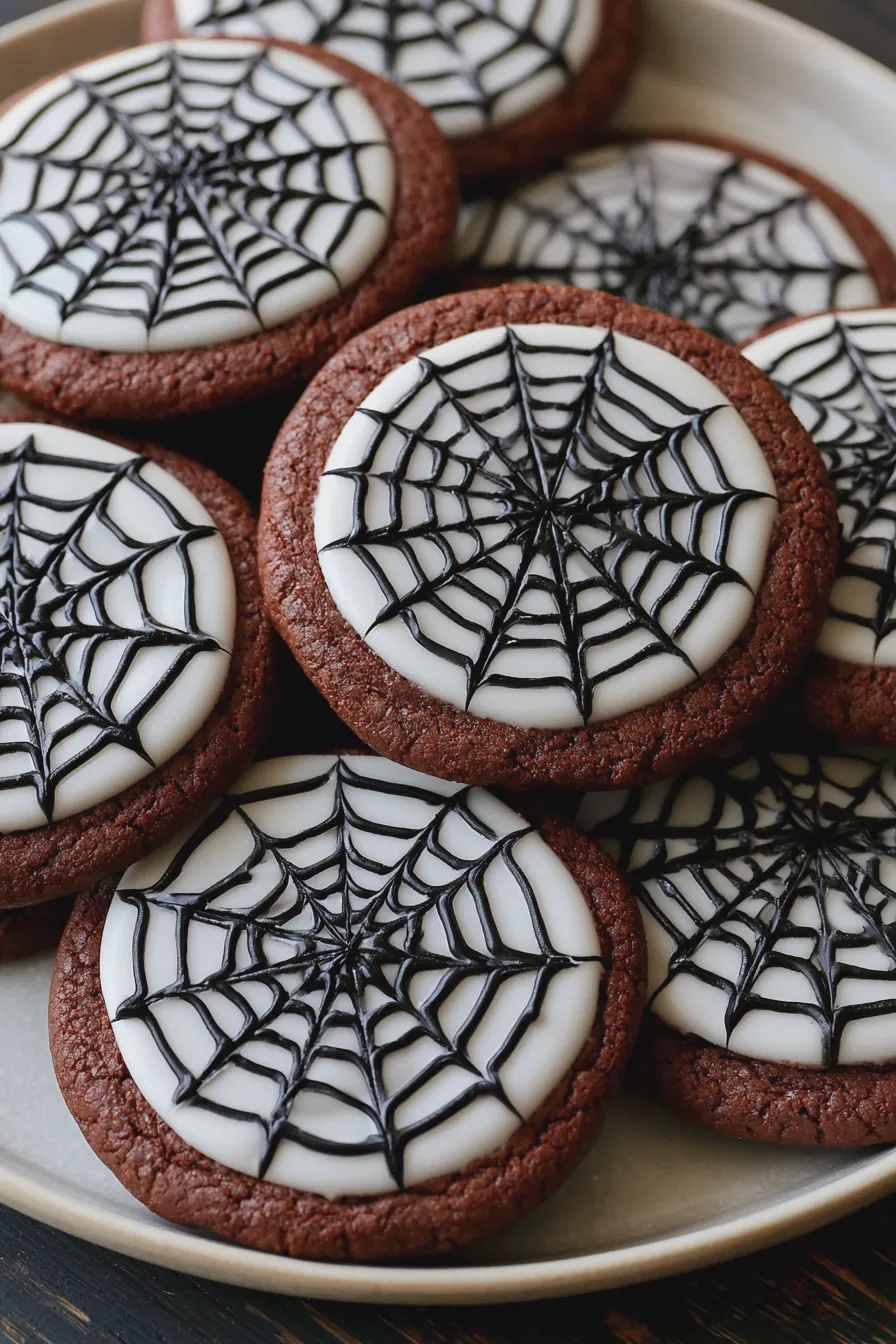
Before we dive into the spooky decorations, let’s talk about the cookie itself. A truly great spooky chocolate cookies recipe needs a rich, chocolatey flavor and a texture that holds up well to decorating. For that deep, dark chocolate flavor that screams Halloween, I highly recommend using black cocoa powder. It gives your cookies an almost black appearance, making them the perfect canvas for all sorts of creepy designs. You can find black cocoa powder at specialty baking stores or online. If you can’t find it, a good quality Dutch-processed cocoa powder will also work, though your cookies won’t be as intensely dark.
The key to a chewy yet slightly crisp cookie is the balance of ingredients and the creaming method. When you cream together softened butter and sugar, you’re incorporating air, which contributes to the cookie’s texture. It’s a foundational step in many creaming method for cakes and cookies. Make sure your butter is truly softened – not melted! This process is crucial for developing the cookie’s structure and ensuring a tender bite. Overmixing after adding the flour can lead to tough cookies, so be mindful of that.
For our spooky chocolate cookies, we’ll use a combination of all-purpose flour, a touch of cornstarch for tenderness, unsweetened cocoa powder (black or Dutch-processed), baking soda for leavening, and a pinch of salt to enhance the chocolate flavor. The wet ingredients will include softened butter, granulated sugar, brown sugar for chewiness, eggs, and pure vanilla extract. Don’t skimp on the vanilla; it really complements the chocolate.
When mixing your dough, you’ll want to achieve a consistency that’s firm enough to hold its shape but still pliable. Chilling the dough is an essential step. This allows the fats to solidify, which prevents the cookies from spreading too much during baking. A chilled dough also makes it easier to handle and shape, especially if you’re aiming for specific spooky chocolate cookies shapes. Aim for at least 30 minutes to an hour in the refrigerator. If you’re short on time, you can even pop the dough into the freezer for about 15-20 minutes.
Baking time is also critical. Overbaked cookies will be dry and crumbly, while underbaked ones might spread too much or be too soft. For most chocolate cookie recipes for Halloween, you’ll want to bake them until the edges are set and the centers still look slightly soft. They will continue to cook on the baking sheet after you remove them from the oven. A good rule of thumb is to bake them for about 9-12 minutes, depending on their size. For more detailed baking science, you can explore resources on baking science.
Decorating Your Creepy Chocolate Cookies
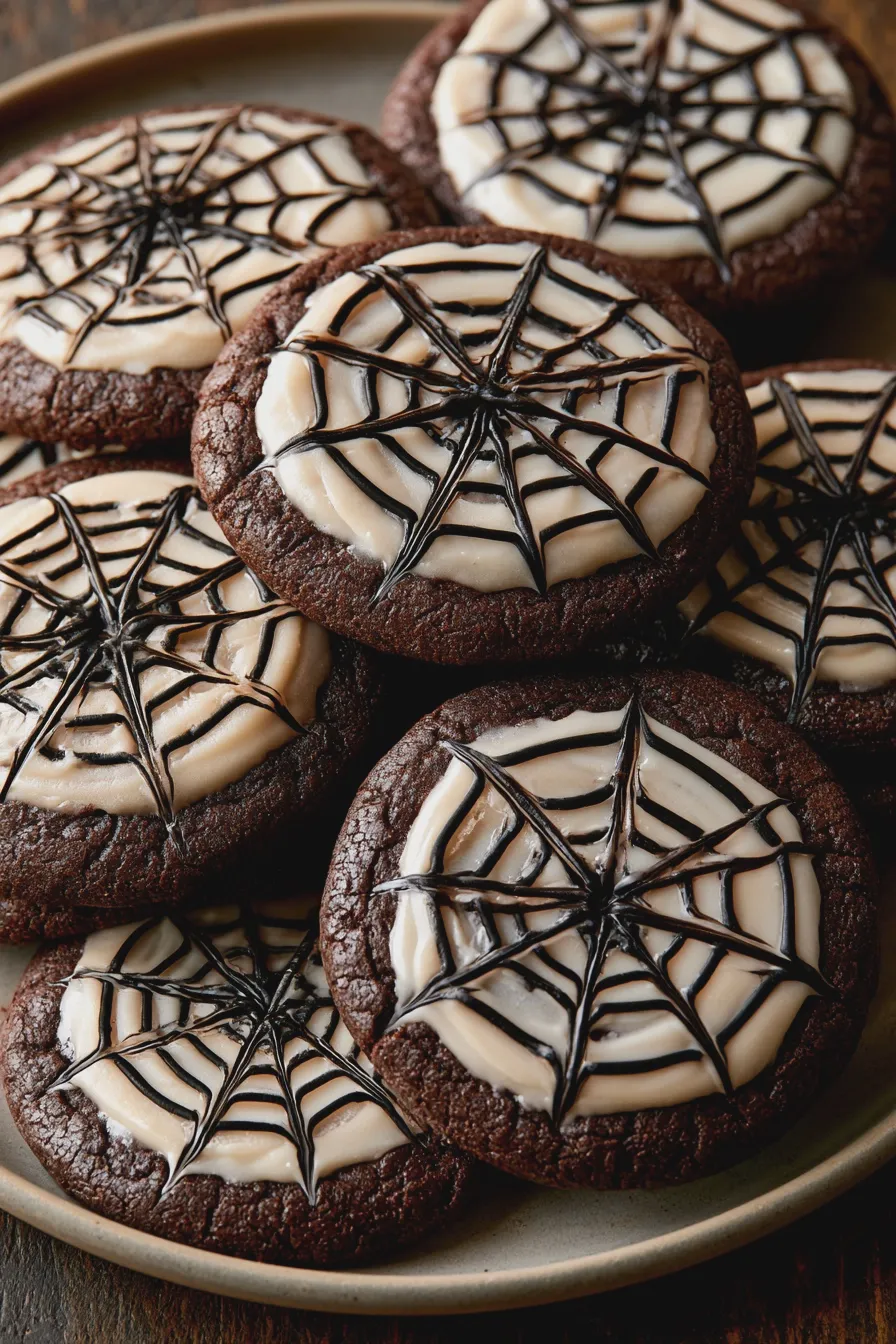
Now for the fun part: transforming your delicious chocolate cookies into spooky masterpieces! The world of decorated halloween cookies is vast and exciting. You can go for simple yet effective designs or get intricate with your chocolate cookie decorations. Royal icing is your best friend here. It dries hard and smooth, providing a perfect base for intricate details and edible embellishments.
When making royal icing, the ratio of powdered sugar to liquid (usually water or meringue powder) is key. Too much liquid, and it will be too thin to hold its shape. Too little, and it will be too stiff and difficult to work with. For outlining and flooding, you’ll want slightly different consistencies. A thicker consistency is good for piping outlines, while a thinner consistency is ideal for flooding the cookie’s surface, creating a smooth, even layer.
Another favorite of ours is the How To Cream Butter And Sugar.
Here are some ideas for your halloween baking ideas:
- Ghost Chocolate Cookies: Use a round cookie cutter as your base. Flood the cookie with white royal icing. Once dry, pipe on two black dots for eyes and a little curved line for a mouth. You can also pipe a little wavy tail at the top to make it look like a ghost is floating.
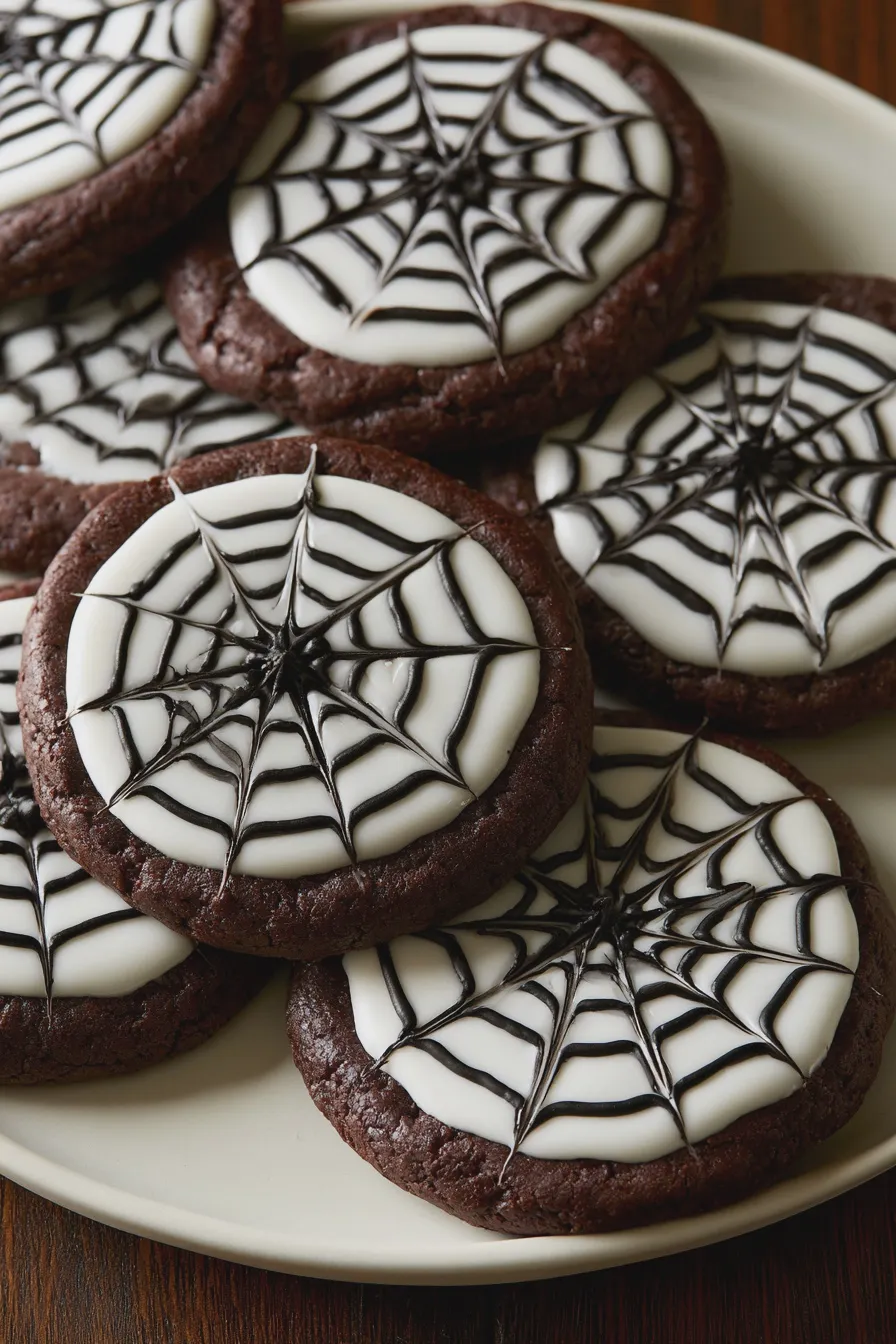
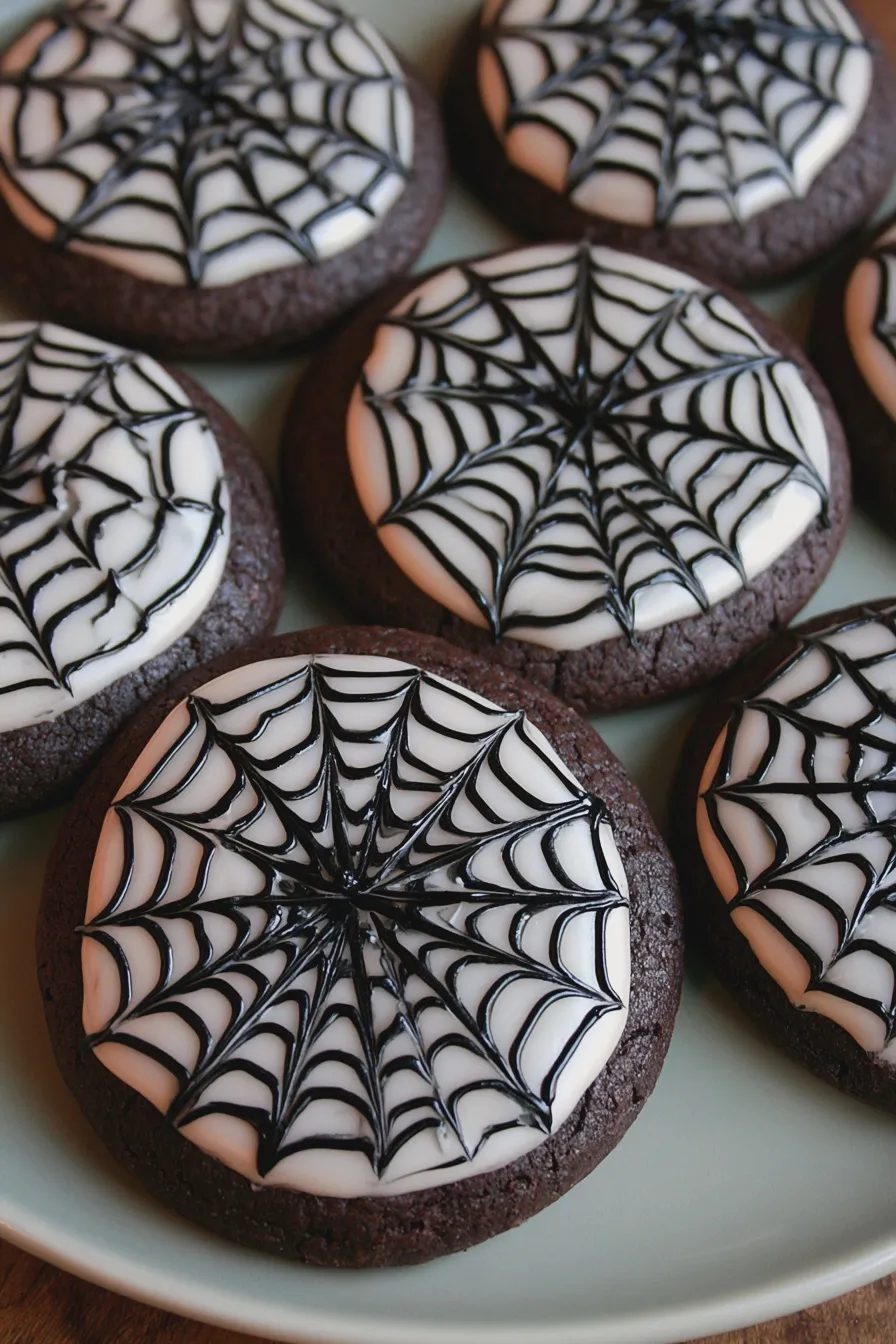
- Spiderweb Chocolate Cookies: Flood your cookies with black or dark purple royal icing. While the flood coat is still wet, use a toothpick to draw concentric circles from the center outwards. Then, drag the toothpick from the center to the edge to create a spiderweb effect. You can also add a small black spider made from edible candy or piped icing.
- Monster Chocolate Cookies: Get creative with different colored icings! Pipe on various eyes, mouths, and even horns or spikes. You can use edible googly eyes for an easy monster effect. Think mismatched eyes, jagged mouths, and colorful swirls.
- Witch Finger Chocolate Cookies: For these, you’ll want to shape your cookie dough into finger-like shapes before baking. Once cooled, use green or grey royal icing to coat the “finger.” Pipe on knuckle lines with a darker shade of icing and attach an almond sliver at the tip for a fingernail.
- Graveyard Cookies: Flood your cookies with brown or grey icing. Once dry, use black icing to write “RIP” or other spooky messages. You can also stick in chocolate cookie “tombstones” made from wafer cookies or graham crackers.
Don’t be afraid to experiment with different piping tips for varied textures and details. Edible markers are also fantastic for adding fine details like stitches or small lines. For a truly impressive display of decorated halloween cookies, consider a cookie platter with a variety of these spooky designs.
Tips for Baking the Best Spooky Chocolate Cookies
As a baking expert, I always have a few tricks up my sleeve to ensure the best results. Here are some practical baking advice for your spooky chocolate cookies recipe:
- Use Good Quality Ingredients: The better your chocolate, cocoa powder, and vanilla extract, the better your cookies will taste.
- Don’t Overmix the Dough: Overmixing develops gluten, leading to tough cookies. Mix just until combined.
- Chill Your Dough: This is non-negotiable for preventing excessive spreading and achieving a good texture.
- Use Parchment Paper: Line your baking sheets with parchment paper for even baking and easy cleanup. It also helps prevent cookies from sticking.
- Rotate Your Baking Sheets: If you’re baking multiple batches, rotate the sheets halfway through baking to ensure even browning.
- Cool Cookies Properly: Let cookies cool on the baking sheet for a few minutes before transferring them to a wire rack to cool completely. This prevents them from breaking.
- Invest in Piping Bags and Tips: While you can get by with Ziploc bags, proper piping bags and tips give you more control for detailed decorating.
- Practice Your Piping: If you’re new to royal icing, practice on a piece of parchment paper first to get a feel for the consistency and control.
Common Mistakes to Avoid with Spooky Chocolate Cookies
Even experienced bakers can make mistakes! Here are a few common pitfalls to watch out for when making your halloween chocolate cookies:
- Using Melted Butter: Softened butter is essential for creaming and creating the right cookie texture. Melted butter will cause your cookies to spread too much.
- Not Chilling the Dough Enough: Impatience can lead to flat, shapeless cookies. Give the dough adequate chill time.
- Overcrowding the Baking Sheet: Cookies need space to spread. Baking too many on one sheet will cause them to bake unevenly and stick together.
- Baking Too Long: Keep a close eye on your cookies. They can go from perfectly baked to overdone very quickly, especially darker cookies.
- Icing Too Soon: Ensure your cookies are completely cool before decorating with royal icing. Warm cookies will melt the icing.
- Incorrect Royal Icing Consistency: This is probably the most common decorating mistake. Too thin, and it runs everywhere; too thick, and it’s impossible to pipe smoothly.
Fun Variations and Ideas
Beyond the classic spooky chocolate cookies, there are so many ways to play with this recipe. For a truly unique flavor, consider adding a hint of espresso powder to the dough to deepen the chocolate flavor even further. A touch of peppermint extract can also be a delicious addition, pairing wonderfully with chocolate for a minty twist, much like you might find in mint chocolate ice cream.
If you’re looking for easy spooky cookies that don’t require extensive decorating, consider adding festive sprinkles or colorful candy melts. Melted candy melts can be drizzled over cooled cookies for a vibrant, festive look. You can also press candies into the dough before baking for embedded treats.
For those who prefer no-bake options, you can adapt this recipe by crushing your baked cookies and mixing them with a binder like cream cheese or sweetened condensed milk, then shaping them into spooky treats. These no-bake spooky chocolate cookies are a great option for a quick fix or for baking with younger children.
If you enjoyed this, you might also love our How To Make Ice Cream At Home recipe.
Consider adding other chocolate chip cookie variations to your repertoire, like zucchini chocolate chip cookies or pumpkin chocolate chip cookies for different seasonal flavors, but for Halloween, the dark, mysterious allure of black cocoa chocolate cookies is hard to beat.
Print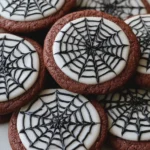
Spooky Chocolate Cookies Recipe
- Total Time: PT35M
- Yield: 24 cookies 1x
- Diet: Vegetarian
Description
Delightfully spooky and decadently chocolatey, these spiderweb cookies are perfect for Halloween parties or any occasion that calls for a touch of eerie fun. The rich chocolate base is topped with a ghostly white chocolate spiderweb, making them as visually striking as they are delicious.
Ingredients
- 1 cup (2 sticks) unsalted butter, softened
- 1 1/2 cups granulated sugar
- 2 large eggs
- 1 teaspoon vanilla extract
- 1/2 teaspoon almond extract
- 2 1/2 cups all-purpose flour
- 3/4 cup unsweetened cocoa powder
- 1 teaspoon baking soda
- 1/2 teaspoon salt
- 1 cup (6 oz) semi-sweet chocolate chips
- 1 cup white chocolate chips, for melting
- 1 tablespoon vegetable oil (for white chocolate)
Instructions
- Preheat your oven to 350°F (175°C). Line baking sheets with parchment paper.
- In a large bowl, cream together the softened butter and granulated sugar until light and fluffy.
- Beat in the eggs one at a time, then stir in the vanilla and almond extracts.
- In a separate medium bowl, whisk together the flour, cocoa powder, baking soda, and salt.
- Gradually add the dry ingredients to the wet ingredients, mixing until just combined. Stir in the semi-sweet chocolate chips.
- Drop rounded tablespoons of dough onto the prepared baking sheets, about 2 inches apart.
- Bake for 10-12 minutes, or until the edges are set. Let the cookies cool on the baking sheets for a few minutes before transferring them to a wire rack to cool completely.
- While the cookies are cooling, melt the white chocolate chips with the vegetable oil in a microwave-safe bowl in 30-second intervals, stirring in between, until smooth and pourable. Alternatively, use a double boiler.
- Transfer the melted white chocolate to a piping bag or a small zip-top bag with a corner snipped off.
- Once the cookies are completely cool, pipe a spiral of white chocolate onto each cookie, starting from the center and working your way out.
- Using a toothpick or a skewer, gently drag lines from the center of the spiral outwards to create a spiderweb effect.
- Let the white chocolate set completely before serving.
Notes
- For a richer chocolate flavor, use dark cocoa powder.
- If you don’t have almond extract, you can omit it or use an additional 1/4 teaspoon of vanilla extract.
- Ensure the cookies are completely cool before decorating with white chocolate, otherwise the chocolate will melt and spread too much.
- Store cooled cookies in an airtight container at room temperature for up to 3 days.
- Prep Time: PT20M
- Cook Time: PT12M
- Category: Cookies
- Method: Baking
- Cuisine: American
Nutrition
- Serving Size: 1 cookie
- Calories: 200
- Sugar: 20g
- Sodium: 80mg
- Fat: 12g
- Saturated Fat: 7g
- Carbohydrates: 25g
- Fiber: 2g
- Protein: 3g
- Cholesterol: 30mg







