
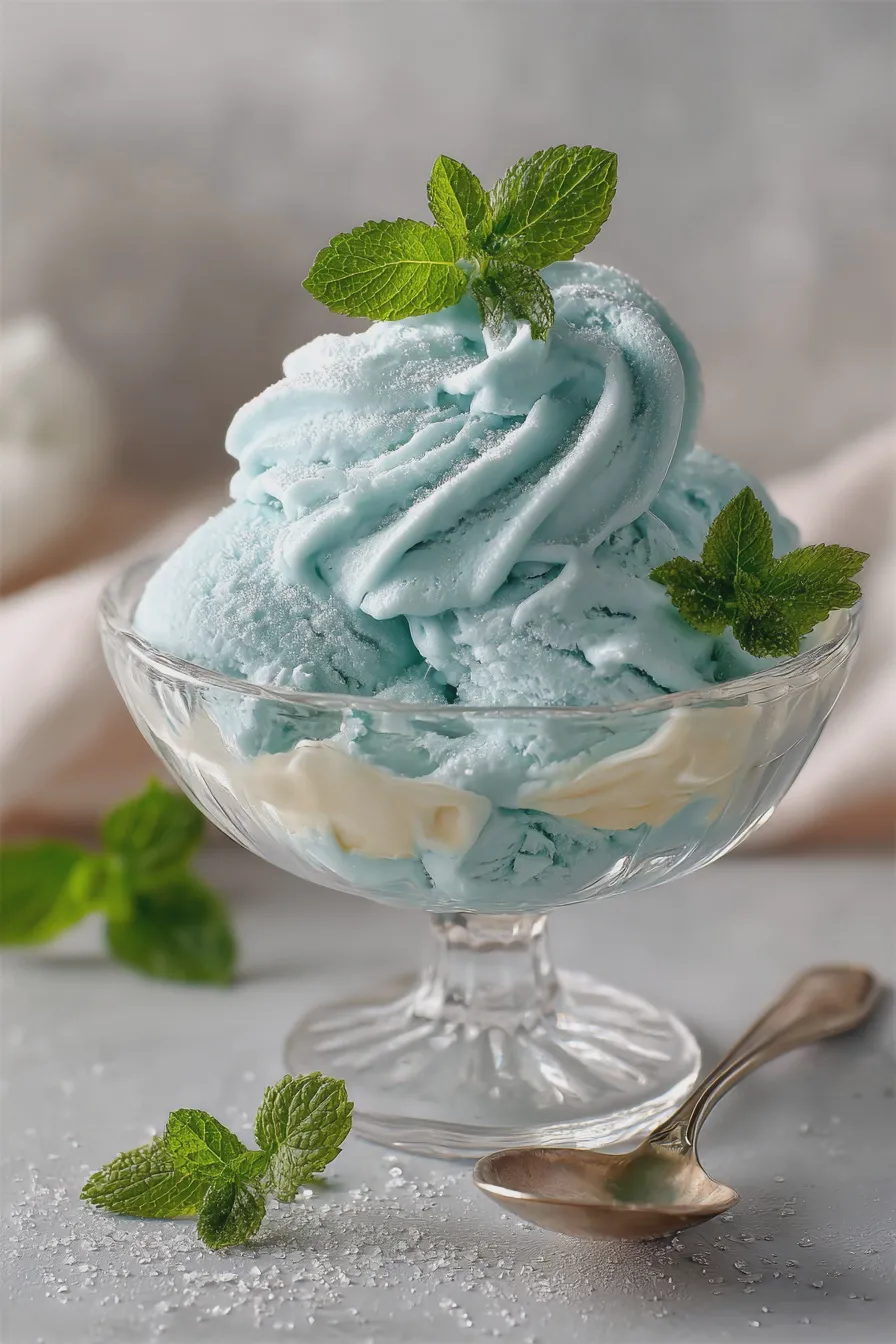
This delightful, naturally flavored snow ice cream recipe transforms fresh, clean snow into a surprisingly creamy frozen dessert, perfect for a cozy afternoon treat when winter weather makes an appearance. It’s a wonderfully simple, nostalgic way to enjoy a light, fluffy dessert without needing an ice cream maker, offering a unique texture unlike traditional churned ice cream.
When the snow falls just right, it presents a golden opportunity to create something truly special right in your kitchen. This guide details exactly how to harness that pristine ingredient to make a wonderful, light frozen treat that tastes like a dream. Whether you are looking for a simple activity to do with the grandkids or just a new way to enjoy a chilly day, this is the perfect recipe.
What is Snow Ice Cream and Why You Should Try It
This simple frozen dessert relies on fresh, clean snow as its base, which provides an incredibly light, airy texture often described as fluffy snow ice cream. Unlike typical desserts that require heavy cream or lengthy churning, this preparation is incredibly minimalist, focusing on the freshness of the primary ingredient. If you are curious about how to make snow ice cream, the process is remarkably straightforward, often involving just a few common pantry staples alongside your collected snow.
Many people enjoy this because it connects them to childhood memories or offers a unique, almost ethereal texture that melts beautifully on the tongue. It’s one of those fun, seasonal activities that result in a delicious reward, much like baking gingerbread cookies during the holidays. For those interested in exploring other simple, comforting desserts, you can find great inspiration for techniques used in preparing banana brownies.
Essential Snow Ice Cream Ingredients
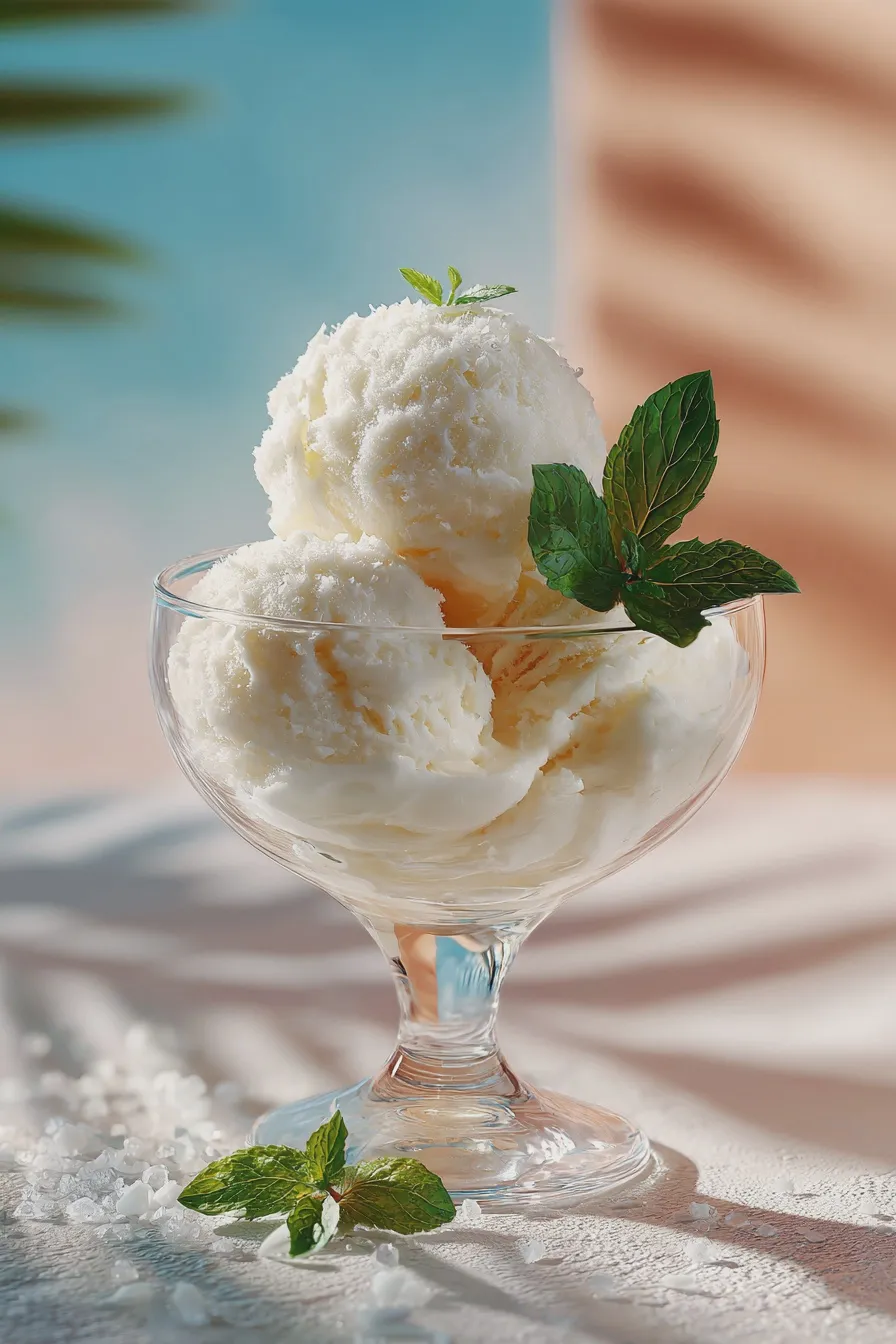
The beauty of this recipe lies in its short ingredient list; you don’t need elaborate components to achieve a fantastic result. Gathering the right snow is the most crucial first step to ensure your frozen dessert with snow is both safe and delicious.
Selecting and Preparing the Snow
You must only use the first few inches of fresh, clean, white snow that has fallen recently and hasn’t been contaminated by road salt, dirt, or large debris. Avoid any snow that looks wet, yellowed, or has been sitting for more than a few hours, as freshness is key to making the best snow ice cream recipe. A clean, large bowl and a clean scoop are all you need to gather enough for a batch of this delicious frozen treat.
The Dairy and Sweetener Base
The liquid components bind the snow crystals together, creating that signature creamy yet light mouthfeel characteristic of ice cream made with snow. You will need whole milk or heavy cream for the richest texture, though lighter milks work for a healthier snow ice cream option.
- 4 cups Freshly gathered, clean snow (packed lightly)
- 1 cup Whole Milk or Heavy Cream (adjust for desired richness)
- 1/2 cup Granulated Sugar (or to taste; start with less if using sweetened condensed milk)
- 1 teaspoon Vanilla Extract (pure extract provides the best flavor)
- Pinch of Salt (enhances the overall sweetness)
Flavor Variations and Add-Ins
While the base recipe is lovely, flavor is where you can truly customize your creation, moving beyond a simple shaved ice cream recipe into something truly memorable. Think about pairing vanilla with complementary flavors like citrus zest or a touch of cinnamon for a truly unique ice cream experience.
- 1/4 cup Chocolate Syrup or Maple Syrup (for added sweetness and color)
- Zest of 1 small Lemon or Orange (for a bright, fresh note)
- 1/2 teaspoon Ground Cinnamon or Nutmeg (especially nice for winter dessert ideas)
- Optional: A few drops of food coloring if you want a vibrant look, similar to a homemade snow cone recipe.
How to Make Snow Ice Cream Recipe

Once you have your ingredients ready, the assembly process moves quickly because the snow base melts fast, so have everything measured out beforehand. This is a wonderful example of a snow cream recipe no churn style that comes together in minutes when the weather cooperates.
Step 1: Prepare the Sweetened Liquid
In a medium bowl, whisk together the milk (or cream), sugar, vanilla extract, and a pinch of salt until the sugar is mostly dissolved. If you are using any liquid flavorings like chocolate syrup, stir them in now to ensure even distribution throughout the base. This liquid mixture is what transforms the icy snow into a true frozen dessert with snow.
Step 2: Tempering the Snow
Gently fold about half of your clean snow into the liquid mixture using a rubber spatula, working quickly to incorporate everything without over-mixing. You are aiming for a consistency that resembles a very loose, slightly slushy batter, which is the key to achieving that fluffy snow ice cream texture. If you find the mixture is too thin, add a little more snow immediately.
Step 3: Achieving the Final Texture
Add the remaining snow and continue to fold gently until the mixture thickens slightly and holds its shape somewhat when lifted on the spatula. The goal here is incorporation, not whipping, which ensures you maintain the airy structure that makes this an easy snow dessert. If you prefer a richer texture, you might want to look into techniques similar to those used for making no-bake strawberry cheesecake, which relies on high-fat content for creaminess.
Step 4: Flavor Adjustments and Serving
Taste a small spoonful and adjust the sweetness or add your spices now, keeping in mind that flavors become slightly muted when frozen. Serve the dessert immediately in chilled bowls, as this is best eaten right away for the optimal light texture and temperature experience. For even more decadent options, consider topping this with a swirl of rich chocolate ganache, similar to what you might use on peppermint brownies.
Tips for the Best Fluffy Snow Ice Cream
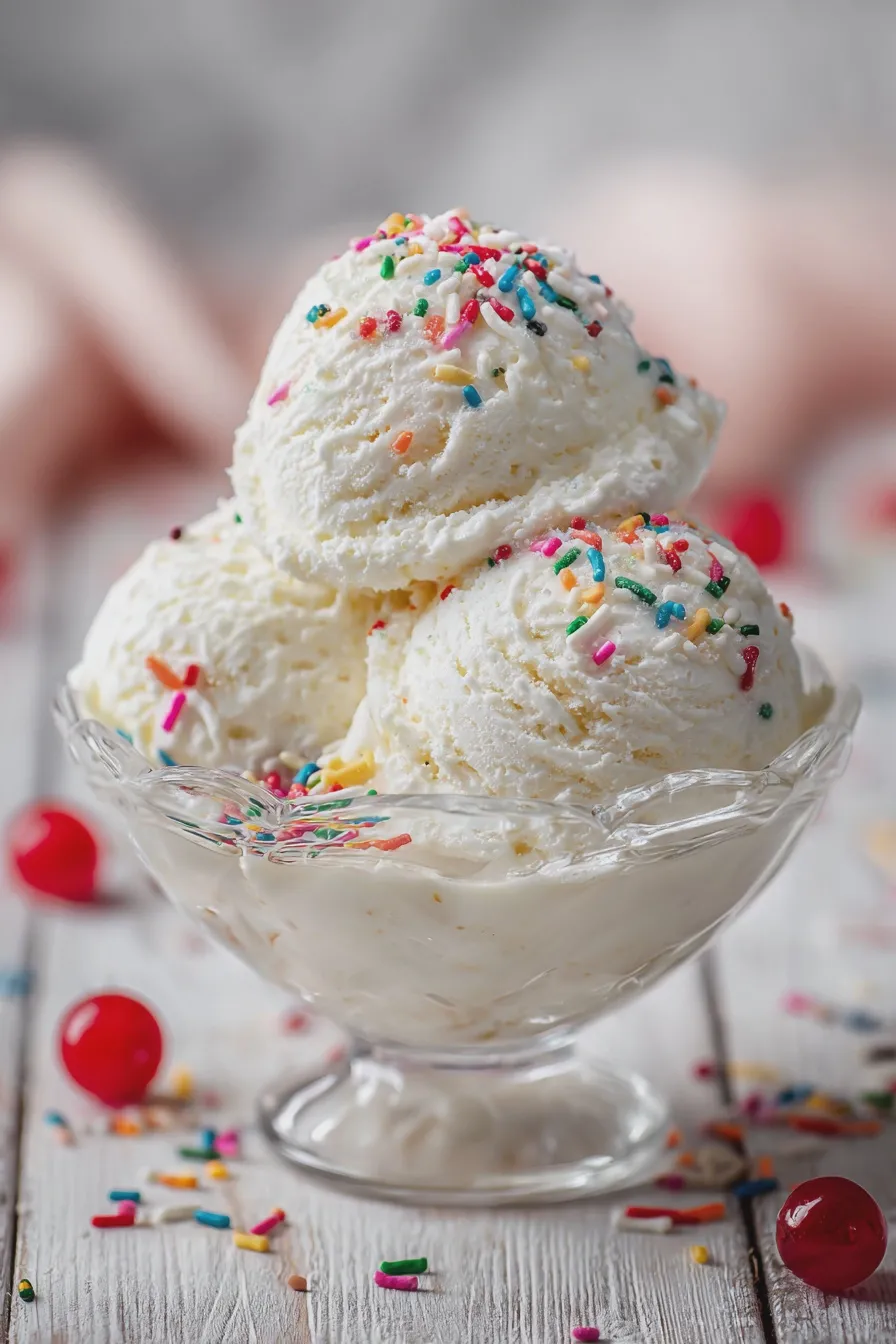
Achieving that perfect, light texture requires attention to detail regarding temperature and mixing technique, which separates a good batch from a truly memorable one. Remember, the enemy of this dessert is heat, so work efficiently and keep your serving dishes cool.
Temperature Control is Crucial
Keep your mixing bowl chilled in the freezer for at least 15 minutes before you begin mixing to slow down the melting process significantly. If you notice the mixture becoming too liquidy while folding, quickly incorporate a cup of fresh snow to firm it back up before continuing. This technique is vital for any frozen treat where you want maximum air incorporated, much like when preparing strawberry puff pastries.
Sweetness Balance and Syrup Alternatives
Because the snow is essentially frozen water, it dilutes the sweetness as it melts, so you might need slightly more sugar than you think, but always add gradually. If you are looking for snow cone syrup alternatives that are less processed, try using pure fruit purees or concentrated fruit juices mixed into the base liquid instead of just sugar.
Storage and Leftovers
This dessert does not store well for long periods because the texture degrades rapidly upon refreezing, losing its delicate fluffiness as it turns icy. If you must save some, transfer it to an airtight container and place it in the coldest part of your freezer, but be prepared to let it sit out for 15 minutes to soften slightly before eating.
Serving Suggestions and Snow Cream Toppings
Presentation elevates this simple dessert, turning a backyard activity into a charming, plated sweet treat suitable for guests. Think about contrasting textures and temperatures when choosing your snow cream toppings.
Classic and Simple Toppings
A drizzle of high-quality maple syrup or a dusting of cinnamon sugar never fails to complement the clean flavor of the snow base. For a richer experience, a spoonful of homemade whipped cream or a scattering of toasted nuts adds a welcome textural crunch.
Gourmet Touches for a Unique Ice Cream Recipes
To elevate this beyond basic preparation, consider adding a spoonful of homemade fruit compote, which offers a warm counterpoint to the cold dessert. A light dusting of finely grated dark chocolate or a drizzle of salted caramel sauce turns this into a sophisticated winter dessert idea. Alternatively, for a richer, brownie-like pairing, you could serve small scoops alongside a square of rich chocolate dessert, such as our Oreo brownies.
Print
snow ice cream recipe Easy Homemade
- Total Time: PT5M
- Yield: 4 servings 1x
- Diet: Vegetarian
Description
Experience the magic of making instant ice cream right from freshly fallen snow! This incredibly simple recipe requires only a few pantry staples and turns fresh, clean snow into a delightful, fluffy dessert in minutes. Perfect for a fun, spontaneous winter activity.
Ingredients
- 4 cups Fresh, clean, white snow (packed lightly)
- 1 cup Heavy Cream (or half-and-half for lighter results)
- 1/2 cup Granulated Sugar
- 1 teaspoon Vanilla Extract
- Pinch of Salt
Instructions
- Collect Snow: Go outside immediately after a fresh snowfall. Ensure the snow is clean, white, and not packed down. Scrape the top layer into a large bowl (you need about 4 cups).
- Mix Wet Ingredients: In a separate medium bowl, whisk together the heavy cream, granulated sugar, vanilla extract, and salt until the sugar is mostly dissolved (about 1 minute).
- Combine: Pour the cream mixture over the snow in the large bowl.
- Stir Vigorously: Using a sturdy spatula or spoon, begin stirring the mixture quickly and vigorously. The sugar will help lower the freezing point, causing the mixture to thicken rapidly. Keep stirring for 2 to 3 minutes.
- Check Consistency: The mixture will transition from slushy to a soft-serve consistency very quickly. If it seems too soft, you can add a small amount of extra snow, stirring quickly.
- Serve Immediately: Scoop the snow ice cream into bowls and serve instantly for the best texture. Top with sprinkles, chocolate sauce, or fruit if desired.
Notes
- Safety First: Only use clean, white snow that has fallen recently. Avoid snow near roads, driveways, or areas where pets frequent. If in doubt, do not consume.
- Texture Tip: The key to perfect snow ice cream is speed! Stirring quickly incorporates air and prevents it from melting too fast.
- Flavor Variations: Substitute vanilla extract with almond or peppermint extract. You can also fold in chocolate chips or cocoa powder before serving.
- Prep Time: PT3M
- Cook Time: 0 minutes
- Category: Frozen Desserts
- Method: No-Cook
- Cuisine: American
Nutrition
- Serving Size: 1/2 cup
- Calories: 250
- Sugar: 20g
- Sodium: 45mg
- Fat: 18g
- Saturated Fat: 11g
- Carbohydrates: 22g
- Protein: 3g







