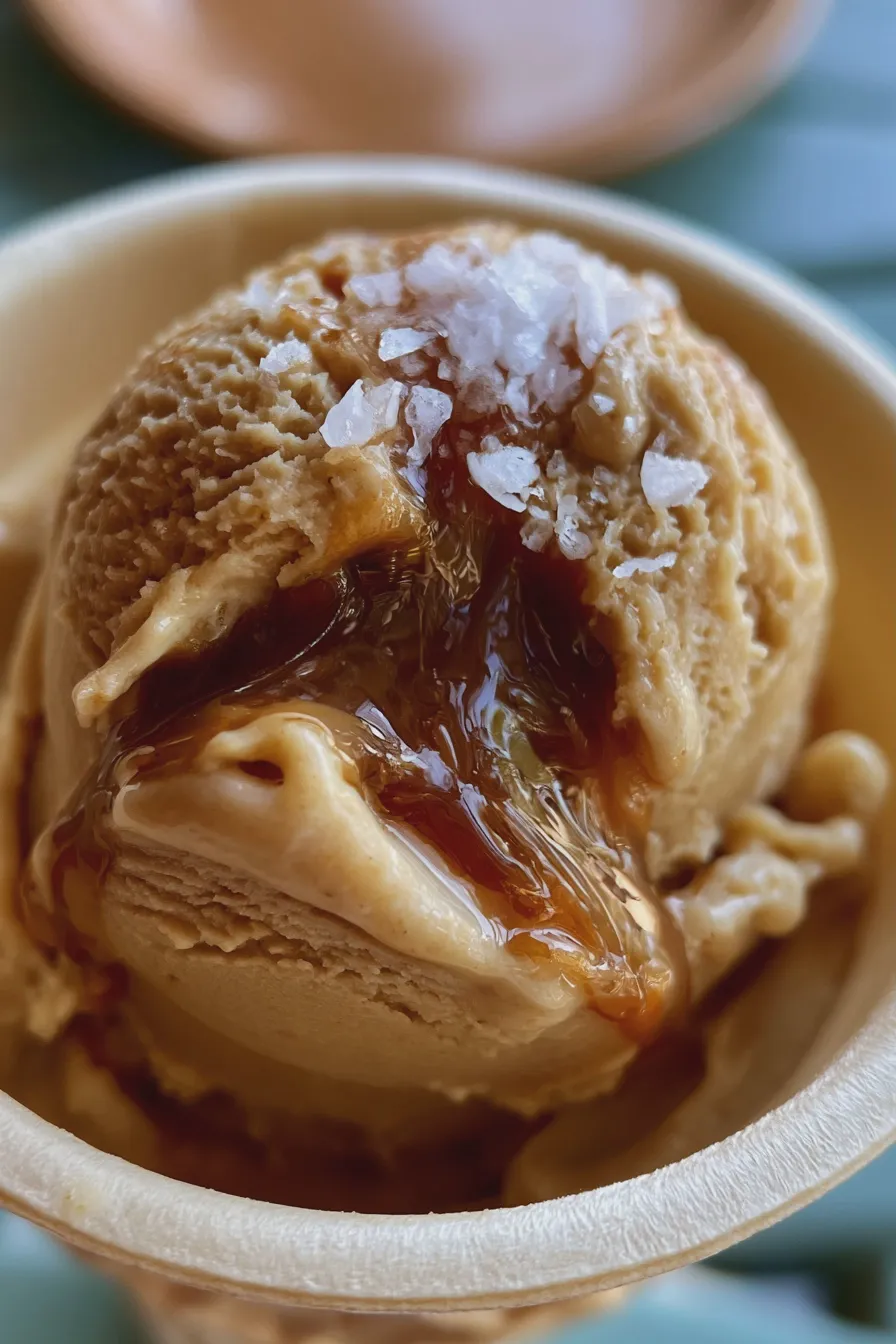
This classic homemade salted caramel ice cream blends the velvety smoothness of premium ice cream with ribbons of rich, buttery, salty caramel, creating the ultimate sweet and salty treat. It’s an incredibly satisfying frozen dessert that tastes far superior to anything store-bought, perfect for impressing guests or enjoying on a warm summer evening.
The Secret to Irresistible Homemade Salted Caramel Ice Cream
Making a truly exceptional batch of salted caramel ice cream starts with understanding the balance between sweet, salty, and creamy; achieving that perfect texture requires careful temperature control during the caramel-making process. Unlike many quick fixes, this recipe focuses on developing a deep, complex caramel flavor that stands up beautifully against the cold, ensuring every scoop delivers that satisfying punch of flavor you crave in gourmet ice cream flavors. If you are looking for other incredible homemade treats, you might enjoy exploring how to make delicious lemon bars for a bright contrast.
Gathering Your Ingredients for Rich Caramel Ice Cream
The quality of your ingredients directly impacts the final texture and taste of this frozen dessert recipes, so choosing fresh, high-quality components is key to achieving the best homemade salted caramel sauce. We need a solid foundation for our base, which is why whole milk and heavy cream are essential for that rich caramel ice cream mouthfeel.
- 1 cup Granulated Sugar (for the caramel)
- 6 Tablespoons Unsalted Butter, cut into pieces (for the caramel)
- 1/2 cup Heavy Cream, warmed slightly (for the caramel)
- 1 teaspoon Flaky Sea Salt for Ice Cream, plus more for finishing
- 2 cups Heavy Cream (for the ice cream base)
- 1 cup Whole Milk (for the ice cream base)
- 3/4 cup Granulated Sugar (for the ice cream base)
- 1/4 teaspoon Fine Sea Salt (for the ice cream base)
- 1 Tablespoon Vanilla Extract (or 1 scraped vanilla bean pod for the best homemade ice cream flavor)
When substituting sweeteners, remember that using honey versus sugar in baking can alter moisture levels significantly, which is something to keep in mind if you decide to experiment with the base mixture later on.
Mastering How to Make Salted Caramel
This is arguably the most crucial step, as a poorly made caramel will either crystallize or taste burnt, so pay close attention to the color development when cooking the sugar. For the absolute best results in this caramel ice cream recipe, I highly recommend using a light-colored, heavy-bottomed saucepan so you can accurately monitor the deepening amber hue.
Begin by placing the 1 cup of sugar into your saucepan over medium heat without stirring, allowing the edges to melt completely before gently swirling the pan occasionally. Once the sugar has melted into a deep amber color—like dark honey—immediately remove it from the heat and whisk in the cubed butter until fully incorporated and smooth. Next, carefully pour in the warmed heavy cream while whisking constantly; be aware that the mixture will bubble vigorously, so stand back to avoid splatters. Once the caramel is smooth again, stir in the 1 teaspoon of flaky sea salt, then pour the homemade salted caramel sauce into a heatproof bowl to cool completely before using it in your ice cream maker recipes.
Creating the Perfect Vanilla Bean Ice Cream Base
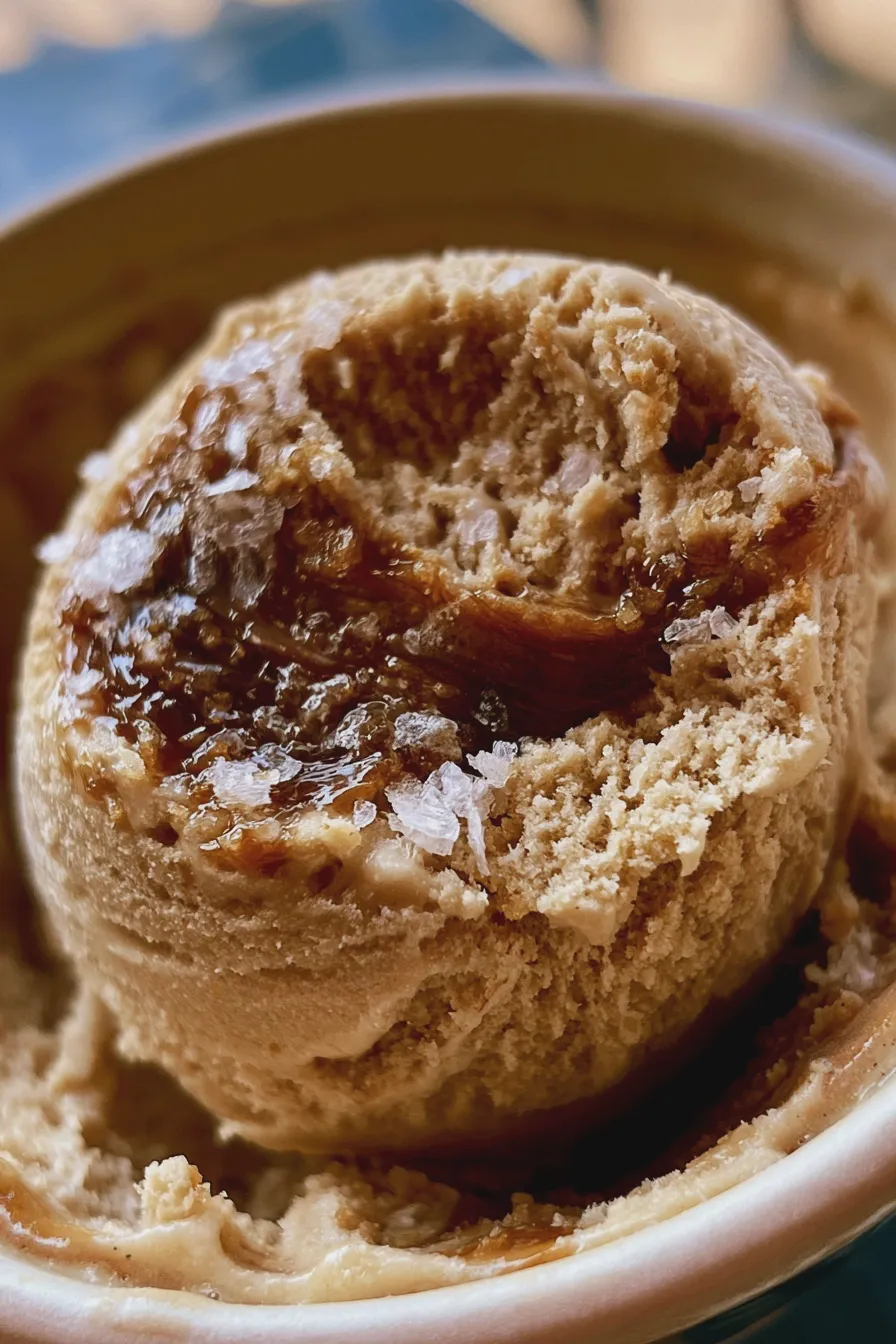
A fantastic caramel swirl needs an equally stellar base, and this classic custard-style preparation ensures that your churned ice cream recipes result in a smooth, scoopable texture that rivals professional parlors. While you certainly can make a no churn salted caramel ice cream, using an ice cream maker truly elevates the final product, yielding a superior texture. For those who prefer a simpler approach without churning, consider researching snickerdoodle cookies as an alternative no-churn treat.
Tempering the Eggs for a Stable Custard
To create our vanilla bean ice cream base, we first need to gently heat the dairy and then temper the egg yolks to prevent them from scrambling into lumps. In a medium saucepan, combine the 2 cups heavy cream, whole milk, 3/4 cup sugar, and 1/4 teaspoon fine salt, warming it over medium heat until steam rises and small bubbles form around the edges, but do not boil. While the milk heats, whisk your egg yolks in a separate bowl until they lighten slightly in color.
To temper, slowly ladle about one cup of the hot dairy mixture into the egg yolks while whisking vigorously and continuously; this gradual warming brings the yolks up to temperature safely. Once tempered, pour the yolk mixture back into the saucepan with the remaining dairy and continue to cook over low heat, stirring constantly with a rubber spatula until the mixture thickens enough to coat the back of the spoon, reaching about 175°F. This thickening process is essential for achieving that decadent desserts mouthfeel.
Chilling and Preparing for Churning
Proper chilling is non-negotiable for achieving the right consistency in your ice cream maker recipes because the base must be thoroughly cold before churning begins. Stir in the vanilla extract after removing the custard from the heat, then strain the mixture through a fine-mesh sieve into a clean bowl to catch any small bits of cooked egg or vanilla bean pod remnants. Cover the bowl tightly with plastic wrap, pressing it directly onto the surface of the custard to prevent a skin from forming, and chill in the refrigerator for at least 6 hours, or preferably overnight.
If you are interested in exploring more complex dairy preparations, researching different techniques for making peanut butter brownies can offer insights into working with rich fats and sugars. Ensure your ice cream maker bowl is fully frozen according to the manufacturer’s instructions before proceeding.
Churning and Layering the Salted Caramel Ice Cream
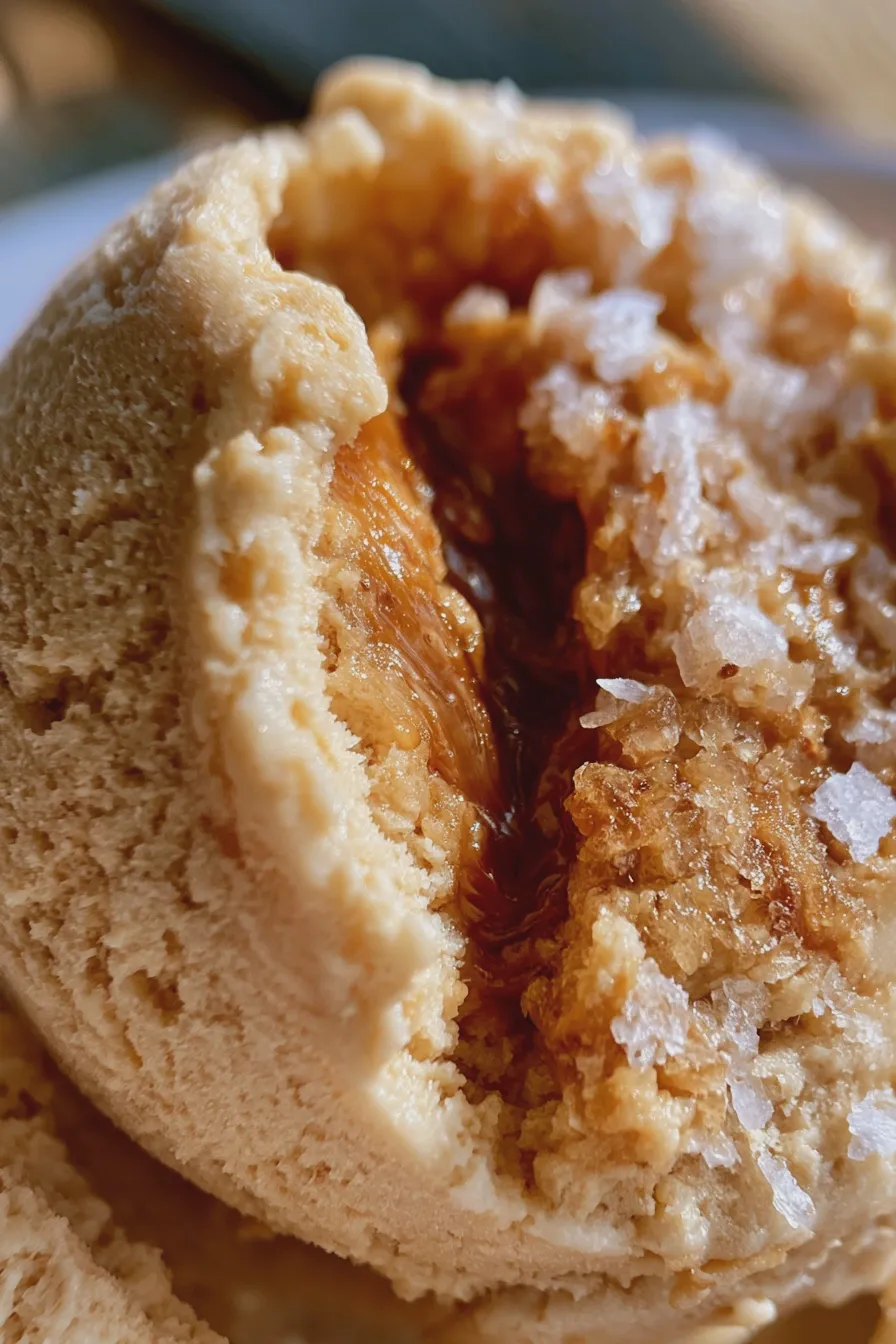
The churning process aerates the base, creating the desirable light texture, while the layering technique ensures you get distinct ribbons of the homemade salted caramel sauce throughout the frozen dessert recipes. If you are aiming for the absolute best salted caramel ice cream, take care not to over-churn, which can sometimes lead to an icy texture rather than a creamy one.
The Churning Process
Pour the thoroughly chilled vanilla base into your ice cream maker and churn according to the machine’s specific instructions, which usually takes between 20 to 30 minutes. The mixture will start to resemble soft-serve consistency when it is properly churned; this is the perfect stage to begin adding your caramel swirls. If you are trying to make a dairy-free salted caramel version, you would adjust the base ingredients significantly, but for this classic recipe, stick to the dairy for maximum richness.
When the ice cream is nearly done churning, slowly drizzle in about half of your cooled homemade salted caramel sauce during the last minute of churning, allowing it to incorporate slightly without fully mixing in. This gentle incorporation ensures you have large pockets of flavor rather than a uniformly mixed caramel color, which elevates this beyond simple quick dessert recipes.
Layering for Maximum Swirl Effect
To achieve those beautiful, distinct ribbons, you will layer the semi-frozen ice cream with the remaining caramel in an airtight container. Alternate layers of the churned ice cream and generous spoonfuls of the remaining cooled caramel sauce, ensuring you use the flaky sea salt for ice cream over the caramel layers for that final salty pop. Gently swirl the layers together once or twice with a butter knife—do not overmix, as you want definition between the flavors.
For the final touch, sprinkle a tiny bit more of the flaky sea salt over the top layer before sealing the container tightly; this enhances the sweet and salty treats experience beautifully. If you are looking for other ways to use this rich caramel, consider topping a classic strawberry shortcake with a drizzle.
Freezing and Serving Your Decadent Desserts
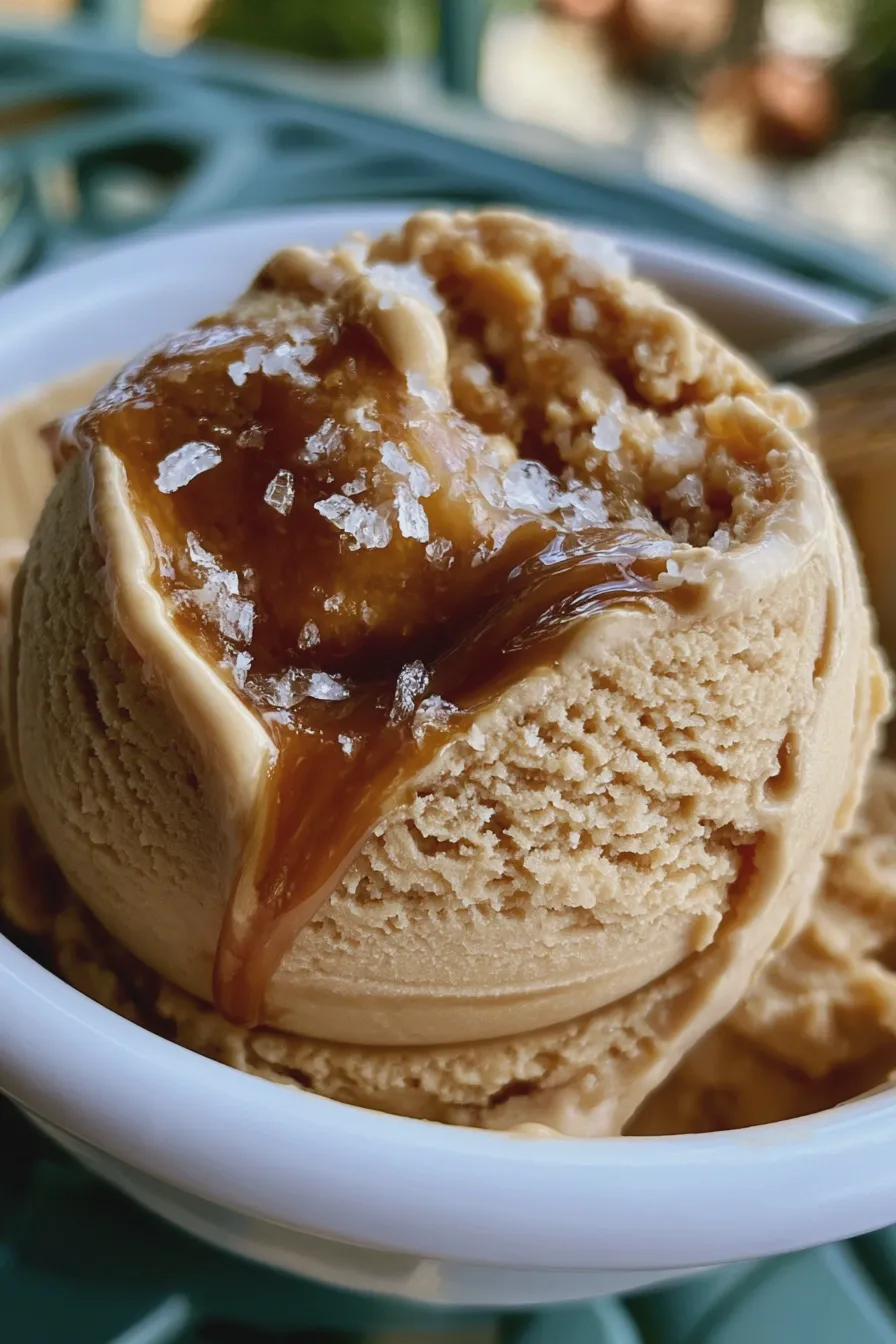
The final hardening stage, or “ripening,” is crucial to transform the soft-serve texture into firm, scoopable frozen dessert recipes that hold their shape well. While this recipe is excellent on its own, you can also explore how to incorporate floral notes, similar to those found in lavender cookies, into future frozen creations.
The Hardening Process
Place the layered container into the back of your freezer, which is usually the coldest spot, and allow the ice cream to freeze solid for at least 4 to 6 hours before attempting to scoop. If you plan to make a large batch, consider using smaller, shallower containers rather than one very deep one, as this speeds up the hardening time significantly. Properly storing this best homemade ice cream ensures the texture remains creamy over time.
Serving Suggestions
When ready to serve your rich caramel ice cream, let it sit on the counter for 5 to 10 minutes to soften slightly, making scooping much easier and showcasing the texture better. This frozen delight pairs wonderfully with warm, freshly baked goods or a simple side of dark chocolate shavings for an extra layer of decadence. For those who prefer a lighter dessert, perhaps researching the differences between honey vs sugar in baking might inspire lighter toppings next time.
Print
salted caramel ice cream Homemade Recipe
- Total Time: PT4H35M
- Yield: About 1.5 Quarts 1x
- Diet: Vegetarian
Ingredients
- 1 cup (200g) granulated sugar (for caramel)
- 1/2 cup (120ml) heavy cream (warm, for caramel)
- 6 tablespoons (85g) unsalted butter, cut into pieces (for caramel)
- 1 teaspoon flaky sea salt (plus extra for topping)
- 2 cups (480ml) heavy whipping cream (cold, for base)
- 1 (14-ounce) can sweetened condensed milk (cold, for base)
- 1 teaspoon vanilla extract
Instructions
- Make the Caramel: In a medium, heavy-bottomed saucepan, melt the granulated sugar over medium heat without stirring. Allow it to dissolve completely and turn a deep amber color (about 8-10 minutes). Watch carefully to prevent burning.
- Remove the pan from the heat. Carefully whisk in the warm heavy cream (it will bubble vigorously). Whisk until smooth.
- Whisk in the butter pieces one at a time until fully incorporated. Stir in 1 teaspoon of flaky sea salt. Let the caramel cool completely to room temperature (about 30-45 minutes).
- For Churned Ice Cream: In a large bowl, whisk together the cold heavy whipping cream, cold sweetened condensed milk, and vanilla extract until stiff peaks form (about 3-5 minutes with an electric mixer).
- Gently fold about 3/4 cup of the cooled salted caramel sauce into the whipped cream mixture until just marbled.
- Pour the mixture into your ice cream maker and churn according to the manufacturer’s instructions (usually 20-30 minutes) until it reaches a soft-serve consistency.
- Transfer to an airtight container, drizzle with a little extra caramel sauce, and sprinkle with flaky sea salt. Freeze for at least 4 hours to firm up.
- For No-Churn Ice Cream: Whisk together the cold heavy whipping cream, cold sweetened condensed milk, and vanilla extract until stiff peaks form.
- Gently fold in the cooled salted caramel sauce until lightly marbled (do not overmix).
- Pour the mixture into a loaf pan or freezer-safe container. Cover tightly with plastic wrap pressed directly onto the surface, then foil. Freeze for a minimum of 6 hours, or until firm.
Notes
- For the best flavor, use high-quality sea salt, such as Maldon, for finishing.
- If the caramel seizes when adding the cream, return it to very low heat and whisk gently until smooth again.
- Store leftovers tightly sealed to prevent ice crystals from forming.
- Prep Time: PT20M
- Cook Time: PT15M
- Category: Frozen Desserts
- Method: Churned or No-Churn
- Cuisine: American
Nutrition
- Serving Size: 1/2 cup
- Calories: 380
- Sugar: 35g
- Sodium: 180mg
- Fat: 24g
- Saturated Fat: 14g
- Carbohydrates: 38g
- Fiber: 0g
- Protein: 5g