Get ready for some spooky fun with these rice krispie halloween treats! These no-bake delights are easy to customize with festive colors and shapes, making them perfect for any Halloween party or just a fun afternoon activity with the kids. They offer a delightful chewy texture with a hint of sweetness that everyone will love.
Introduction
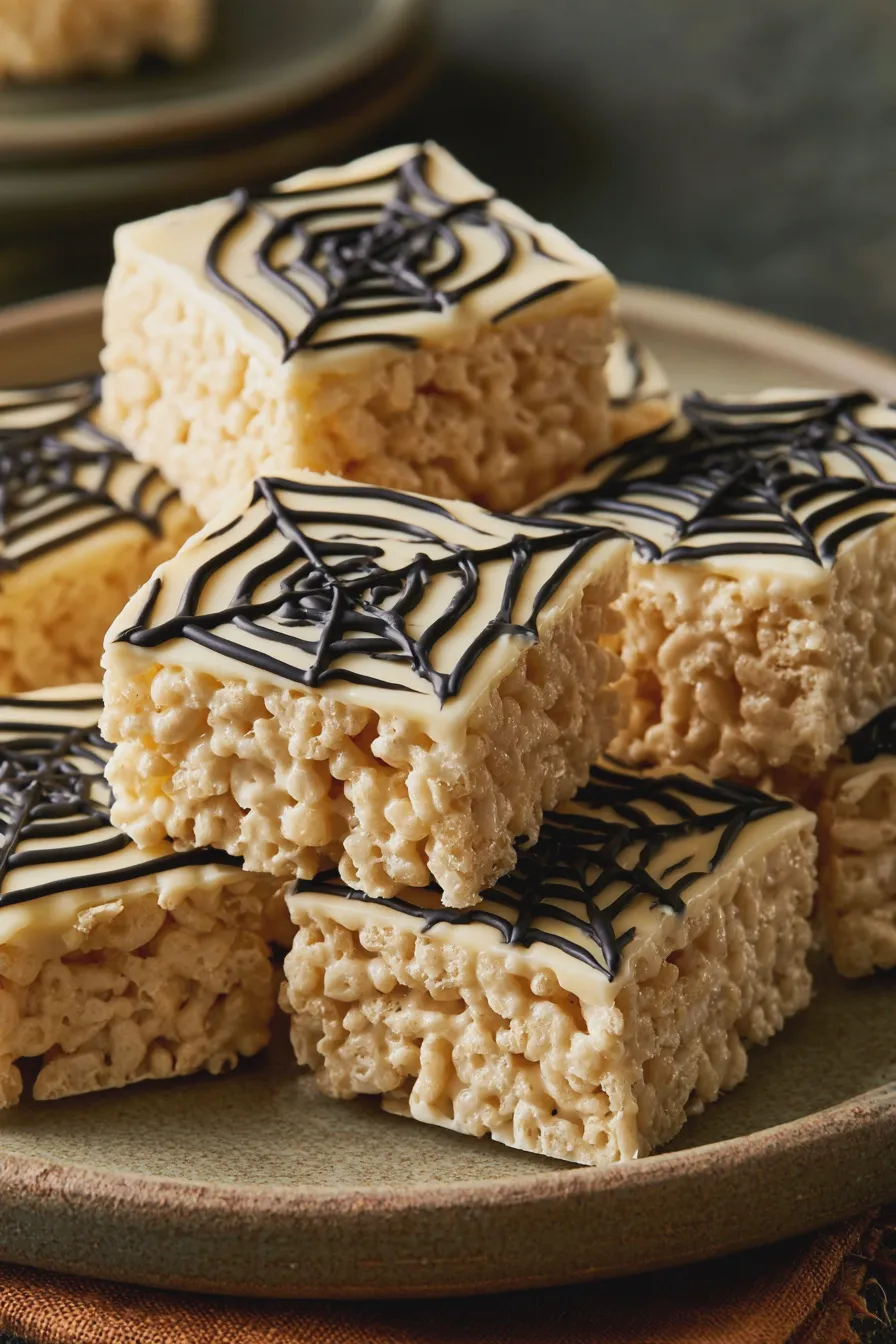
Halloween is a fantastic time for creative baking, and these rice krispie halloween treats are a star player in any spooky spread. They’re incredibly versatile, allowing you to transform the classic cereal treat into something truly festive, from grinning jack-o’-lanterns to creepy crawly monsters. If you’re looking for easy halloween desserts that are always a crowd-pleaser, this is it.
The beauty of this krispie treats recipe lies in its simplicity and adaptability, making it one of the most approachable easy halloween recipes you can whip up. You can achieve a variety of themes with just a few extra ingredients and a bit of imagination, ensuring your halloween party food is both impressive and delicious.
Classic Rice Krispie Treats Recipe Base
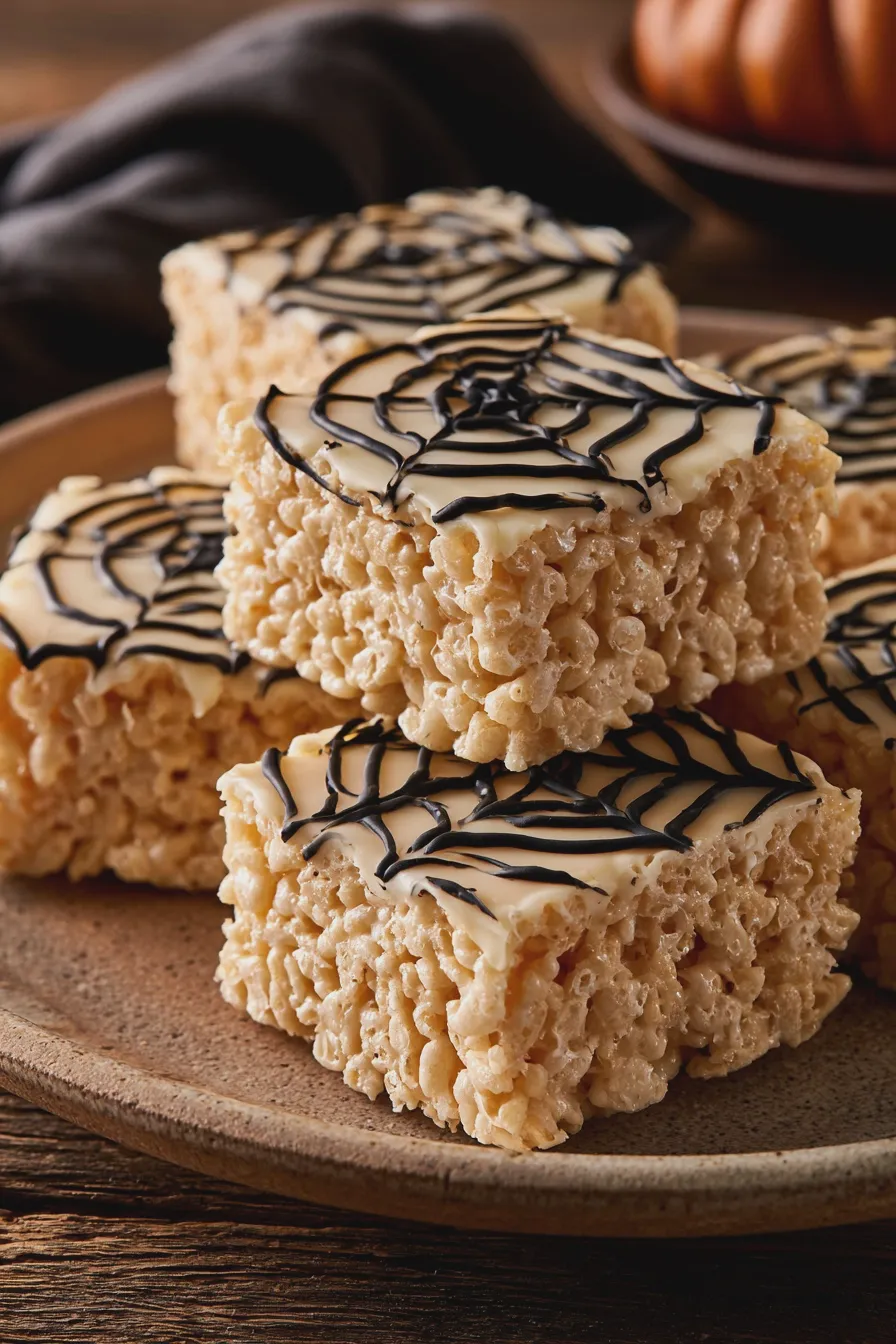
At the heart of every great Halloween creation is a solid foundation, and for these festive treats, that means a perfectly executed classic rice krispie treats recipe. This base is what allows for all the fun variations and decorations that make them so special for the season.
Ingredients for the Base
- 6 cups crispy rice cereal
- 1 package (10 ounces, about 40) marshmallows, or 4 cups mini marshmallows
- 3 tablespoons butter
- 1 teaspoon vanilla extract (optional, but recommended for extra flavor)
Equipment Needed
- Large saucepan
- Spatula or wooden spoon
- 9×13 inch baking pan
- Parchment paper or wax paper
Melting the Marshmallows
Begin by melting the butter in a large saucepan over low heat. Once the butter is mostly melted, add the marshmallows and stir constantly until they are completely smooth and melted. This gentle melting process prevents the marshmallows from scorching and ensures a smooth consistency for your treats.
For an extra touch of flavor, stir in the vanilla extract once the marshmallows are fully melted. This simple addition can elevate the taste of your base krispie treats, making them even more irresistible. Be sure to keep the heat low to avoid burning the marshmallow mixture.
Combining Cereal and Marshmallow Mixture
Remove the saucepan from the heat and immediately add the crispy rice cereal. Gently fold the cereal into the melted marshmallow mixture until it’s evenly coated. It’s important to work relatively quickly at this stage so the mixture doesn’t start to set before you can press it into the pan.
A good tip is to use a lightly buttered spatula or your hands (lightly greased with butter or cooking spray) to help mix the cereal. This prevents sticking and ensures all the cereal gets coated with the gooey marshmallow goodness for that perfect chewy texture.
Pressing into the Pan
Lightly grease your 9×13 inch baking pan with butter or cooking spray, or line it with parchment paper. This step is crucial to prevent the sticky treats from adhering to the pan, making for easy removal later. You can also grease the back of a spoon or a piece of wax paper to help press the mixture evenly.
Carefully spread the cereal mixture into the prepared pan, pressing it down gently and evenly. Avoid pressing too firmly, as this can result in dense, hard treats; aim for a light, even layer that holds together well. This even pressing ensures uniform thickness for all your fudgy spring brownies-like texture.
Creative Rice Krispie Halloween Treats Variations
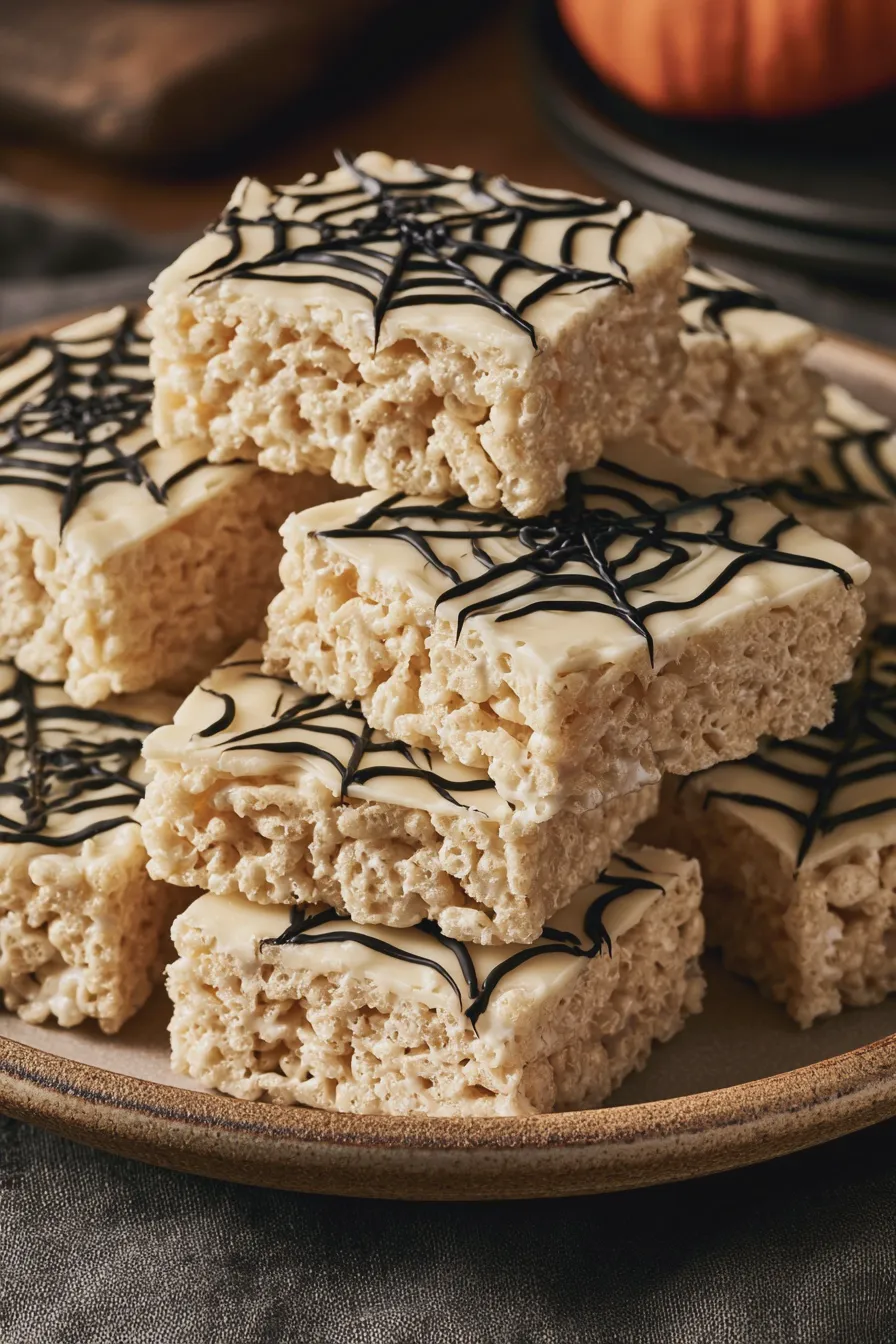
Once you have your classic base ready, the real fun begins with transforming them into spooky and festive delights. These variations are simple to achieve and make your halloween candy creations stand out.
Spooky Ghost Rice Krispie Treats
For these adorable ghost rice krispie treats, you’ll need white candy melts or white chocolate chips. Melt the candy melts according to package directions and dip your cooled, cut treats into the white coating, allowing excess to drip off. Alternatively, you can spread the melted candy melts thinly onto wax paper and cut out ghost shapes once hardened.
Once the white coating is set, use black edible food marker or small dots of black icing to draw on ghost eyes and a mouth. These ghost rice krispie treats are a classic for a reason and are always a hit with kids and adults alike.
Grinning Pumpkin Rice Krispie Treats
To create pumpkin rice krispie treats, you’ll want to add orange food coloring to your melted marshmallow mixture before adding the cereal. You can also use orange candy melts for a more vibrant color and slightly different flavor. Once pressed into the pan, cut them into pumpkin shapes or use a round cookie cutter.
Decorate these pumpkin rice krispie treats by using black or dark brown icing to draw on jack-o’-lantern faces. You can also add a small green candy or gummy worm for a stem. These are perfect for adding a cheerful touch to your orange-creamsicle cake-inspired spreads.
Monster Rice Krispie Treats
Get creative with these monster rice krispie treats by using various food colorings for the marshmallow mixture – think green, purple, or even a creepy swirl. Cut the treats into irregular shapes to resemble monster bodies, or use cookie cutters for more defined forms. You can also mold them by hand while still warm for unique monster shapes.
For the monster details, use edible googly eyes, sprinkles, and different colored icing to create eyes, mouths, and other monstrous features. You can even add small candy pieces for horns or extra appendages, making each monster unique. These are fantastic for a haunted house treats theme.
Chocolate Drizzle and Halloween Sprinkles
A simple yet effective way to make your treats festive is by drizzling melted chocolate over them. Use milk, dark, or white chocolate, or even colored candy melts. After the chocolate has set slightly, sprinkle generously with Halloween-themed sprinkles, candy eyeballs, or edible glitter.
This method works wonderfully for creating halloween bark-style treats or for adding a spooky touch to any shape. You can also dip the entire treat in melted chocolate for a richer flavor and a more polished look, similar to how you might decorate chocolate bento cake slices.
Witch Finger Treats
To make witch finger treats, shape portions of the warm rice krispie mixture into finger-like logs. You can use a bit of green food coloring in the marshmallow mixture for a more authentic witchy hue. Once shaped, use a knife to create knuckle lines and press a slivered almond onto one end for a fingernail.
For an extra spooky touch, you can add a bit of red gel icing around the almond to simulate a bloody nail. These witch finger treats are a fun and slightly gruesome addition to any Halloween spread.
Mummy Rice Krispie Treats
Create mummy rice krispie treats by cutting your base into rectangles. Melt white candy melts and use a piping bag with a small round tip (or a zip-top bag with a corner snipped off) to pipe thin, wavy lines across the rectangle, mimicking mummy bandages. Leave a small gap for the eyes.
Once the white candy melt “bandages” have set, use small dots of black or blue icing to create the mummy’s eyes in the gap you left. These mummy rice krispie treats are wonderfully charming and relatively simple to assemble.
Tips for Perfect Halloween Rice Krispie Treats
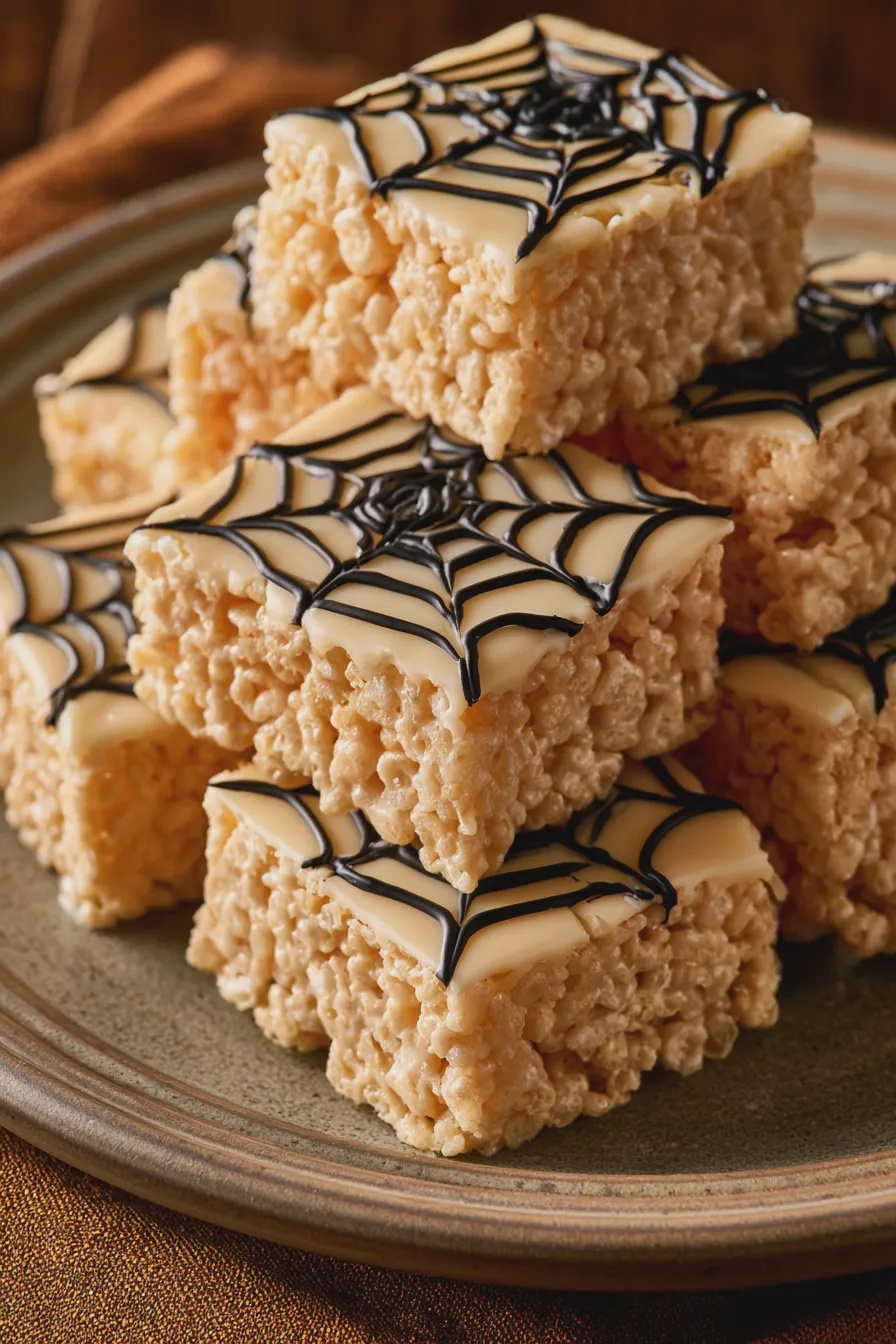
Achieving the perfect texture and appearance for your krispie treats recipe involves a few key techniques. Following these tips will help ensure your no bake halloween treats are a resounding success.
Achieving the Right Texture
Avoid over-mixing the cereal with the marshmallow; this can make the treats tough. Gently fold until just combined. Also, don’t press the mixture too firmly into the pan, as this will result in dense, hard treats instead of light and chewy ones. A gentle, even press is key.
For an extra chewy texture, some bakers prefer to use fresh marshmallows and melt them slowly over low heat. Using slightly stale cereal can also contribute to a chewier, less crunchy outcome, though fresh is generally recommended for the best flavor and crispness. For a richer flavor profile, consider using a mix of butter and margarine, or exploring the nuances of brown sugar vs white sugar in baking applications, though for this classic treat, butter is standard.
Working with Food Coloring and Decorations
When using gel food coloring, add it to the melted marshmallow mixture before adding the cereal. Gel colors are more concentrated and provide vibrant hues without adding excess liquid. Start with a small amount and add more until you achieve your desired shade for your spooky rice krispie treats.
Ensure all edible decorations like sprinkles, candy eyes, and icing are added while the treats are still slightly warm but not hot, so they adhere well. If using melted chocolate or candy melts for drizzling or dipping, make sure the base treats are completely cooled to prevent melting the coating.
Cutting and Shaping
For clean cuts, lightly grease your knife or pizza cutter with butter or cooking spray. You can cut the treats into squares, rectangles, or use cookie cutters for specific shapes like pumpkins, ghosts, or bats. For freeform shapes like monsters or fingers, it’s best to work with the mixture while it’s still warm enough to be pliable but not so hot that it burns your hands.
If you’re making specific shapes that require intricate details, like the witch fingers, let the mixture cool slightly until it’s firm enough to handle and shape without sticking excessively. For cleaner edges on cut shapes, chill the entire pan of treats for about 15-30 minutes before cutting.
Make-Ahead and Storage
Rice Krispie treats are excellent candidates for making ahead, which is a huge plus for busy hosts. Once completely cooled and cut, store them in an airtight container at room temperature. They can be layered between sheets of wax paper or parchment paper to prevent sticking.
These halloween snacks will stay fresh for up to 3-4 days when stored properly. Avoid refrigerating them, as this can make them hard and stale. If you’ve decorated them with icing or candy melts, ensure they are fully set before stacking or sealing the container.
Print