Whip up these adorable and spooky Oreo Halloween treats in a flash for a guaranteed hit at any Halloween party! These no-bake delights transform classic Oreos into fun characters like ghosts and mummies, perfect for easy Halloween desserts.
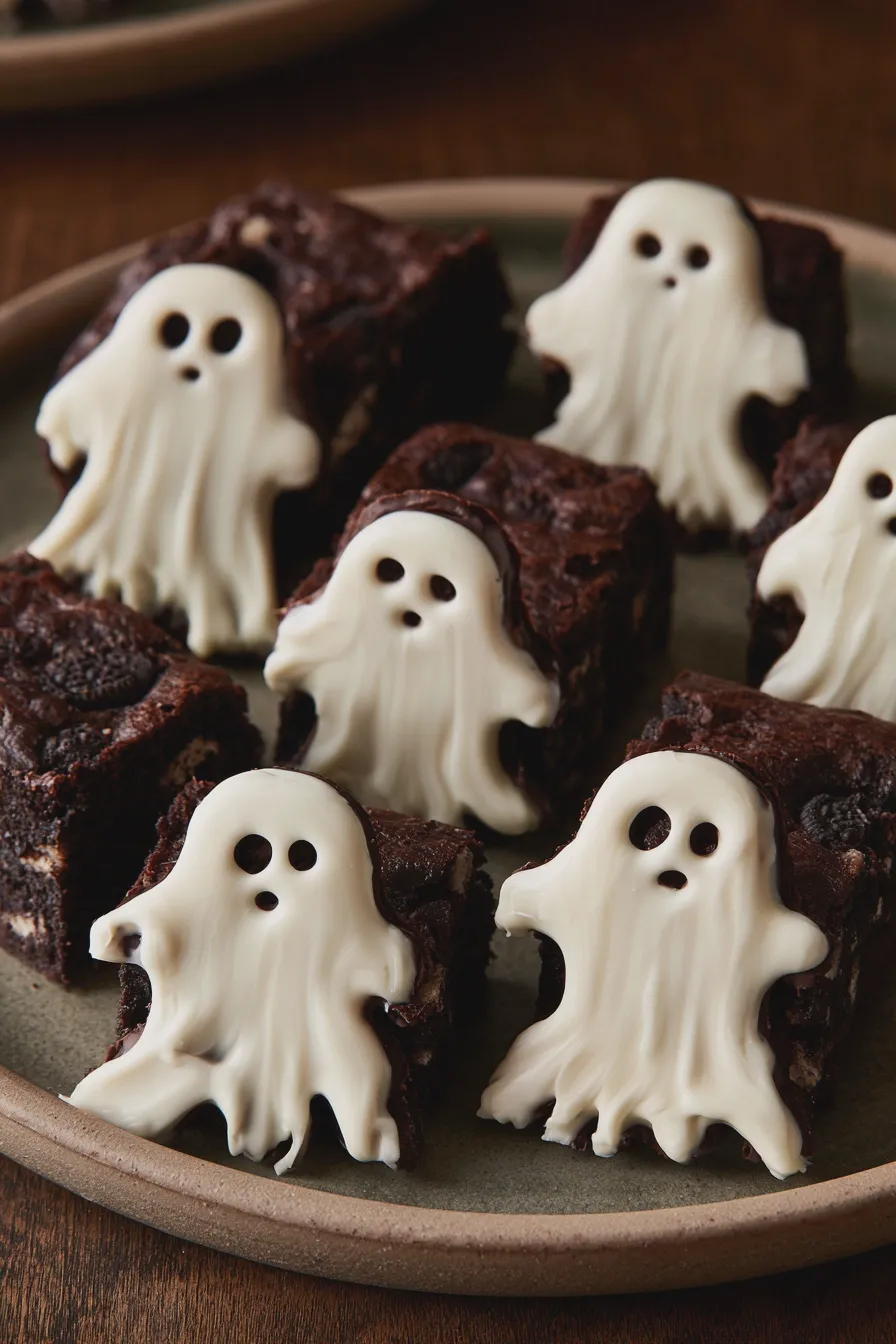
Get ready to impress with these simple yet incredibly festive Oreo Halloween treats. They’re the perfect way to add a touch of spooky fun to your celebrations without any complicated baking.
What are Oreo Halloween Treats?
Oreo Halloween treats are creative, no-bake desserts that use the popular sandwich cookie as a base for spooky and fun Halloween-themed designs. Typically, they involve dipping Oreos in melted candy melts or chocolate, then decorating them with edible googly eyes, frosting, or sprinkles to resemble ghosts, mummies, monsters, or other Halloween characters. These are fantastic for quick Halloween party treats, as they require minimal effort and yield maximum visual appeal, making them some of the best Oreo Halloween recipes for a crowd.
These delightful creations offer a fantastic way to get into the Halloween spirit, especially for those who love Halloween cookies but prefer not to spend hours baking. They are perfect for busy parents, classroom parties, or anyone looking for easy Halloween desserts that kids and adults alike will adore. The versatility of the Oreo cookie means you can create a whole menagerie of spooky characters, ensuring your dessert table is both delicious and delightfully eerie.
Why You’ll Love These Oreo Halloween Treats
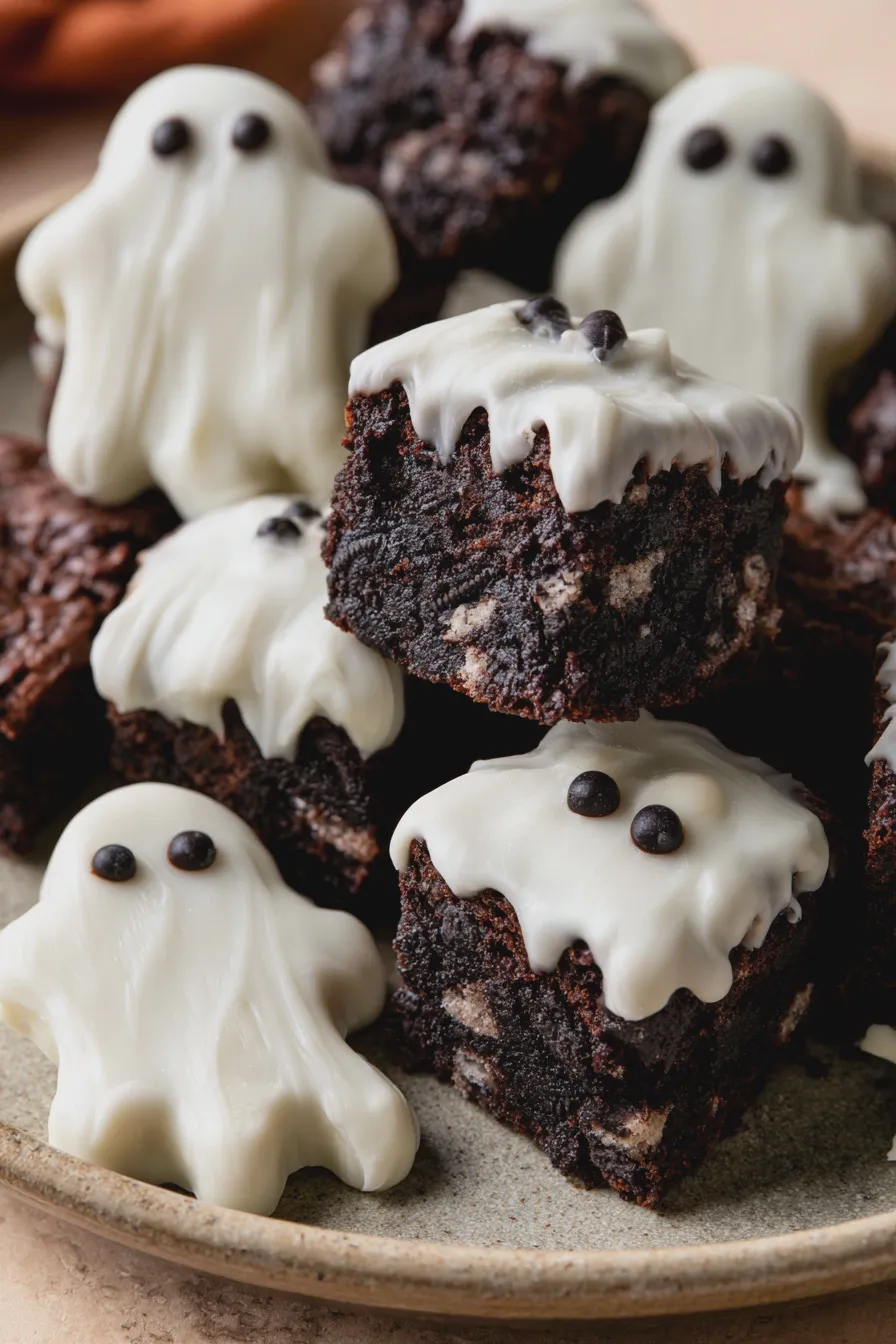
These Oreo Halloween treats are a dream come true for any home cook looking for impressive yet easy Halloween desserts. They require no special baking skills, making them accessible for everyone, and the results are always a showstopper. The combination of creamy Oreo filling and sweet candy coating is irresistible, and the customizable decorations allow for endless creativity.
Beyond their delicious taste and ease of preparation, these treats are incredibly fun to make, especially with children. They are perfect for creating lasting memories and adding a personalized touch to your Halloween festivities. If you’re searching for Halloween dessert ideas that are both fun and flavorful, these spooky Oreo desserts should be at the top of your list.
Ingredients
- 24 regular Oreo cookies
- 12 ounces white candy melts (or white chocolate chips)
- 4 ounces black candy melts (or black chocolate chips)
- 1 tablespoon vegetable shortening (optional, for thinning candy melts)
- Edible googly eyes
- Black edible food marker (optional)
- Orange and black sprinkles (optional)
Equipment You’ll Need
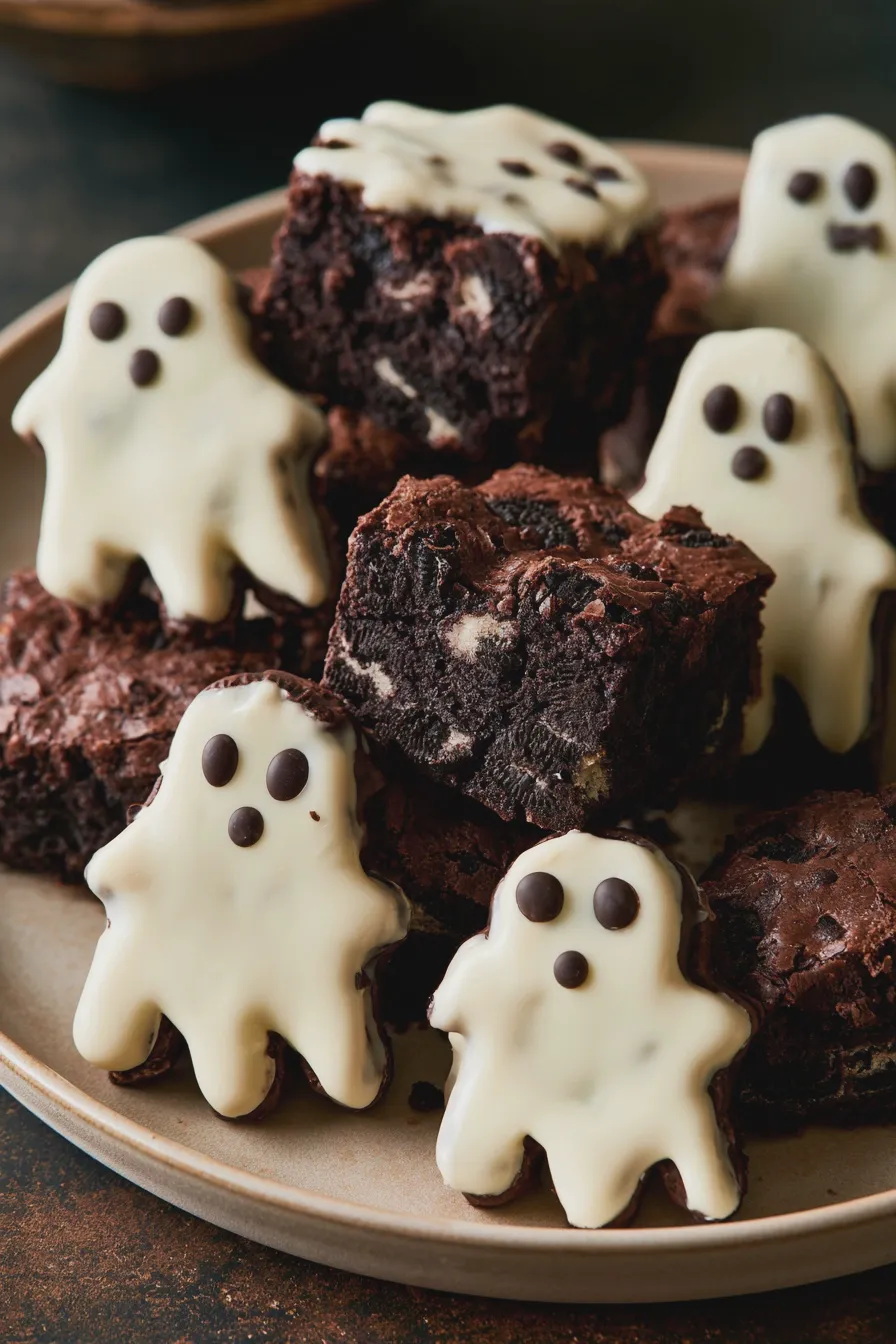
- Microwave-safe bowls
- Spatulas or spoons for stirring
- Parchment paper or wax paper
- Baking sheets
- Small piping bags or zip-top bags (for decorating)
How to Make Oreo Halloween Treats
Prepare Your Workspace
Line a few baking sheets with parchment paper or wax paper, ensuring you have enough space to lay out the decorated cookies without them touching. This step is crucial for preventing the melted candy coating from sticking to your pans and making cleanup a breeze.
Having your workspace prepared beforehand will allow you to work efficiently once the candy melts are ready, ensuring your Oreos are coated smoothly before the coating begins to set. This is a key tip for achieving professional-looking results, much like when preparing something like packaged brownies for sale.
Melt the White Candy Melts
Place the white candy melts in a microwave-safe bowl. Microwave on 50% power for 30-second intervals, stirring well after each interval, until the melts are completely smooth and melted. Be patient, as candy melts can scorch easily if overheated.
If the melts seem too thick, you can stir in about 1 teaspoon of vegetable shortening to achieve a smoother, more dippable consistency. This will help the coating adhere evenly to the Oreos.
Dip the Oreos
Hold an Oreo cookie by the edges and carefully dip it into the melted white candy coating, ensuring it is fully submerged. Use a spoon or spatula to help coat the cookie completely, then lift it out and let the excess coating drip back into the bowl.
Gently place the coated Oreo onto the prepared parchment-lined baking sheet. You can use a toothpick to help smooth out any large drips or to create a cleaner edge if desired. Repeat this process with the remaining Oreo cookies.
Create Ghost Oreos
Before the white candy coating on some of the Oreos has fully set, carefully place two edible googly eyes onto the top half of each cookie to resemble eyes. For a more defined look, you can also use a black edible food marker to draw a small mouth below the eyes.
If the candy coating has hardened too much, you can briefly warm a tiny dab of melted white candy coating to act as “glue” for the googly eyes. This ensures your spooky ghosts have their characteristic stare.
Create Mummy Oreos
Melt the black candy melts in a separate microwave-safe bowl using the same method described for the white candy melts. Once smooth, transfer the melted black candy to a small piping bag or a zip-top bag with a tiny corner snipped off.
Carefully pipe thin, wavy lines of black candy melt over the white-coated Oreos, mimicking mummy bandages. Leave a small gap at the top where you will place two googly eyes to create the mummy’s eyes. These are classic mummy Oreos and always a hit.
Add Other Halloween Decorations
For even more spooky Halloween treats, get creative with your decorations! You can use the black candy melts to draw spiderwebs on the white-coated Oreos or even create little spiders. Orange and black sprinkles can be added to the wet candy coating for extra festive flair, turning them into delightful Halloween cookies.
Consider making some candy corn Oreos by drizzling orange and yellow candy melts over the white base, or use green candy melts for monster-themed treats. The possibilities for these Halloween dessert ideas are endless.
Allow to Set Completely
Let the decorated Oreo Halloween treats sit on the parchment paper until the candy coating is completely hardened. This usually takes about 30 minutes to an hour at room temperature, or you can speed up the process by placing them in the refrigerator for about 10-15 minutes.
Ensure the coating is fully set before attempting to move or stack the cookies to prevent smudging the decorations or causing them to stick together. Properly set treats are key for good presentation, similar to how you’d want your flourless chocolate cake to be perfectly set.
Tips for Perfect Oreo Halloween Treats
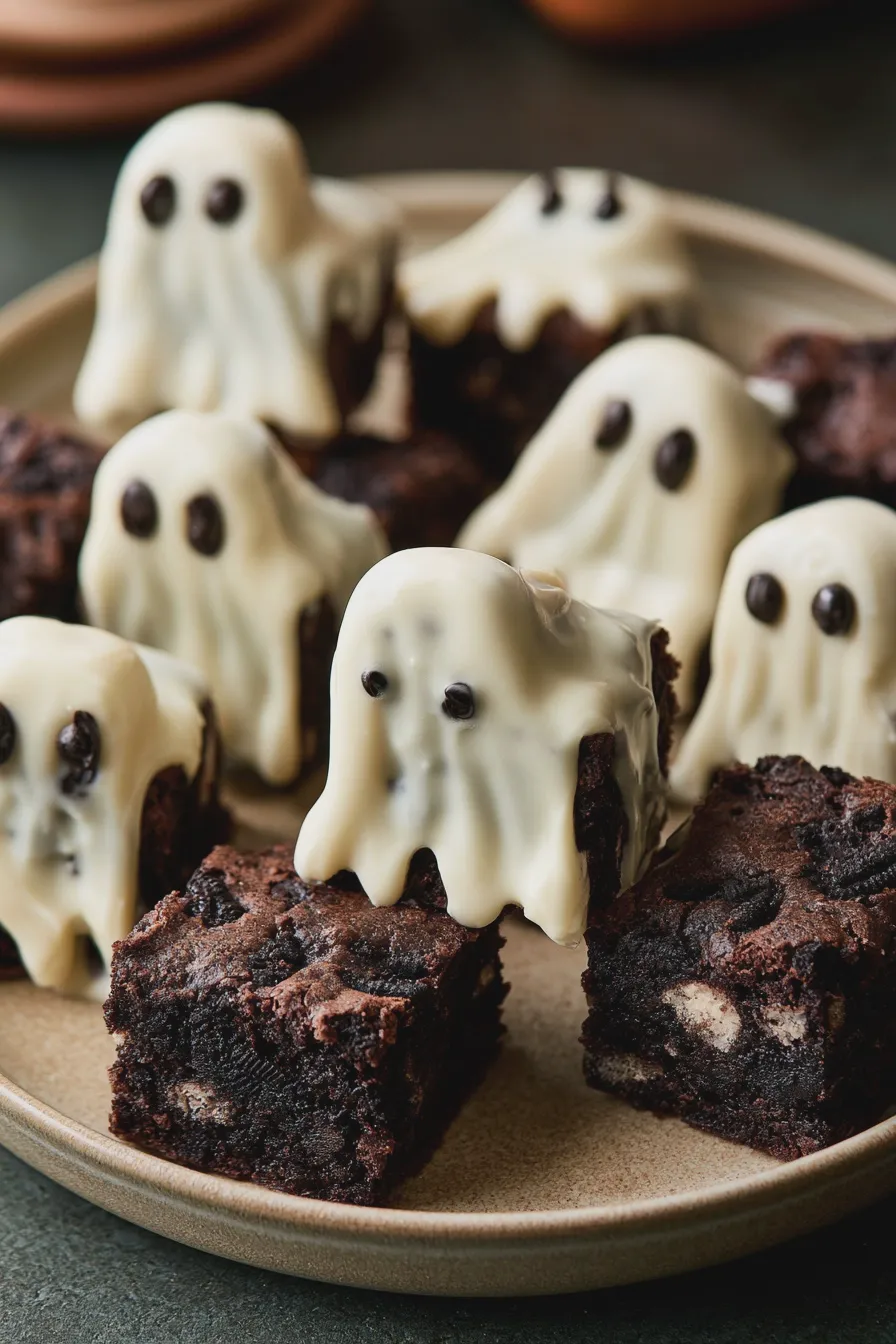
To ensure your Oreo Halloween treats turn out perfectly, use good quality candy melts. Cheaper brands can sometimes be more difficult to work with and may not set as smoothly. When melting, always use short, controlled bursts in the microwave and stir thoroughly to avoid hot spots and scorching.
For a super smooth finish, you can stir in a small amount of paramount crystals or vegetable shortening into your candy melts. This helps thin the coating and makes it easier to achieve an even, glossy finish on your Halloween baking ideas.
Storage and Serving Suggestions
Store your finished Oreo Halloween treats in an airtight container at room temperature. They should be kept in a single layer if possible to prevent the decorations from smudging or sticking together. These treats are best enjoyed within a week of making them for optimal freshness and flavor.
For serving, arrange these spooky treats on a festive platter or in individual treat bags for party favors. They pair wonderfully with other Halloween party treats and are a guaranteed hit with kids and adults alike, making them one of the most popular Halloween candy recipes.
Print