This easy halloween bark recipe is a fun, no-bake treat perfect for spooky season, featuring colorful candy and crunchy textures. It’s a simple yet impressive addition to any halloween party spread, offering a delightful blend of sweet chocolate and festive toppings.
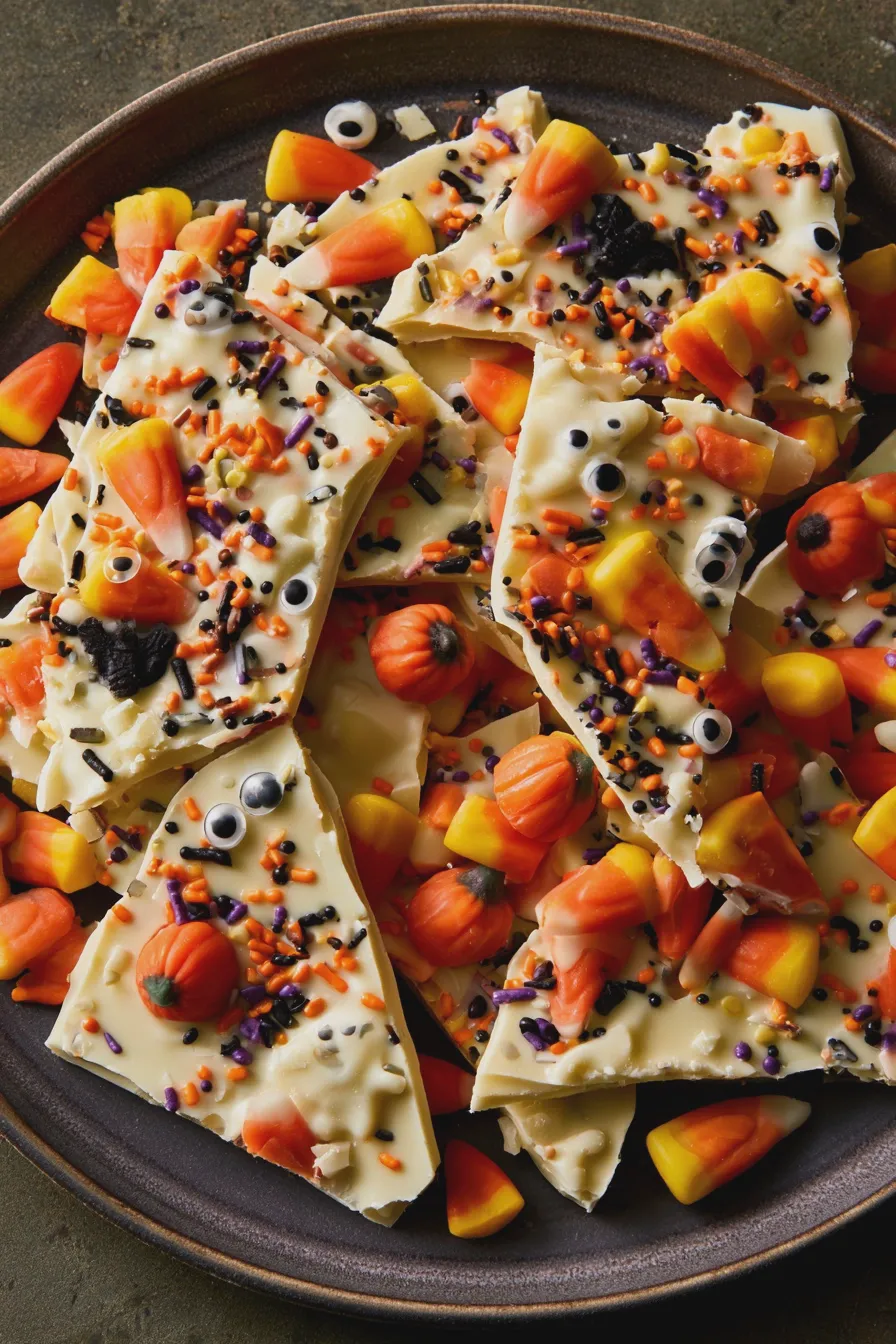
Get ready to create a show-stopping treat that’s as fun to make as it is to eat! This festive confection is a fantastic way to embrace the spirit of the season, bringing smiles to both kids and adults alike. It’s the perfect canvas for your creativity, allowing you to customize it with all your favorite spooky sweets.
What is Halloween Bark?
Halloween bark is a delightful confection made by spreading melted chocolate onto a baking sheet and decorating it with various candies and toppings before it sets. It’s a wonderfully versatile treat, allowing for endless creative combinations and making it a standout among halloween dessert ideas. This particular version focuses on vibrant colors and classic fall flavors, making it a crowd-pleaser for any gathering.
The beauty of this halloween bark recipe lies in its simplicity and adaptability. You can easily swap out ingredients based on what you have on hand or your personal preferences, ensuring a unique creation every time. It’s a fantastic way to use up leftover Halloween candy or experiment with new flavor profiles, offering a satisfying crunch and a burst of sweetness in every bite.
Key Ingredients for Spooky Bark
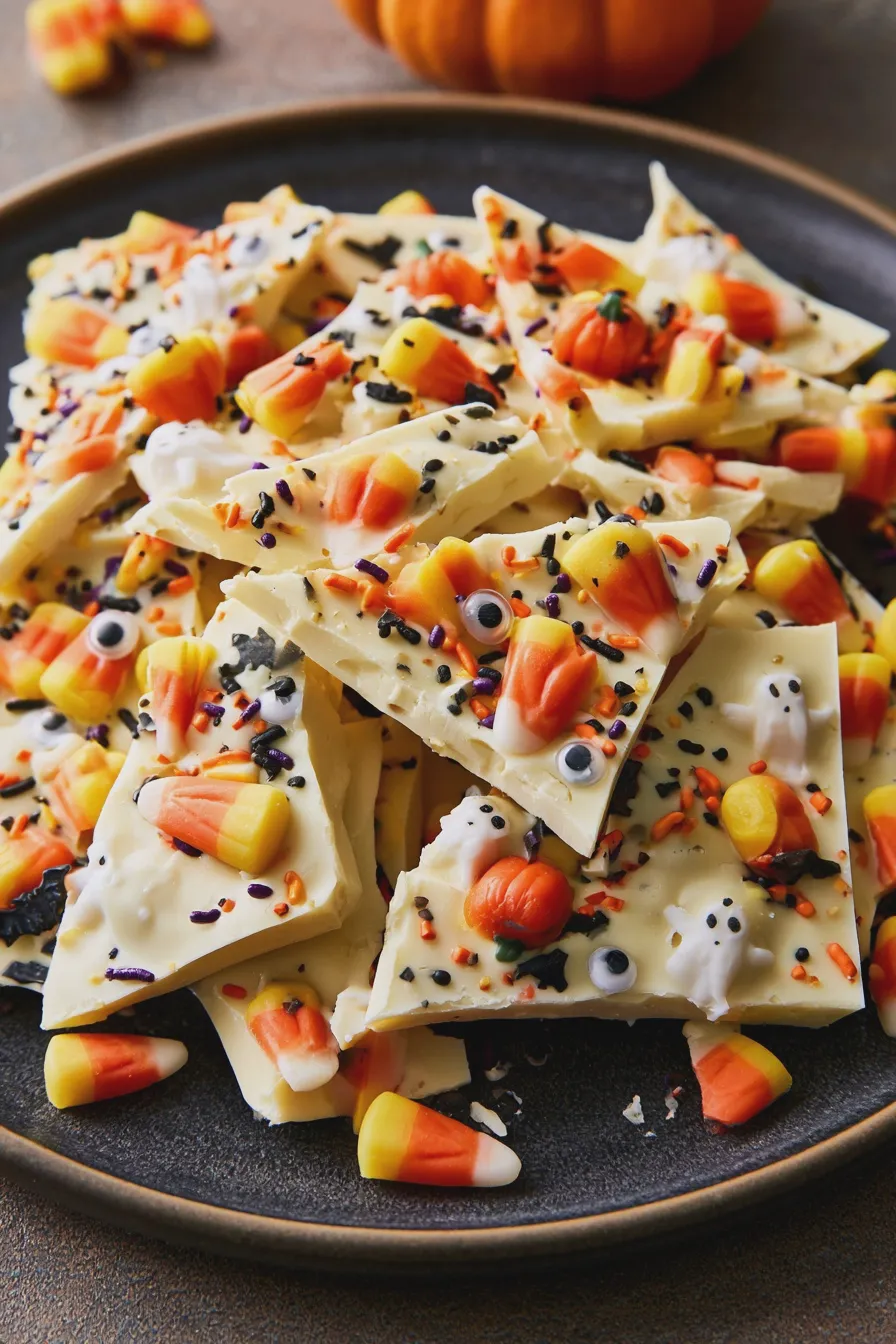
To create this delightful halloween bark, you’ll need a few key components that come together to form a delicious and visually appealing treat. The base of our spooky creation is good quality chocolate, which provides the perfect foundation for all the festive additions. We’ll be using both white and dark chocolate for a beautiful contrast and a richer flavor experience.
- 12 ounces good quality white chocolate chips (or chopped white chocolate)
- 12 ounces good quality dark chocolate chips (or chopped dark chocolate)
- 1 cup assorted Halloween candies (such as candy corn, candy pumpkins, M&Ms, sprinkles, gummy worms, chocolate eyeballs)
- 1/2 cup pretzels, roughly crushed (optional, for added crunch)
- Food coloring (optional, for vibrant swirls in white chocolate)
- Piping bag or zip-top bag (optional, for drizzling)
When selecting your chocolate, opting for a higher quality will yield a smoother texture and better flavor in your finished halloween chocolate bark. For the candy toppings, think about a mix of textures and colors to make your spooky bark recipe truly pop. You can use a variety of types of sugar in baking for your decorations, from chewy candies to crunchy sprinkles.
How to Make Halloween Bark
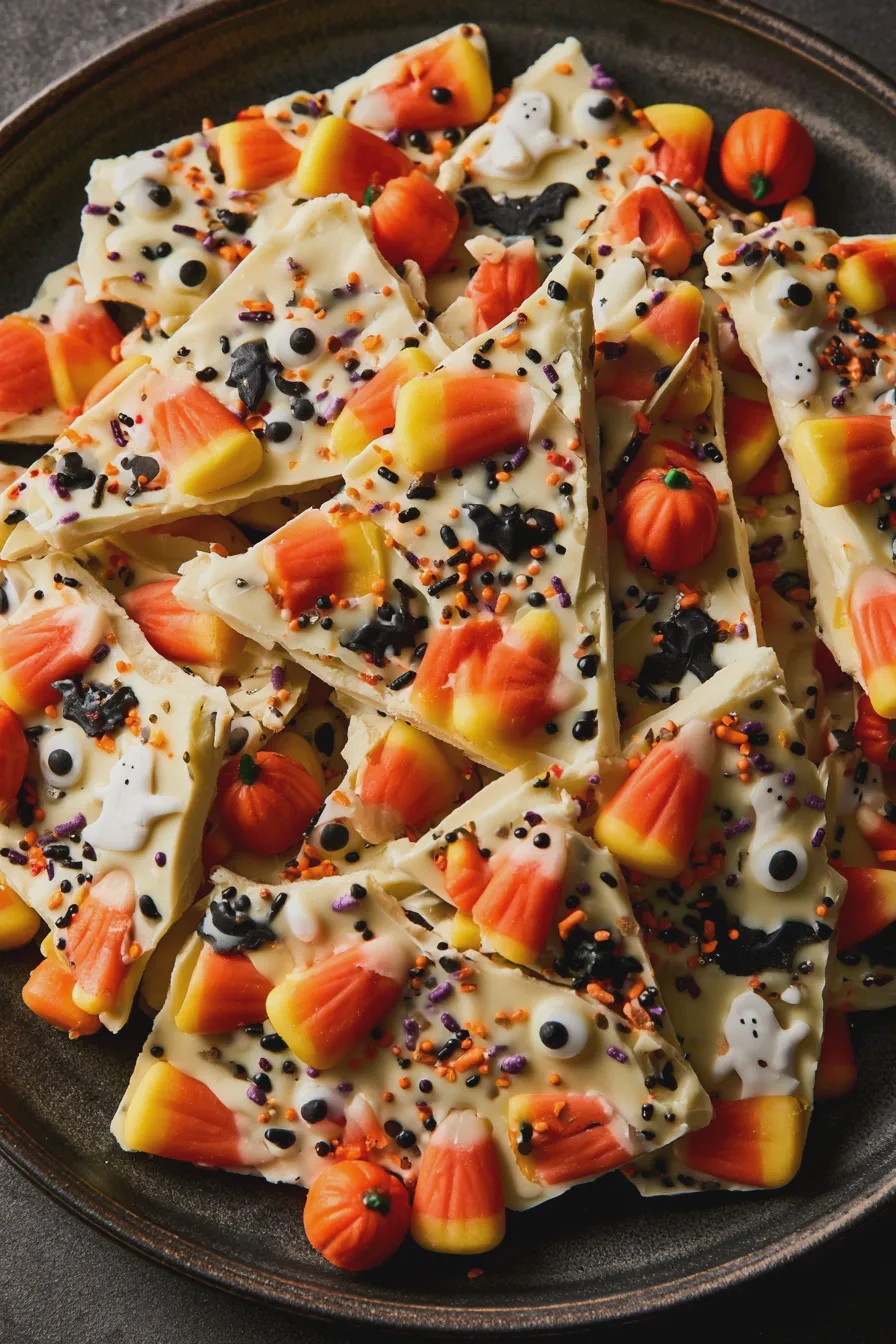
Crafting this festive treat is a straightforward process that even novice bakers can master. The key is to work with the chocolate efficiently, ensuring it melts smoothly and sets up beautifully. Prepare your toppings and workspace before you begin melting the chocolate to make the assembly seamless.
Prepare Your Baking Sheets
Line two large baking sheets with parchment paper or silicone baking mats. This step is crucial for preventing the chocolate from sticking and ensuring easy removal of your finished halloween bark. Having your sheets ready beforehand allows you to quickly spread the melted chocolate while it’s still pourable.
Melt the White Chocolate
Gently melt the white chocolate chips in a heatproof bowl set over a saucepan of simmering water (double boiler method), stirring frequently until smooth. Alternatively, microwave the chips in 30-second intervals, stirring after each, until melted and creamy. Be careful not to overheat the white chocolate, as it can seize and become grainy.
Melt the Dark Chocolate
In a separate heatproof bowl, melt the dark chocolate chips using the same double boiler or microwave method as the white chocolate. Stir until completely smooth and glossy. Dark chocolate is a bit more forgiving than white chocolate, but still requires gentle heating to achieve the best consistency for your halloween chocolate bark.
Create Swirls (Optional)
If you desire colorful swirls in your white chocolate base, add a drop or two of food coloring to the melted white chocolate and stir gently to create marbled patterns. You can also reserve a small amount of white chocolate to drizzle over the dark chocolate later for an added visual effect. This technique adds a professional touch to your easy halloween bark.
Spread the Chocolate
Pour the melted dark chocolate onto one prepared baking sheet and spread it into a thin, even layer using an offset spatula or the back of a spoon. Repeat with the melted white chocolate on the second baking sheet, spreading it to a similar thickness. Aim for a layer that’s about 1/4 inch thick for the best texture and snap.
Add Festive Toppings
While the chocolate is still wet, generously sprinkle your chosen Halloween candies, pretzels (if using), and sprinkles over the surface. For a striking contrast, you can drizzle reserved melted white chocolate over the dark chocolate layer, or vice versa, using a spoon or piping bag. Don’t be shy with the toppings – the more, the merrier for this fun ghost chocolate bark variation!
Chill to Set
Allow the chocolate to set at room temperature for about 15-20 minutes, or until it’s slightly firm but still pliable. Then, carefully transfer the baking sheets to the refrigerator for at least 30-60 minutes, or until the chocolate is completely hardened. Chilling ensures a clean break when you cut or break the bark into pieces.
Break or Cut the Bark
Once the chocolate is fully set, lift the parchment paper or silicone mat from the baking sheet and place it on a cutting board. Using a sharp knife or a bench scraper, cut the bark into desired shapes and sizes, or simply break it into rustic pieces by hand. For a cleaner break, ensure the chocolate is thoroughly chilled.
Tips for Perfect Halloween Bark
Achieving that perfect snap and vibrant look for your halloween bark recipe is all about a few simple techniques. Paying attention to the chocolate’s temperature and the way you apply the toppings can make a significant difference in the final outcome.
Chocolate Consistency is Key
Ensure your chocolate is melted smoothly and is not too thick or too thin. If it seems too thick, you can add a tiny bit of coconut oil (about 1 teaspoon per cup of chocolate) to help thin it out. This will make spreading easier and result in a more even layer for your halloween chocolate bark.
Work Quickly with Toppings
Once the chocolate is spread, add your toppings immediately before the chocolate begins to set. This ensures they adhere well to the surface. For a more intricate design, consider pressing some of the candies gently into the chocolate.
Storage and Make-Ahead
This spooky bark recipe can be made up to a week in advance and stored in an airtight container at room temperature or in the refrigerator. Layer pieces between parchment paper to prevent sticking. For longer storage, you can freeze it for up to a month, though the texture might slightly change upon thawing.
Avoid Water Contact
Be extremely careful to keep water away from your melted chocolate, as even a tiny amount can cause it to seize and become lumpy. Ensure your bowls and utensils are completely dry before you start melting.
Creative Halloween Bark Variations
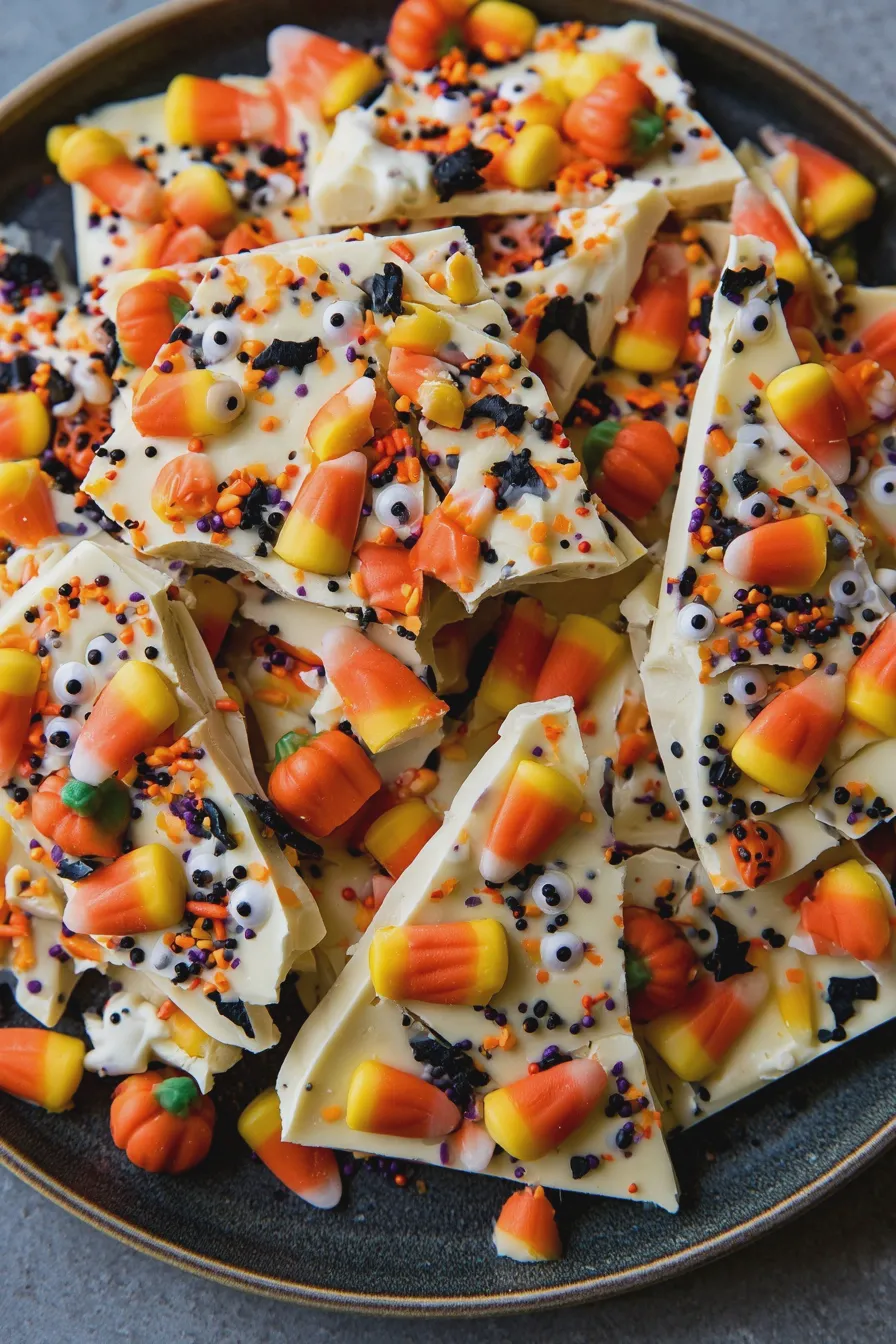
The beauty of this easy halloween bark is its incredible versatility. Beyond the basic recipe, you can explore a multitude of variations to suit any theme or taste preference. Think of it as a blank canvas for your halloween candy recipes.
Ghost Bark Recipe
For a ghostly appearance, use only white chocolate and add chocolate chips or melted dark chocolate to draw ghost shapes. You can also use edible candy eyes for a spooky touch. This makes for a wonderfully simple ghost bark recipe.
Mummy Bark Recipe
Melt white chocolate and spread it onto your baking sheet. Once partially set, use melted dark chocolate or black decorating icing to pipe thin strips across the white chocolate, mimicking mummy bandages. Add two small dots of dark chocolate for the eyes. This is a classic kid friendly halloween desserts option.
Pumpkin Spice Bark
Infuse your melted white chocolate with pumpkin pie spice and a touch of orange food coloring. Top with candy corn, crushed graham crackers, and orange and brown sprinkles for a festive fall flavor. This variation is reminiscent of flavors found in seasonal treats.
Monster Bark
Use green or purple food coloring for your white chocolate base. Top with candy eyes, colorful sprinkles, and maybe even some gummy worms or sour candy strips for a truly monstrous creation. This is a fun take on no bake halloween treats.
Print