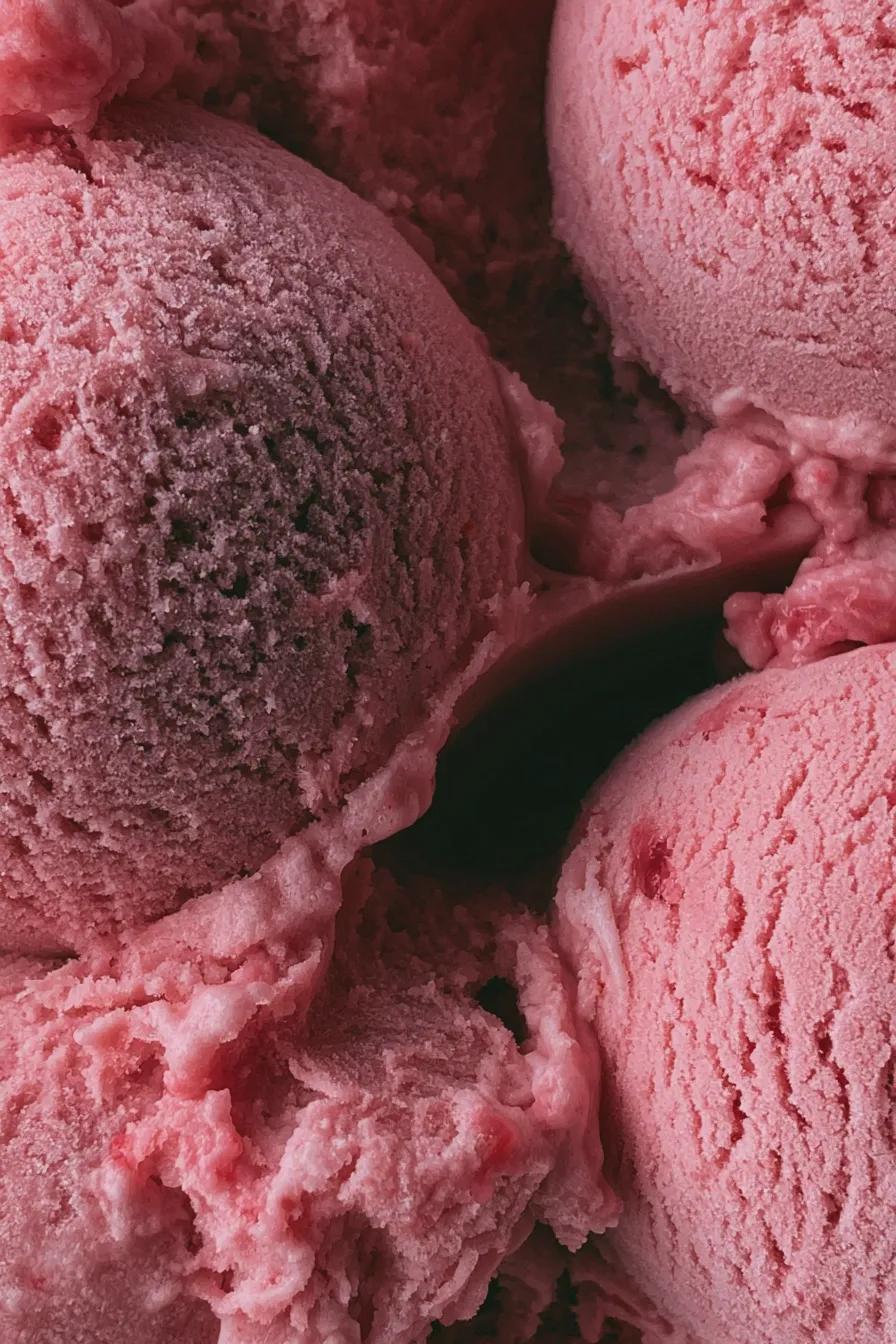
This recipe delivers a vibrant, creamy homemade raspberry ice cream perfect for a warm afternoon, using fresh fruit for the absolute best flavor and texture without complicated custard bases.
This homemade raspberry ice cream recipe captures the bright tang of fresh berries suspended in a sweet, velvety base, making it one of the most refreshing frozen treats you can whip up this season. If you’ve been searching for that quintessential summer berry dessert that tastes miles better than anything store-bought, you’ve found your new go-to guide for how to make raspberry ice cream.
Why This Homemade Raspberry Ice Cream Shines
What sets this recipe apart is the intense, natural flavor derived directly from ripe raspberries, ensuring that every scoop delivers that characteristic tartness we all crave in a great fruit-based frozen dessert. While many recipes lean on artificial flavorings, we are focusing on real fruit purity, which elevates this simple treat to gourmet ice cream flavors territory. For those interested in exploring other fruit-based frozen delights, you might find inspiration by looking up other fresh fruit ice cream ideas.
Texture Secrets for Creamy Results
Achieving that perfect, scoopable texture is the holy grail of home churning, and it often comes down to balancing sugar and fat content while ensuring the fruit puree doesn’t freeze too solidly. We rely on a combination of heavy cream and whole milk to provide the necessary fat content, which inhibits large ice crystal formation and results in that signature creamy raspberry dessert mouthfeel. If you find your ice cream freezes too hard, a slight increase in corn syrup or a small splash of vodka (which lowers the freezing point) can help keep it softer straight from the freezer.
The Best Raspberry Ripeness
The quality of your final product is directly tied to the quality of your berries; look for berries that are deeply colored and fragrant, which indicates peak ripeness and maximum sweetness. If you have an abundance of late-season berries, consider making a batch of blueberry cheesecake cookies for another time, but for this frozen treat, ensure the raspberries are sweet enough to balance the tartness after freezing. Avoid berries that look bruised or dull, as they will yield a flat flavor in your final frozen treats with raspberries.
Ingredients for the Best Raspberry Ice Cream Flavor
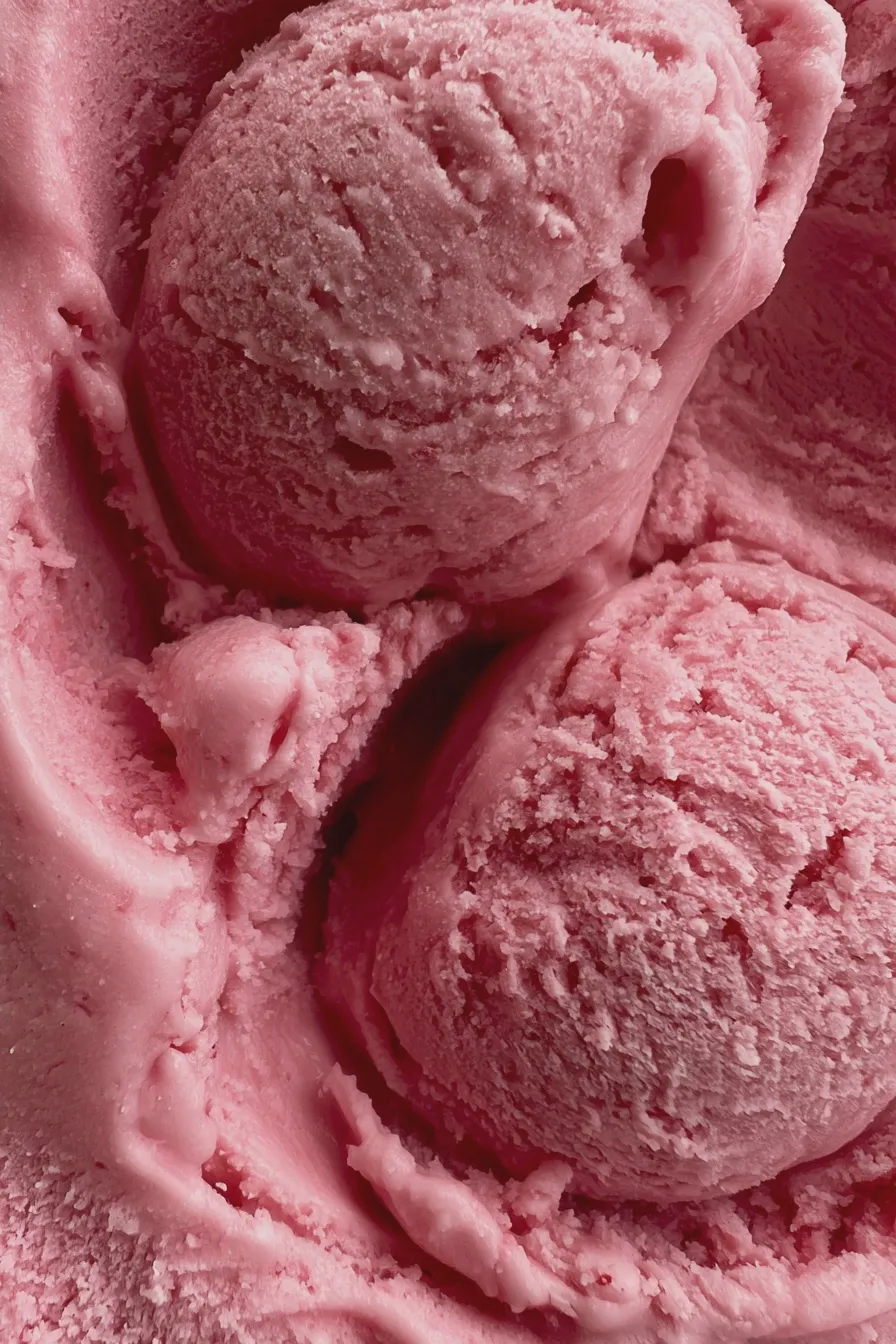
Gathering your ingredients is the first step toward making this delightful homemade raspberry ice cream recipe, ensuring you have everything ready before you start cooking the base or preparing the fruit. Remember that using high-quality ingredients is crucial when the flavor profile relies so heavily on just a few components, especially the fruit.
For the Cream Base
This section covers the dairy and sweeteners needed for the rich, non-icy base that supports the fruit flavor beautifully.
- 2 cups Heavy Whipping Cream (Must be full fat for the best texture)
- 1 cup Whole Milk (Do not substitute skim milk, as it affects creaminess)
- 3/4 cup Granulated Sugar (Adjust slightly based on the sweetness of your berries)
- 1/4 cup Light Corn Syrup or Glucose (Helps prevent crystallization, a common issue in ice cream maker recipes)
- 1 teaspoon Pure Vanilla Extract
- Pinch of Salt (Essential for balancing sweetness)
For the Raspberry Swirl
This homemade fruit puree provides the intense color and tart counterpoint to the sweet cream base, creating a beautiful raspberry swirl ice cream effect.
- 3 cups Fresh or Frozen Raspberries (If using frozen, do not thaw completely)
- 1/4 cup Granulated Sugar
- 1 tablespoon Fresh Lemon Juice (Brightens the berry flavor significantly)
How to Make Raspberry Ice Cream
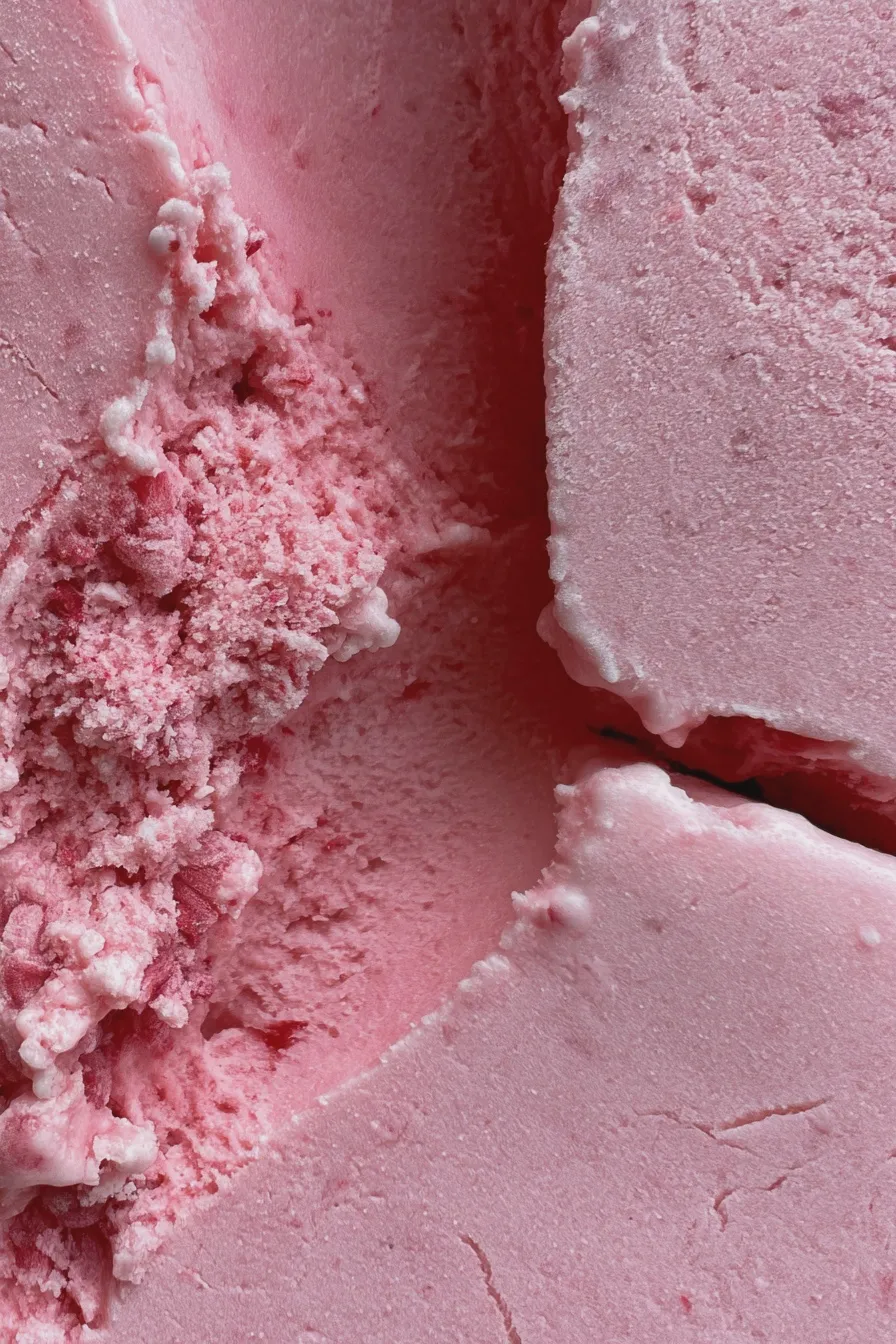
This process is divided into three main parts: preparing the fruit swirl, creating the custard-free base, and finally, churning and freezing for that perfect scoopable consistency.
Step 1: Preparing the Raspberry Puree
Combine the raspberries, sugar, and lemon juice in a small saucepan over medium heat, stirring occasionally until the berries break down and the mixture begins to simmer gently. Cook for about 8 to 10 minutes until slightly thickened, allowing the natural pectin to activate; for a smoother finish, press this mixture through a fine-mesh sieve to remove the seeds, though leaving them in adds a rustic texture.
Step 2: Making the Simple Ice Cream Base
In a large bowl, whisk together the heavy cream, whole milk, sugar, corn syrup, vanilla extract, and salt until the sugar is completely dissolved and the mixture is uniform. This is a custard-free method, meaning we skip the tempering and cooking steps often associated with dense ice creams, making it much faster for weeknight preparation; ensure the mixture is very cold before churning for the best results.
Step 3: Chilling the Base Completely
Cover the cream base tightly with plastic wrap, pressing the wrap directly onto the surface to prevent a skin from forming, and refrigerate for at least 4 hours, or preferably overnight. Chilling thoroughly is non-negotiable for ice cream maker recipes because a warmer base will take much longer to freeze, leading to larger ice crystals and a less desirable texture.
Step 4: Churning the Ice Cream
Pour the chilled base into your pre-frozen ice cream maker bowl according to the manufacturer’s instructions and churn for about 20 to 25 minutes until the mixture resembles soft-serve consistency. If you are looking for other rich, dense desserts that skip the ice cream maker, consider trying caramel brownies for a chewy alternative.
Step 5: Layering and Freezing
Once churned, alternate layers of the soft ice cream and the cooled raspberry puree in a freezer-safe container, using a knife to gently swirl the fruit mixture for that classic raspberry ripple recipe look. Avoid over-mixing during this stage, as you want distinct ribbons of fruit rather than a uniformly pink mixture; if you prefer a less tart version, you can use less of the puree.
Step 6: Hardening the Dessert
Cover the container tightly, pressing parchment paper or plastic wrap directly onto the surface of the ice cream before sealing the lid, and freeze for a minimum of 6 hours to allow it to firm up properly. This final hardening stage is what transforms the soft-serve into a firm, scoopable frozen treat ready for serving, perfect for enjoying as an easy raspberry dessert on a hot day.
Tips for Variations and Storage
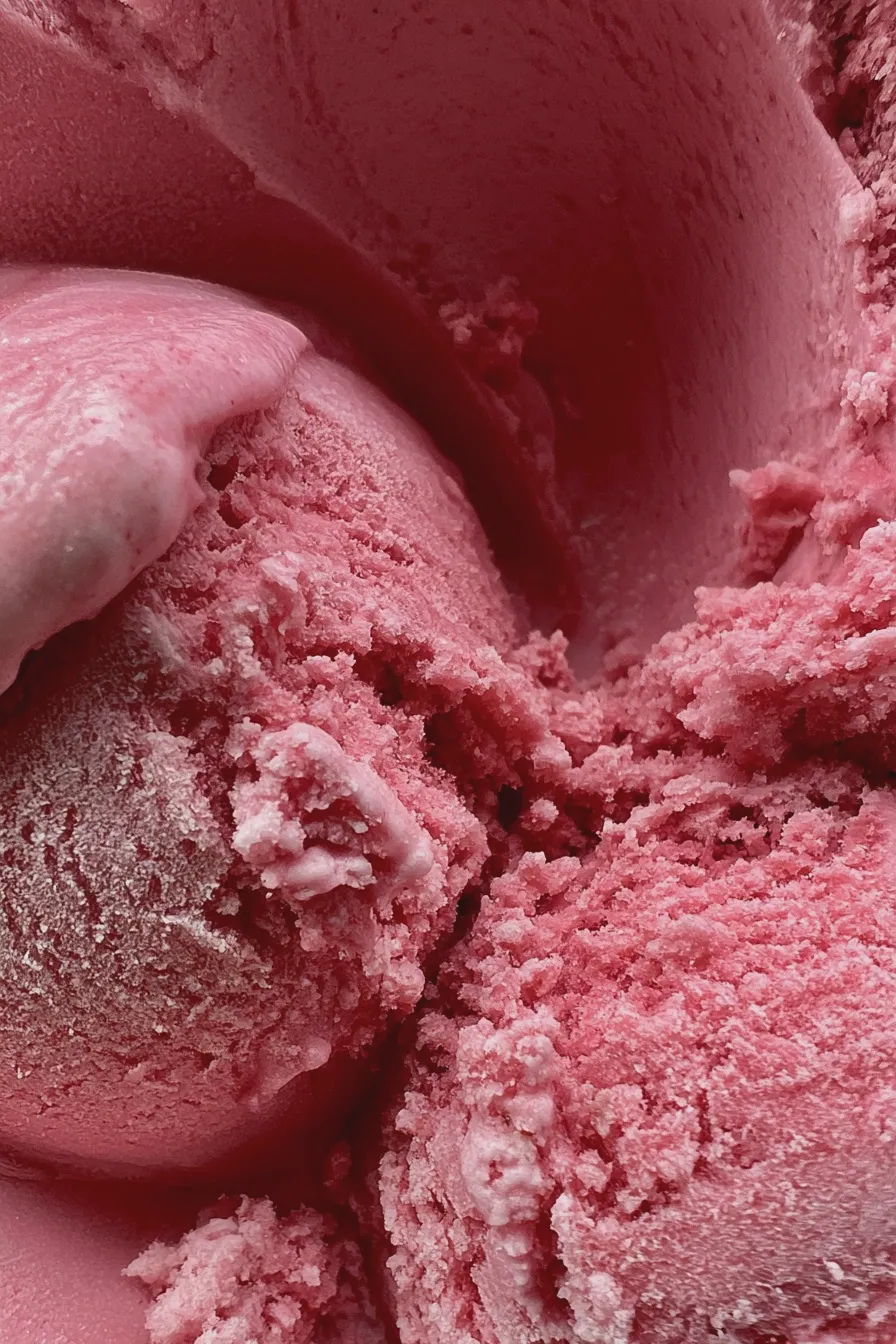
Once you master the basic churning technique, exploring variations allows you to customize this recipe for different palates or dietary needs, such as making a no churn raspberry ice cream or a vegan version. For those seeking a richer, more decadent experience, you might want to look into how to achieve the deep flavor profile found in flourless chocolate cake recipes and apply those richness principles here.
Making No Churn Raspberry Ice Cream
To create a no churn raspberry ice cream, whip 2 cups of cold heavy cream until stiff peaks form, then gently fold in one can (14 oz) of sweetened condensed milk and the prepared raspberry puree. Spoon this mixture into a loaf pan, swirl with extra puree, and freeze for at least 8 hours, stirring vigorously every 2 hours for the first 6 hours to break up ice crystals.
Dairy-Free and Vegan Options
For a dairy-free raspberry ice cream or vegan raspberry ice cream, substitute the heavy cream and milk with full-fat canned coconut cream, ensuring you chill the cans overnight so the solid cream separates easily. You might also find that using a high-quality oat milk base works wonderfully for achieving a creamy texture similar to traditional dairy, especially when combined with a stabilizer like xanthan gum if you are feeling experimental.
Storage Guidelines
Store your finished ice cream in an airtight, shallow freezer container to minimize exposure to air, which prevents freezer burn and maintains the best texture for longer periods. Properly stored, this dessert will remain excellent for up to two weeks, though its flavor is certainly best enjoyed within the first week for peak freshness.
Print
raspberry ice cream Homemade Easy Recipe
- Total Time: PT6H15M
- Yield: About 1.5 quarts 1x
- Diet: Vegetarian
Description
Indulge in the vibrant, sweet-tart bliss of homemade Raspberry Ice Cream. This creamy, no-churn recipe is bursting with fresh berry flavor and requires minimal effort for maximum dessert satisfaction. Perfect for a summer treat!
Ingredients
- 2 cups heavy whipping cream, cold
- 1 (14-ounce) can sweetened condensed milk, cold
- 1 teaspoon pure vanilla extract
- 2 cups fresh or frozen (thawed) raspberries
- 1 tablespoon fresh lemon juice
- Pinch of salt
Instructions
- If using fresh raspberries, gently mash them in a bowl with the lemon juice and salt until slightly broken down. If using thawed raspberries, mash them lightly.
- In a large bowl, beat the cold heavy whipping cream using an electric mixer until stiff peaks form (about 3-5 minutes).
- In a separate medium bowl, whisk together the cold sweetened condensed milk and vanilla extract.
- Gently fold about half of the whipped cream into the condensed milk mixture until just combined. Be careful not to deflate the cream.
- Gently fold in the remaining whipped cream, followed by the mashed raspberry mixture. Fold only until streaks of raspberry remain; do not overmix for best color and texture.
- Pour the mixture into a freezer-safe loaf pan or an airtight container. Cover the surface directly with plastic wrap to prevent ice crystals.
- Freeze for at least 6 hours, or preferably overnight, until firm.
- Let the ice cream sit on the counter for 5-10 minutes before scooping and serving.
Notes
- For a smoother texture, you can strain the raspberry mixture through a fine-mesh sieve before folding it in to remove the seeds.
- If you prefer a richer, more intense raspberry flavor, briefly simmer the raspberries with 1 tablespoon of sugar, cool completely, then proceed with the recipe.
- This recipe is inherently no-churn, but an ice cream maker can be used by churning the base (before adding whipped cream) according to the manufacturer’s directions, then folding in the whipped cream before the final freeze.
- Prep Time: PT15M
- Cook Time: 0 minutes
- Category: Ice Cream
- Method: No-Churn
- Cuisine: American
Nutrition
- Serving Size: 1/2 cup
- Calories: 310
- Sugar: 35g
- Sodium: 55mg
- Fat: 17g
- Saturated Fat: 10g
- Protein: 5g
- Cholesterol: 60mg