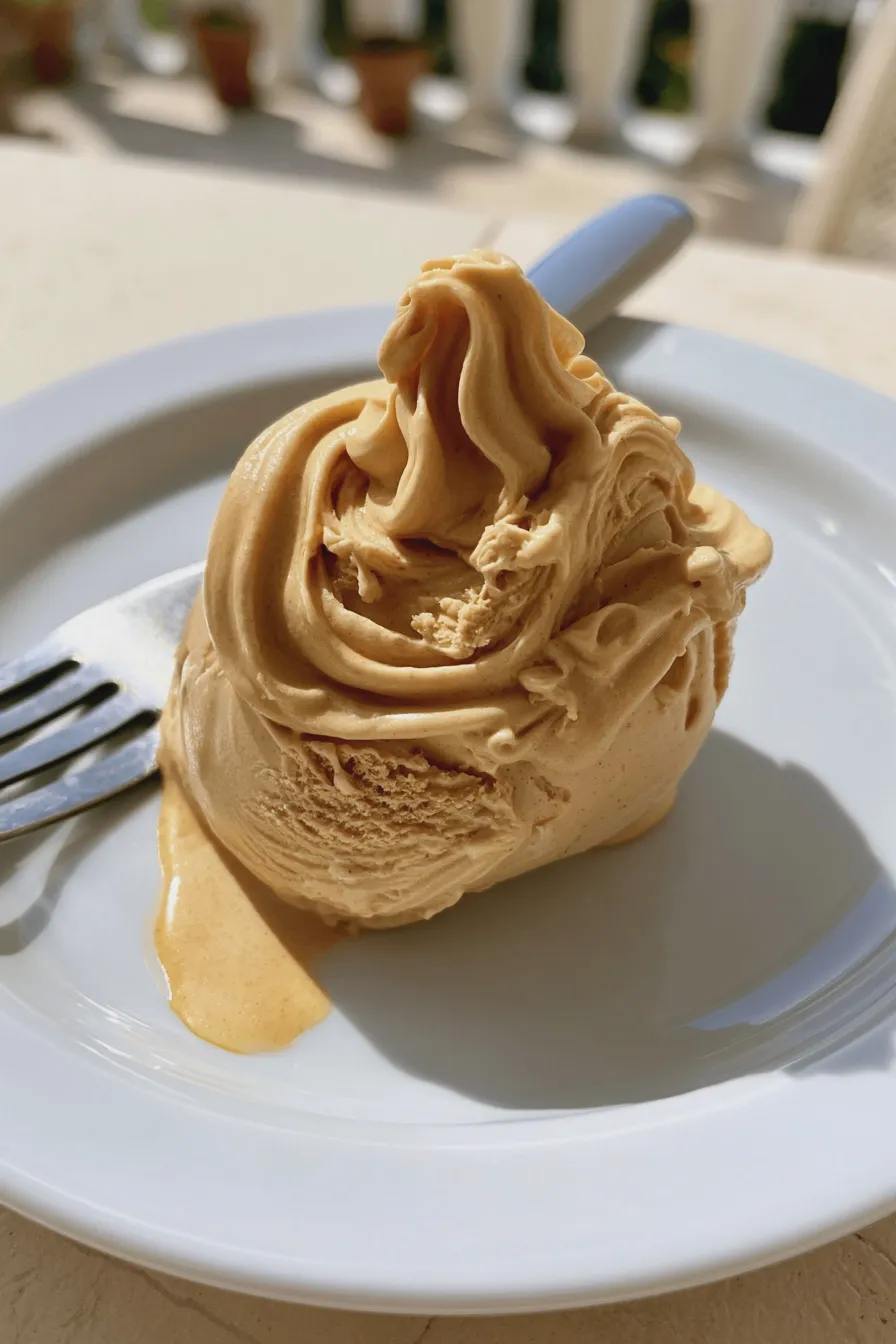
This rich, homemade pumpkin ice cream recipe delivers the quintessential taste of autumn in a perfectly creamy, frozen dessert, ideal for topping pies or enjoying on its own after a holiday meal.
Welcome to a recipe that perfectly captures the cozy essence of fall: a truly decadent homemade pumpkin ice cream recipe. If you’ve been searching for the best way to utilize that leftover canned pumpkin or simply crave a scoop of seasonal bliss, this is the guide for you. We are focusing on achieving that coveted, smooth texture without any iciness, making this far superior to anything store-bought.
Why Homemade Pumpkin Ice Cream is a Must-Try Fall Treat
There is an undeniable magic in transforming simple pantry staples into a spectacular frozen dessert, and this spiced pumpkin frozen dessert is no exception. The depth of flavor you achieve when using real pumpkin puree, combined with warm spices, elevates this far beyond a standard sweet treat, making it a staple for any gathering. For those who prefer not to use an ice cream machine, you can certainly explore options for no-churn pumpkin ice cream, though this custard base method yields the creamiest results.
Many people associate this flavor profile solely with Thanksgiving, but a truly great pumpkin spice ice cream deserves to be enjoyed throughout the entire season, perhaps even alongside a slice of shortbread cookies for a delightful contrast in texture. This recipe walks you through the classic custard method, ensuring a luxurious, smooth texture that melts beautifully in your mouth, which is key to a truly gourmet pumpkin ice cream flavors experience.
Ingredients for Creamy Pumpkin Ice Cream
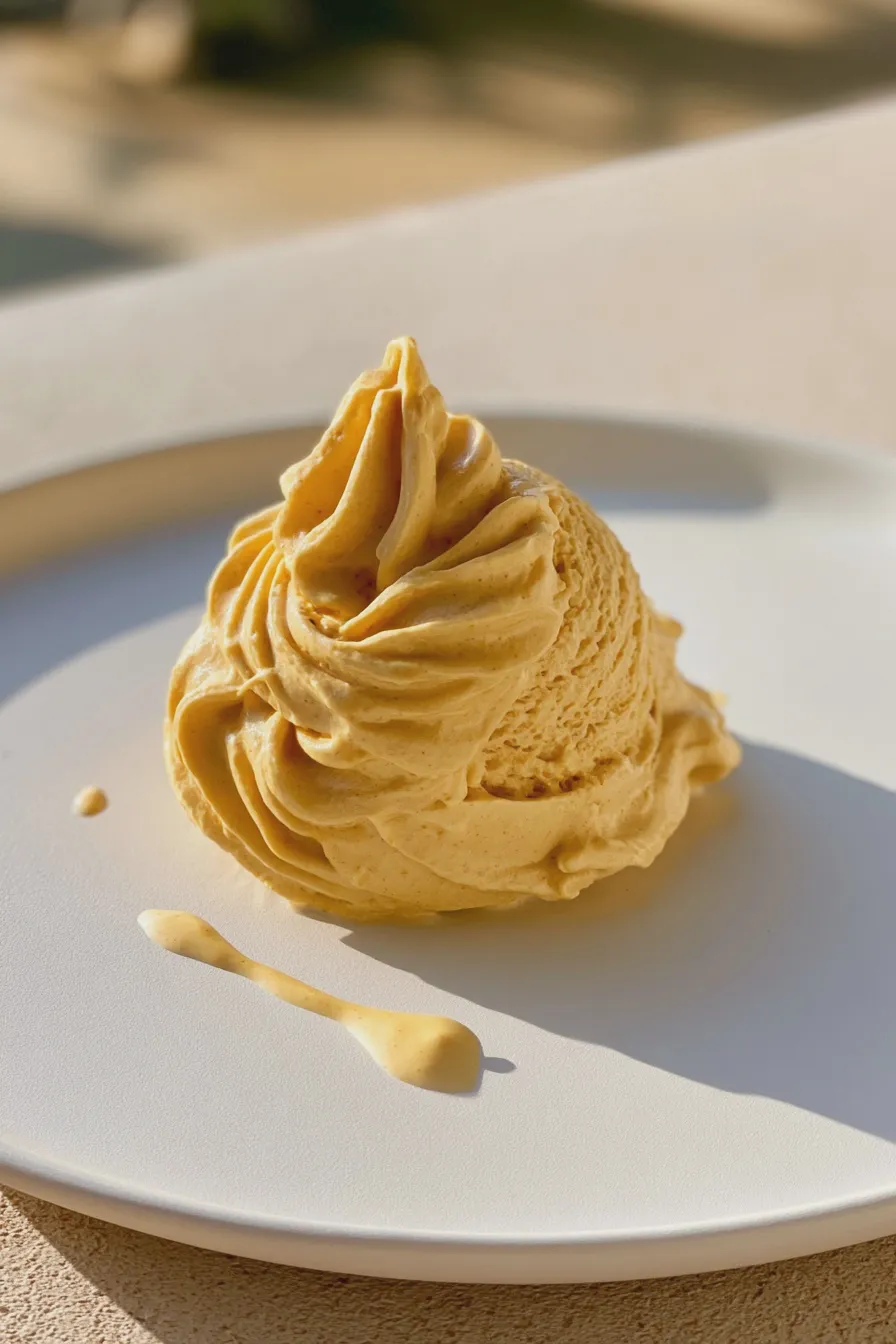
Gathering your ingredients beforehand is the first step toward success when making any custard-based dessert, including this wonderfully creamy pumpkin ice cream. We aim for richness here, so using high-quality heavy cream and whole milk makes a noticeable difference in the final texture.
Base Ingredients
- 2 cups heavy whipping cream
- 1 cup whole milk (Do not substitute with low-fat milk, as it affects creaminess)
- 3/4 cup granulated sugar
- 1/4 cup packed light brown sugar
- 1/2 teaspoon fine sea salt
- 5 large egg yolks (essential for a rich custard base)
- 1 cup pure pumpkin puree (ensure it is 100% pumpkin, not pie filling)
Spice and Flavor Components
- 2 teaspoons pumpkin pie spice (or adjust to your preferred spice level)
- 1 teaspoon pure vanilla extract (add after cooking)
- 1/4 teaspoon ground cinnamon (optional, for extra warmth)
If you are looking to make a dairy-free pumpkin ice cream version, you can experiment with full-fat canned coconut milk in place of the heavy cream and milk, though the texture will be slightly different.
Preparing the Custard Base (If Using an Ice Cream Maker)
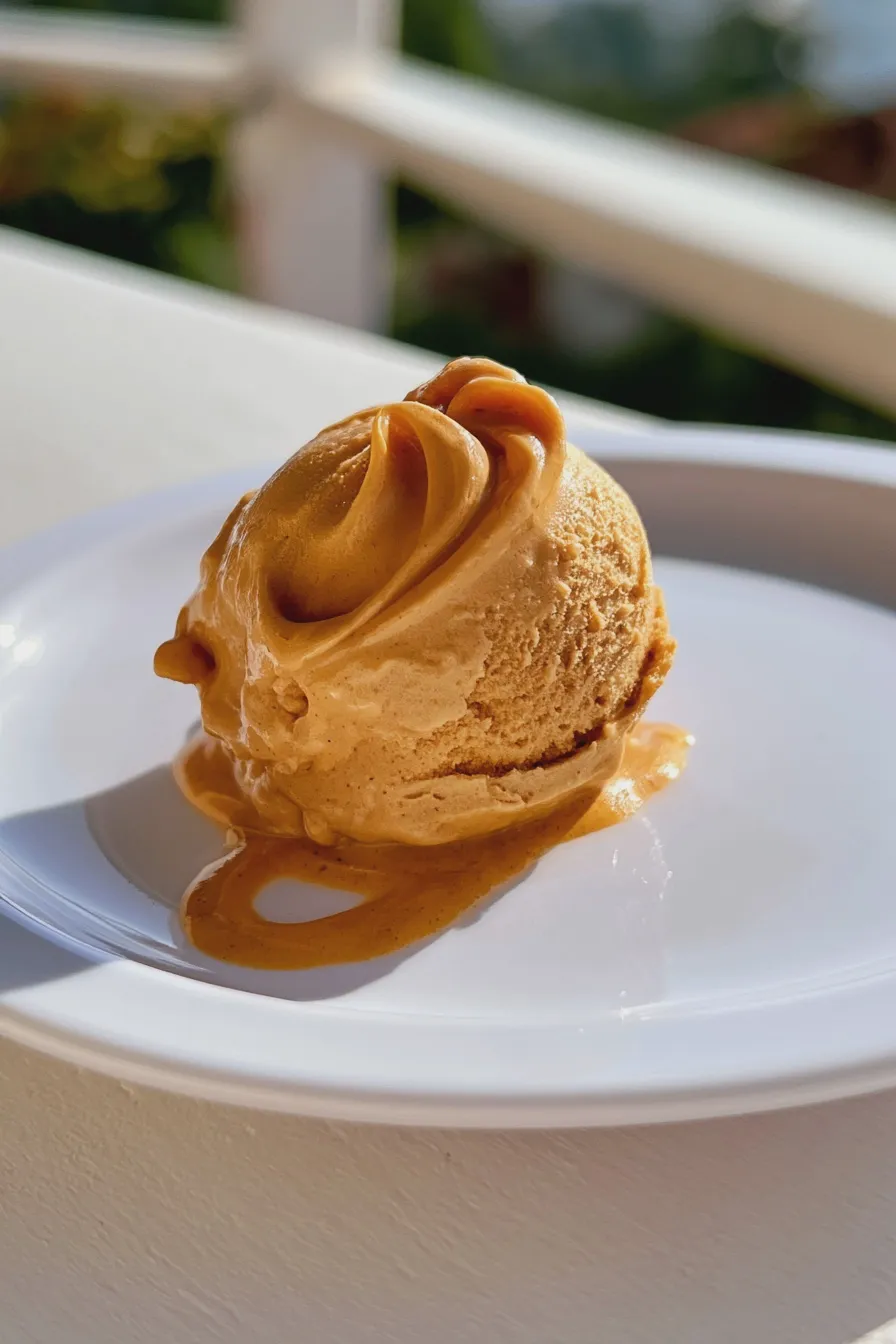
The secret to achieving a velvety smooth texture in your ice cream maker pumpkin recipe lies entirely in properly tempering those egg yolks to create a stable custard.
Scalding the Dairy and Sugars
In a medium saucepan, combine the heavy cream, whole milk, granulated sugar, brown sugar, and salt.
Heat this mixture over medium heat, stirring occasionally, until wisps of steam begin to rise and small bubbles form around the edges, but do not allow it to boil vigorously.
Tempering the Egg Yolks
While the dairy mixture is heating, whisk the egg yolks together vigorously in a separate medium bowl until they are pale yellow and slightly thickened.
Slowly drizzle about one cup of the hot dairy mixture into the egg yolks while whisking constantly to gently raise the temperature of the yolks without scrambling them; this critical step is called tempering.
Cooking the Custard
Pour the tempered yolk mixture back into the saucepan containing the remaining dairy over medium-low heat.
Cook, stirring constantly with a rubber spatula and scraping the bottom of the pan, until the custard thickens enough to coat the back of the spatula, reaching about 170°F on an instant-read thermometer.
Incorporating Pumpkin and Spices
Remove the saucepan from the heat immediately and whisk in the pumpkin puree and pumpkin pie spice until fully combined; this forms the foundation for your pumpkin cheesecake ice cream.
Strain the entire mixture through a fine-mesh sieve into a clean bowl to ensure the smoothest possible base, discarding any cooked bits of egg or thick spice clumps.
Chilling the Base Thoroughly
Stir in the vanilla extract once the base has cooled slightly, then cover the surface directly with plastic wrap to prevent a skin from forming.
Refrigerate the base for a minimum of 4 hours, or preferably overnight, until it is completely cold, as chilling is essential for the best churning results in your ice cream maker pumpkin recipe.
Churning and Freezing the Ice Cream
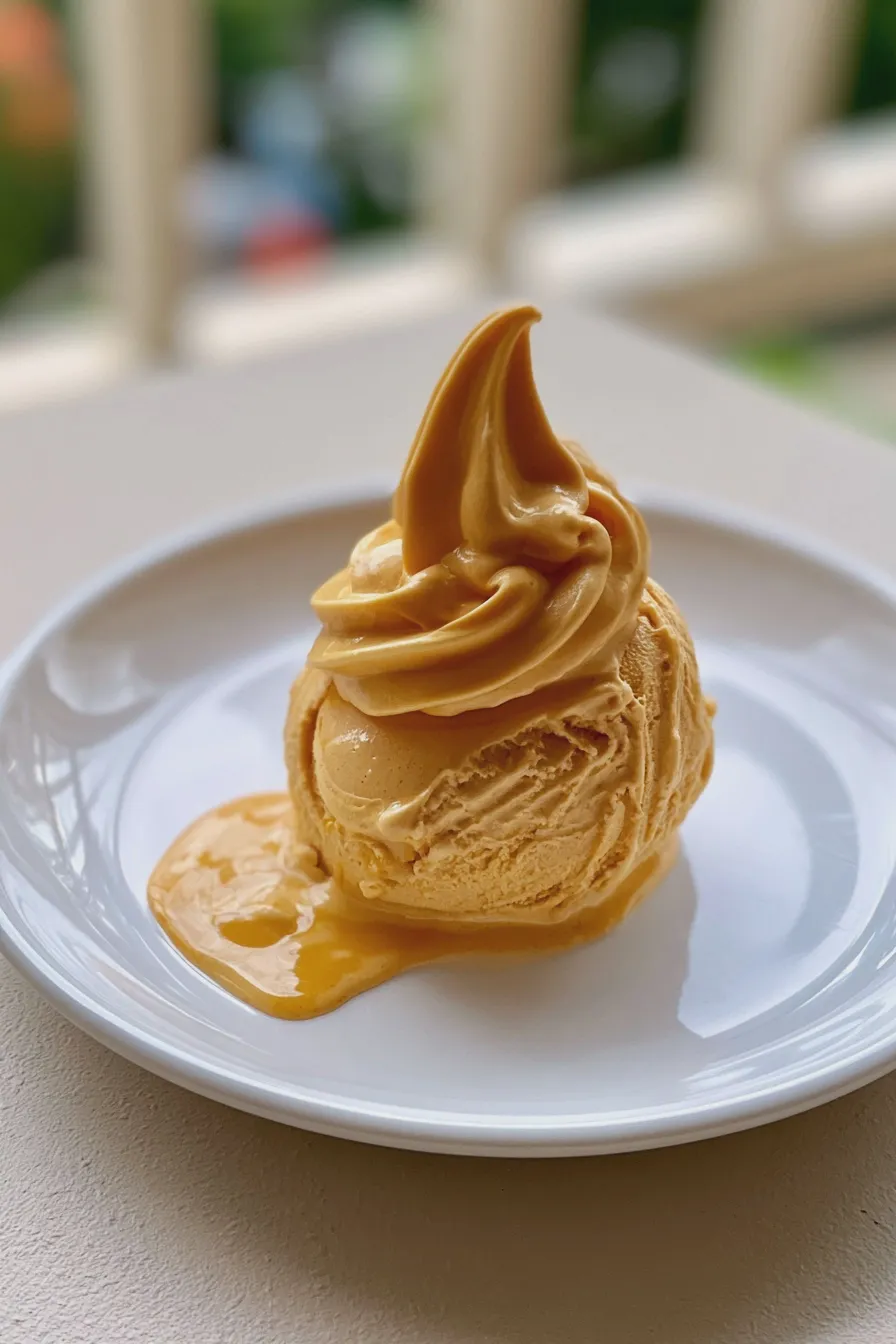
Once the base is properly chilled, the churning process incorporates air and freezes the mixture simultaneously, resulting in the light, airy texture we associate with classic ice cream.
Churning the Mixture
Pour the cold custard base into your pre-frozen ice cream maker bowl according to the manufacturer’s instructions.
Churn for 20 to 30 minutes, or until the mixture has thickened to the consistency of soft-serve ice cream; this is the point where you can consider adding a pumpkin ripple ice cream swirl if desired.
Hardening the Frozen Dessert
Transfer the soft ice cream immediately into an airtight, freezer-safe container, pressing a piece of parchment paper directly onto the surface before sealing.
Freeze for at least 4 hours, or until firm enough to scoop, to fully develop the texture of this wonderful fall dessert recipes star.
Tips for the Ultimate Creamy Pumpkin Ice Cream
Achieving that perfect, scoopable texture without developing large ice crystals is the main goal when crafting any homemade frozen dessert, especially when dealing with fruit purees like pumpkin.
Preventing Ice Crystals
Always ensure your base is thoroughly chilled before churning, as starting with a warm base results in larger ice crystals forming during the freezing cycle.
Using a higher ratio of fat (heavy cream) to water content is crucial; this is why we avoid using skim milk or overly watery pumpkin puree in this recipe for the best pumpkin ice cream.
Flavor Enhancements and Variations
For a truly gourmet experience, consider toasting your pumpkin pie spice lightly in a dry skillet for 30 seconds before adding it to the base; this releases the essential oils and deepens the flavor profile.
If you are aiming for a pumpkin cheesecake ice cream profile, blend 4 ounces of softened cream cheese into the warm custard base just before straining, ensuring it dissolves completely.
Storage and Serving Suggestions
Store your finished frozen pumpkin dessert in the coldest part of your freezer, away from the door, for the best texture retention over several weeks.
Allow the ice cream to sit on the counter for 5 to 10 minutes before attempting to scoop; this slight softening is necessary to enjoy the creamy pumpkin ice cream at its peak. This pairs wonderfully with homemade gingersnaps or a dollop of whipped cream.
Print
pumpkin ice cream Recipe Homemade Easy
- Total Time: PT6H15M
- Yield: About 1 quart 1x
- Diet: Vegetarian
Description
This no-churn pumpkin ice cream captures all the cozy flavors of fall—cinnamon, nutmeg, and rich pumpkin puree—without needing an ice cream maker. It’s unbelievably creamy and simple to prepare!
Ingredients
- 2 cups (480ml) heavy whipping cream, very cold
- 1 (15-ounce) can pure pumpkin puree (not pumpkin pie filling)
- 1/2 cup (100g) granulated sugar
- 1 teaspoon vanilla extract
- 1 teaspoon pumpkin pie spice
- 1/4 teaspoon ground cinnamon (optional, for extra spice)
- Pinch of salt
Instructions
- In a large bowl, whip the very cold heavy whipping cream using an electric mixer (handheld or stand mixer with a whisk attachment) until stiff peaks form. This usually takes 3-5 minutes. Be careful not to over-whip into butter.
- In a separate medium bowl, whisk together the pumpkin puree, granulated sugar, vanilla extract, pumpkin pie spice, cinnamon (if using), and salt until completely smooth and the sugar is mostly dissolved.
- Gently fold about one-third of the whipped cream into the pumpkin mixture to lighten it.
- Carefully fold the remaining whipped cream into the pumpkin mixture until just combined and no white streaks remain. Be gentle to maintain the airiness.
- Transfer the mixture to a freezer-safe loaf pan (about 9×5 inches) or an airtight container. Cover the surface directly with plastic wrap to prevent ice crystals, then cover the container tightly with a lid or foil.
- Freeze for at least 6 hours, or preferably overnight, until firm.
- Before serving, let the ice cream sit on the counter for 5-10 minutes to soften slightly for easier scooping.
Notes
- For an extra decadent treat, swirl in 1/4 cup of softened caramel sauce before freezing.
- If you prefer a sweeter ice cream, increase the sugar to 2/3 cup.
- Ensure your heavy cream is as cold as possible for the best whipping results.
- Store leftovers in the freezer for up to 2 weeks.
- Prep Time: PT15M
- Cook Time: 0 minutes
- Category: Ice Cream
- Method: No-Churn
- Cuisine: American
Nutrition
- Serving Size: 1/2 cup
- Calories: 285
- Sugar: 24g
- Sodium: 45mg
- Fat: 20g
- Saturated Fat: 12g
- Protein: 4g
- Cholesterol: 75mg