
This creamy, satisfying recipe for protein ice cream allows you to enjoy a rich frozen dessert while keeping up with your fitness goals, offering fantastic flavor without the usual sugar crash. It’s a wonderful example of healthy ice cream recipes that truly hit the spot after dinner or as a post-workout reward.
If you’ve been searching for a way to satisfy that late-night sweet tooth while maintaining a high-protein diet, you are in the right place. Learning how to make protein ice cream is simpler than you might think, resulting in a texture remarkably similar to traditional churned ice cream.
This simple, no-churn version of protein ice cream yields about four generous servings of a rich, vanilla-flavored frozen delight that is perfect for satisfying cravings while boosting your daily protein intake. It sets up beautifully in the freezer, offering a genuinely decadent texture that rivals store-bought options, making it one of the best protein packed desserts available.
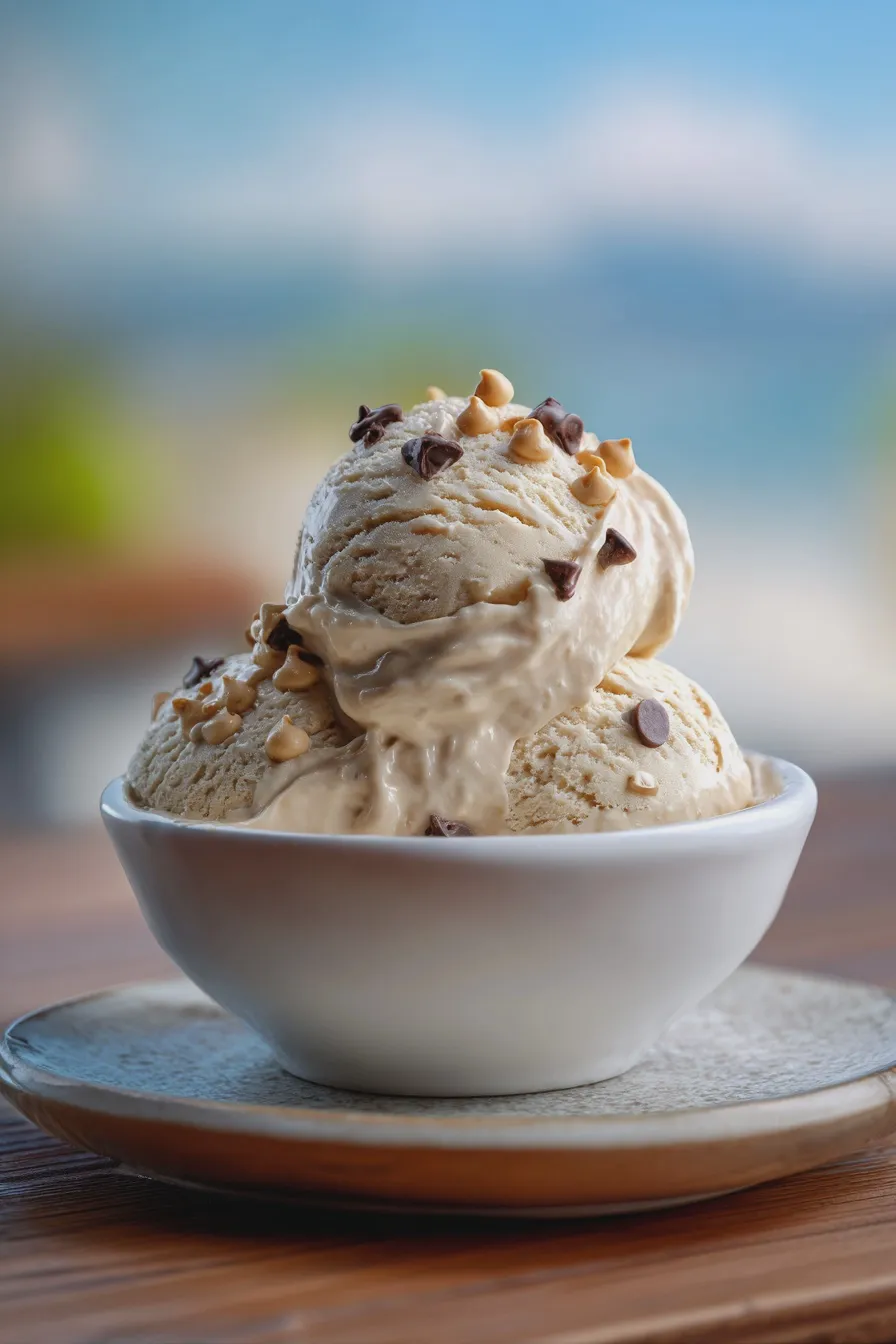
Understanding Protein Ice Cream
Making a truly enjoyable frozen treat when you are focused on macros requires a bit of knowledge about how protein powder interacts with freezing temperatures. Unlike traditional ice cream, which relies heavily on fat and sugar for its luxurious mouthfeel, this version uses protein to provide structure and thickness, resulting in a guilt-free ice cream experience.
Many people assume that adding protein powder results in an icy or chalky texture, but the right combination of liquid and stabilizers prevents this common pitfall, leading to a scoopable consistency often associated with high protein frozen yogurt.
Choosing Your Base Ingredients
The foundation of this recipe relies on a liquid base that blends well with protein powder and keeps the mixture smooth when frozen. We rely on unsweetened almond milk for its low-calorie profile, but whole milk or even oat milk works beautifully if you prefer a richer flavor.
For the essential protein component, we are using a high-quality vanilla whey protein powder, as it dissolves easily and offers a neutral, pleasant flavor base for customization later on. If you are looking for low sugar dessert ideas, ensuring your protein powder is low in added sweeteners is crucial for success.
Essential Flavor Enhancers
To achieve that classic, creamy vanilla taste without relying on high amounts of sugar, we incorporate pure vanilla extract and a touch of stevia or monk fruit sweetener to taste. These additions amplify the perceived sweetness and richness without adding unnecessary carbohydrates.
A small secret weapon for texture is a teaspoon of xanthan gum, which acts as a stabilizer to prevent large ice crystals from forming, ensuring that this protein shake ice cream remains smooth straight from the freezer.
Ingredients for No-Churn Protein Ice Cream
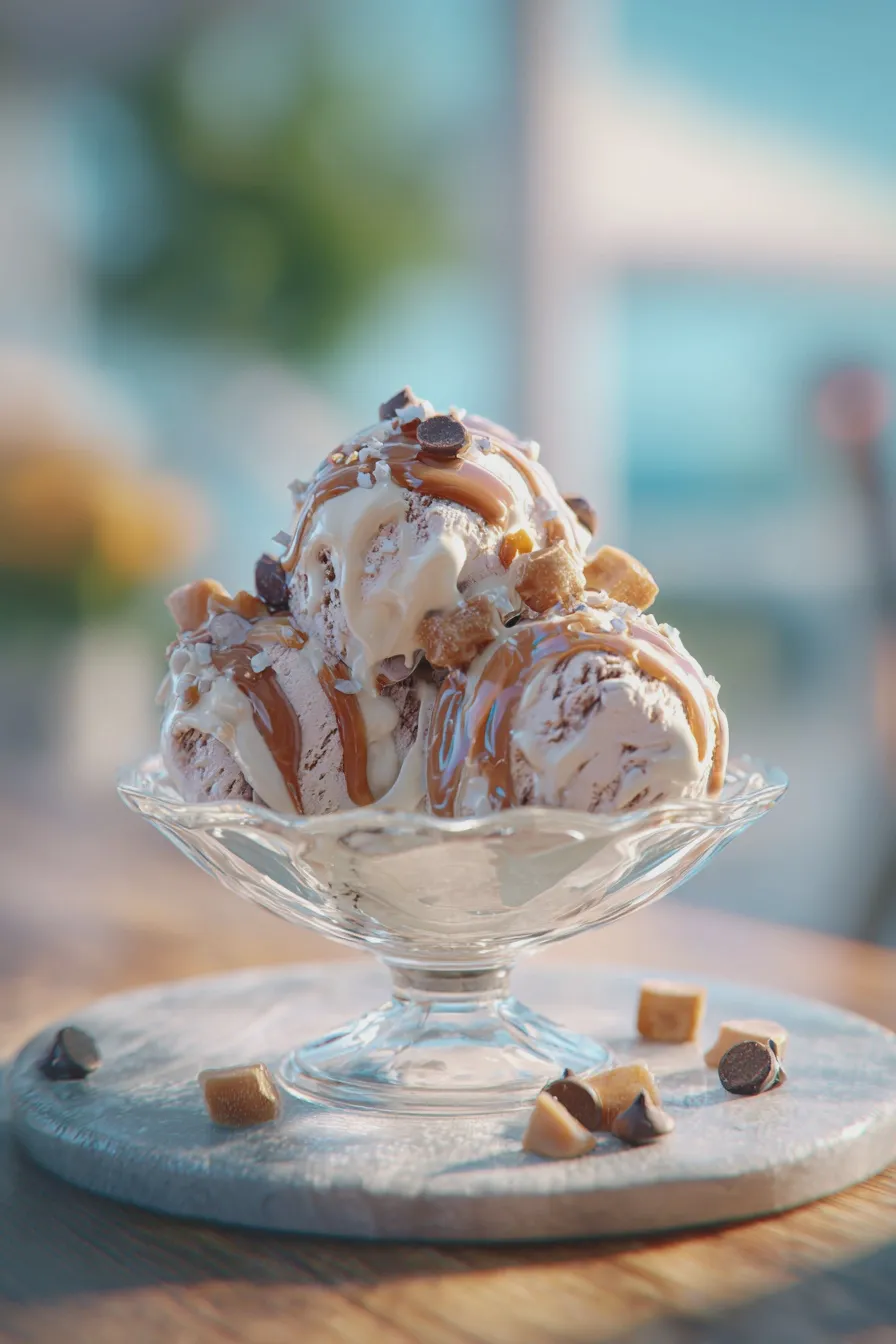
Gathering your ingredients beforehand makes the blending process quick and ensures everything incorporates smoothly before chilling.
- 2 cups Unsweetened Almond Milk (or milk of choice)
- 1 cup Plain Greek Yogurt (2% or full-fat recommended for better texture)
- 1 scoop (approx. 30g) High-quality Vanilla Protein Powder (Whey or Casein blend works best)
- 2 tablespoons Erythritol or Monk Fruit Sweetener Blend (adjust to your preference)
- 1 teaspoon Pure Vanilla Extract
- 1/2 teaspoon Xanthan Gum (crucial for smooth texture)
- Pinch of Salt (enhances overall flavor dramatically)
How to Make protein ice cream
This method skips the ice cream maker entirely, making this one of the most accessible fitness dessert recipes you can try at home.
Blending the Base Mixture
Pour the almond milk, Greek yogurt, protein powder, sweetener, vanilla extract, xanthan gum, and salt into a high-powered blender.
Blend on high speed for about 60 to 90 seconds until the mixture is completely smooth, ensuring no lumps of protein powder remain visible, which is a common issue when making ice cream with protein powder.
Preparing for Freezing
Pour the thoroughly blended base into a freezer-safe, shallow container, preferably one with a lid, like a loaf pan lined with parchment paper for easy removal later.
If you notice any small air bubbles on the surface, gently tap the container on the counter a few times to release them, which helps promote a denser final product.
The No-Churn Freezing Process
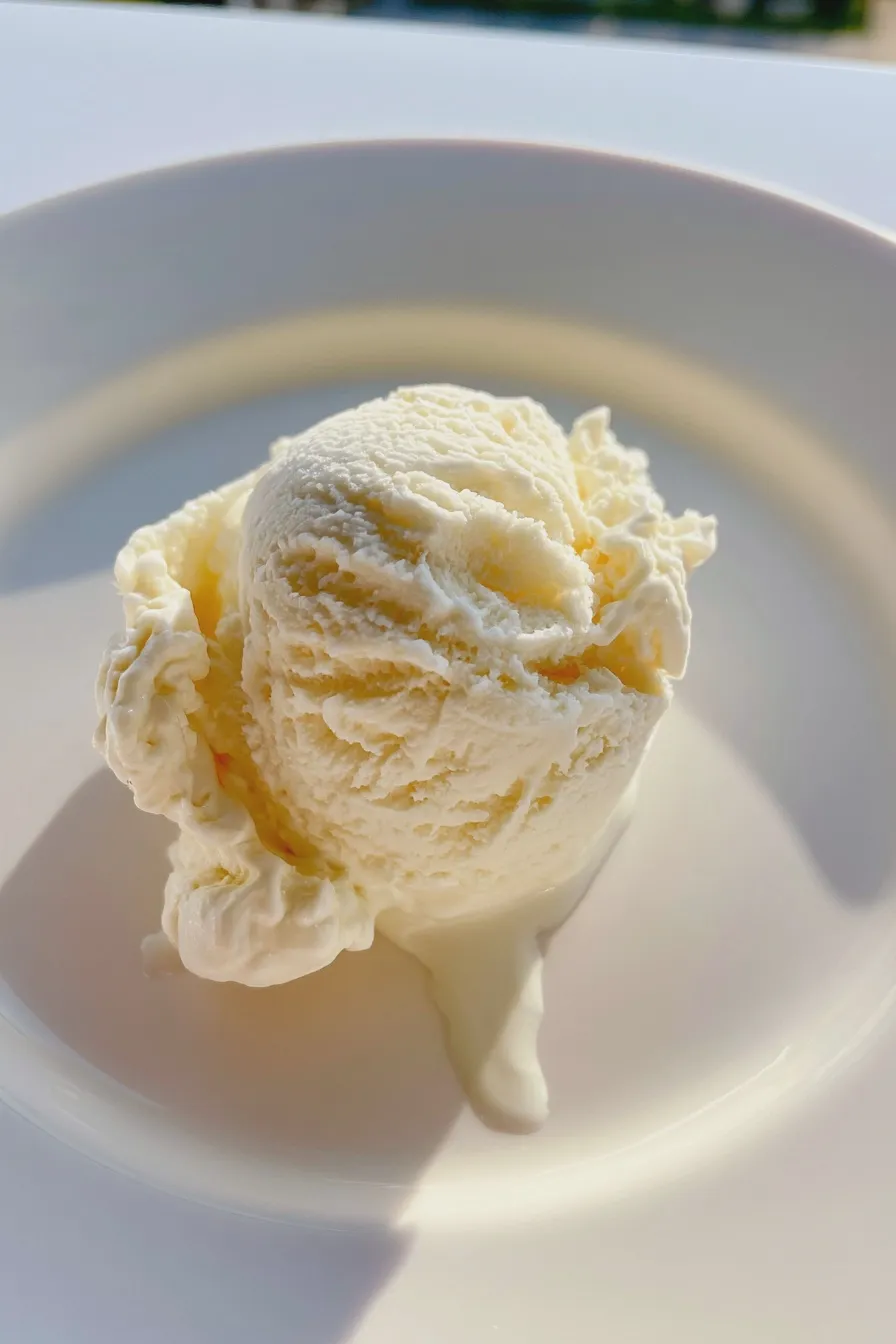
Place the container in the back of your freezer, where the temperature is most consistent, and let it freeze undisturbed for at least 4 to 6 hours until it is firm around the edges.
For the best texture resembling traditional scoops, remove the container from the freezer after about 3 hours and use a fork to scrape and fluff up the partially frozen edges toward the center.
Serving and Enjoying
Before scooping, allow the mixture to sit on the counter for 10 to 15 minutes to soften slightly, which prevents it from being rock-hard, especially if you used a very lean yogurt base.
Serve immediately in bowls, perhaps topped with sugar-free chocolate chips or a sprinkle of cinnamon, creating delicious protein ice cream bowls.
Tips for Perfect Texture and Flavor
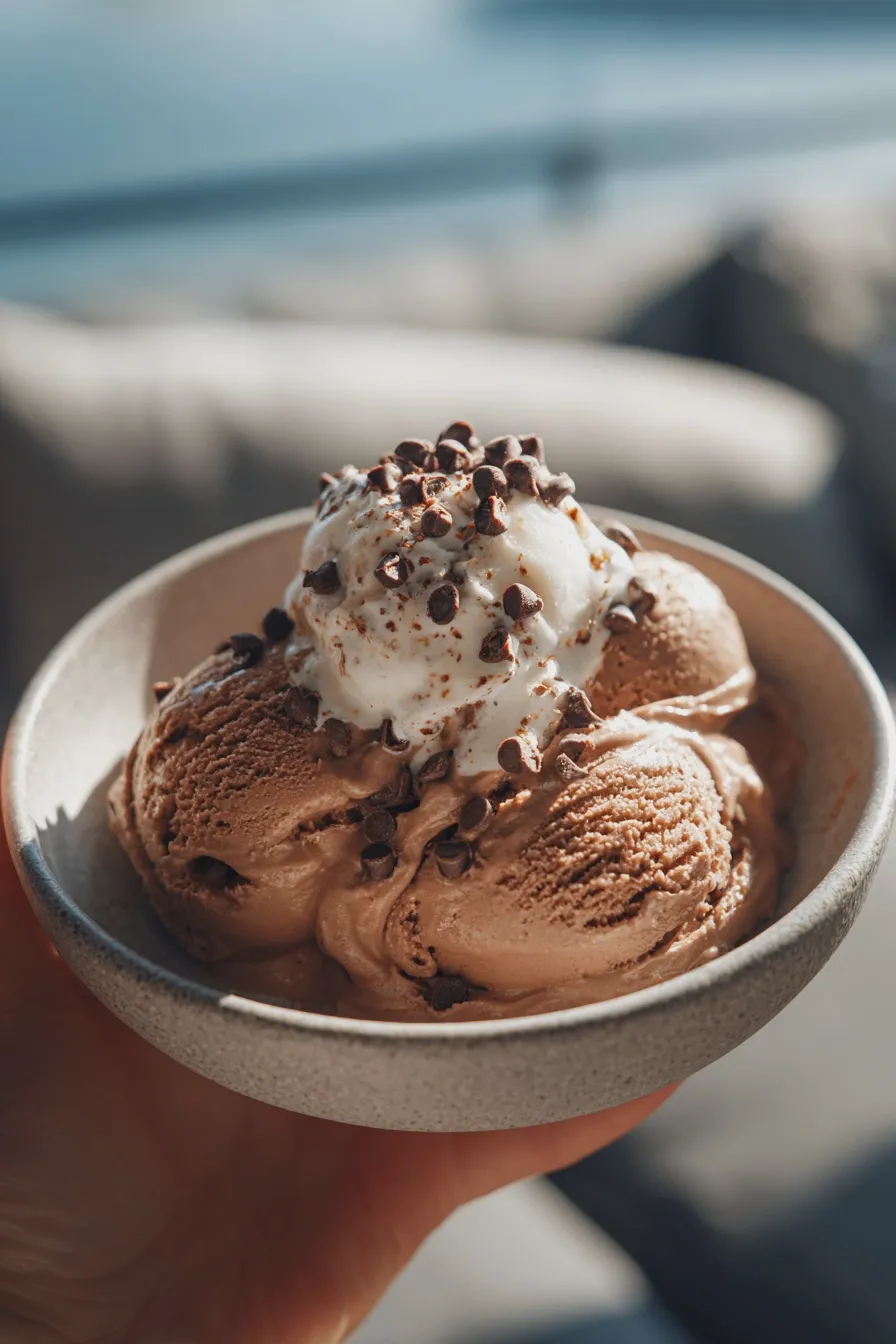
Achieving the ideal texture in homemade frozen desserts is often the trickiest part, especially when aiming for a low calorie ice cream recipes version that isn’t icy.
Managing Protein Powder Selection
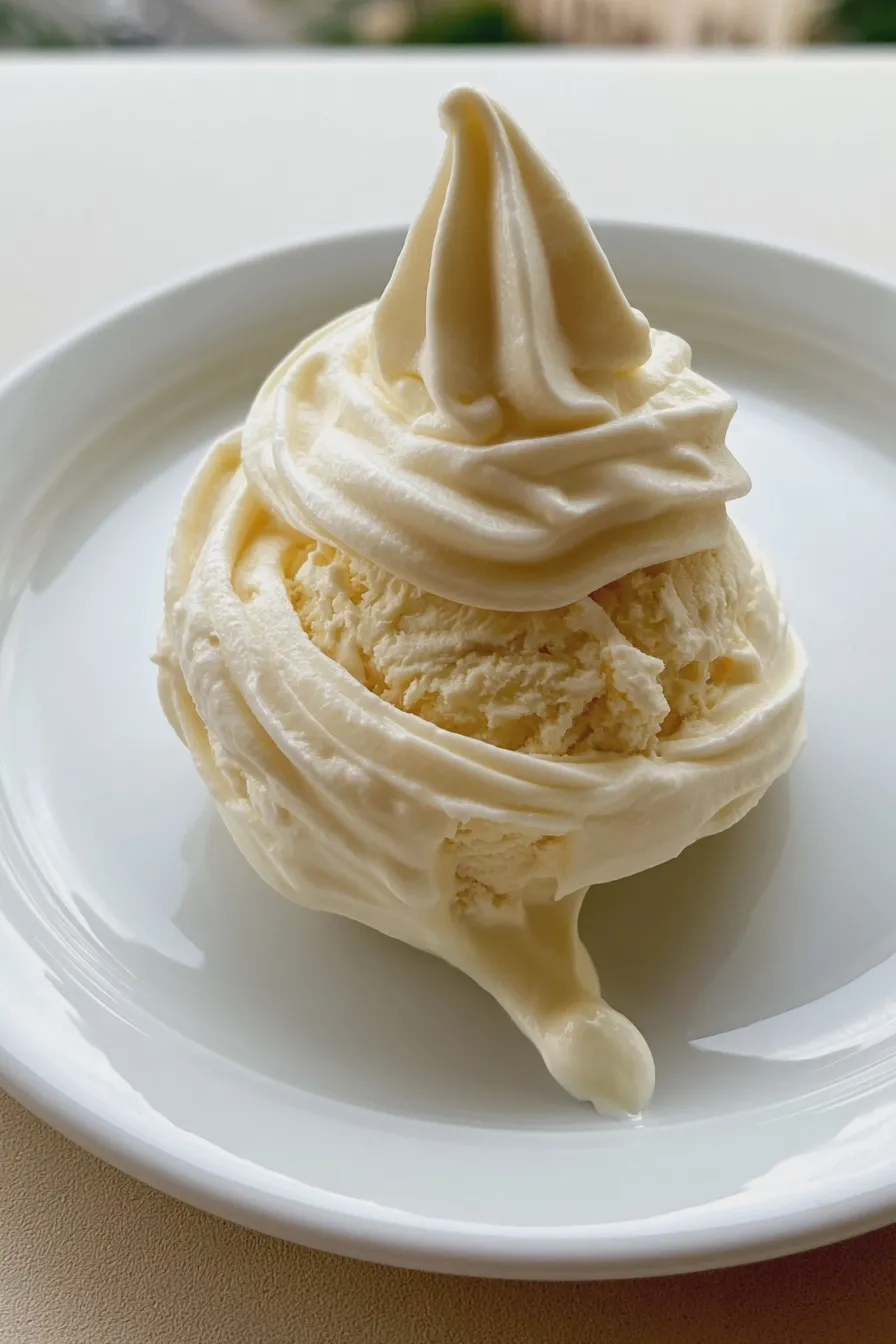
The type of protein powder significantly impacts the final outcome; whey isolate tends to freeze harder than casein, so a blend often yields the best results for a whey protein ice cream mimic.
If you prefer a vegan version, opt for a pea or soy blend, but be aware you might need an extra half teaspoon of xanthan gum or a tablespoon of nut butter to improve the creaminess for your vegan protein ice cream.
Preventing Ice Crystals
The primary defense against ice crystals is incorporating a small amount of sugar alcohol or a healthy fat source, like a tablespoon of cashew butter, which lowers the freezing point slightly.
Remember that the Greek yogurt contributes significantly to the creaminess; using full-fat yogurt instead of non-fat will result in a richer mouthfeel, similar to traditional ice cream, even in these diabetic friendly frozen treats.
Flavor Variations and Add-ins
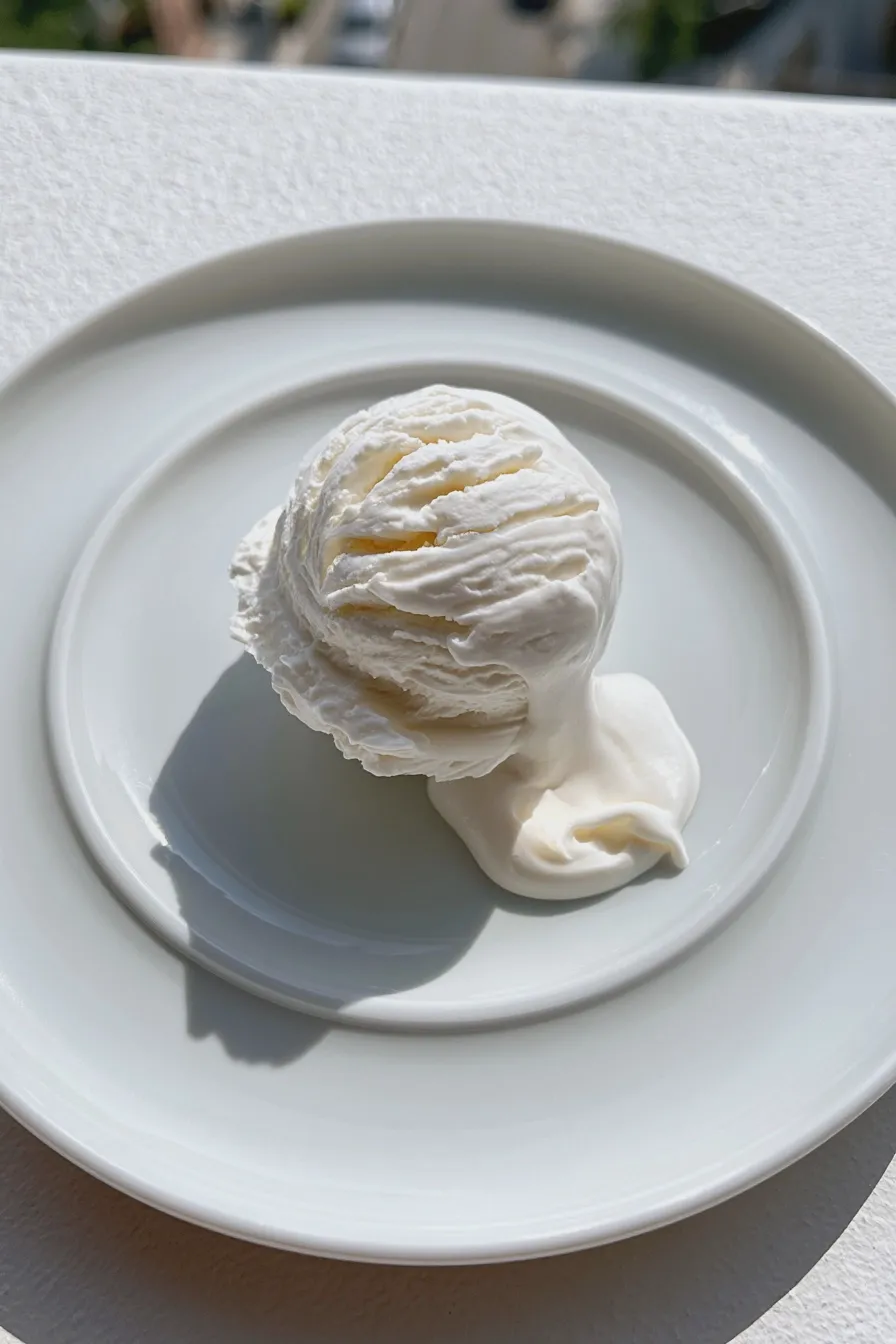
You can easily transform this base into other flavors; for chocolate, substitute 2 tablespoons of cocoa powder for 2 tablespoons of protein powder, or add 1/4 cup of defrosted frozen berries for a quick fruit swirl.
For those seeking a rich, decadent experience, swirling in a tablespoon of melted, sugar-free dark chocolate during the final hour of freezing creates a delightful texture contrast in your keto protein ice cream.
Storage and Make-Ahead Advice
While this is best eaten fresh, you can certainly store leftovers, though the texture will change slightly upon refreezing.
Best Storage Practices
Store any remaining ice cream in an airtight, shallow container and press a piece of plastic wrap directly onto the surface before sealing the lid to minimize air exposure.
Because this recipe lacks the high sugar content of commercial products, it freezes harder; always plan to thaw it on the counter for 15–20 minutes before attempting to scoop.
Freezing Time Considerations
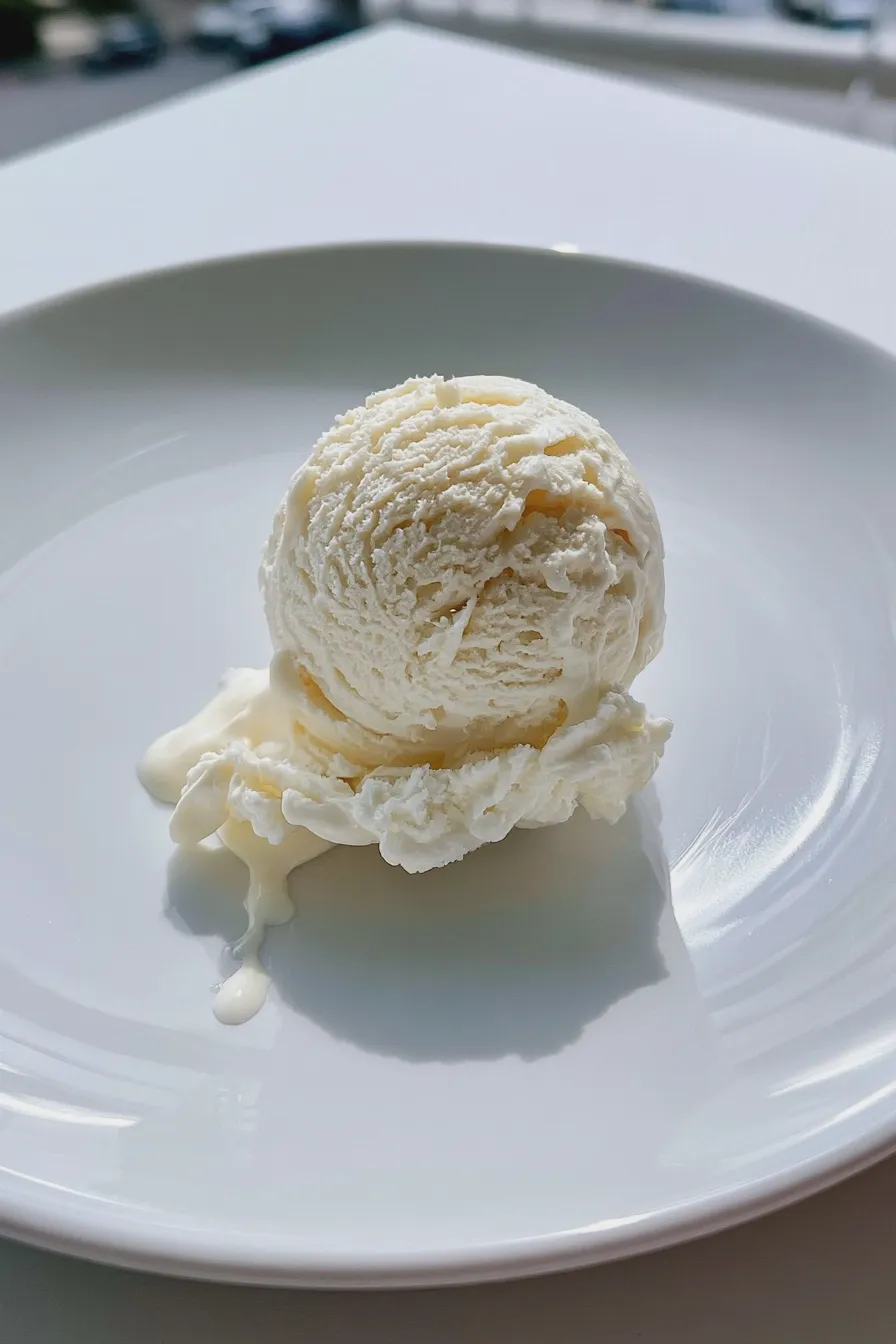
For the smoothest possible result, aim to eat this treat within one week, as prolonged freezing tends to compromise the texture, even with stabilizers present.
If you are preparing this for a gathering, the initial 6-hour freeze is sufficient for serving, but a full overnight freeze will yield a firmer final product, ideal for those who prefer their frozen desserts very solid, much like a casein protein ice cream.
Print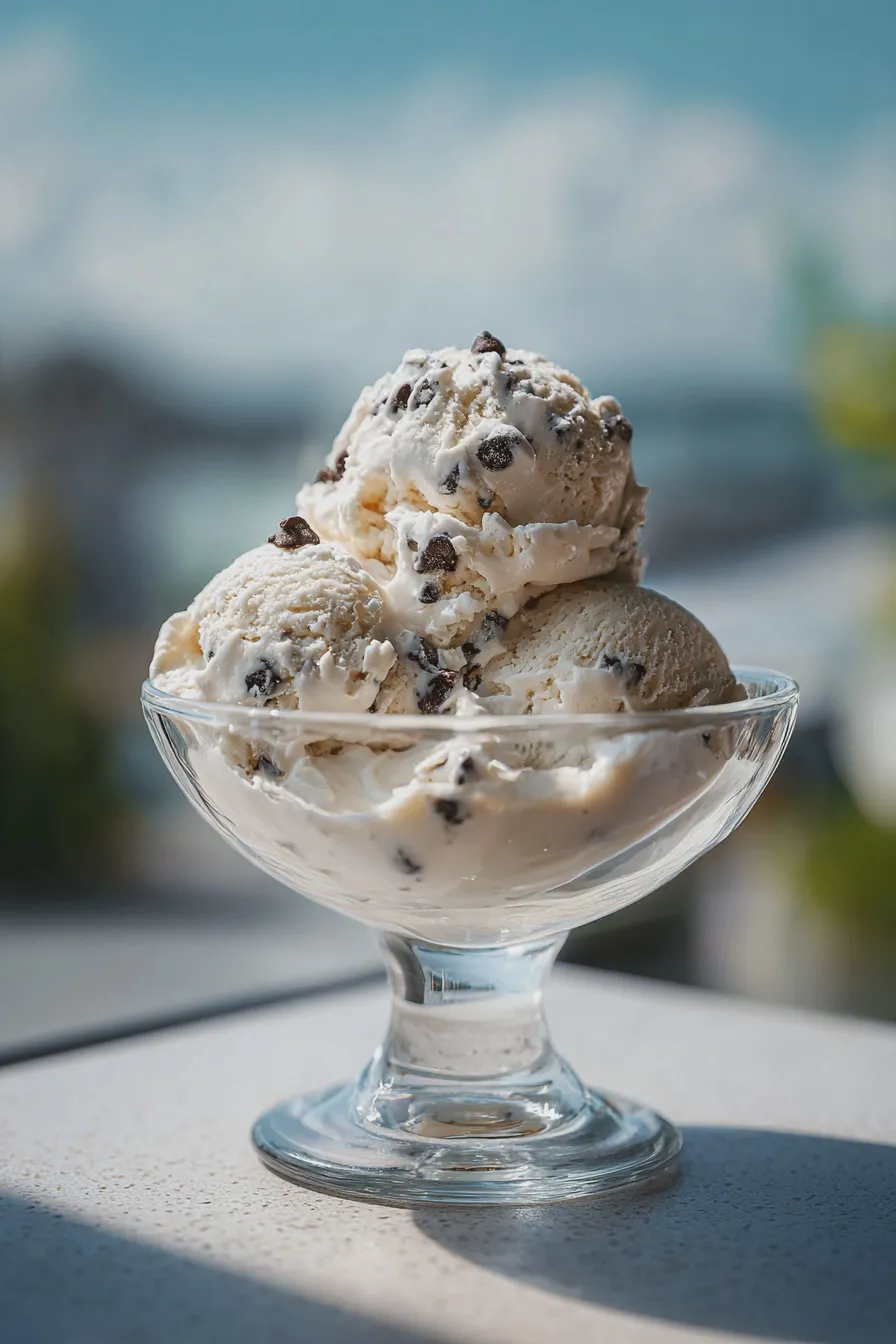
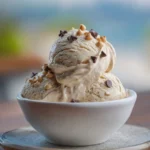
protein ice cream Easy Homemade Recipe
- Total Time: PT4H10M
- Yield: 4 servings 1x
- Diet: High Protein
Description
Indulge guilt-free with this incredibly creamy, high-protein, no-churn ice cream packed with peanut butter flavor and chocolate chips. A perfect healthy dessert upgrade!
Ingredients
- 1 cup (240ml) unsweetened almond milk (or milk of choice)
- 1 scoop (approx. 30g) vanilla or chocolate whey/casein protein powder blend
- 1/2 cup (120g) plain Greek yogurt (0% or 2%)
- 2 tablespoons natural peanut butter
- 1/4 cup (30g) mini sugar-free chocolate chips (or regular mini chips)
- 1–2 tablespoons erythritol or preferred sweetener (adjust to taste)
- 1/2 teaspoon vanilla extract
- Pinch of salt
Instructions
- In a medium bowl, whisk together the almond milk, protein powder, Greek yogurt, peanut butter, sweetener, vanilla extract, and salt until completely smooth and well combined. Ensure no lumps remain from the protein powder.
- Gently fold in the mini chocolate chips.
- Pour the mixture into a freezer-safe container (a loaf pan works well). Cover tightly with plastic wrap, pressing the wrap directly onto the surface of the mixture to prevent ice crystals.
- Freeze for 3-4 hours. Stir vigorously every hour for the first 3 hours to break up ice crystals and promote creaminess (this mimics churning).
- After the final stir, freeze for another 2-4 hours, or until firm enough to scoop.
- Let the ice cream sit on the counter for 5-10 minutes before serving for the best texture.
Notes
- For the creamiest texture, use a 50/50 blend of whey and casein protein powder, as casein thickens better.
- If the mixture is too thick before freezing, add an extra splash of almond milk. If it is too thin, add 1/2 teaspoon of xanthan gum (optional).
- Storage: Keep covered tightly in the freezer. It may freeze harder than traditional ice cream due to the lower fat/sugar content.
- Prep Time: PT10M
- Cook Time: 0 minutes
- Category: Frozen Desserts
- Method: No-Churn
- Cuisine: American
Nutrition
- Serving Size: 1/4 of recipe
- Calories: 220
- Sugar: 3g
- Sodium: 180mg
- Fat: 10g
- Saturated Fat: 2g
- Carbohydrates: 12g
- Protein: 25g







