
There’s something truly magical about a perfectly baked cheesecake. Its creamy, rich texture and decadent flavor make it a showstopper for any occasion. And when you introduce the sweet, subtle notes of ripe pears, you elevate this classic dessert to a whole new level of deliciousness. Today, we’re diving into the delightful world of the pear cheesecake, exploring how to create this exquisite treat that’s sure to impress your friends and family. Whether you’re a seasoned baker or just starting out, this guide will walk you through everything you need to know to achieve a spectacular pear cheesecake dessert. For more inspiration on classic desserts, you might find this guide on cheesecake recipes helpful.
What Makes Pear Cheesecake So Special?
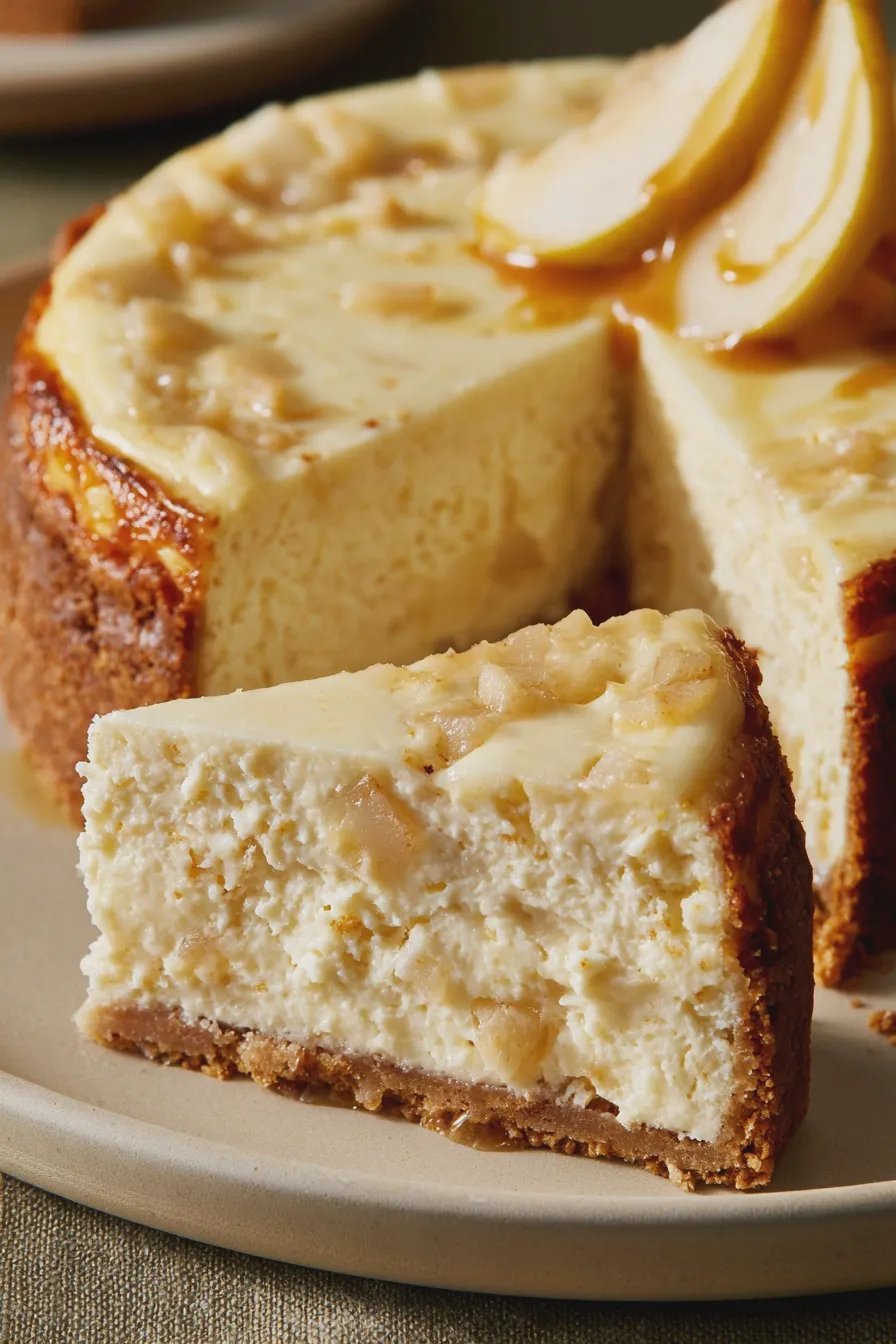
Pear cheesecake is a symphony of flavors and textures. The natural sweetness and delicate floral notes of pears perfectly complement the tangy creaminess of the cheesecake base. Unlike more common fruit cheesecakes, pears offer a softer, more nuanced flavor that doesn’t overpower the star of the show – the cheesecake itself. This makes for a sophisticated and utterly delightful dessert. We’ll be focusing on a baked version today, but the principles can often be adapted for a no bake pear cheesecake as well.
Choosing the Best Pears for Your Cheesecake
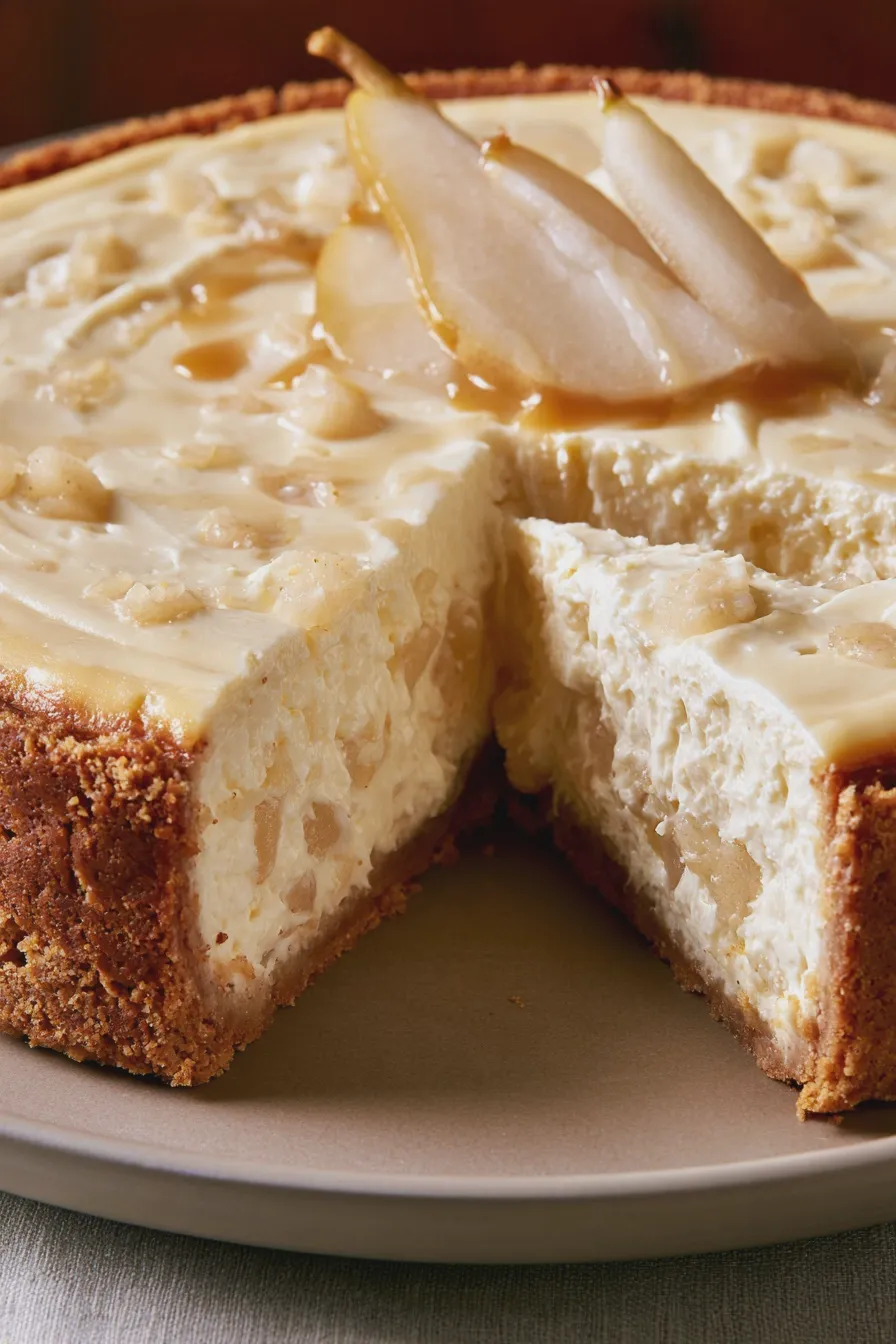
The key to a fantastic pear cheesecake is using the right type of pears. You want pears that hold their shape when baked and offer a good balance of sweetness and slight tartness. My top recommendations are:
- Bosc Pears: These are excellent for baking as they maintain their structure and have a rich, sweet flavor.
- Anjou Pears: A versatile pear that’s both sweet and slightly tart, they soften beautifully without becoming mushy.
- Bartlett Pears: While they can get quite soft, they offer a wonderfully sweet, perfumed flavor that works well if you’re aiming for a more integrated pear flavor within the filling.
Avoid pears that are overly ripe or mushy, as they can make your pear cheesecake filling too wet. For more on selecting produce, exploring fruit selection can offer valuable insights.
If you enjoyed this, you might also love our Pumpkin Cheesecake Recipe recipe.
Ingredients for a Classic Pear Cheesecake
To create a truly creamy pear cheesecake, you’ll need a few key components. Here’s a breakdown of what you’ll typically find in a delicious pear cheesecake recipe:
For the Crust:
- Graham cracker crumbs (about 1 ½ cups)
- Granulated sugar (¼ cup)
- Melted unsalted butter (6 tablespoons)
For the Pear Filling:
- Cream cheese, softened (three 8-ounce packages)
- Granulated sugar (1 cup)
- Large eggs (3)
- Sour cream (½ cup)
- Vanilla extract (1 teaspoon)
- Fresh pear puree or finely diced cooked pears (about 1 cup)
- Lemon juice (1 tablespoon)
- Optional: Spices like cinnamon or nutmeg (¼ teaspoon each) for a spiced pear cheesecake
For the Pears (Optional Topping or Swirl):
- Pears, peeled, cored, and sliced (2-3 medium)
- Brown sugar (2 tablespoons)
- Butter (1 tablespoon)
- Cinnamon (½ teaspoon)
Step-by-Step Guide to Making Pear Cheesecake
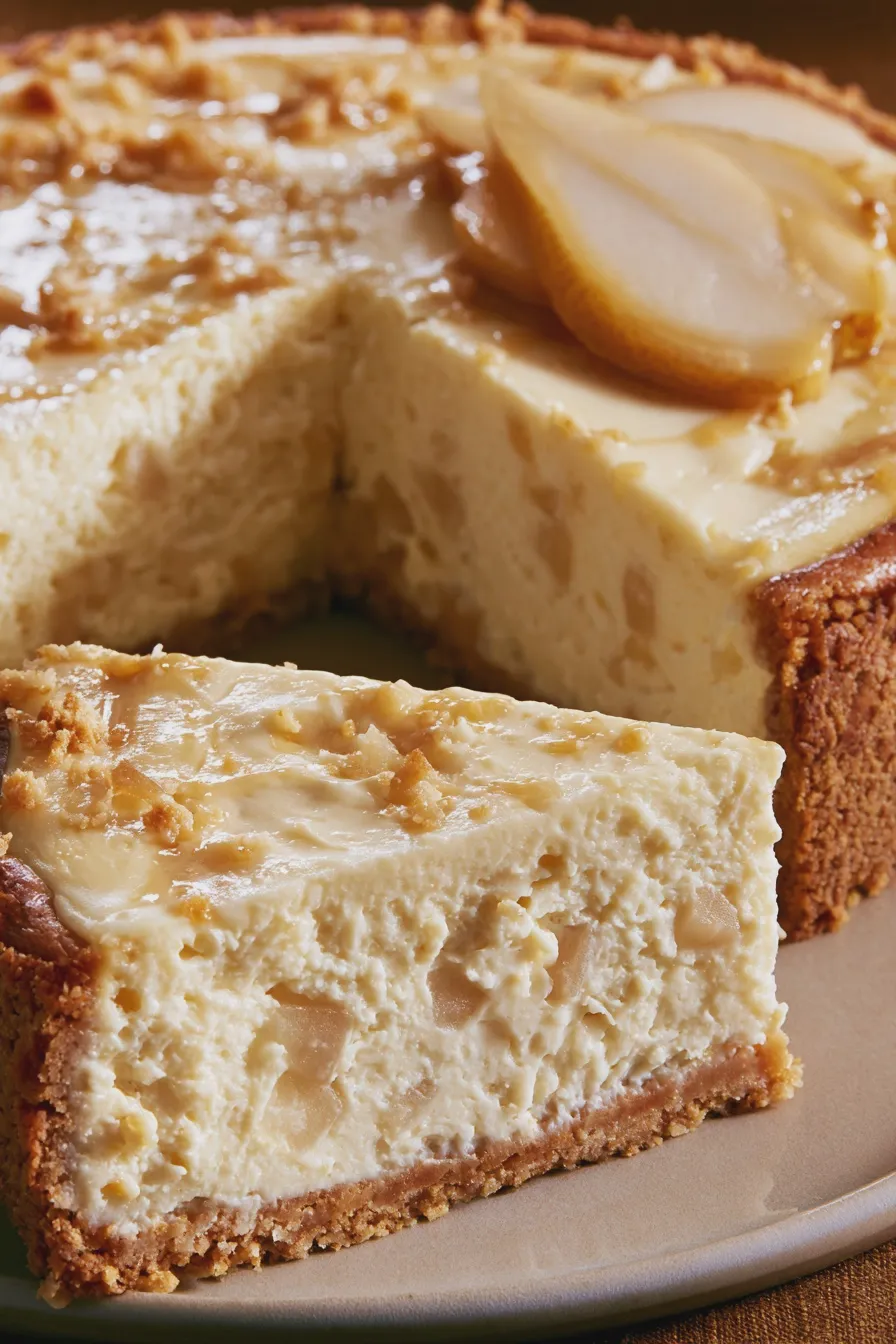
Let’s get baking! This recipe will guide you through creating a stunning baked pear cheesecake.
Step 1: Prepare the Crust
Preheat your oven to 350°F (175°C). In a medium bowl, combine the graham cracker crumbs and sugar. Pour in the melted butter and mix until the crumbs are evenly moistened. Press this mixture firmly into the bottom and slightly up the sides of a 9-inch springform pan. You can use the bottom of a glass or a measuring cup to get an even layer. Bake the crust for 8-10 minutes until lightly golden. Let it cool while you prepare the filling.
If you enjoyed this, you might also love our Pumpkin Cheesecake Bars Recipe recipe.
Step 2: Prepare the Pears
If you’re adding pears directly into the filling or as a swirl, you’ll want to prepare them. For pear puree, you can steam or boil peeled, cored pears until tender, then blend them until smooth. For diced pears, you can gently sauté diced pears with a tablespoon of butter, brown sugar, and cinnamon until slightly softened. This adds a lovely caramelization and depth of flavor, perfect for a caramel pear cheesecake. For a fresh pear cheesecake, you might opt to omit this step and add thinly sliced raw pears into the filling.
Step 3: Make the Creamy Pear Cheesecake Filling
In a large bowl, beat the softened cream cheese with an electric mixer on medium speed until completely smooth and creamy. Gradually add the granulated sugar and continue beating until well combined and no lumps remain. This is crucial for achieving that signature creamy texture. Beat in the eggs one at a time, mixing just until each egg is incorporated. Be careful not to overmix once the eggs are added, as this can lead to cracks.
Stir in the sour cream, vanilla extract, and lemon juice. Gently fold in your prepared pear puree or finely diced cooked pears. If you’re making a spiced pear cheesecake, now is the time to add your cinnamon and nutmeg. Be sure to scrape down the sides and bottom of the bowl to ensure everything is evenly mixed. The goal is a smooth, luscious pear cheesecake filling.
Another favorite of ours is the Strawberry Cake From Scratch.
Step 4: Assemble and Bake
Pour the pear cheesecake filling over the prepared crust. If you’re creating a swirl effect, dollop spoonfuls of cooked pear mixture or caramel sauce on top and gently swirl with a knife. If you want to arrange pear slices on top, do so now. For a more uniform bake and to prevent cracks, consider using a water bath. Wrap the outside of your springform pan tightly with heavy-duty aluminum foil. Place the foiled pan in a larger roasting pan. Carefully pour hot water into the roasting pan until it comes about halfway up the sides of the springform pan.
Bake for 50-70 minutes, or until the edges of the cheesecake are set but the center still has a slight jiggle. An easy pear cheesecake often benefits from this gentle, even heat. Avoid opening the oven door too often.
Step 5: Cool and Chill
Once baked, turn off the oven and let the cheesecake cool in the oven with the door slightly ajar for about an hour. This gradual cooling also helps prevent cracks. Remove the cheesecake from the water bath (if used) and let it cool completely on a wire rack. Once at room temperature, cover the cheesecake loosely with plastic wrap and refrigerate for at least 6 hours, or preferably overnight. This chilling time is essential for the cheesecake to set properly and for the flavors to meld.
Don’t miss out on our guide to Easy Homemade Ice Cream Recipe.
Step 6: Serve
Once chilled, carefully run a thin knife around the edge of the pan before releasing the springform side. You can serve your pear cheesecake as is, or top it with fresh pear slices, a drizzle of caramel sauce, or a dollop of whipped cream. A pear crumble cheesecake could also be an option, topping it with a streusel before baking.
Tips for Baking the Perfect Pear Cheesecake
Baking a perfect cheesecake can feel intimidating, but a few insider tips can make all the difference:
- Room Temperature Ingredients: Ensure your cream cheese and eggs are at room temperature. This is non-negotiable for a smooth, lump-free filling. Cold ingredients won’t emulsify properly.
- Don’t Overmix: Once you add the eggs, mix just until combined. Overmixing incorporates too much air, which can cause the cheesecake to puff up and then crack as it cools.
- Use a Water Bath: While optional, a water bath provides moist, even heat, resulting in a creamier texture and minimizing the risk of cracks. It’s one of the best secrets to a flawless baked pear cheesecake.
- Gradual Cooling: Allowing the cheesecake to cool slowly in the oven and then at room temperature before refrigerating is key to preventing dramatic temperature changes that lead to cracking.
- Patience is a Virtue: Don’t rush the chilling process! A properly chilled cheesecake has the best texture and flavor.
Common Mistakes to Avoid
Even experienced bakers can run into issues. Here are some common mistakes and how to avoid them:
Don’t miss out on our guide to How To Make Ice Cream At Home.
- Lumpy Filling: This usually happens when cream cheese isn’t softened enough or if ingredients are mixed too quickly. Beat the cream cheese until perfectly smooth before adding other ingredients.
- Cracks in the Surface: Overmixing, overbaking, or rapid cooling are the usual culprits. Follow the tips above for gradual cooling and gentle mixing.
- Watery Cheesecake: This can be due to underbaking or too much liquid from the pears. Ensure your pears aren’t overly juicy if adding them directly, or consider pre-cooking them slightly. A water bath also helps ensure even baking, reducing the chance of undercooked spots.
- Tough Crust: Pressing the crust too hard or not using enough butter can make it dense and tough. Ensure the crumbs are evenly moistened with butter.
Variations and Pear Cheesecake Ideas
Once you’ve mastered the classic pear cheesecake, feel free to experiment with these delicious variations:
- Spiced Pear Cheesecake: Add cinnamon, nutmeg, and a pinch of cloves to the filling for a warm, comforting flavor.
- Caramel Pear Cheesecake: Swirl caramel sauce into the filling or top with homemade caramel. This is a truly decadent pear cheesecake!
- Pear and Ginger Cheesecake: Incorporate finely minced candied ginger into the filling or topping for a zesty kick.
- Pear Almond Cheesecake: Add sliced almonds to the crust or sprinkle them on top after baking for a delightful crunch.
- Pear Crumble Cheesecake: Top the cheesecake with a buttery streusel topping before baking. You can find inspiration for toppings on sites like The Kitchn.
- Mini Pear Cheesecakes: Bake the filling in muffin tins lined with cupcake liners for individual servings. Adjust baking time accordingly.
- Pear Cheesecake Bars: Bake the mixture in a rectangular pan and cut into bars for easier serving. This is a great option if you’re looking for pear cheesecake bars.
- Vegan Pear Cheesecake: Adapt the recipe using vegan cream cheese, a nut-based crust, and a binder like silken tofu or cashews for the filling.
- Gluten-Free Pear Cheesecake: Use gluten-free graham crackers or a nut-based crust for a delicious gluten free pear cheesecake.
Serving Your Pear Cheesecake
The best pear cheesecake is one that’s been properly chilled. Serve slices cold or at cool room temperature. A simple dusting of powdered sugar, a drizzle of honey or caramel, or a dollop of freshly whipped cream are wonderful accompaniments. For a truly special occasion, consider serving it alongside a scoop of homemade vanilla ice cream, which you can learn to make with guides on easy homemade ice cream.







