
There’s something truly magical about a dessert that combines the creamy indulgence of cheesecake with the sweet, delicate flavor of pears. Pear cheesecake bars offer a delightful twist on a classic, making them perfect for any occasion, from a casual afternoon tea to a more festive gathering. These bars are wonderfully versatile, allowing you to showcase the natural sweetness of pears in a sophisticated yet approachable way. If you’re looking for a way to elevate your baking game and impress your friends and family, this recipe for pear cheesecake bars is an absolute must-try. For those new to cheesecake making, exploring some fundamental techniques for cheesecake tips can be incredibly helpful.
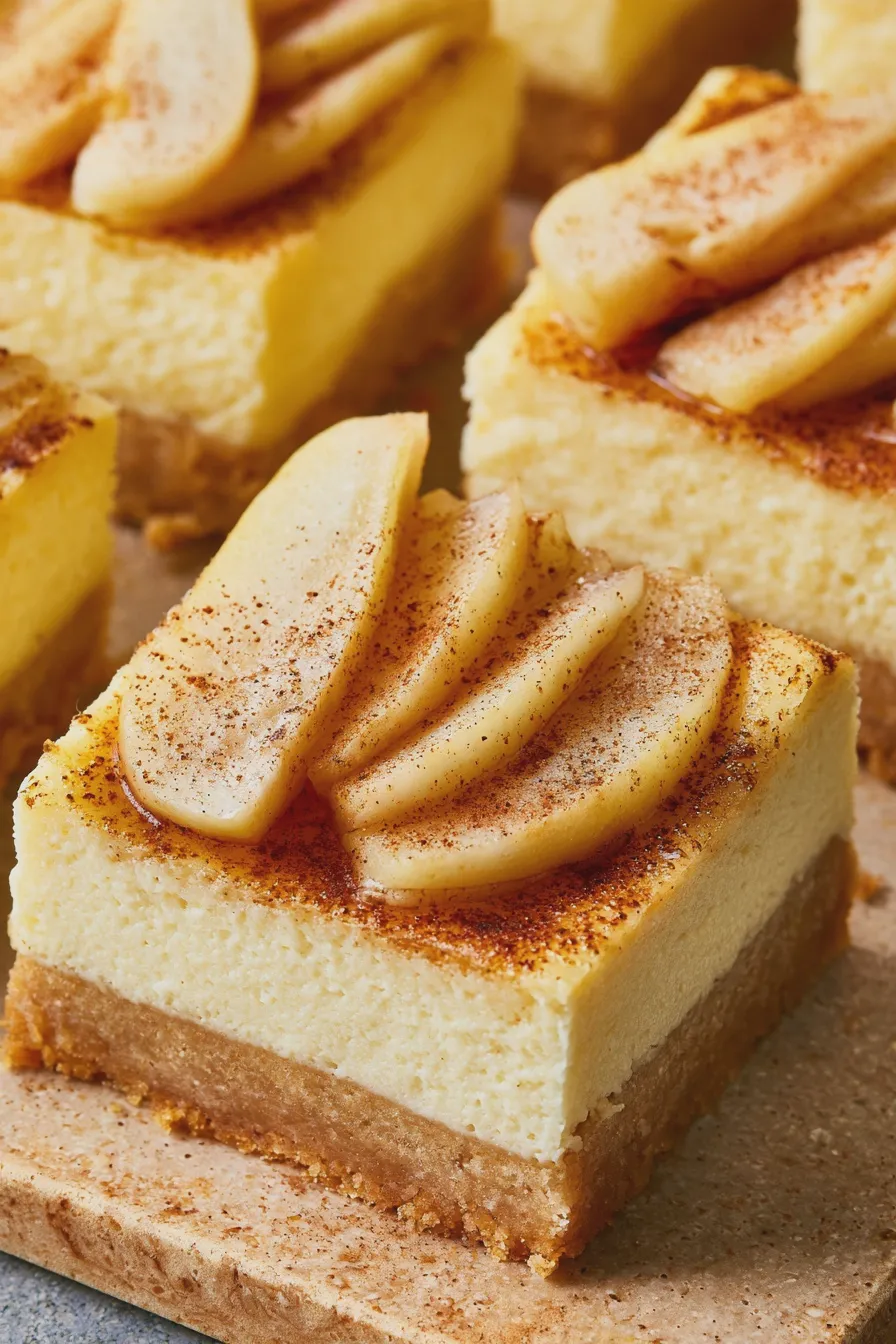
Why You’ll Love These Pear Cheesecake Bars
These pear cheesecake bars are a dream come true for any dessert lover. They’re a fantastic way to enjoy the cozy flavors of fall or any time you crave a comforting treat. The combination of a buttery crust, a rich, smooth cream cheese filling, and tender, spiced pears creates a symphony of textures and tastes. Plus, they’re much easier to serve than a traditional whole cheesecake, making them ideal for parties and potlucks. This recipe is an excellent example of a delicious fruit cheesecake bars that’s sure to become a favorite.
Ingredients You’ll Need
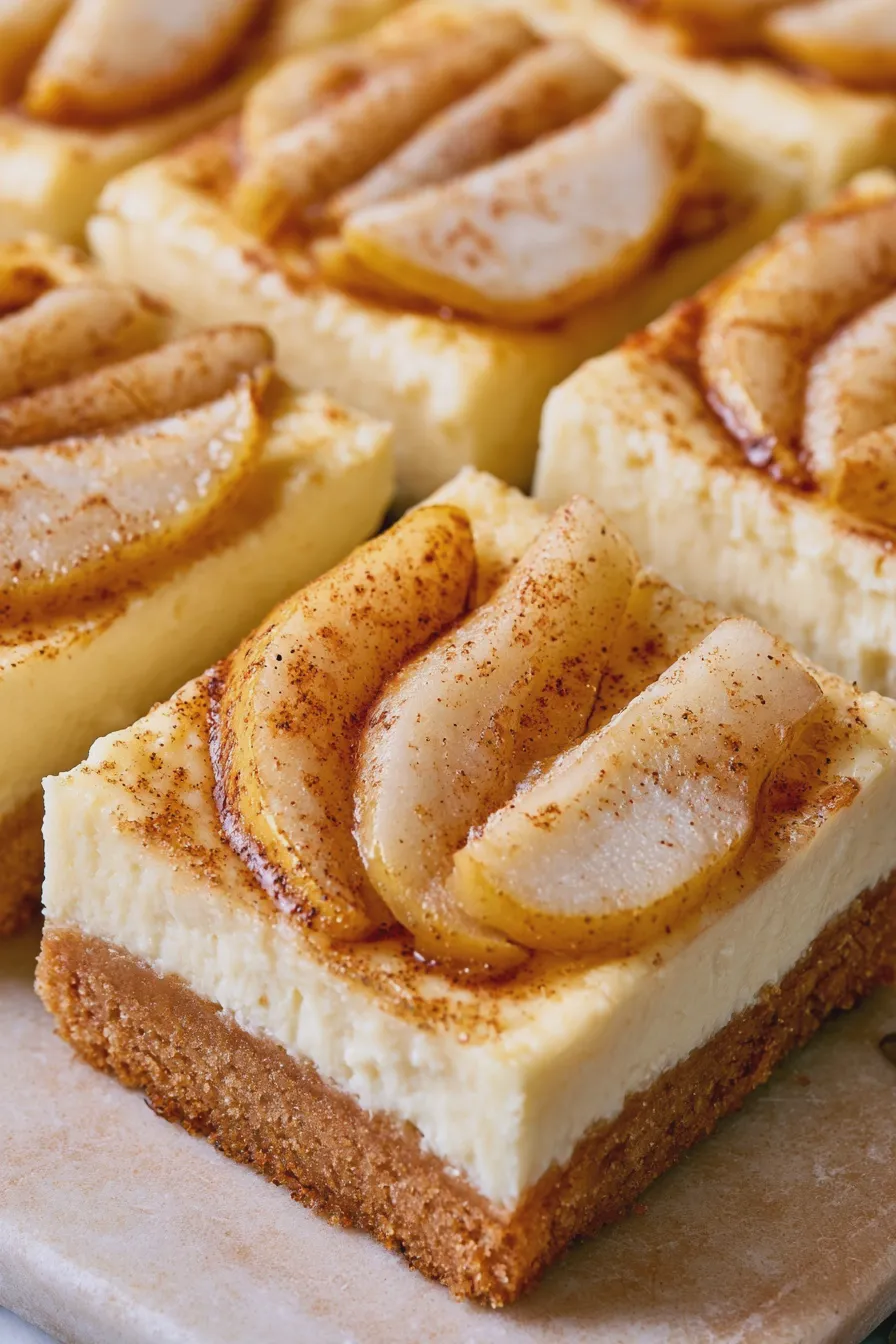
Gathering your ingredients is the first step to baking success. Here’s what you’ll need to create these delightful pear cheesecake bars:
For the Crust:
- 1 ½ cups graham cracker crumbs (about 10-12 full graham crackers)
- ¼ cup granulated sugar
- 6 tablespoons unsalted butter, melted
For the Pear Topping:
- 2 medium ripe pears (Bosc or Anjou work well), peeled, cored, and diced
- 2 tablespoons granulated sugar
- 1 tablespoon lemon juice
- ½ teaspoon ground cinnamon
- ¼ teaspoon ground nutmeg
- Pinch of ground cloves (optional)
For the Cheesecake Filling:
- 2 (8-ounce) packages cream cheese, softened
- ⅔ cup granulated sugar
- 2 large eggs
- 1 teaspoon vanilla extract
- ¼ cup sour cream or heavy cream
Step-by-Step Instructions
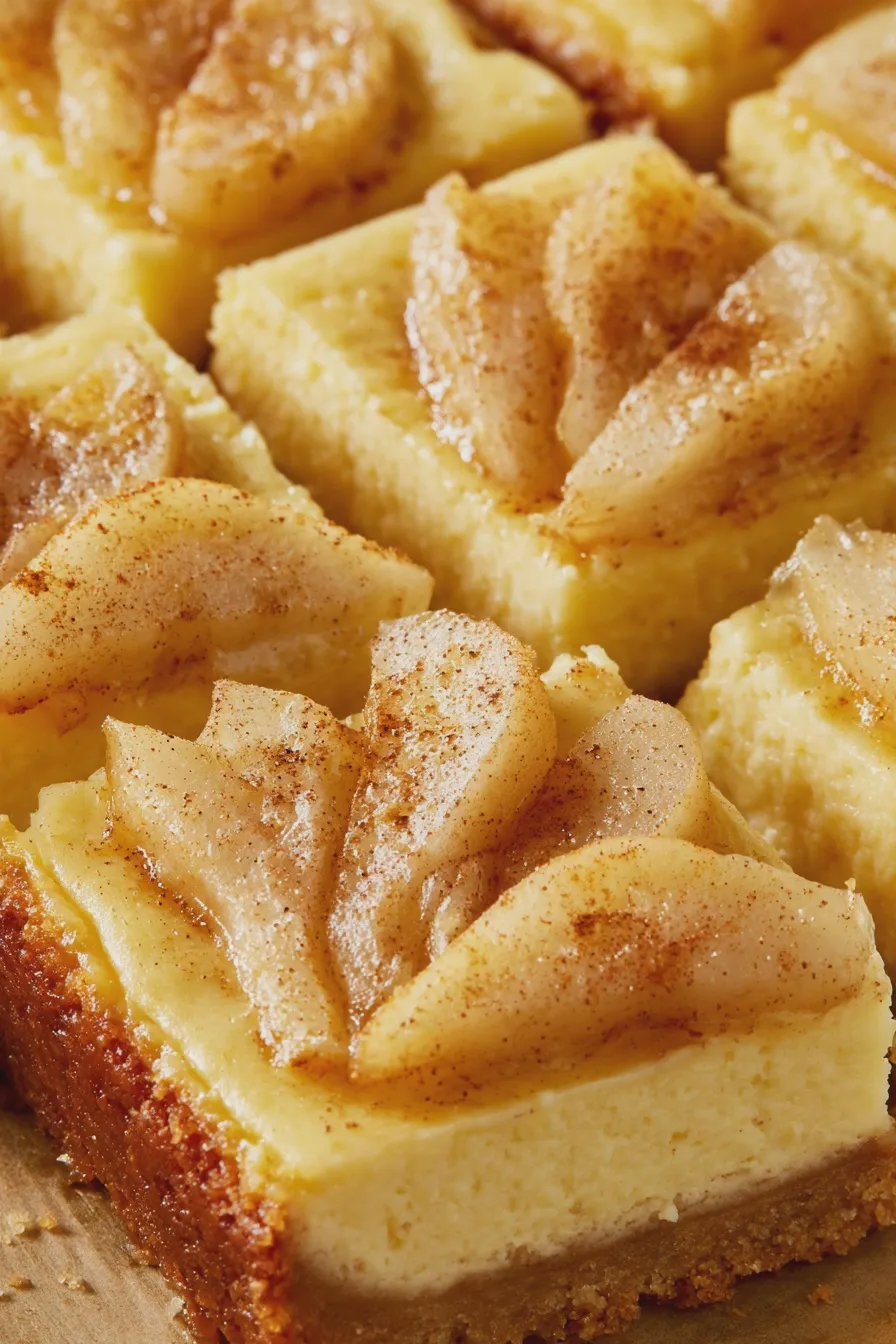
Follow these simple steps to create your perfect pear cheesecake bars. We’ll break it down into preparing the crust, the pear topping, and the creamy cheesecake filling.
Step 1: Prepare the Crust
Preheat your oven to 350°F (175°C). Line an 8×8 inch baking pan with parchment paper, leaving an overhang on two sides. This will make it easy to lift the bars out later.
In a medium bowl, combine the graham cracker crumbs and ¼ cup granulated sugar. Pour in the melted butter and stir until the crumbs are evenly moistened. Press this mixture firmly and evenly into the bottom of the prepared baking pan. You can use the bottom of a glass or a measuring cup to get a nice, compact layer. Bake the crust for 10 minutes, then remove it from the oven and let it cool slightly while you prepare the other components.
Step 2: Make the Pear Topping
In a small saucepan, combine the diced pears, 2 tablespoons of granulated sugar, lemon juice, cinnamon, nutmeg, and cloves (if using). Cook over medium heat, stirring occasionally, until the pears are slightly softened and the juices have thickened, about 5-7 minutes. You don’t want them to be mushy, just tender. Remove from heat and set aside to cool.
Step 3: Prepare the Cheesecake Filling
In a large bowl, beat the softened cream cheese with an electric mixer on medium speed until smooth and creamy. Gradually add the ⅔ cup granulated sugar and continue beating until well combined and no lumps remain. This is a crucial step for a smooth cheesecake filling.
Add the eggs, one at a time, beating well after each addition. Be careful not to overmix once the eggs are added, as this can lead to cracks in your cheesecake. Stir in the vanilla extract and sour cream (or heavy cream) until just combined. The mixture should be smooth and luxurious.
Step 4: Assemble and Bake
Spoon about half of the cheesecake filling over the partially baked crust. Evenly distribute the cooled pear mixture over the cream cheese layer. Gently spoon the remaining cheesecake filling over the pears, spreading it to cover them completely. This layering creates a beautiful presentation in your pear cheesecake.
Bake in the preheated oven for 30-35 minutes, or until the edges are set and the center is almost set (it should still have a slight wobble). Avoid overbaking, as this can result in a dry cheesecake. Overmixing the batter or baking at too high a temperature are common mistakes that can lead to cracks.
Step 5: Cool and Chill
Once baked, turn off the oven and let the cheesecake bars cool in the oven with the door slightly ajar for about 1 hour. This gradual cooling helps prevent cracking. After cooling in the oven, remove the pan from the oven and let it cool completely on a wire rack at room temperature.
Another favorite of ours is the Pumpkin Cheesecake Bars Recipe.
Once completely cooled, cover the pan with plastic wrap and refrigerate for at least 4 hours, or preferably overnight. Chilling is essential for the cheesecake to set properly and for the flavors to meld. This makes them the perfect fall cheesecake bars.
Step 6: Cut and Serve
Once thoroughly chilled, use the parchment paper overhang to lift the entire cheesecake block out of the pan. Place it on a cutting board and cut into bars using a sharp knife. For clean cuts, wipe the knife clean between each cut. Serve chilled.
Tips for Perfect Pear Cheesecake Bars
Achieving cheesecake perfection is all about a few key details. Here are some tips to ensure your pear cheesecake bars turn out beautifully every time:
- Use Room Temperature Ingredients: Ensure your cream cheese and eggs are at room temperature. This is crucial for a smooth, lump-free batter. Cold cream cheese won’t incorporate well, and cold eggs can cause the batter to curdle.
- Don’t Overmix: After adding the eggs, mix only until they are just combined. Overmixing incorporates too much air, which can lead to cracks and a rubbery texture.
- Gentle Cooling is Key: The gradual cooling process in the oven is vital for preventing drastic temperature changes that cause cracking.
- Patience with Chilling: Resist the urge to cut into the bars too soon! Proper chilling allows the cheesecake to firm up and develop its signature creamy texture.
- Pear Selection Matters: Choose pears that are ripe but still firm. Overly ripe pears can become mushy during cooking, while underripe pears might be too hard.
- Flavor Variations: For an extra layer of flavor, consider adding a touch of almond extract to the filling or a sprinkle of chopped toasted pecans on top before serving. This would make for a delightful Maple Pecan Cheesecake Bars variation.
Common Mistakes to Avoid
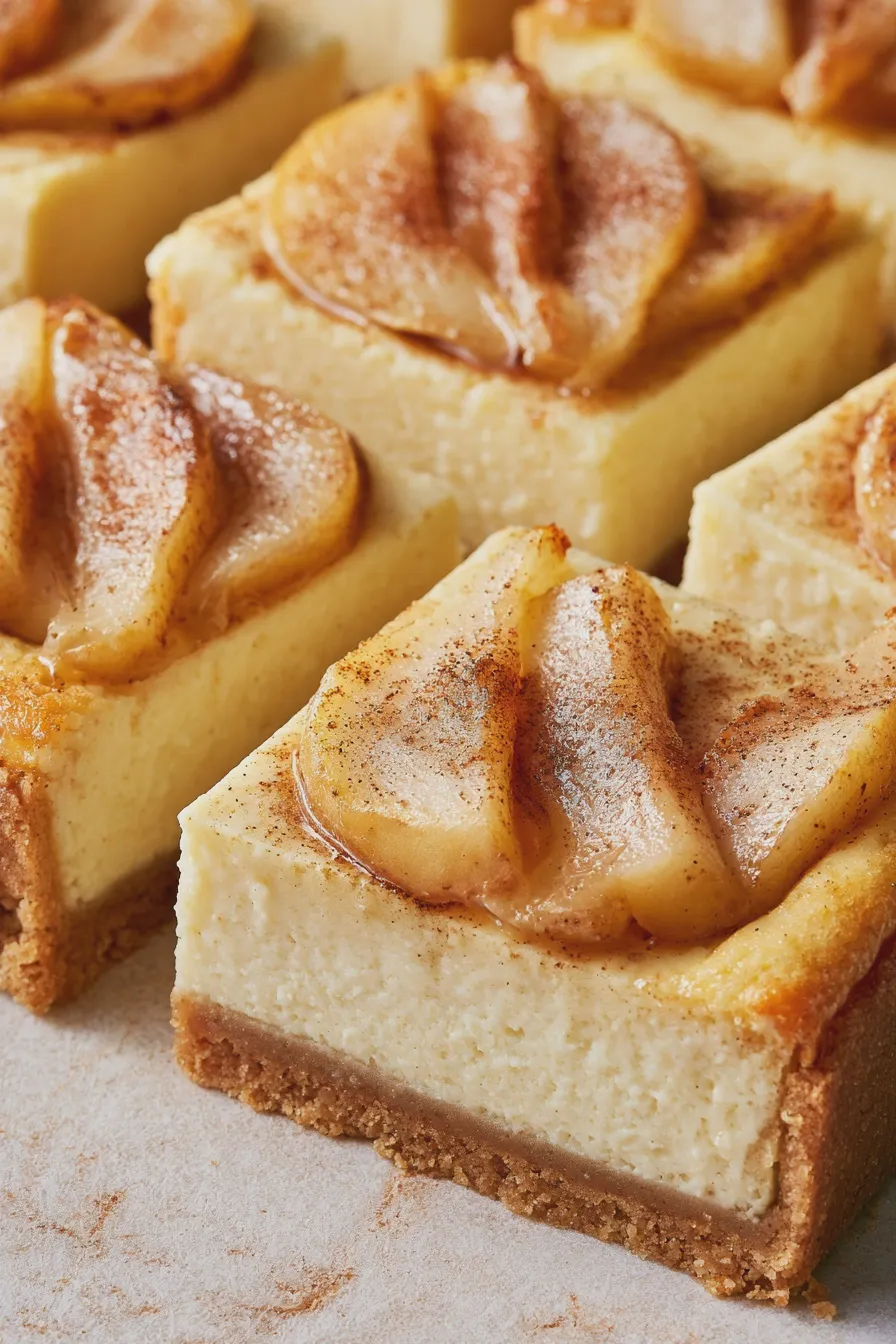
Even experienced bakers can run into cheesecake challenges. Here are some common mistakes and how to avoid them:
- Cracking: This is often caused by overmixing, overbaking, or rapid temperature changes. Follow the cooling instructions carefully.
- Lumpy Filling: This usually happens when the cream cheese isn’t softened enough or when ingredients aren’t mixed thoroughly. Scrape down the sides of the bowl frequently.
- Watery Cheesecake: This can be due to underbaking or not chilling long enough. Ensure the center is just set when you take it out of the oven and chill thoroughly.
- Tough Crust: Pressing the crust too hard or overbaking it can make it tough. Bake just until lightly golden.
Serving Suggestions
These pear cheesecake bars are delicious on their own, but you can certainly elevate them further. A dollop of freshly whipped cream or a drizzle of caramel sauce makes a wonderful accompaniment. For a more festive touch, consider a sprinkle of toasted nuts or a dusting of powdered sugar. They are also fantastic served with a scoop of homemade vanilla ice cream, a lovely pairing for any how to make ice cream at home enthusiast.
Variations and Customizations
The beauty of this cheesecake bar recipe lies in its adaptability. Here are a few ideas to make it your own:
- Spiced Pear Cheesecake Bars: Increase the spices in the pear topping – try adding a pinch of cardamom or ginger for a more complex flavor profile. This leads to a wonderful spiced pear cheesecake.
- Gluten-Free Pear Cheesecake Bars: Use gluten-free graham crackers or a blend of almond flour and crushed nuts for the crust to create gluten free pear cheesecake bars.
- Vegan Pear Cheesecake Bars: This requires a complete recipe overhaul using vegan cream cheese alternatives, plant-based fats, and egg replacers, but it’s certainly achievable for a vegan pear cheesecake bars option.
- Candied Pear Cheesecake Bars: For an extra decadent treat, try candying the pears slightly longer until they have a more caramelized, chewy texture, creating candied pear cheesecake.
- Other Fruit Pairings: While pears are divine, you could also adapt this recipe for other fruits like apples, berries (similar to blueberry cheesecake bars), or even rhubarb (rhubarb bars with oat topping).
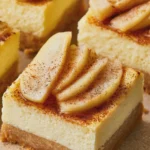
Pear Cheesecake Bars Quick and Easy Recipe
- Total Time: PT4H25M
- Yield: 16 bars 1x
- Diet: Vegetarian
Description
These Pear Cheesecake Bars are a delightful twist on a classic dessert, featuring a buttery shortbread crust, a creamy cheesecake filling, and sweet, tender pear slices baked to perfection. They’re ideal for any occasion, from casual gatherings to holiday celebrations.
Ingredients
- For the Crust:
- 1 ½ cups all-purpose flour
- ⅓ cup granulated sugar
- ½ teaspoon salt
- ½ cup (1 stick) unsalted butter, cold and cubed
- For the Filling:
- 16 ounces cream cheese, softened
- ½ cup granulated sugar
- 2 large eggs
- 1 teaspoon vanilla extract
- ¼ teaspoon salt
- For the Topping:
- 2 ripe pears (like Bosc or Anjou), peeled, cored, and thinly sliced
- 1 tablespoon lemon juice
- 1 tablespoon granulated sugar
- ½ teaspoon ground cinnamon
Instructions
- Preheat oven and prepare crust: Preheat your oven to 350°F (175°C). Line an 8×8 inch baking pan with parchment paper, leaving an overhang on the sides for easy removal. In a medium bowl, whisk together flour, ⅓ cup sugar, and ½ teaspoon salt. Cut in the cold butter using a pastry blender or your fingertips until the mixture resembles coarse crumbs. Press the crumb mixture evenly into the bottom of the prepared baking pan.
- Bake the crust: Bake the crust for 10-12 minutes, until lightly golden. Remove from oven and let cool slightly while you prepare the filling.
- Prepare the cheesecake filling: In a large bowl, beat the softened cream cheese with ½ cup sugar until smooth and creamy. Beat in the eggs one at a time, mixing well after each addition. Stir in the vanilla extract and ¼ teaspoon salt until just combined.
- Assemble the bars: Pour the cheesecake filling evenly over the partially baked crust.
- Prepare the pear topping: In a small bowl, gently toss the pear slices with lemon juice, 1 tablespoon sugar, and cinnamon. Arrange the pear slices decoratively over the cheesecake filling.
- Bake the bars: Bake for 30-40 minutes, or until the edges are set and the center is almost set (it should still have a slight wobble).
- Cool and chill: Let the bars cool completely in the pan on a wire rack. Once cooled, cover and refrigerate for at least 4 hours, or preferably overnight, to allow the cheesecake to set properly.
- Serve: Once chilled, use the parchment paper overhang to lift the bars out of the pan. Cut into squares and serve.
Notes
- For a more uniform crust, you can pulse the crust ingredients in a food processor until combined.
- Ensure your cream cheese is fully softened to avoid lumps in the filling.
- Do not overmix the cheesecake filling after adding the eggs, as this can lead to cracking.
- The pears can be arranged in a single layer or in a pattern.
- Chilling is crucial for the cheesecake bars to firm up properly.
- These bars can be stored in an airtight container in the refrigerator for up to 3-4 days.
- Prep Time: PT25M
- Cook Time: PT40M
- Category: Dessert
- Method: Baking
- Cuisine: American
Nutrition
- Serving Size: 1 bar
- Calories: 280
- Sugar: 20g
- Sodium: 120mg
- Fat: 15g
- Saturated Fat: 9g
- Carbohydrates: 35g
- Fiber: 1g
- Protein: 4g
- Cholesterol: 60mg







