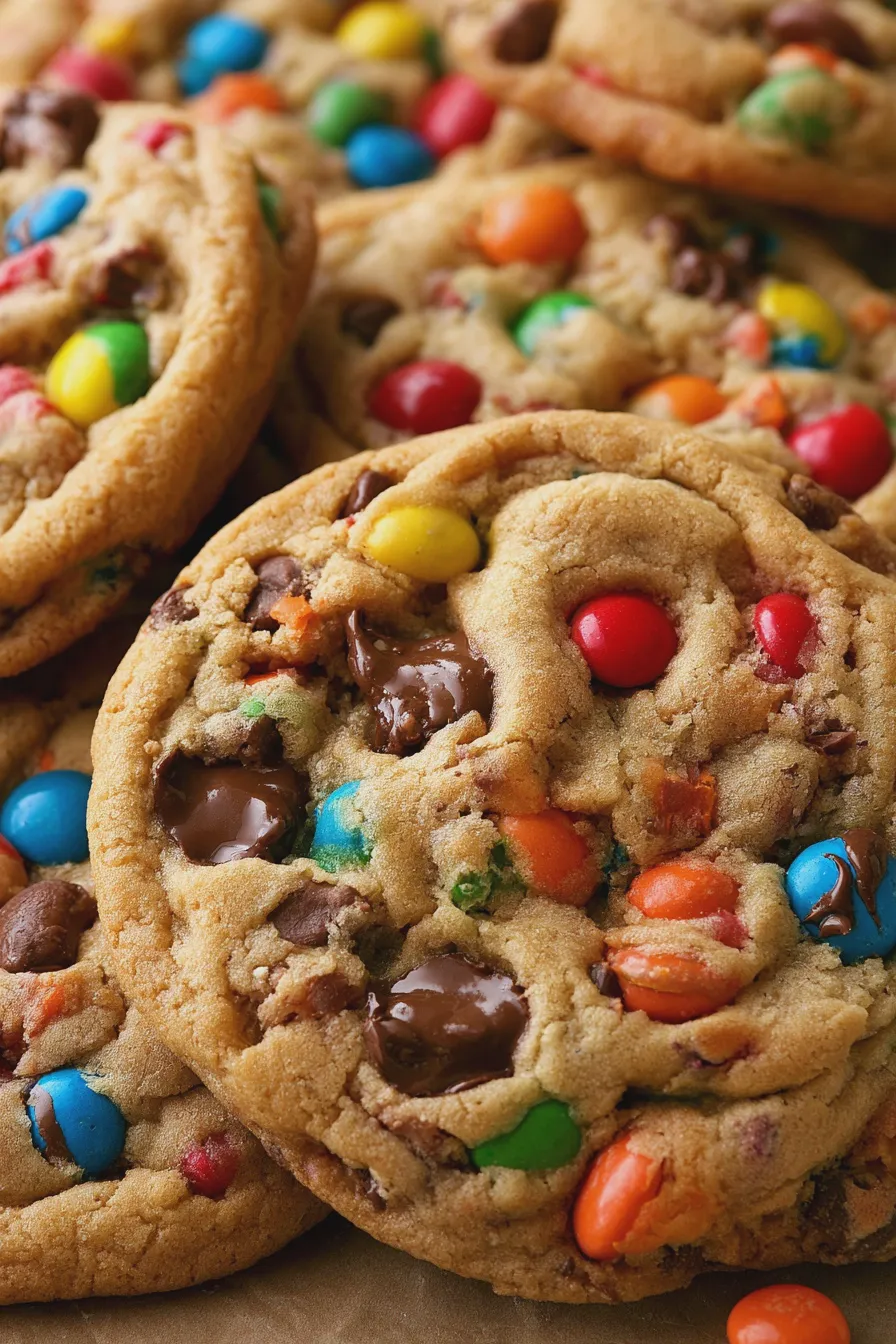
These classic monster cookies are a delightful mashup of chewy oatmeal, crunchy peanut butter, and sweet M&M’s, all in one delightful cookie. They’re a fun, crowd-pleasing treat perfect for bake sales, parties, or just a sweet afternoon pick-me-up.
What Are Monster Cookies?
Monster cookies are a beloved American treat known for their wonderfully chaotic mix of ingredients and textures. These aren’t your average cookies; they often include oats, peanut butter, chocolate chips, and candies, creating a flavor explosion in every bite.
They are a fantastic choice when you want a cookie that’s both soft and chewy, with just the right amount of crunch. Many home bakers love them because they are a forgiving recipe, often forgiving of slight measurement variations, making them a great option for beginners or those looking for an easy monster cookie recipe.
Why You’ll Love This Monster Cookie Recipe
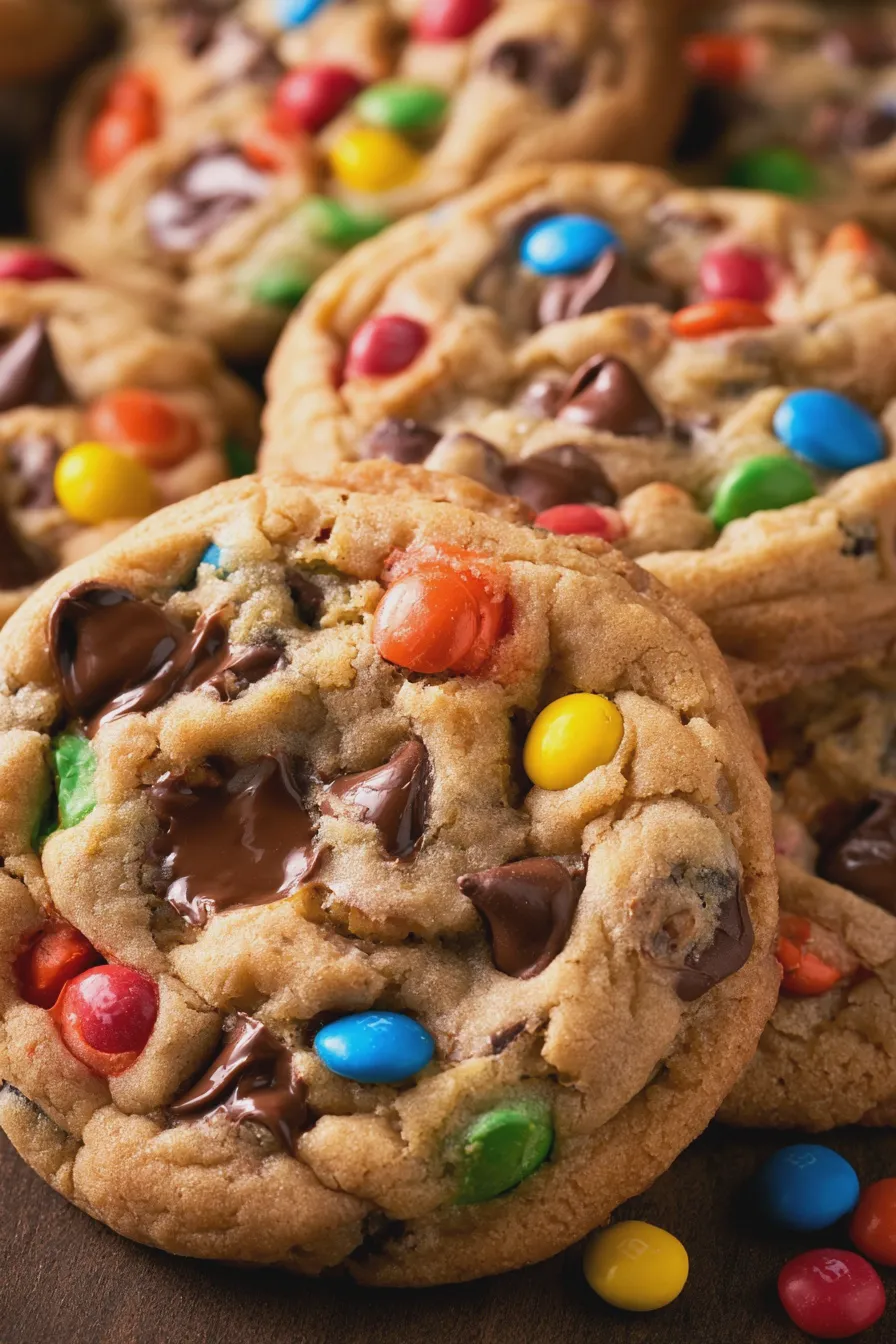
This recipe delivers that perfect texture: wonderfully chewy in the center with slightly crisp edges. The combination of oats, peanut butter, and M&M’s creates a symphony of flavors that appeals to both kids and adults. You’ll appreciate how straightforward this recipe is, yielding delicious, homemade monster cookies with minimal fuss.
They offer a delightful visual appeal with their colorful M&M’s and satisfyingly chunky appearance. If you’re looking for a classic, reliable recipe that always turns out great, this is it. It’s a truly satisfying way to satisfy your sweet cravings with a homemade touch, making them some of the best monster cookies you’ll ever bake.
Monster Cookie Ingredients
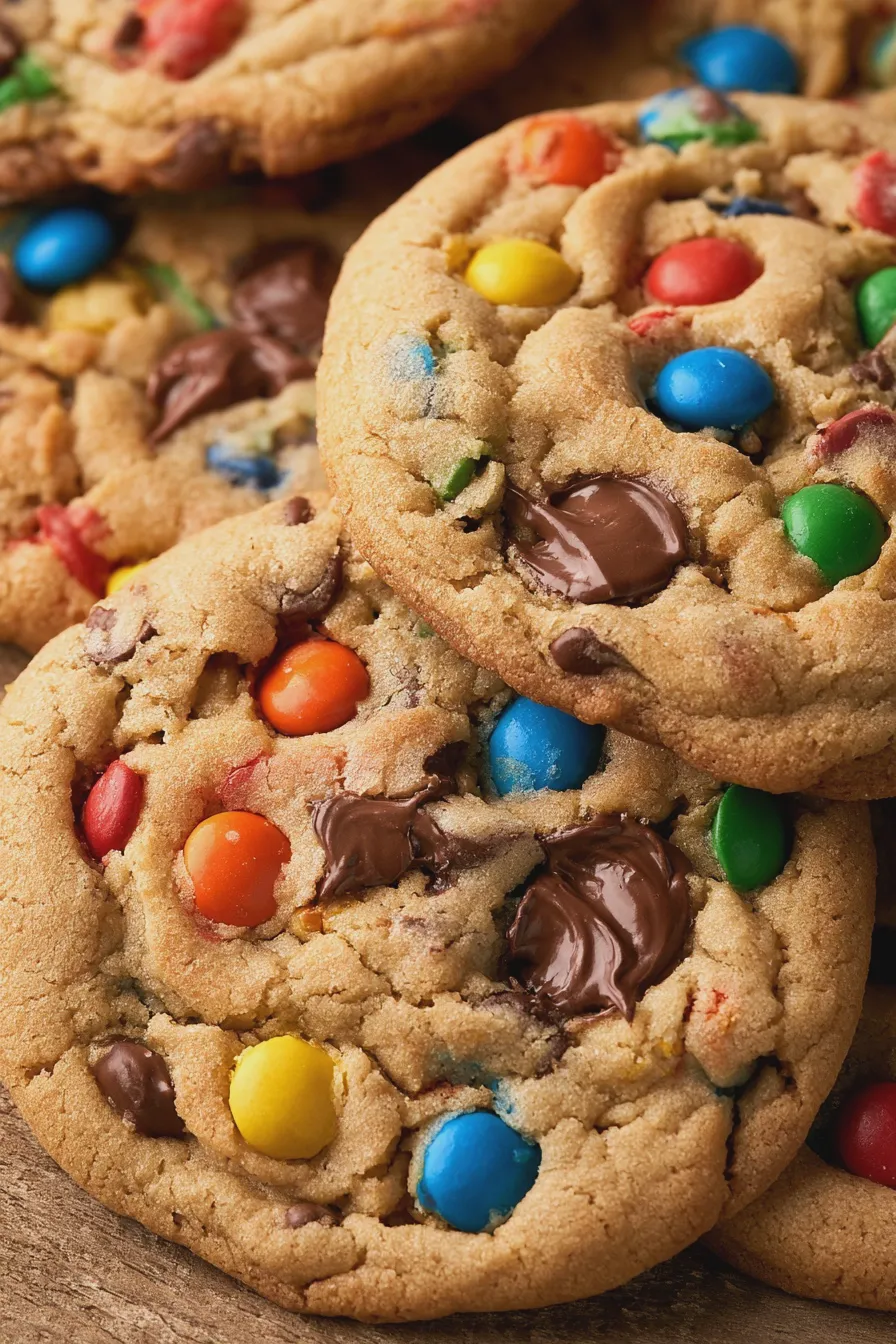
Gathering your ingredients is the first step to baking these delightful cookies. Having everything measured and ready makes the baking process smooth and enjoyable. This classic monster cookie recipe relies on simple pantry staples for its signature flavor and texture.
- 1 cup (2 sticks) unsalted butter, softened
- 1 ½ cups granulated sugar
- 1 cup packed light brown sugar
- 3 large eggs
- 1 ½ teaspoons vanilla extract
- 1 ½ cups creamy peanut butter (use your favorite brand for classic peanut butter monster cookies)
- 3 cups all-purpose flour
- 1 teaspoon baking soda
- ½ teaspoon salt
- 3 cups old-fashioned rolled oats (not instant oats for chewy texture)
- 1 cup peanut butter chips (optional, for extra peanut butter flavor)
- 1 ½ cups M&M’s candies (milk chocolate or semi-sweet work well for M&M monster cookies)
- 1 cup chocolate chips (semi-sweet or milk chocolate)
Ingredient Notes & Substitutions:
- Butter: Ensure your butter is softened but not melted for the best cookie structure.
- Peanut Butter: A creamy, standard peanut butter works best for that classic flavor. Natural peanut butters can sometimes lead to a greasier cookie.
- Oats: Old-fashioned rolled oats provide the best chewy texture; instant oats can make them too cakey. If you need gluten free oats, ensure they are certified gluten-free.
- M&M’s: Feel free to use any color or type of M&M’s you prefer. Mini M&M’s can also be used for a more distributed color.
- Chocolate Chips: Semi-sweet are classic, but milk chocolate or even dark chocolate chips can be used depending on your preference.
- Optional Add-ins: Chopped nuts like peanuts or walnuts can be added for extra crunch.
How to Make Monster Cookies
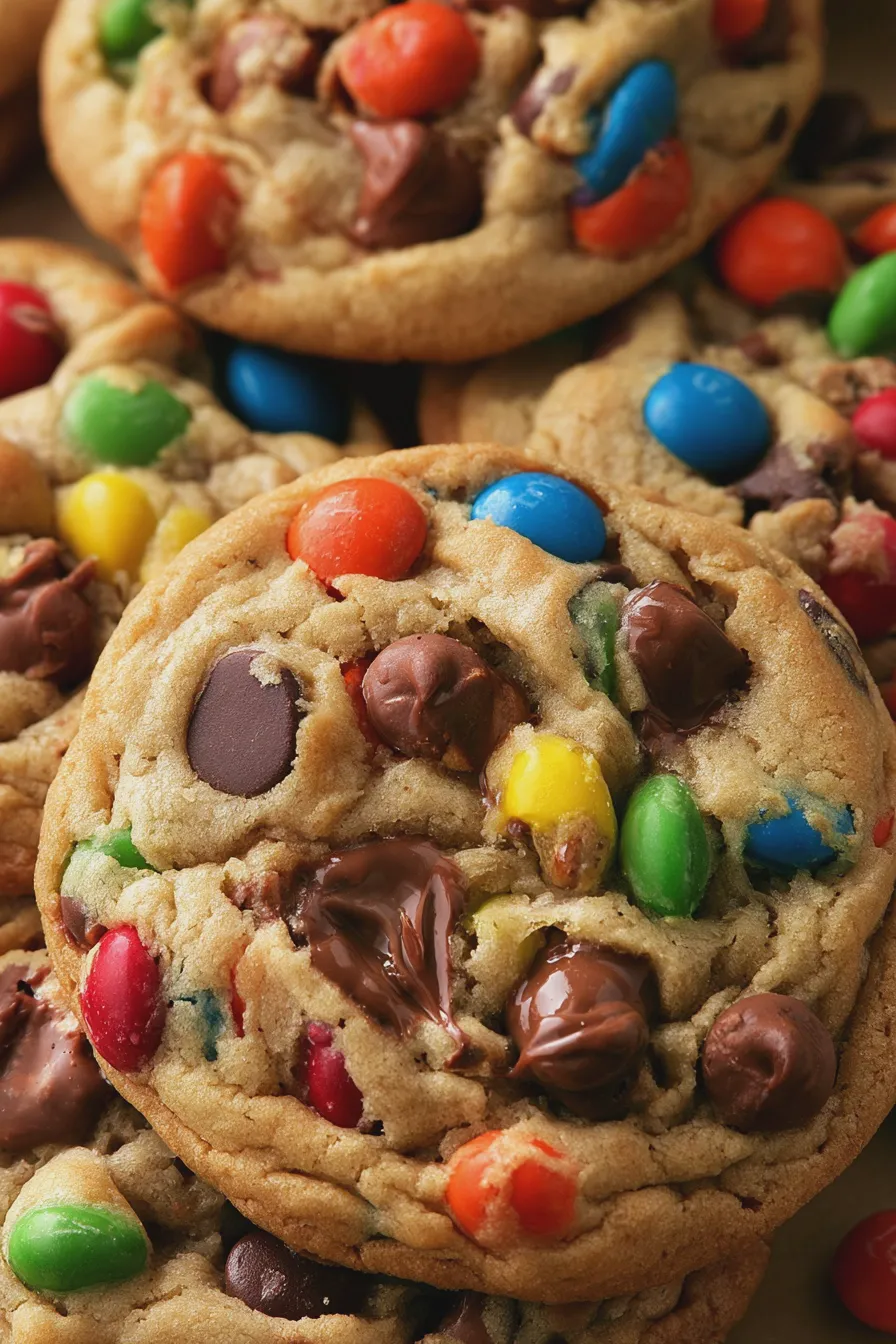
Creating these delicious treats is a straightforward process that’s rewarding from start to finish. Following these steps carefully will ensure you achieve perfectly baked, chewy cookies every time.
Cream the Butter and Sugars
In a large mixing bowl, cream together the softened butter, granulated sugar, and packed brown sugar until light and fluffy. This step incorporates air into the dough, which helps create a tender cookie texture. Use an electric mixer on medium speed for about 2-3 minutes, scraping down the sides of the bowl as needed.
Add Eggs, Vanilla, and Peanut Butter
Beat in the eggs one at a time, ensuring each is fully incorporated before adding the next. Then, stir in the vanilla extract and the creamy peanut butter until well combined. Make sure the peanut butter is fully mixed into the wet ingredients for an even distribution of flavor throughout the dough.
Combine Dry Ingredients
In a separate medium bowl, whisk together the all-purpose flour, baking soda, and salt. Whisking these dry ingredients separately ensures they are evenly distributed, preventing pockets of salt or baking soda in your final cookies. This is a crucial step for consistent results in your monster cookies.
Incorporate Dry Ingredients into Wet
Gradually add the dry ingredient mixture to the wet ingredients, mixing on low speed until just combined. Be careful not to overmix the dough at this stage, as it can lead to tough cookies. Mix only until no streaks of flour remain.
Stir in Oats, Chips, and M&M’s
Gently fold in the rolled oats, peanut butter chips (if using), M&M’s candies, and chocolate chips using a sturdy spoon or spatula. Mix until the add-ins are evenly distributed throughout the cookie dough. This is where the “monster” aspect truly comes to life with all the colorful additions.
Chill the Dough (Optional but Recommended)
For best results and to prevent excessive spreading, cover the bowl with plastic wrap and chill the dough in the refrigerator for at least 30 minutes, or up to 2 days. Chilling the dough allows the fats to solidify, which helps the cookies hold their shape better during baking and deepens the flavors. This step is particularly helpful for achieving those perfectly chewy monster cookies.
Preheat Oven and Prepare Baking Sheets
Preheat your oven to 350°F (175°C). Line baking sheets with parchment paper or silicone baking mats to prevent sticking and ensure easy cleanup. Parchment paper also helps with even heat distribution for uniformly baked cookies.
Scoop and Bake
Drop rounded tablespoons of dough onto the prepared baking sheets, leaving about 2 inches between each cookie to allow for spreading. If you prefer giant monster cookies, use a cookie scoop or about ¼ cup of dough per cookie. Bake for 9-12 minutes, or until the edges are lightly golden brown and the centers still look slightly soft. They will continue to set as they cool.
Cool the Cookies
Let the cookies cool on the baking sheets for 5-10 minutes before transferring them to a wire rack to cool completely. This resting period on the hot baking sheet allows the cookies to firm up properly, preventing them from breaking when you move them. Once cooled, they are ready to be enjoyed!
Tips for Perfect Monster Cookies
Achieving the perfect texture and flavor in your homemade monster cookies is all about a few key details. These tips will help ensure your baking success, whether you’re a seasoned baker or just starting out.
Achieving the Right Texture
For that signature chewy texture, avoid overbaking. The cookies should look slightly underdone in the center when you remove them from the oven; they will firm up as they cool on the baking sheet. Using brown sugar contributes moisture and chewiness, while old-fashioned rolled oats add a delightful texture without making the cookies too dry.
Preventing Cookies from Spreading Too Much
Chilling the dough is your best friend here. A cold dough will spread less in the oven, resulting in thicker, chewier cookies. If your kitchen is particularly warm, you might find the dough gets soft quickly; returning it to the fridge for a few minutes during scooping can help. Ensure your butter is properly softened, not melted, as melted butter can cause excessive spreading.
Make-Ahead and Storage
The cookie dough can be made ahead and stored in the refrigerator for up to 3 days, or frozen for up to 3 months. If freezing, wrap the dough balls tightly in plastic wrap and then place them in a freezer-safe bag. Bake frozen dough balls for a few minutes longer. Once baked, store cooled cookies in an airtight container at room temperature for up to 5 days. They also freeze beautifully; wrap cooled cookies individually in plastic wrap, then place in a freezer bag for up to 3 months.
Serving Ideas
These cookies are fantastic on their own with a glass of cold milk. They’re also a wonderful addition to a dessert buffet, cookie exchange, or as a treat for school lunches. For an extra special touch, consider serving them alongside a scoop of vanilla ice cream or as part of a dessert platter.
Print