These mummy brownies are a fun and festive way to celebrate Halloween, transforming a classic chocolate brownie into a spooky, edible character with simple decorations. They’re perfect for parties or just a fun weekend baking project with the kids.
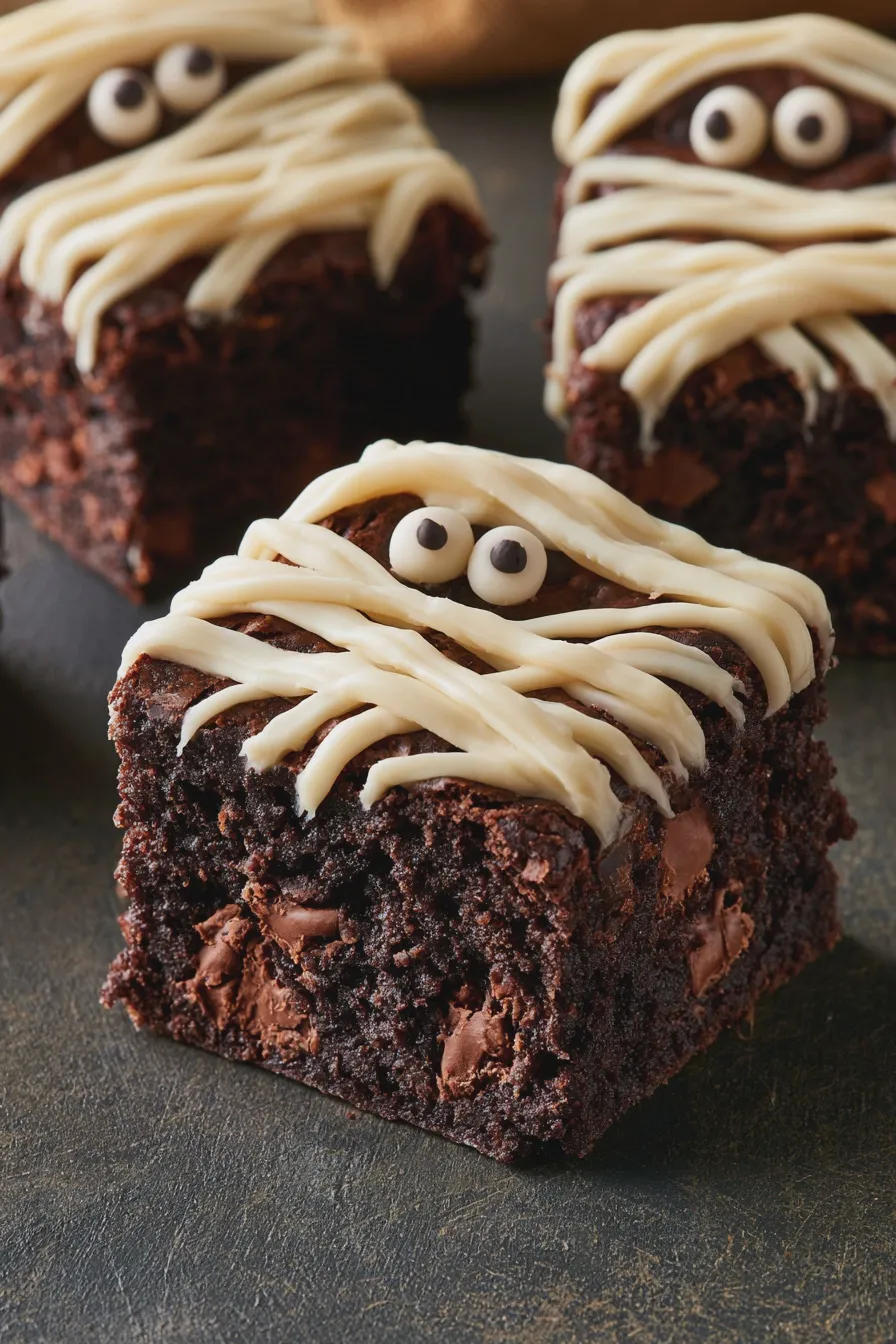
Welcome to a delightful corner of the dessert world where creativity meets chocolatey goodness! Today, we’re diving into the charmingly spooky realm of mummy brownies, a treat that’s as fun to make as it is to eat. These delightful confections are sure to be a hit at any Halloween gathering, bringing smiles and a touch of playful fright to your dessert table.
What are Mummy Brownies?
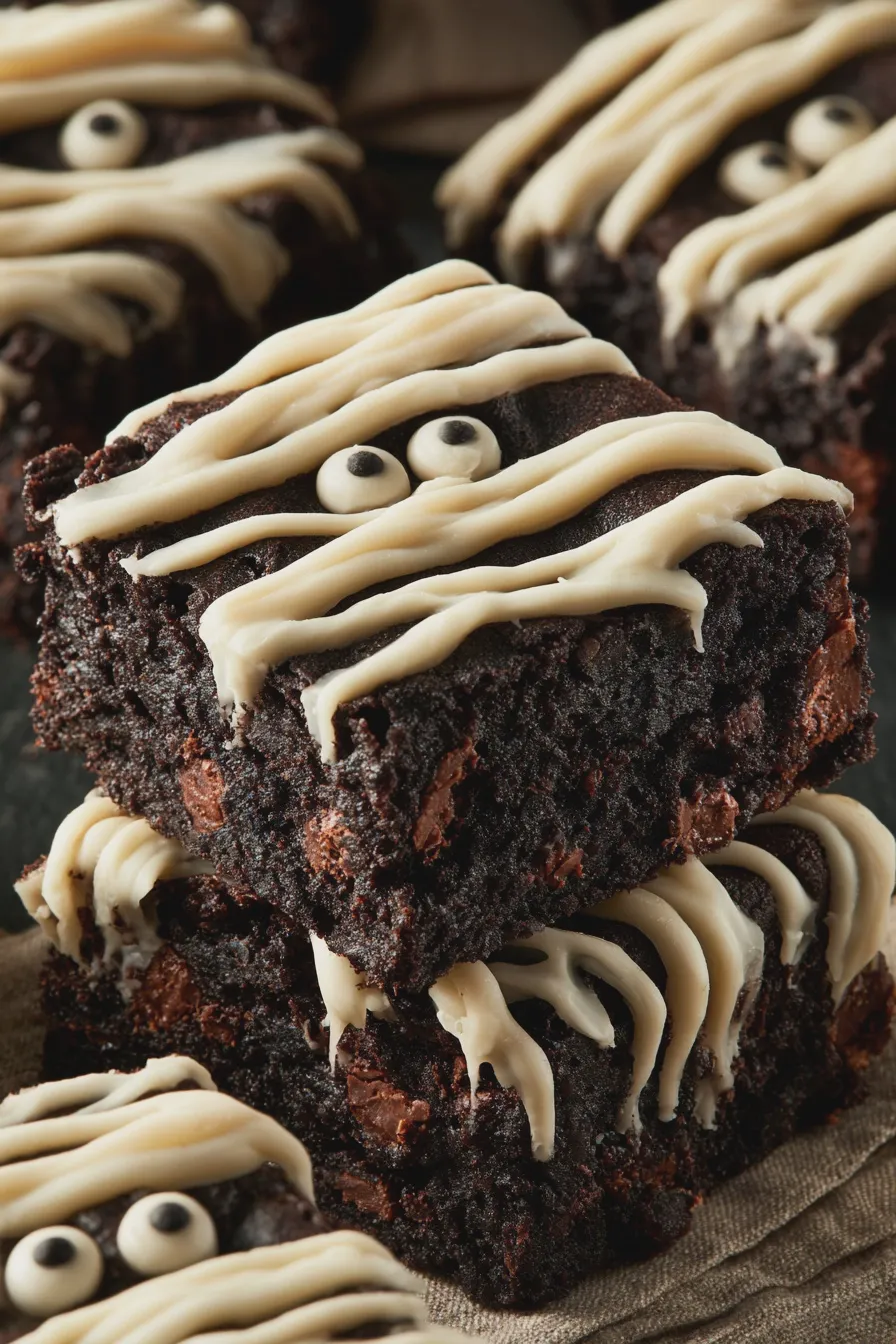
Mummy brownies are essentially classic chocolate brownies that have been decorated to resemble mummies. This typically involves cutting the brownies into individual portions and then using frosting or icing to create mummy wrappings, complete with candy eyes to bring them to life. They are a popular choice for halloween desserts because they are easily recognizable and incredibly adaptable to different brownie bases.
The magic of mummy brownies lies in their simplicity and the joy they bring, especially to younger bakers. They offer a fantastic opportunity to get creative in the kitchen, turning an ordinary brownie into a festive character that embodies the spirit of the season. You can find inspiration for various spooky treats on sites like The Kitchn, which often feature creative holiday recipes.
Ingredients You’ll Need
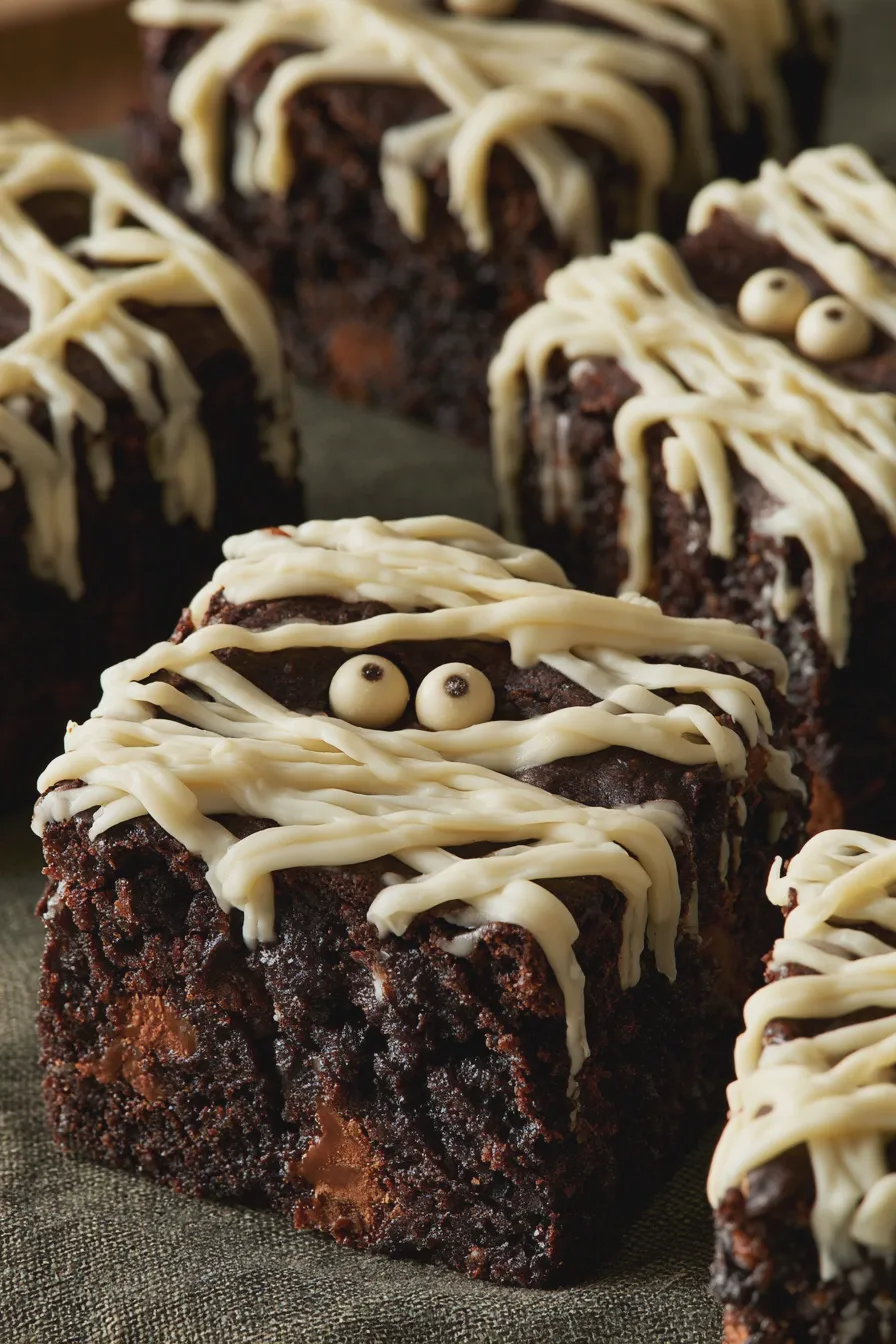
To create these adorable mummy brownies, you’ll need a few key components. The base is, of course, your favorite brownie recipe or a good quality store-bought mix, which saves time and effort. For the mummy decorations, you’ll want white frosting or icing, and of course, those essential candy eyes.
- 1 (18.3 ounce) package brownie mix (plus ingredients called for on the box, typically eggs, oil, and water)
- 1 cup white frosting (store-bought or homemade)
- 1/4 cup powdered sugar (if making homemade icing)
- 1-2 tablespoons milk or water (if making homemade icing)
- 1/2 cup candy eyes
For those who prefer to bake from scratch, a rich chocolate brownie recipe is the perfect foundation. If you’re looking for a step-by-step guide to a delicious brownie, you might find a good starting point with recipes for raspberry brownies, as the chocolate base is similar. For the frosting, a simple buttercream or a glaze made from powdered sugar and milk works beautifully.
How to Make Mummy Brownies
Bake the Brownies
Begin by preparing your brownie batter according to the package directions or your favorite scratch recipe. Make sure to preheat your oven to the temperature specified on the brownie mix box, usually around 350°F (175°C). Pour the batter evenly into a greased and floured 9×13 inch baking pan.
Bake for the time recommended on the box, typically 25-35 minutes, or until a toothpick inserted into the center comes out with moist crumbs attached. It’s important not to overbake them, as this can lead to dry brownies that are less enjoyable. Let the brownies cool completely in the pan on a wire rack before attempting to cut them.
Cut the Brownies
Once the brownies are completely cool, carefully invert the pan onto a cutting board or work surface. You can gently loosen the edges with a knife if needed. If the brownies stick slightly, a quick run of the knife around the edges usually does the trick.
Using a sharp knife, cut the brownies into individual serving sizes, aiming for rectangles or squares about 2×3 inches. These will be the bodies of your mummies. For a different presentation, consider making mummy brownie pops by cutting them into uniform shapes and inserting lollipop sticks before decorating.
Decorate Your Mummies
Prepare your white frosting or icing; if using store-bought, it’s usually ready to go. If making a simple glaze, whisk together powdered sugar with a tablespoon of milk or water at a time until you reach a spreadable, but not too runny, consistency. You want it thick enough to hold its shape but thin enough to pipe easily.
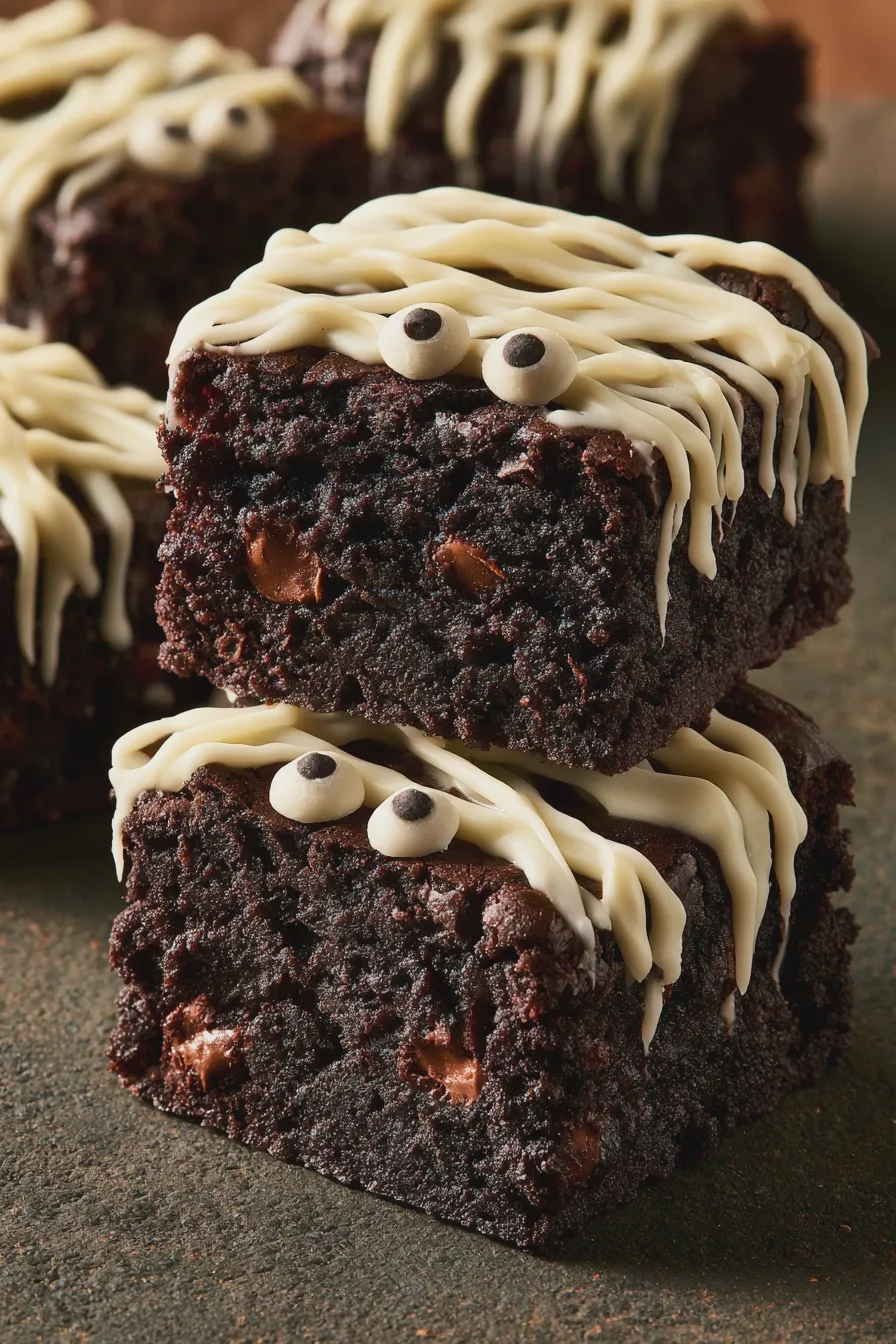
Transfer the frosting into a piping bag fitted with a small round tip, or simply use a Ziploc bag with a corner snipped off. Pipe thin, wavy lines of white frosting across each brownie, leaving a small space at the top for the eyes. Don’t worry about perfection; uneven lines add to the charmingly disheveled mummy look. These are perfect for kid-friendly halloween desserts, as they are simple enough for little hands to help with.
Add the Candy Eyes
While the frosting is still wet, gently press two candy eyes onto each brownie, just above the piped frosting lines. Position them closely together to give your mummies a slightly surprised or spooky expression. If your frosting has started to set, a tiny dab of frosting can act as “glue” to secure the eyes.
Allow the frosting to set completely before serving or storing. This usually takes about 30 minutes to an hour, depending on the thickness of the frosting and the humidity. These make wonderful halloween party food and are a delightful addition to any spooky dessert spread. You might also enjoy other fun halloween treats like mini pies or ghost-shaped cookies.
Tips for Perfect Mummy Brownies
Frosting and Icing Options
For a smoother finish, you can use a pre-made vanilla buttercream frosting, which is rich and easy to pipe. If you prefer a lighter touch, a simple royal icing made with powdered sugar, meringue powder, and a little water provides a crisp, clean look and dries hard. For a quick glaze, just mix powdered sugar with a small amount of milk or lemon juice until it’s a drizzling consistency, perfect for creating thin mummy bandages.
Remember that the consistency of your frosting is key to achieving the right look for your mummy dessert ideas. If it’s too thick, it will be hard to pipe; if it’s too thin, it will run and blur the mummy bandages. Adjust with small amounts of liquid or powdered sugar as needed until it’s just right.
Creative Variations
Don’t limit yourself to just white frosting; consider using colored frostings for different spooky effects, or even a chocolate ganache for a richer flavor profile. You can also experiment with different types of candy eyes, using colored ones or even edible markers to draw pupils for a unique look. For extra texture, sprinkle a little edible glitter or colored sugar onto the wet frosting before it sets, creating a shimmering effect for your chocolate mummy treats.
Consider making mummy cupcakes or mummy cookies as well, using the same decorating techniques. For a truly spooky desserts feel, try adding a small amount of black food coloring to a portion of the white frosting and pipe a few wispy, ghostly lines around your mummies.
Making Ahead and Storage
Mummy brownies can be made a day or two in advance, which is a lifesaver when preparing for a party. Store them in an airtight container at room temperature. If you stack them, place parchment paper between layers to prevent the frosting from sticking.
Avoid refrigerating the brownies if possible, as this can sometimes cause the frosting to become sticky or the brownies to dry out. If you must refrigerate them due to warm temperatures, ensure they are well-sealed and allow them to come to room temperature for about 30 minutes before serving for the best texture.
Print