Whip up these delightful make ahead Halloween treats, like spooky spiderweb brownies or ghostly meringue cookies, for a frightfully fun and easy party spread. These recipes are designed to be prepared in advance, saving you precious time on the big day while still impressing your guests with homemade charm.
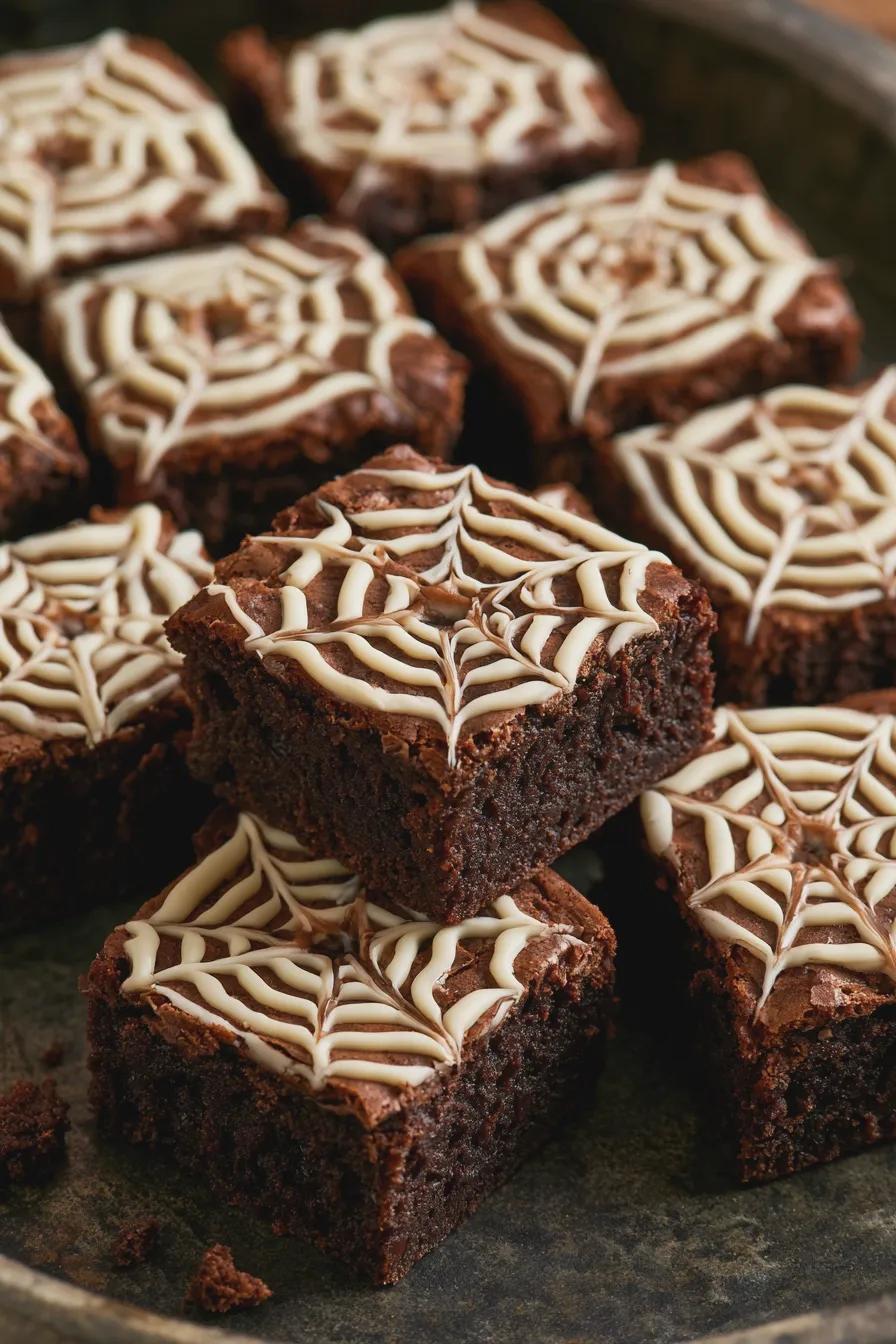
As the leaves turn and a crisp chill fills the air, our thoughts naturally drift to cozy evenings and festive gatherings. Halloween is a particularly exciting time for home cooks, offering a chance to get creative with seasonal flavors and spooky designs. This collection focuses on making your Halloween party planning a breeze with a selection of delicious make ahead Halloween treats that are as fun to create as they are to eat.
Why Make Halloween Treats Ahead of Time?
Planning is key for a successful Halloween party, and preparing your desserts in advance can significantly reduce stress. Many Halloween dessert ideas lend themselves perfectly to making ahead, allowing flavors to meld and textures to set just right. This approach ensures you can enjoy the festivities alongside your guests, rather than being stuck in the kitchen.
Opting for make ahead Halloween treats means you can focus on decorations, costumes, and other party preparations without the last-minute rush. Consider looking for inspiration on sites like Allrecipes for a wide variety of ideas that can be prepped before the spooky night.
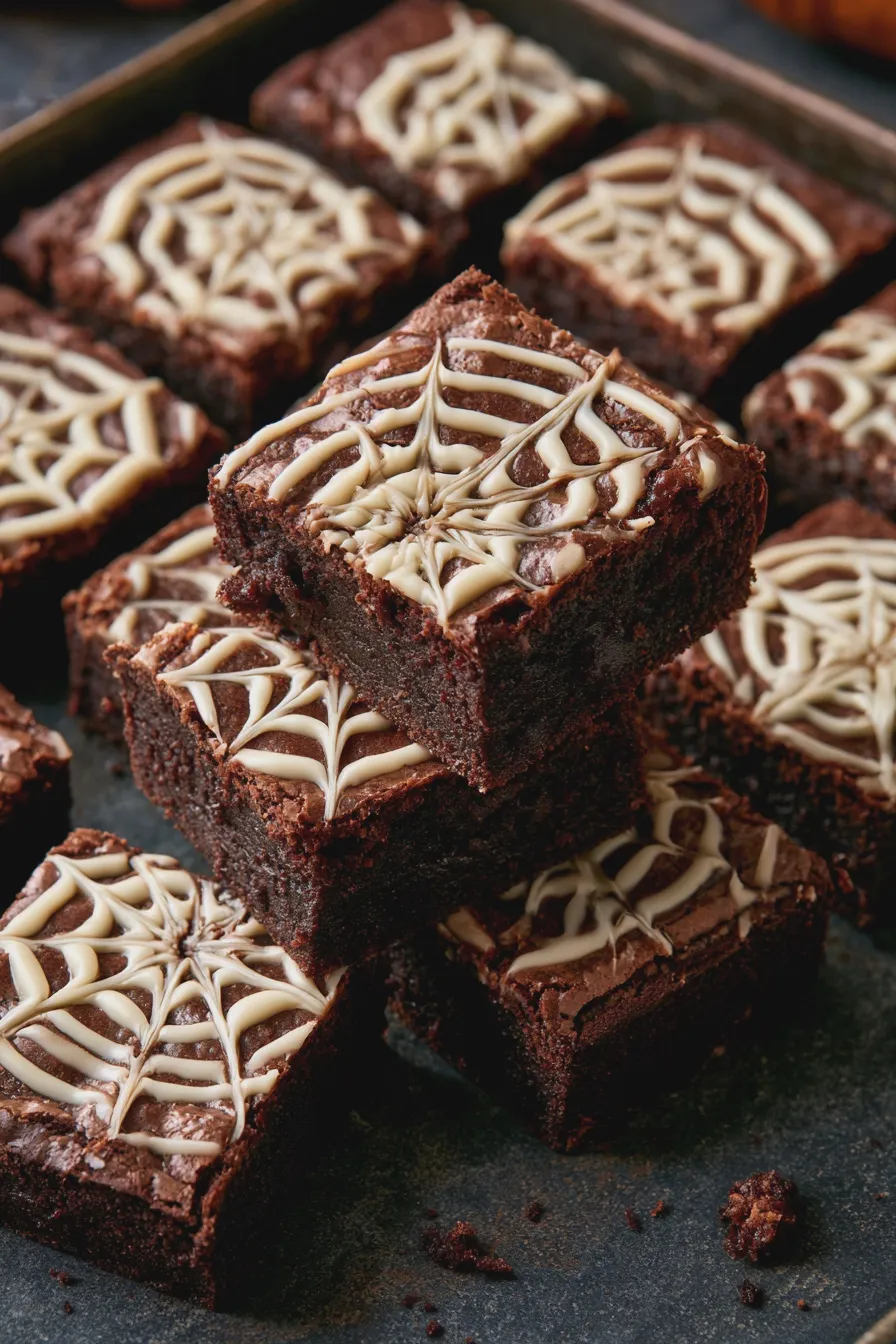
Spooky Spiderweb Brownies
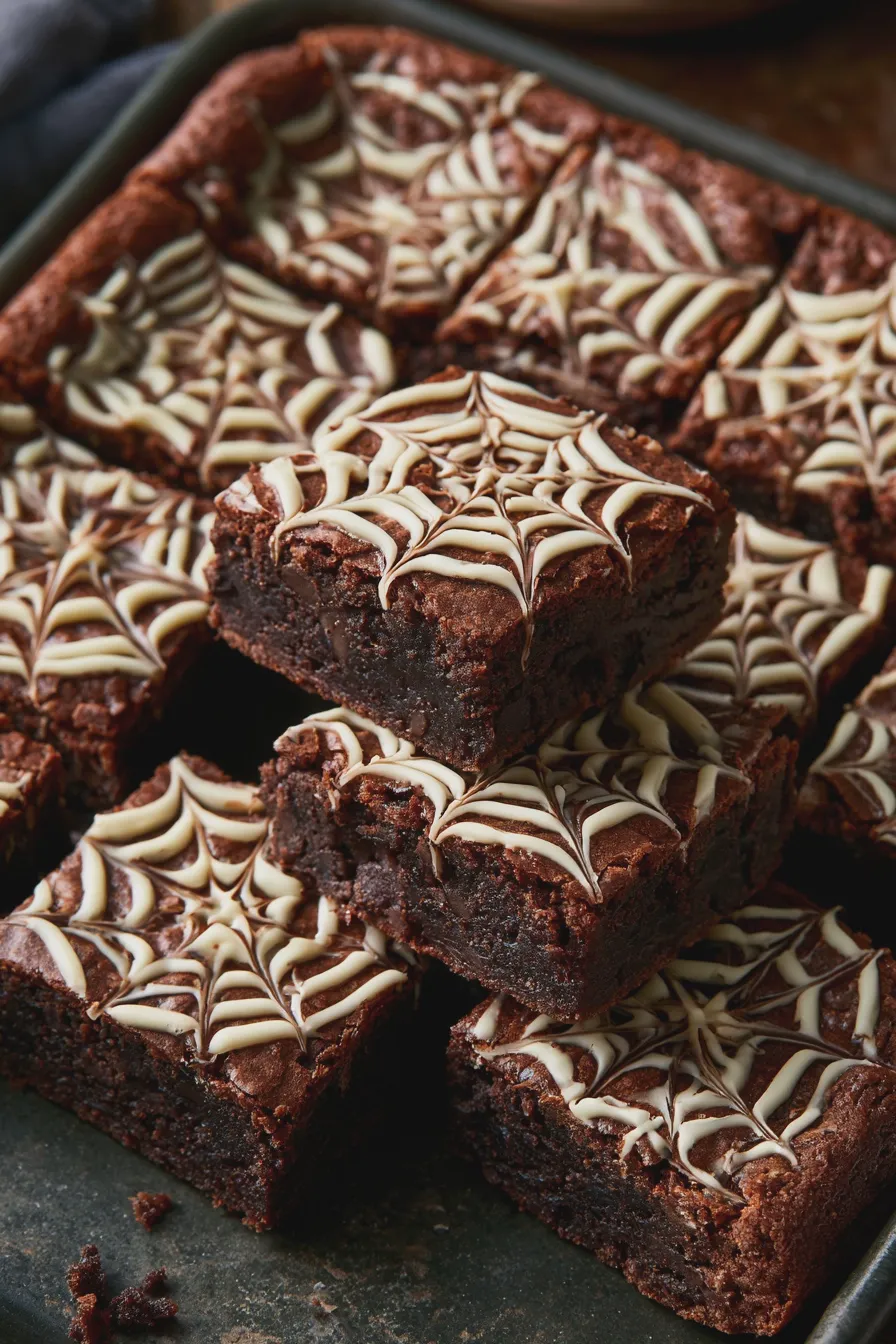
These decadent Halloween brownies are a classic for a reason, and our spiderweb variation adds a perfect touch of Halloween flair. They are rich, fudgy, and incredibly satisfying, making them a hit with both kids and adults. The simple spiderweb design is achieved with a contrasting frosting, creating a visually striking dessert that’s surprisingly easy to master.
The beauty of these Halloween brownies lies in their ability to be baked and decorated a day or two in advance, making them ideal for your Halloween party food lineup. They store beautifully at room temperature, ensuring they are ready to be sliced and served when your guests arrive.
Ingredients for Spiderweb Brownies
- 1 cup (2 sticks) unsalted butter, melted
- 2 cups granulated sugar
- 4 large eggs
- 1 teaspoon vanilla extract
- 1 1/3 cups all-purpose flour
- 1/2 cup unsweetened cocoa powder (Dutch-process recommended for deeper flavor)
- 1 teaspoon salt
- 1/2 teaspoon baking powder
- 1 cup chocolate chips (optional, for extra chocolatey goodness)
- For the Spiderweb Frosting:
- 8 ounces cream cheese, softened
- 1/2 cup unsalted butter, softened
- 3 cups powdered sugar
- 1/4 cup milk or heavy cream
- 1 teaspoon vanilla extract
- Black food coloring
Instructions for Spiderweb Brownies
In a large bowl, whisk together the melted butter and granulated sugar until well combined. Add the eggs one at a time, beating well after each addition, then stir in the vanilla extract. This ensures the brownies have a tender crumb and rich flavor profile.
In a separate bowl, whisk together the flour, cocoa powder, salt, and baking powder. Gradually add the dry ingredients to the wet ingredients, mixing until just combined, being careful not to overmix. Overmixing can lead to tough brownies, so a gentle hand is key here.
If using, fold in the chocolate chips for an extra burst of chocolate. Pour the batter into a greased and floured 9×13 inch baking pan, spreading it evenly. For ultra-fudgy results, consider using a glass or dark metal pan, as they conduct heat more evenly.
Bake in a preheated oven at 350°F (175°C) for 30-35 minutes, or until a toothpick inserted into the center comes out with moist crumbs attached. Avoid overbaking to maintain that desirable fudgy texture; slightly underbaked is better than dry for these Halloween brownies.
While the brownies cool completely, prepare the spiderweb frosting. In a large bowl, beat the softened cream cheese and butter until smooth and creamy. Gradually add the powdered sugar, alternating with the milk, until the frosting reaches your desired consistency. Stir in the vanilla extract.
Divide the frosting into two bowls, leaving one white and tinting the other with black food coloring until you achieve a deep black hue. Transfer the black frosting to a piping bag fitted with a small round tip or a zip-top bag with a corner snipped off. Pipe concentric circles of black frosting onto the cooled brownies, starting from the center and working outwards.
Using a toothpick or a skewer, gently drag lines from the center of the brownie outwards through the black circles to create the spiderweb effect. Be sure to wipe the toothpick clean between each drag to keep the lines distinct and prevent muddiness. This technique is what transforms a simple brownie into one of your standout Halloween party food items.
Ghostly Meringue Kisses
These ethereal meringue kisses are a delightful addition to your make ahead Halloween treats. They are light, airy, and melt-in-your-mouth delicious, offering a delicate sweetness that contrasts wonderfully with richer desserts. Their simple ghost shape makes them a charming and spooky choice for Halloween, perfect for little hands and adult palates alike.
Meringues are wonderfully suited for making ahead, as they dry out rather than going stale, making them an excellent choice for busy hosts. You can prepare a large batch well in advance of your Halloween party, storing them in an airtight container until ready to serve.
Ingredients for Ghostly Meringue Kisses
- 4 large egg whites, at room temperature
- 1 cup superfine sugar (or granulated sugar pulsed briefly in a food processor)
- 1/2 teaspoon cream of tartar
- 1 teaspoon vanilla extract
- Black edible marker or black decorating gel
Instructions for Ghostly Meringue Kisses
Preheat your oven to 200°F (95°C) and line two baking sheets with parchment paper. Ensure your mixing bowl and whisk attachments are completely clean and free of any grease, as this is crucial for achieving stiff peaks.
In the clean bowl of a stand mixer or using a hand mixer, beat the egg whites and cream of tartar on medium speed until soft peaks form. This initial stage is important for building structure in your meringue.
Gradually add the superfine sugar, one tablespoon at a time, while continuing to beat on medium-high speed. Once all the sugar is added, increase the speed to high and beat until stiff, glossy peaks form. The meringue should hold its shape and be smooth to the touch.
Gently fold in the vanilla extract, being careful not to deflate the meringue. This step adds a subtle flavor that complements the sweetness of the sugar.
Spoon or pipe the meringue onto the prepared baking sheets, shaping them into cute ghost forms. For piping, use a star tip or a round tip, creating a base and then a slightly narrower top for the ghost’s head. A simple dollop works just as well if you prefer an easier approach to these Halloween cookie recipes.
Bake for 60-90 minutes, or until the meringues are dry to the touch and lift easily off the parchment paper. Turn off the oven, prop the door open slightly with a wooden spoon, and let the meringues cool completely inside the oven. This slow cooling process helps prevent cracking and ensures a crisp texture.
Once completely cooled, use a black edible marker or decorating gel to draw small eyes and mouths on each meringue ghost. You can create a variety of expressions for added fun to your spooky desserts. These are perfect for little hands and adult palates alike.
Caramel Apple Halloween Pretzel Rods
These sweet and salty caramel apple Halloween pretzel rods are incredibly simple yet undeniably effective for your Halloween party snacks. Dipped in rich caramel and then adorned with festive Halloween sprinkles, they offer a satisfying crunch and a delightful sweetness that’s addictive. They are a fantastic option for those seeking easy Halloween treats that don’t require extensive baking.
The beauty of these pretzel rods is their versatility and how well they hold up when made ahead. You can prepare a large batch and store them in an airtight container, making them a perfect addition to any Halloween candy buffet or as a charming party favor.
Ingredients for Caramel Apple Halloween Pretzel Rods
- 12-15 pretzel rods
- 1 bag (11 ounces) caramel bits or unwrapped soft caramels
- 2 tablespoons milk or heavy cream
- Halloween-themed sprinkles (jimmies, nonpareils, sanding sugar in orange, black, purple, green)
- Optional: Melted Halloween-colored candy melts (orange, black, purple) for drizzling
Instructions for Caramel Apple Halloween Pretzel Rods
Line a baking sheet with parchment paper or wax paper. Have your Halloween sprinkles ready in shallow bowls for easy dipping.
In a microwave-safe bowl, combine the caramel bits (or unwrapped soft caramels) with the milk or cream. Microwave in 30-second intervals, stirring well after each, until the caramel is smooth and completely melted. Be patient, as microwaving too quickly can cause the caramel to seize or burn.
Hold a pretzel rod by one end and dip it into the melted caramel, rotating to coat about two-thirds of the rod. Let any excess caramel drip back into the bowl for a cleaner finish.
Immediately after dipping, roll the caramel-coated section in your chosen Halloween sprinkles, pressing gently to help them adhere. You can also sprinkle them over the top if you prefer a different look for these Halloween candy recipes.
Place the decorated pretzel rods onto the prepared baking sheet to set. If you are adding a drizzle of candy melts, allow the caramel to set slightly before drizzling the melted candy melts over the top in a decorative pattern. This adds another layer of flavor and visual appeal to your Halloween bark-inspired treats.
Allow the pretzel rods to set completely at room temperature, which usually takes about 30-60 minutes, or you can speed up the process by placing them in the refrigerator for about 15-20 minutes. Once fully set, they are ready to be served as part of your Halloween party snacks.
Store the finished pretzel rods in an airtight container at room temperature for up to 3-4 days. If your kitchen is particularly warm, you might want to store them in the refrigerator to prevent the caramel from softening too much, though this can sometimes make them slightly chewier.
Print